
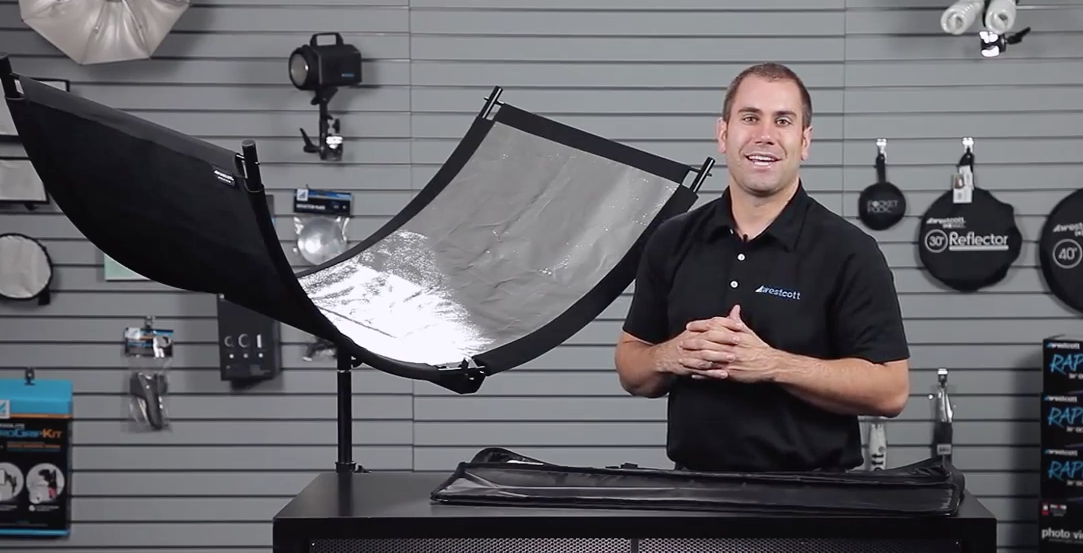
Brandon Heiss, lighting educator with Team Westcott, discusses how to assemble the Westcott Eyelighter in this gear guide.
The Westcott Eyelighter comes disassembled in its compact travel case. This includes the Eyelighter‘s reflective fabric, 4 curved rods, the frame support bracket, a light stand bracket, and 2 straight rods.
The first step in assembling the Eyelighter is to securely attach the light stand bracket to the support bracket with the included screw. This can now be mounted onto any standard light stand.
Next, the curved rods must be conjoined. This is completed by snapping two of the corresponding rods together to form a U-shape. The same will be done to the remaining two bars. Both curved pieces can now be thread through the long edges of the Eyelighter’s reflective fabric.
Now, the two remaining rods can by thread through the short edges of Westcott Eyelighter’s fabric. After being thread through the fabric, these bars will snap into place on both sides with the curved rods. The Eyelighter can now be placed onto the support bracket and light stand. Two screw caps are provided for secure placement.
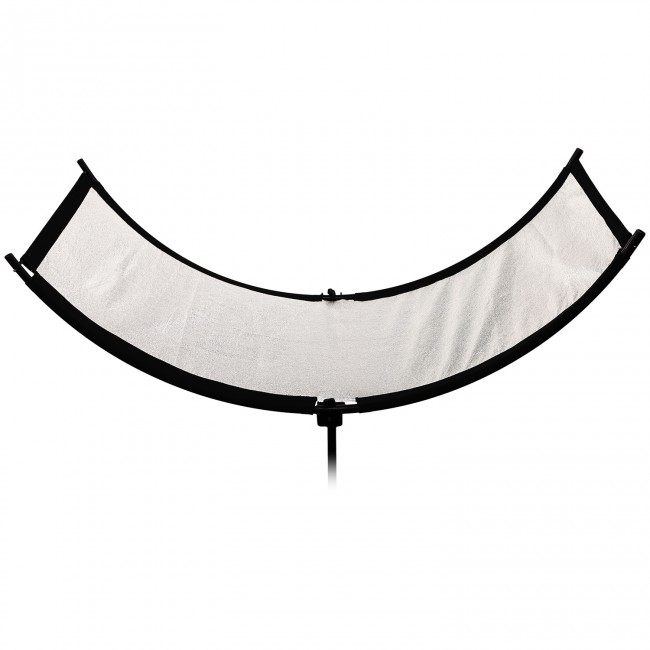
The Westcott Eyelighter’s exclusive arc-shaped design is built to create a catchlight with the same curvature of the human eye. This natural-looking reflection creates a high-key appearance in portrait, fashion, and beauty images. Unlike tri-fold or flat reflectors, this catchlight is seamless without unflattering breaks. This curve is constructed with premium reflective fabric, allowing for an optimum wrap-around reflection, evenly illuminating your subject. The frame and support rods feature an aluminum build, which is durable yet lightweight for easy setup and travel.
Lighting Gear in Action:

Leave a Reply
You must be logged in to post a comment.