
In flash photography, mixing the light trails from constant lighting with the freezing power of a strobe can create a sense of motion and get really cool effects in-camera. One of the most important things to consider when using this technique is how your shutter is syncing to your strobe.
There are two curtains in most cameras, a front and rear curtain. When you have Front Curtain Sync on, the flash will fire when the first curtain opens at the beginning of the exposure. For Rear Curtain Sync, the flash will not fire until the second curtain closes at the end of the exposure. When shooting normally, you will not notice any difference whether you are using Rear or Front Curtain Sync. Where you will really notice a difference is when you drag your shutter and shoot at slower shutter speeds when working with both flash and constant light or ambient light. There are advantages and disadvantages to both methods.
Rear Curtain
Benefit: cleaner subject, light trails free from the face. Trails look more intuitive and natural.
Disadvantage: harder to frame and time action, since the subject has to move into the frame, and you cannot use your viewfinder since it is blacked out while the mirrors are flipped up. You might want to consider shooting wider in case the subject misses their mark, and crop in post.
Front Curtain
Benefit: easier to frame and time action, since there is no delay when you release the shutter. You can do this with any camera/flash since it is the default sync setting.
Disadvantage: light trails can block or distort subject, making the motion look less natural.
Front Curtain with Delay
Now with more modern strobes (like the FJ400 used here) there is another option. We can pick exactly when in the exposure we want the flash to fire by setting a delay on the strobe. This allows you to decide exactly how much light you want in front of or behind the subject.
With the FJ400, you can adjust in intervals up to 1/100 of a second. In the example photo, we decided to have the strobe fire right in the middle of the one-second exposure at .50 of a second.


Tips
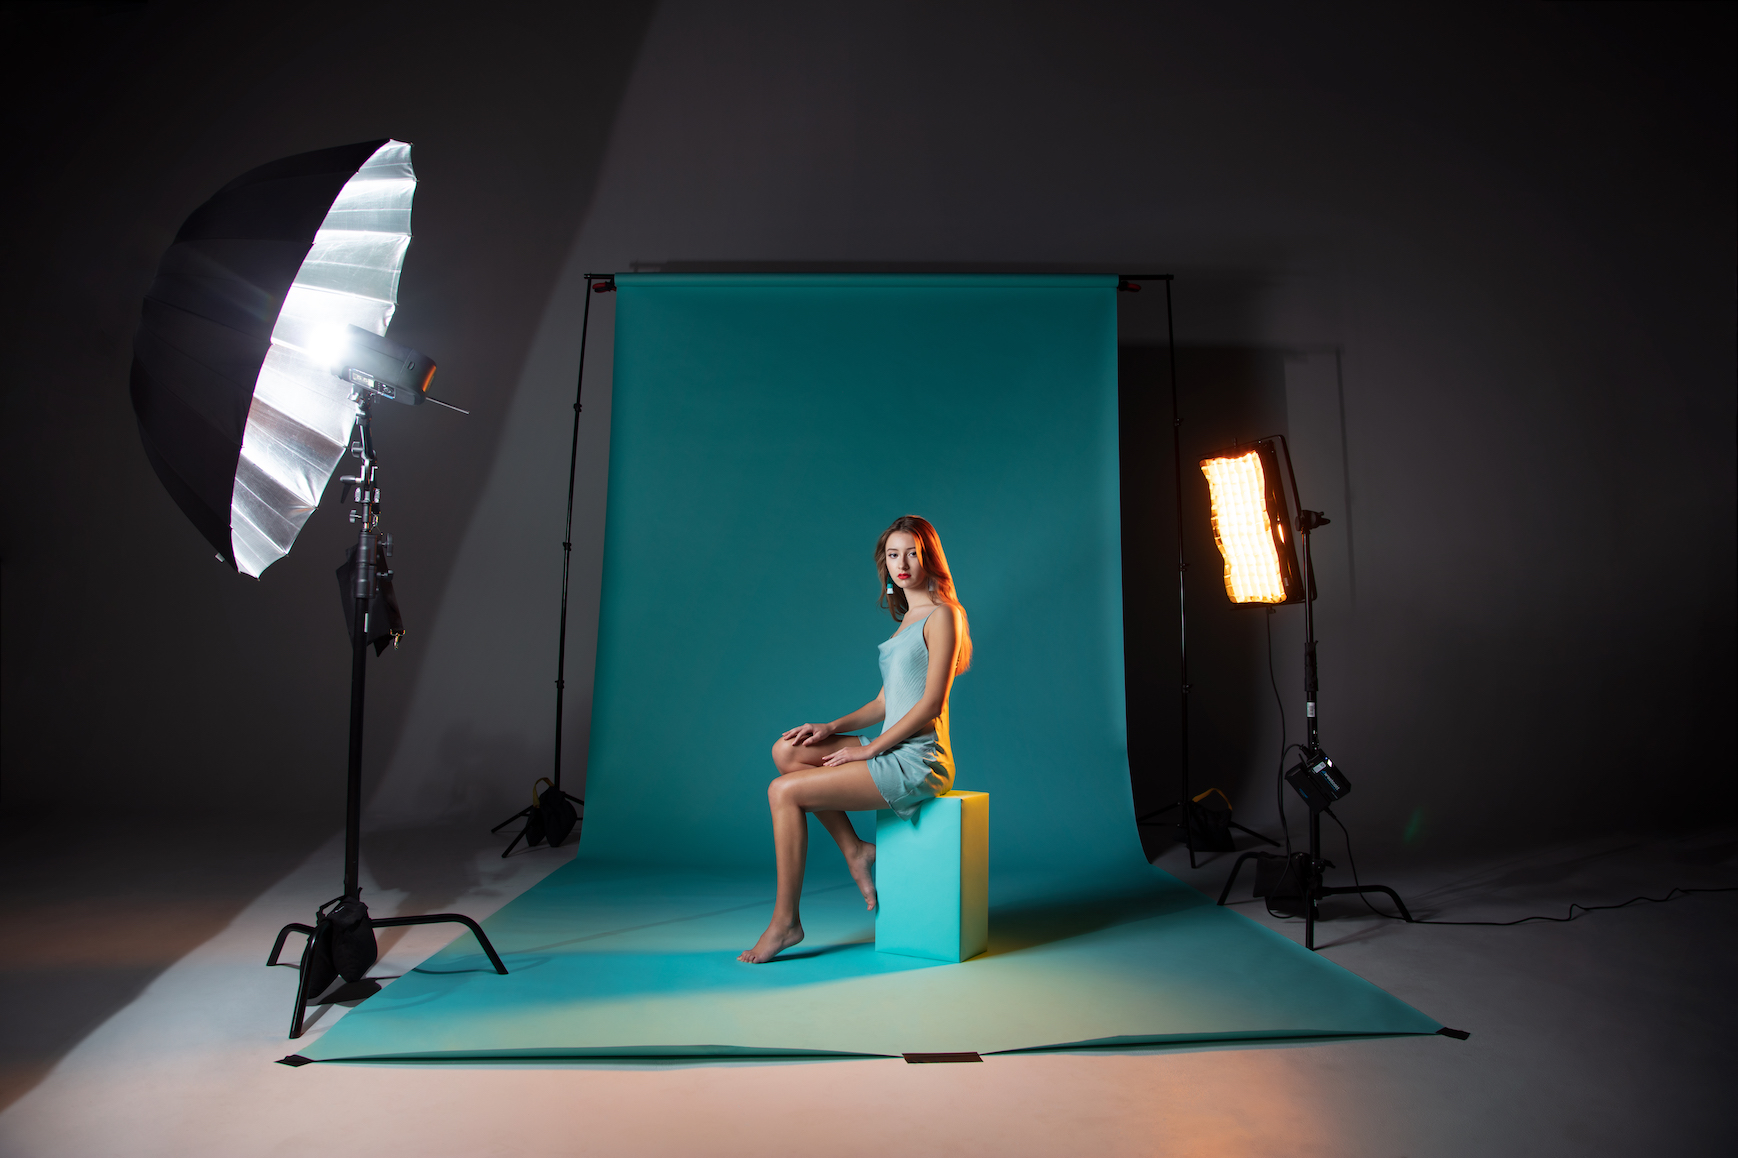
Shoot in a dark room.
You need to make sure you are controlling your ambient light, so you’ll want to turn off any lights that you do not want to show up when you drag your shutter (this includes the modeling light on your strobe). If you leave it on, your subject will look blurry and not frozen by the flash.
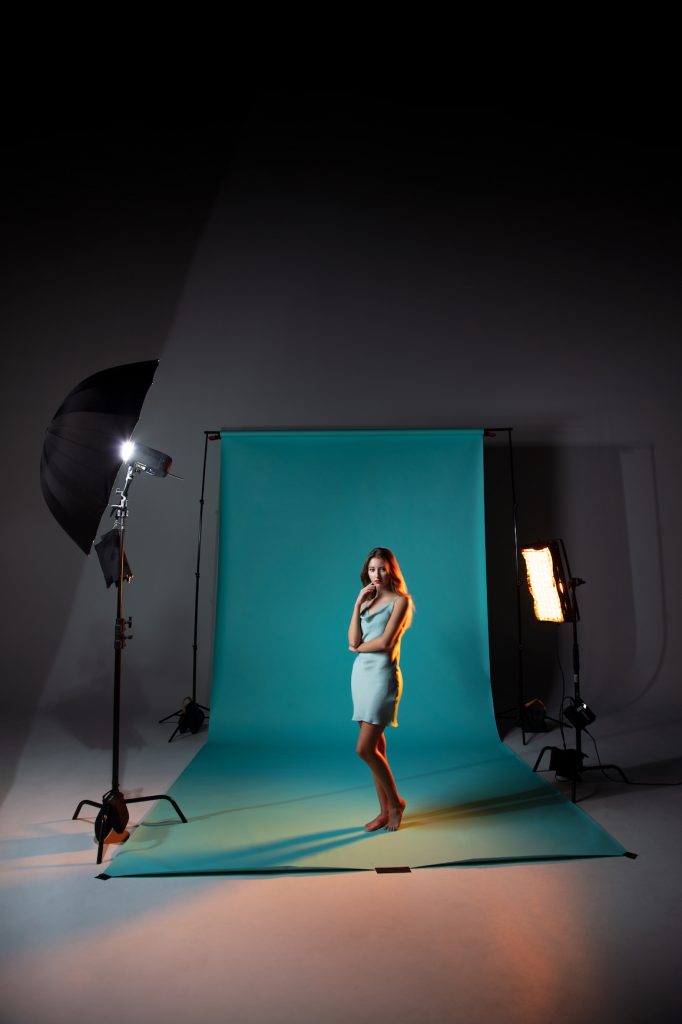
Decide the direction that the subject moves.
The direction the subject moves can make a huge difference in how your image will turn out. In the example above, we had the subject move camera-left, away from the constant light (a Flex RGBW). Something as simple as telling your subject to move a different direction can change how the light interacts with your subject, and if the light appears in front or behind the subject.
Move the camera.
Don’t forget other ways to introduce movement into your image. You can have your model move around, but you can also have your model still and you can move the camera in different ways. Zooming in and/or out, panning, and rotating are just some examples. Each movement adds a completely different look and feel to the image. Every image will come out completely differently, so don’t forget to have fun and be creative.


F5.6 • 1.0 Second Exposure • ISO 100
Behind the Scenes
Learn about the FJ400’s masking function here.
Lighting Gear in Action


FJ-X2m Universal Wireless Flash Trigger4705

FJ-X2m Universal Wireless Flash Trigger4705

Flex Cine DMX RGBW 1-Light Gear Kit (1' x 2')7632

Flex Cine DMX RGBW 1-Light Gear Kit (1' x 2')7632


Leave a Reply
You must be logged in to post a comment.