

This article on location lighting for photography is courtesy of renowned beauty photographer Lindsay Adler and SLR Lounge.
Here I took my beautiful model on location wearing a dress and headpiece from Dream Shoot Rentals. (Recognize her face? She’s been a contestant on America’s Next Top Model and a model for Project Runway). I took the model in the park in the mid-afternoon, and placed her in front of a nice clearing of trees where she would be backlit by the sun. I liked the sun on her hair and headpiece because it helps give her a heavenly glow and separate her from the background.
I ran into several problems I needed to solve:
- The light on the back of her head was very bright. When I exposed so those highlights were not totally overexposed, now her face was far too bright.
- The natural light on her face was a bit flat compared to the high contrast background.
- The direction of light on her face not exactly how I wanted it. There were not great catchlight in her eyes, and depending on how she turned her face, she had dull light that was somewhat split (one side of face lit, the other darker).
By adding light to the scene, I could conquer all of these problems!
First, I started by putting my camera on manual and getting the ideal ambient exposure and depth of field. I decide I wanted the scene to be darker than my meter recommended and to control the highlights on her hair. For this reason, I decided to underexpose the scene by about 1 2/3 stops.
Now, the light on her face was far too dark. Next, I grabbed my gear: Canon 5D Mark III and my brand new (and insanely sharp) Sigma 50mm f/1.4 Art lens and the very versatile Sigma 70-200mm f/2.8.
For this shot, I choose my favorite speedlights and one of my go-to speedlight modifiers: Phottix Mitros+ flash and Phottix Odin trigger to give me wireless TTL and manual control. I love these strobes as they are not only incredibly affordable, but also extremely easy to use and do everything I need a strobe to do!
Next, I grabbed the Westcott Apollo Orb. This is an AWESOME location lighting modifier. First of all, it allows me to take the feel of a studio octabox out on location. Second, it is light-weight and extremely easy to setup, and also easy to raise up above a scene for more directional lighting. The quality of light from the orb is great– it is soft, but still small enough to allow me to control the direction of light.
Along with my assistant, we put the speedlight and orb together on an extendable pole.
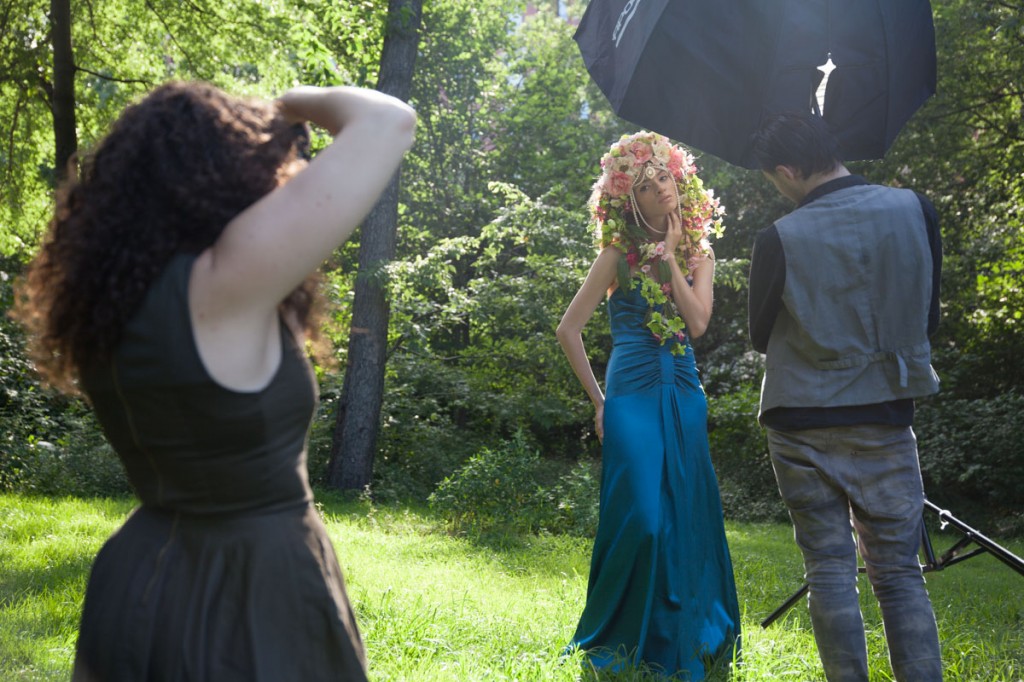
Here is how we were able to control light in the scene.
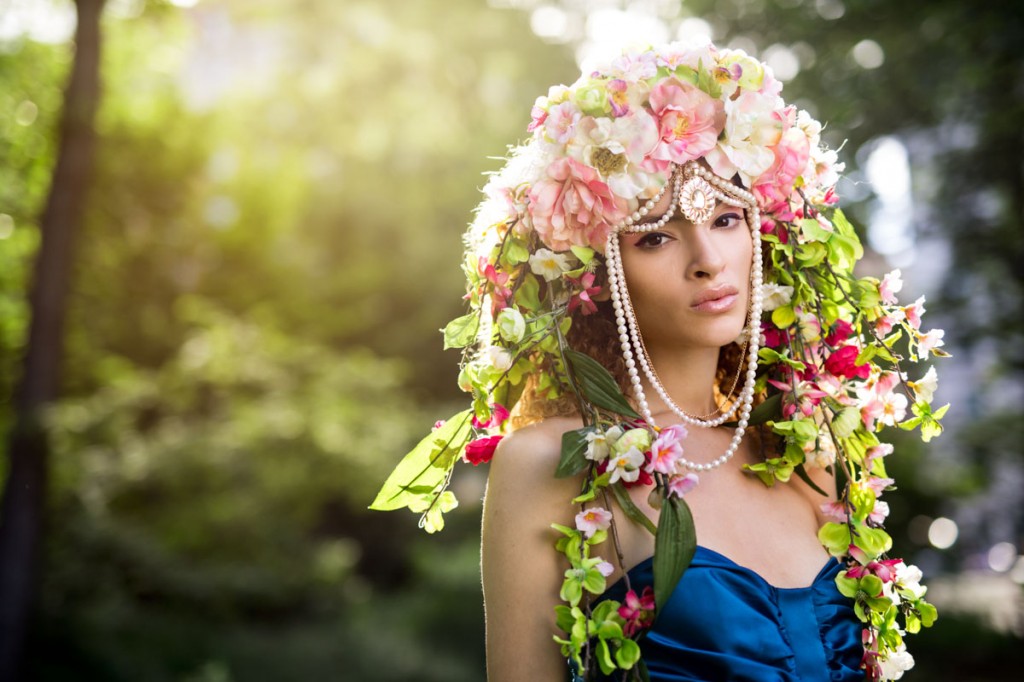
By adding the strobe, I was able to now pump light onto my subject, and chose about 2/3 stop underexposed strobe to give me great illumination without being too ‘flashy.’ Next, we improved the quality of light on the face by using the Orb, thus creating stunning glowing light. Finally, by using the extendable pole, I could have my assistant raise the light up to help give a big of shape and drama to the face and overpower the previously unflattering light on her face.
To read the full article and see more images from this shoot, visit SLRLounge.com.
Leave a Reply
You must be logged in to post a comment.