Shooting Outdoors Rocks
When given the choice between shooting in a studio or shooting outdoors in the world, I’ll drag my camera gear and subject out that door any day of the week. The sheer volume of different backgrounds and locations can be overwhelming if you’re just starting out though. Thankfully every city out there thought to build public parks just for us photographers to shoot in – those are there for us right? Today I’m going to walk you through a headshot photo-shoot I did recently in Central Park.
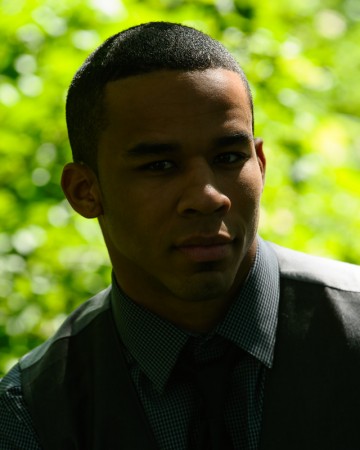 While shooting on location is beautiful, there are elements that we need to tame before we can walk away with a strong image. But lets start with the beauty that brought us outside in the first place. By the time we made it out to the park we were confronted with a very bright midday sun… not the best portrait light because of how hard and contrasty it is. The first thing we did was head for some shade. I found a nearby tree were we could shoot with some sunlit foliage in the background. This background is what I set my exposure for. You’ll notice in the photo that the bright background is exposed but our model’s face is much too dark.
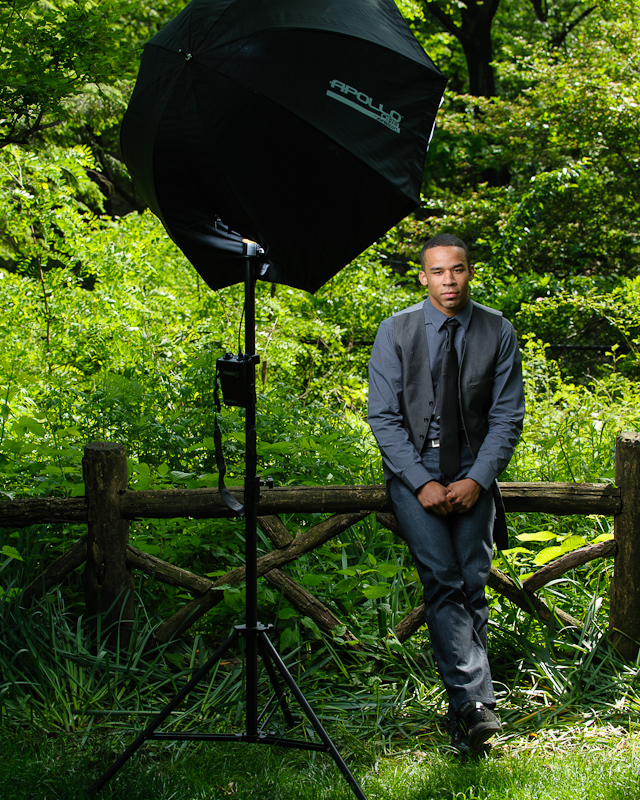
Our next step is to start building in light to balance out our model with the background we selected. To do this I used a Quantum Qflash and the Westcott Apollo Orb. I love the Orb for the soft even light it produces on top of those natural looking catch-lights. The catch-lights are the round highlights you see in the model’s eyes. I prefer round because it mimics the catch-lights created by the sun. Not changing my camera settings at all, I just turned on the Qflash and adjusted the power until I liked the light output on my models face. Check out the resulting photo below!
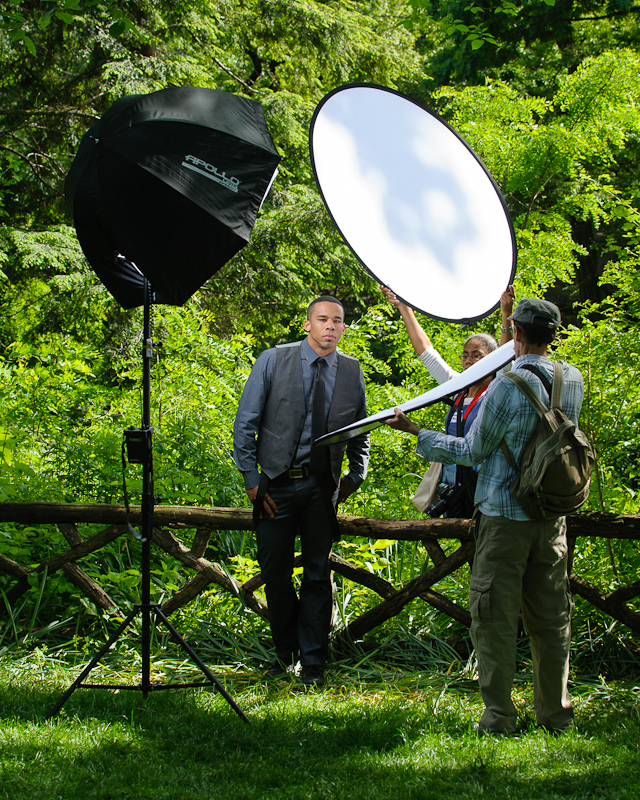
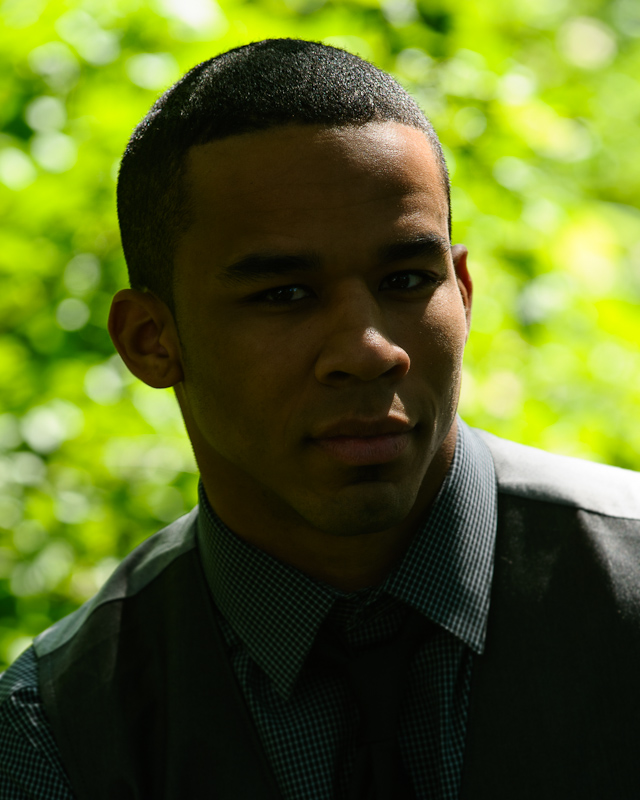
Mission accomplished! We braved the outdoors and created a nice looking headshot. But who’s to say we can’t refine our light even further? Perfect lighting doesn’t just happen in the studio. If you look closely at the last photo you’ll notice the dappled highlights on our models head. The super bright sun sneaky through the leaves above causes this. Any bright spots like this can be very distracting to the viewer, so lets try to minimize those. As a photographer you’ll find that a good 5-In-1 reflector will quickly become your best friend. For the final photo below, I had an assistant hold up a 1-stop diffusion reflector to knock down and soften those stray spots of sunlight. I also utilized the reflective surface of the reflector to add a little fill light from below my models chin.
The final image takes advantage of light from multiple directions, while only employing a single flash and reflector setup. That’s a lot of control in a mobile package. Next time you find yourself shooting outdoors, don’t be intimidated by that bright sun, and put some of these techniques use to elevate your portrait game!
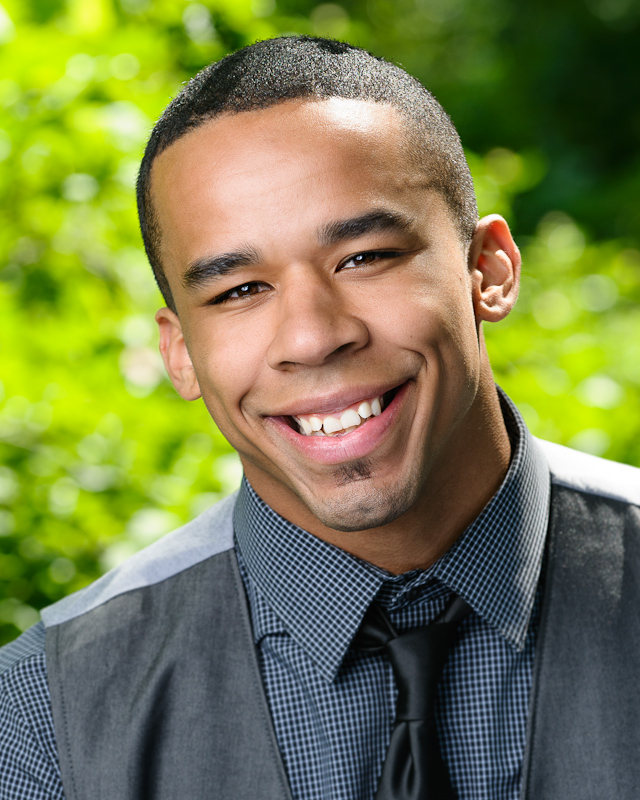
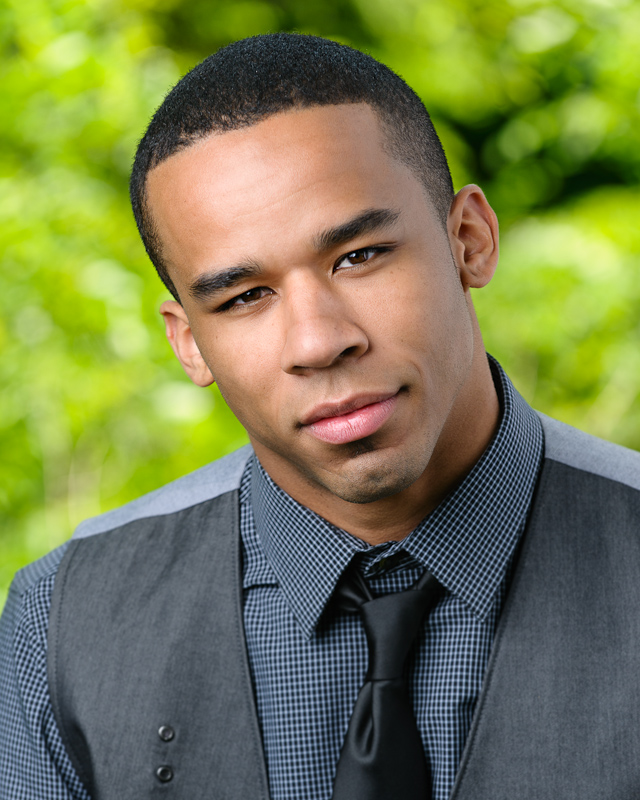
Westcott Lighting Gear in Action
Photo Details and Specs
- Aperture: F5.6
- Shutter Speed: 1/200 sec
- ISO: 200
- Focal Length: 70-200 mm f/2.8
- Copyright ©Erik Valind


Leave a Reply
You must be logged in to post a comment.