
This video was inspired by seeing how some of our favorite content creators have been using Flex LED mats in their production workflows. Whether doing an unboxing or creating a cooking channel, compact Flex light are awesome for creating a professional set even in the tightest of spaces. For this setup, we used a few Flex LED lights along with a variety of modifiers to create multiple lighting setups for a standard tabletop b-roll shoot. But before we got started, there were a few things we needed to prepare…
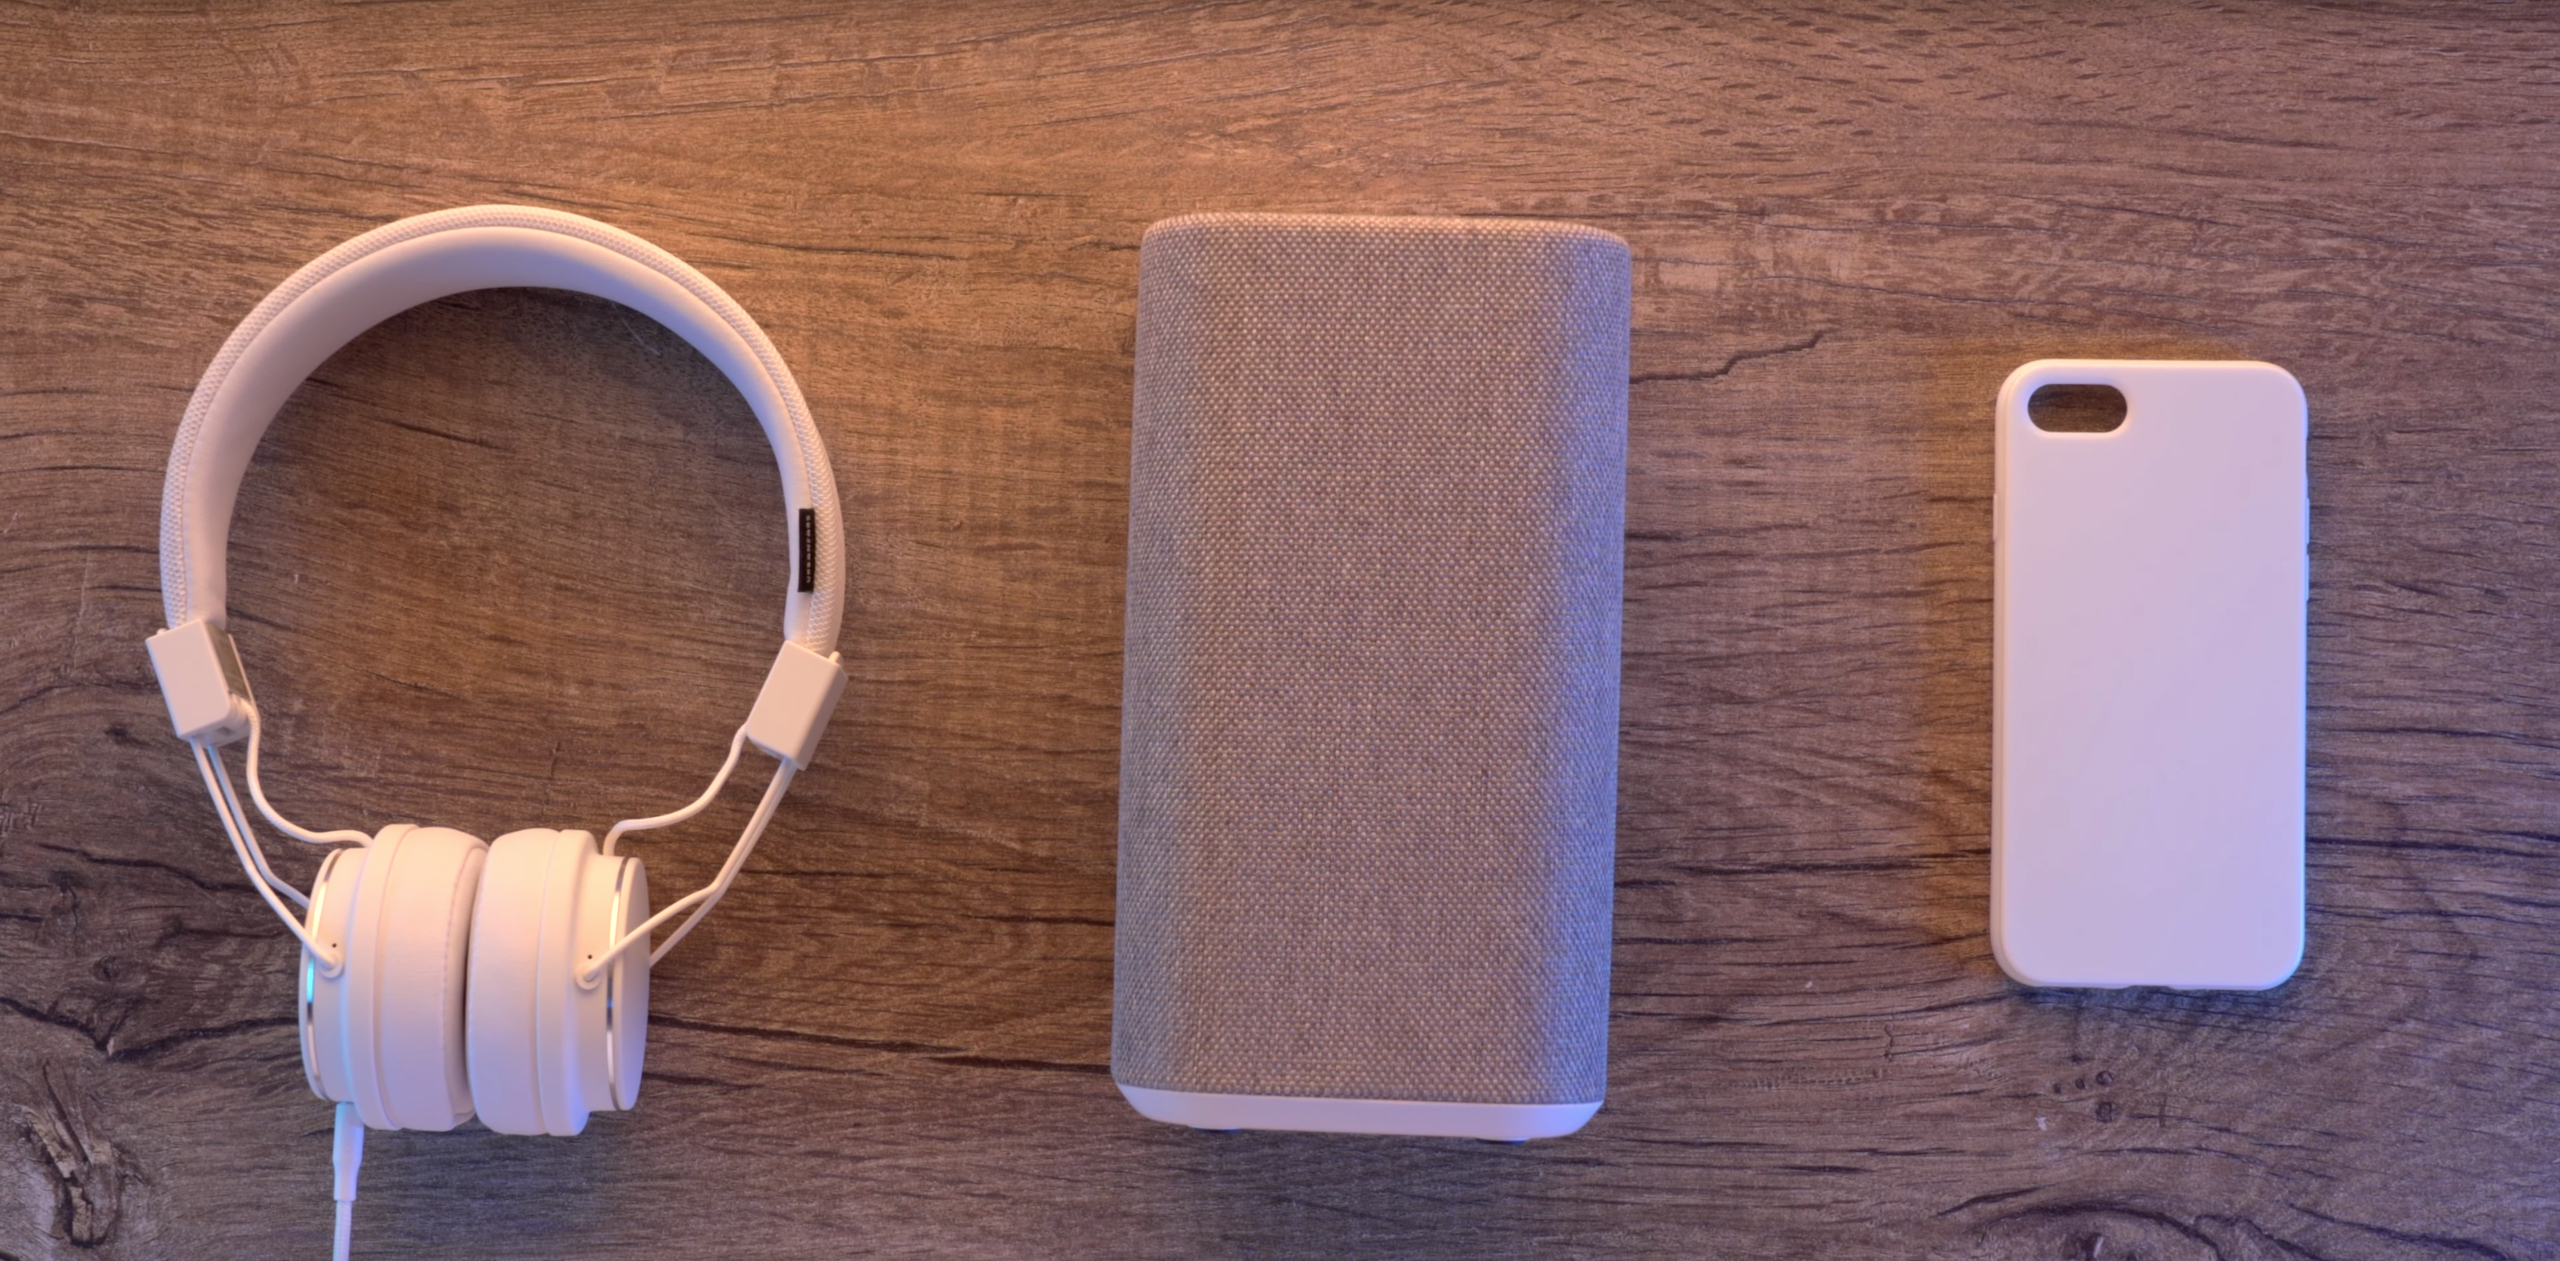
- We made sure the products that we were featuring were as clean as possible.
- We made sure the environment we were shooting in was as clean as possible.
- We picked a tabletop that was visually appealing, without dents or stratches.
- We picked a background that wasn’t distracting. If you can’t find a simple wall, consider bringing in a fabric or paper backdrop.
After we got our environment ready, it was time to begin placing our lights. When shooting tabletop b-roll, there were a few questions we had to keep in mind while setting up.
- How are the products are going to cast shadows on our tables surface and on the other products?
- Will short lighting or broad lighting look better on the object?
- Do we want natural and motivated lighting or more colorful and cinematic lighting?
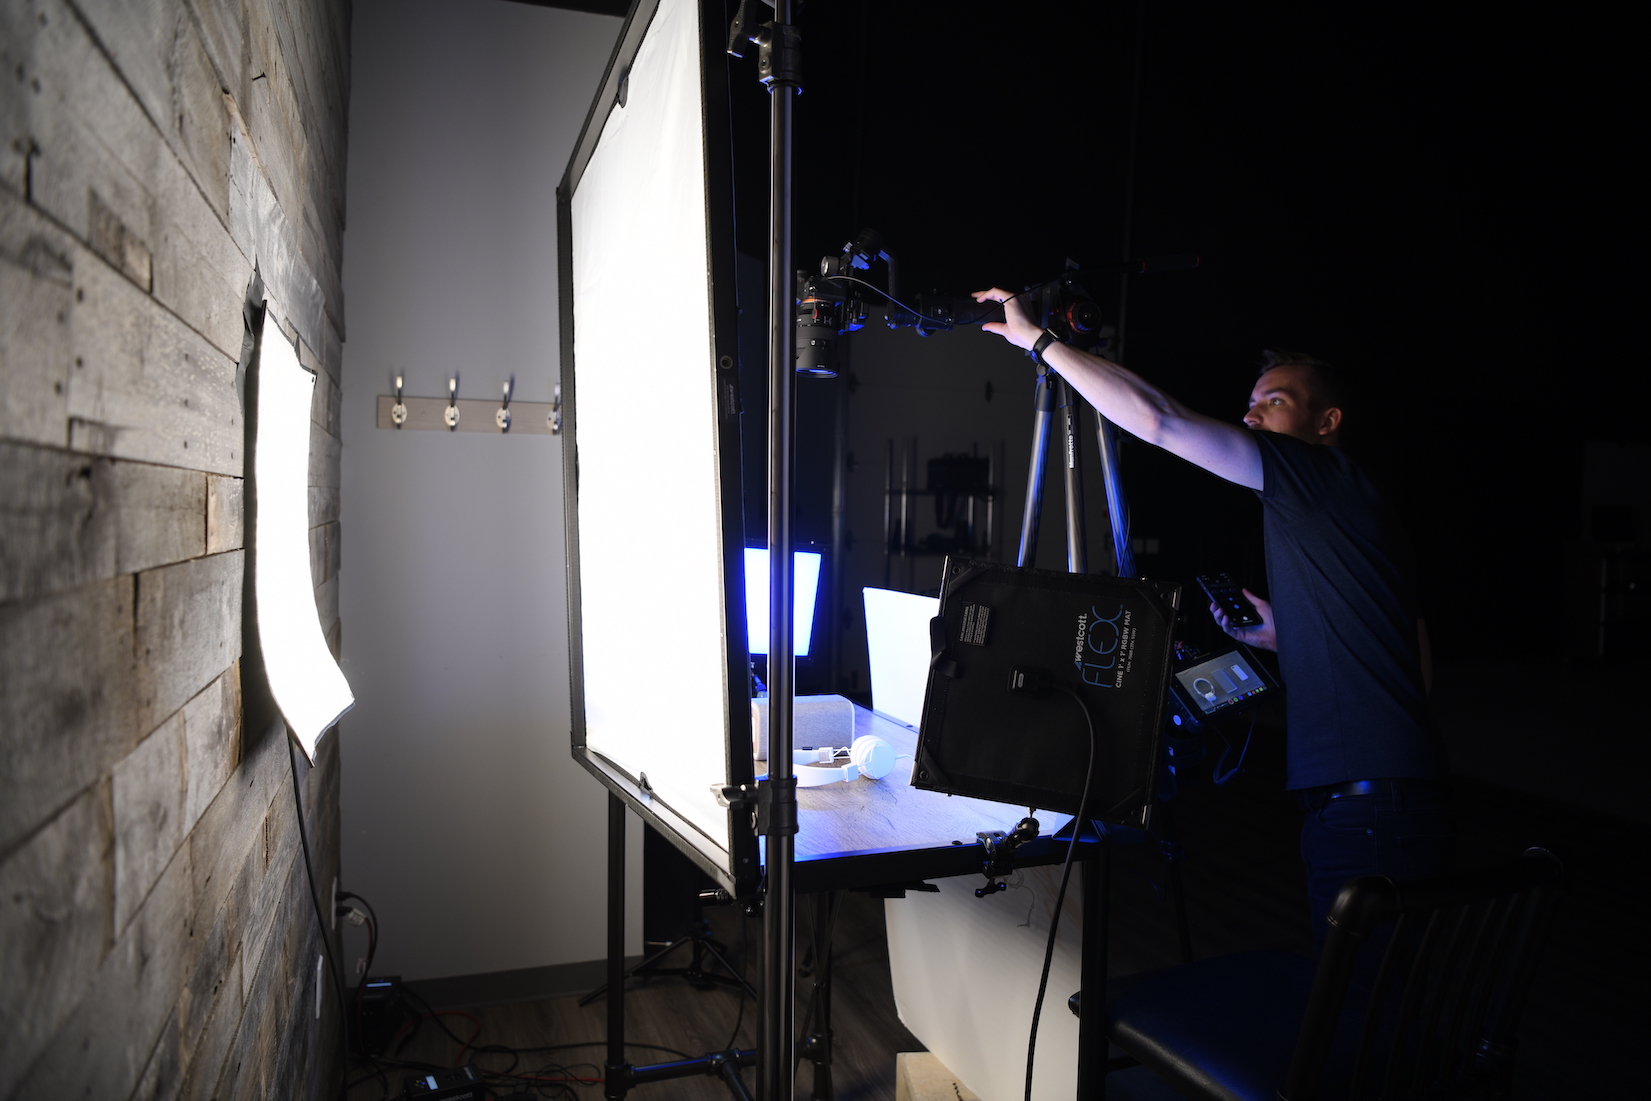
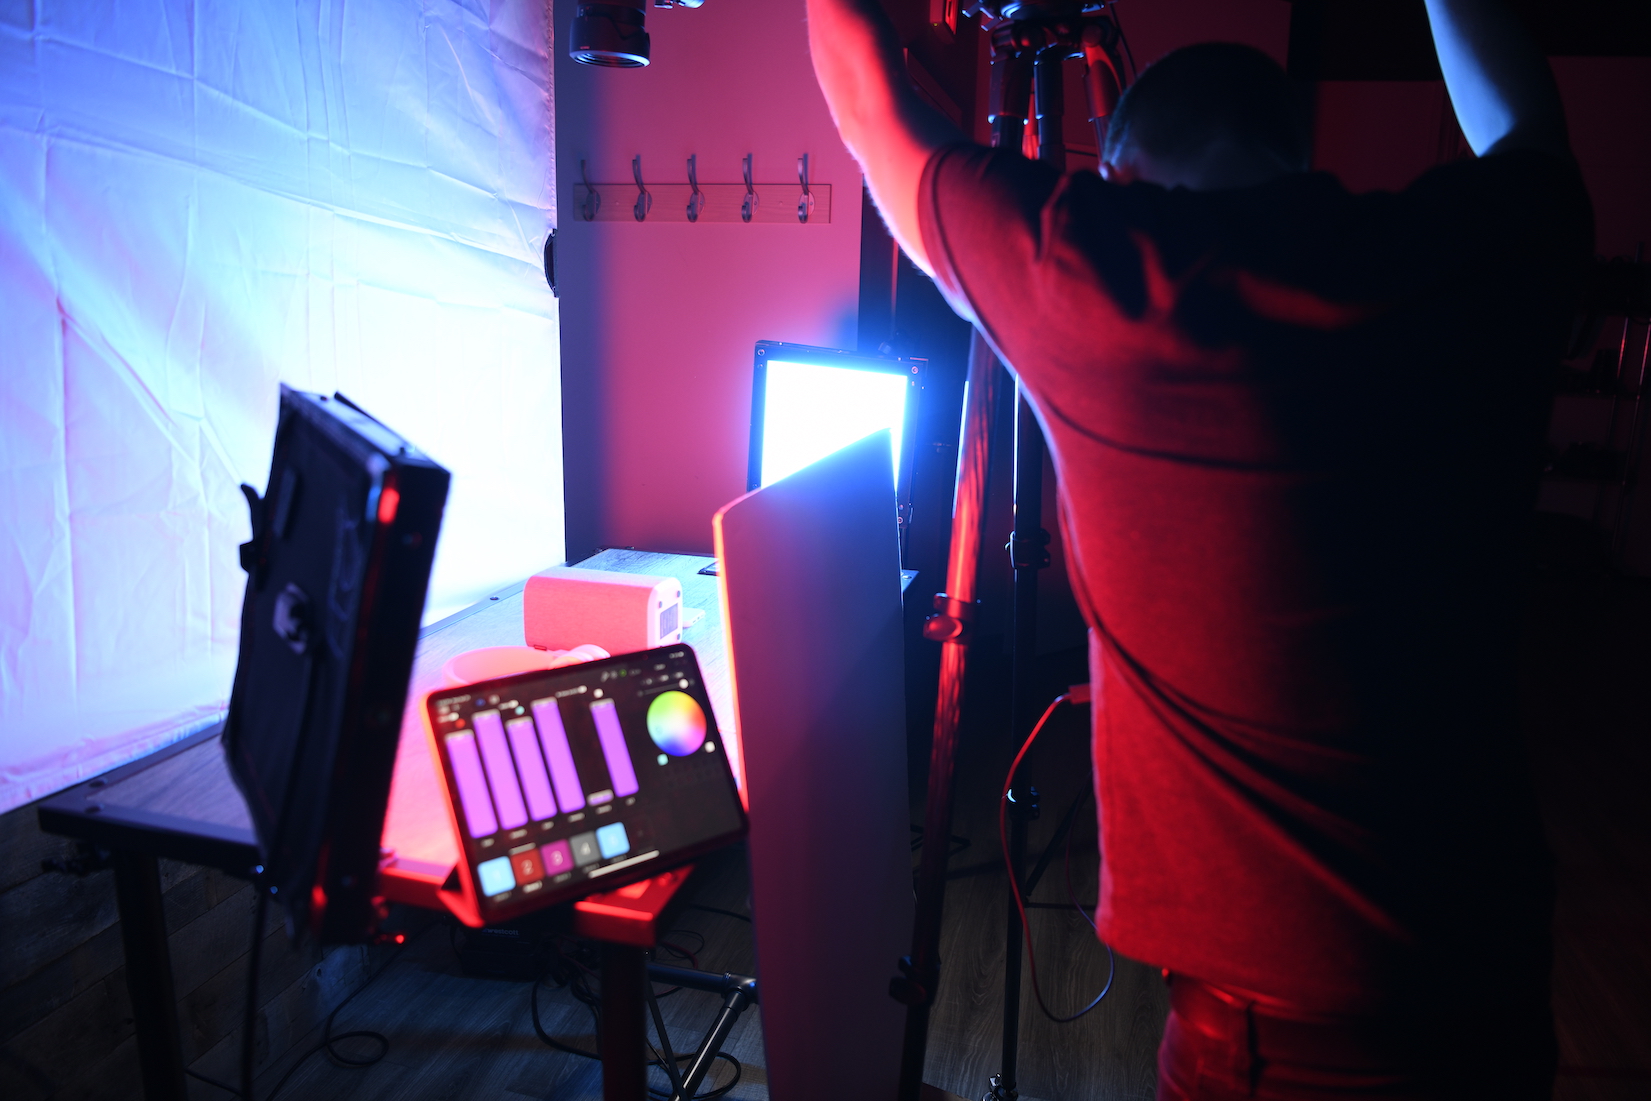
These things will typically be determined by the products that you’re shooting. If the items are extremely shiny, dark, or reflective, you’ll need to be aware of reflections as well. Shooting with a monitor is extremely helpful in this case, allowing you to see the finer details. Here, we were shooting on an A7III with HLG2 into an Atomos recorder using Kit and Gamma Assist.
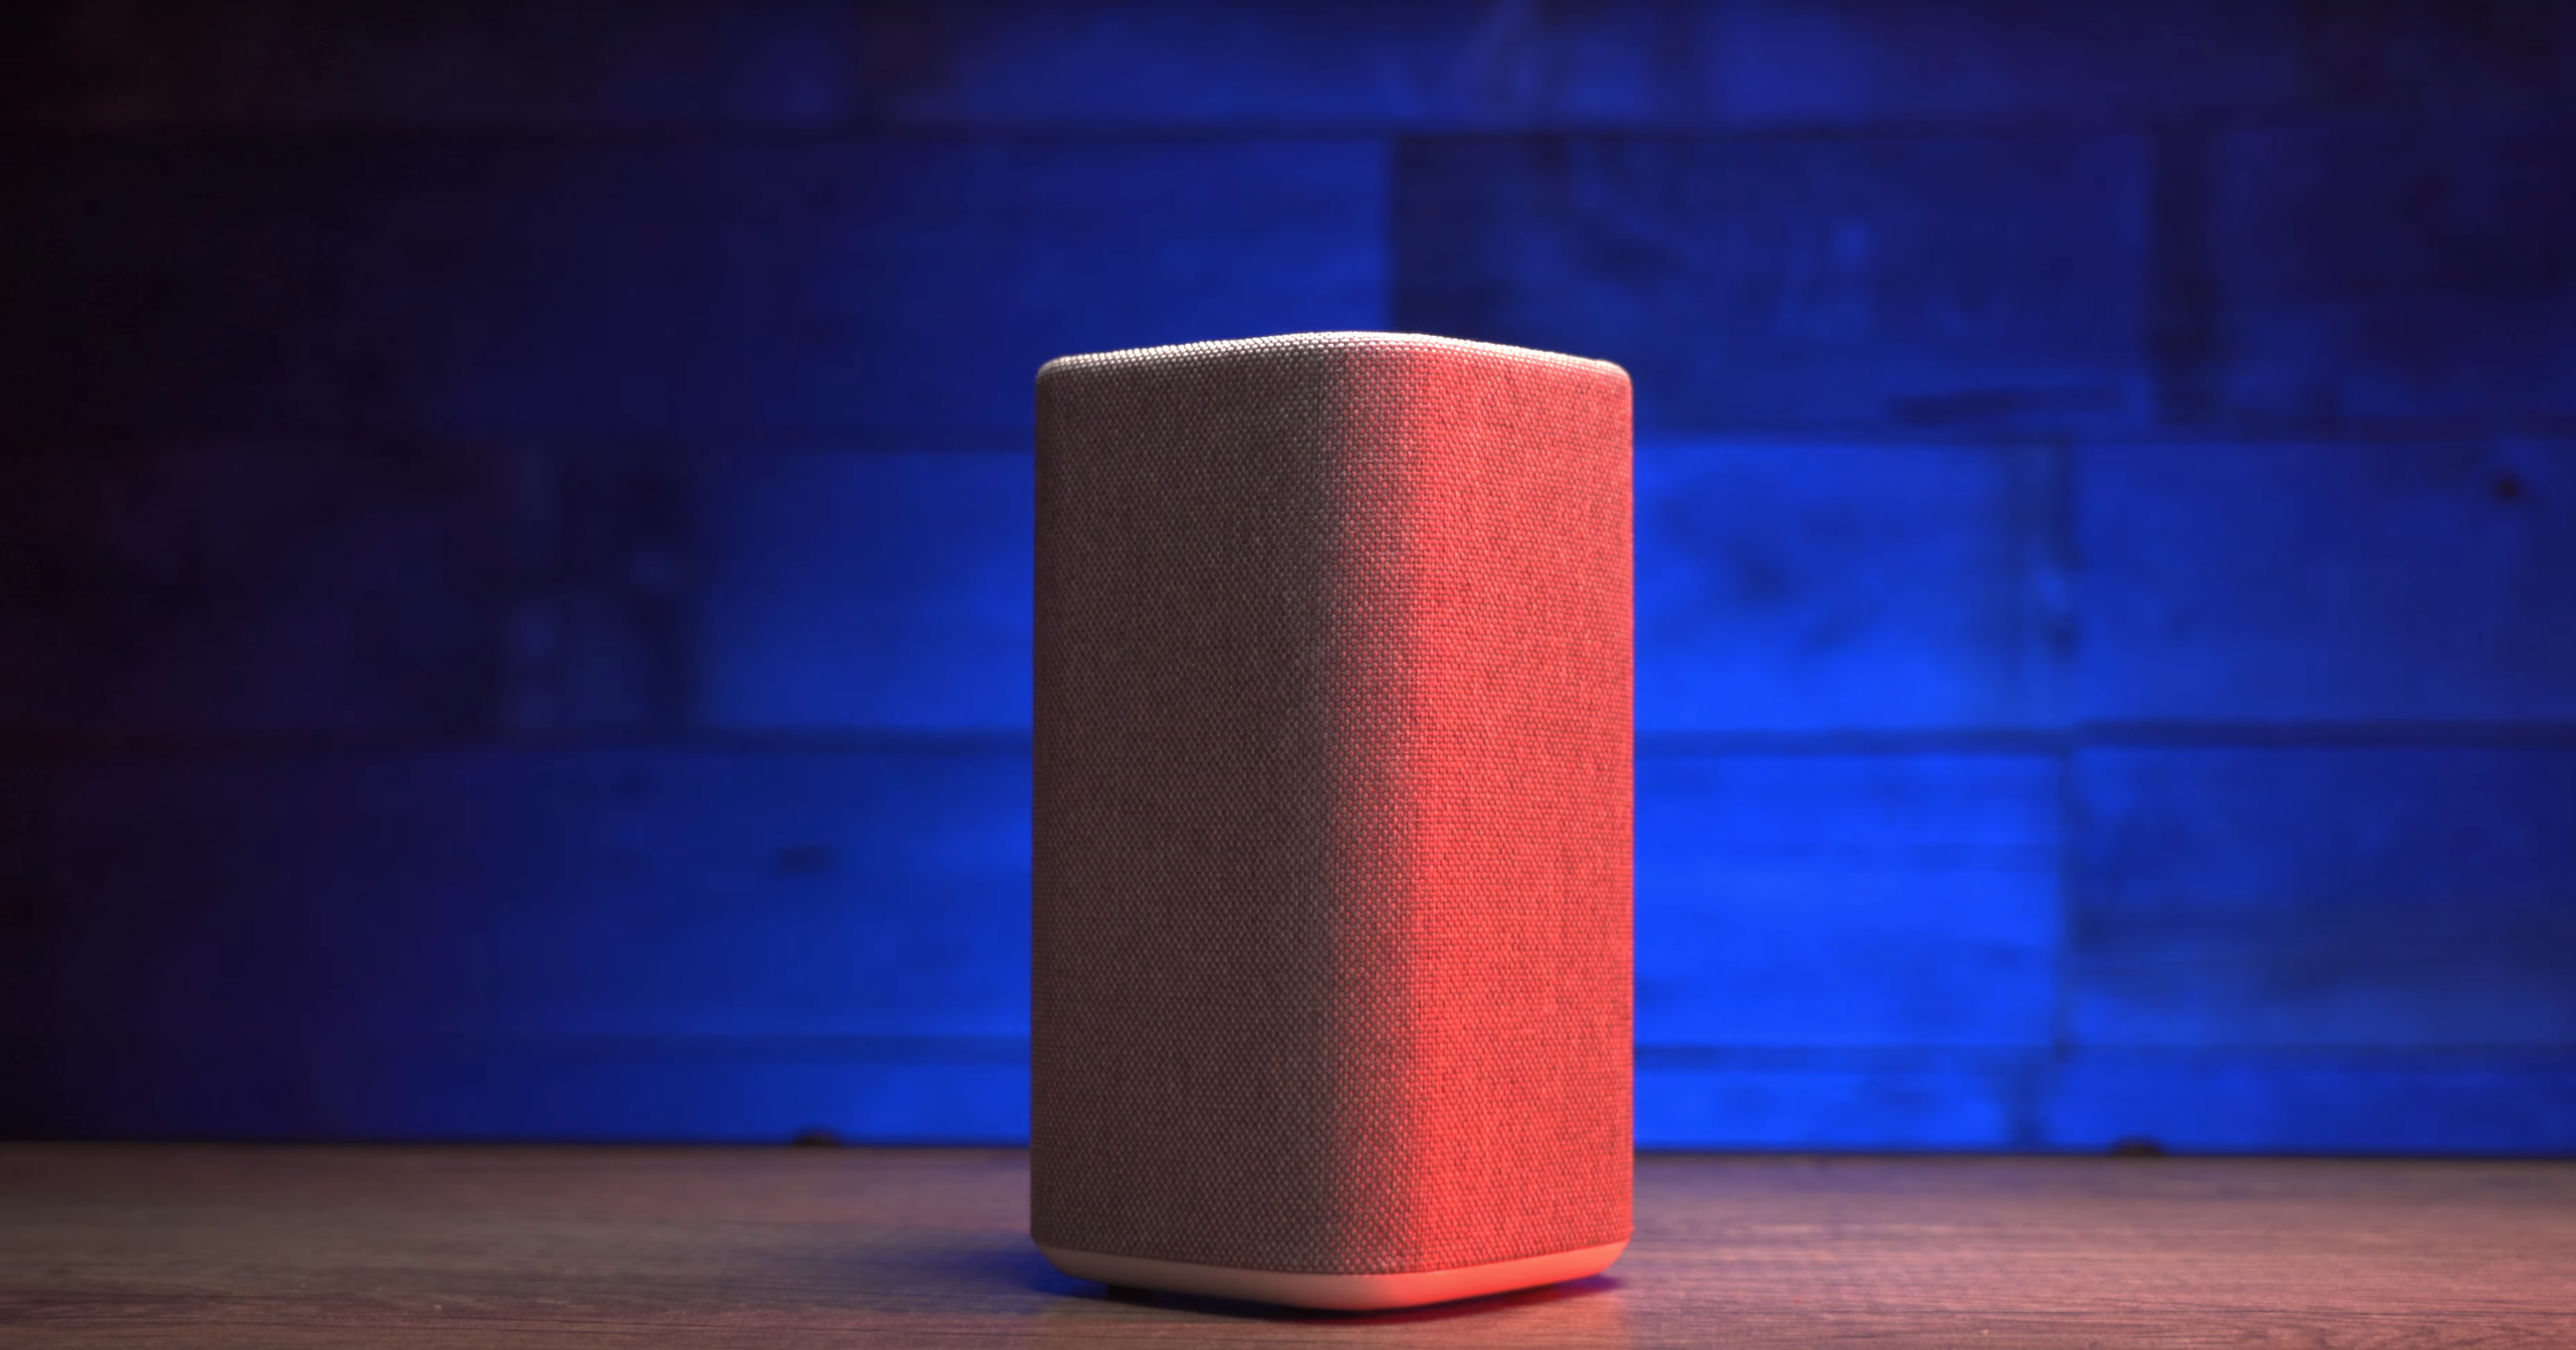
For the shot above, we placed a Flex 1x1' Bi-Color mat in a China Cube overhead. This created a very soft key light. We used blocks on each side of the cube to flag the light off of the background and edges of the table, keeping the focus on the products. This light was set at 4500k.
Then, we added an edge light and back light to add some contrast. The back light, a Flex 1x1' RGBW set to a bright blue tone, was softened with a hard diffuser and mounted below the the table with a QR Mount. We placed an egg-crate grid on this light to really direct it onto the wall. This light reflected back onto our products slightly, acting as a subtle edge light.
The actual edge light, a Flex 1×1′ RGBW, was set to orange, contrasting the blue back light. All three lights were networked on our Luminair app, giving us the ability to quickly adjust the color and intensity of the lights on an iPad. This rim light was softened by a hard diffuser and clamped to the table top with a QR Mount. These mounts made it super easy to quickly move our lights for the next setup.
SEtup #1
For our second setup, we wanted to capture ay overhead shot.
For our key light, we mounted a Flex 2x2' Bi-Color Mat directly to the wall using Flex Magnets. This was set to 2800K and diffused by a 4x4' Scrim Jim Cine with a 1 1/4-stop diffuser, creating a very large and soft light. We then filled in harsh, unflattering shadows on the lower end of the products with a simple piece of white foam core.
For the edge lights, we simply brought the second Flex RGBW 1×1′ from the first setup onto the table and dialed both lights in to a lighter blue tone. This pop of color definitely helps to add some interest in an otherwise boring shot.
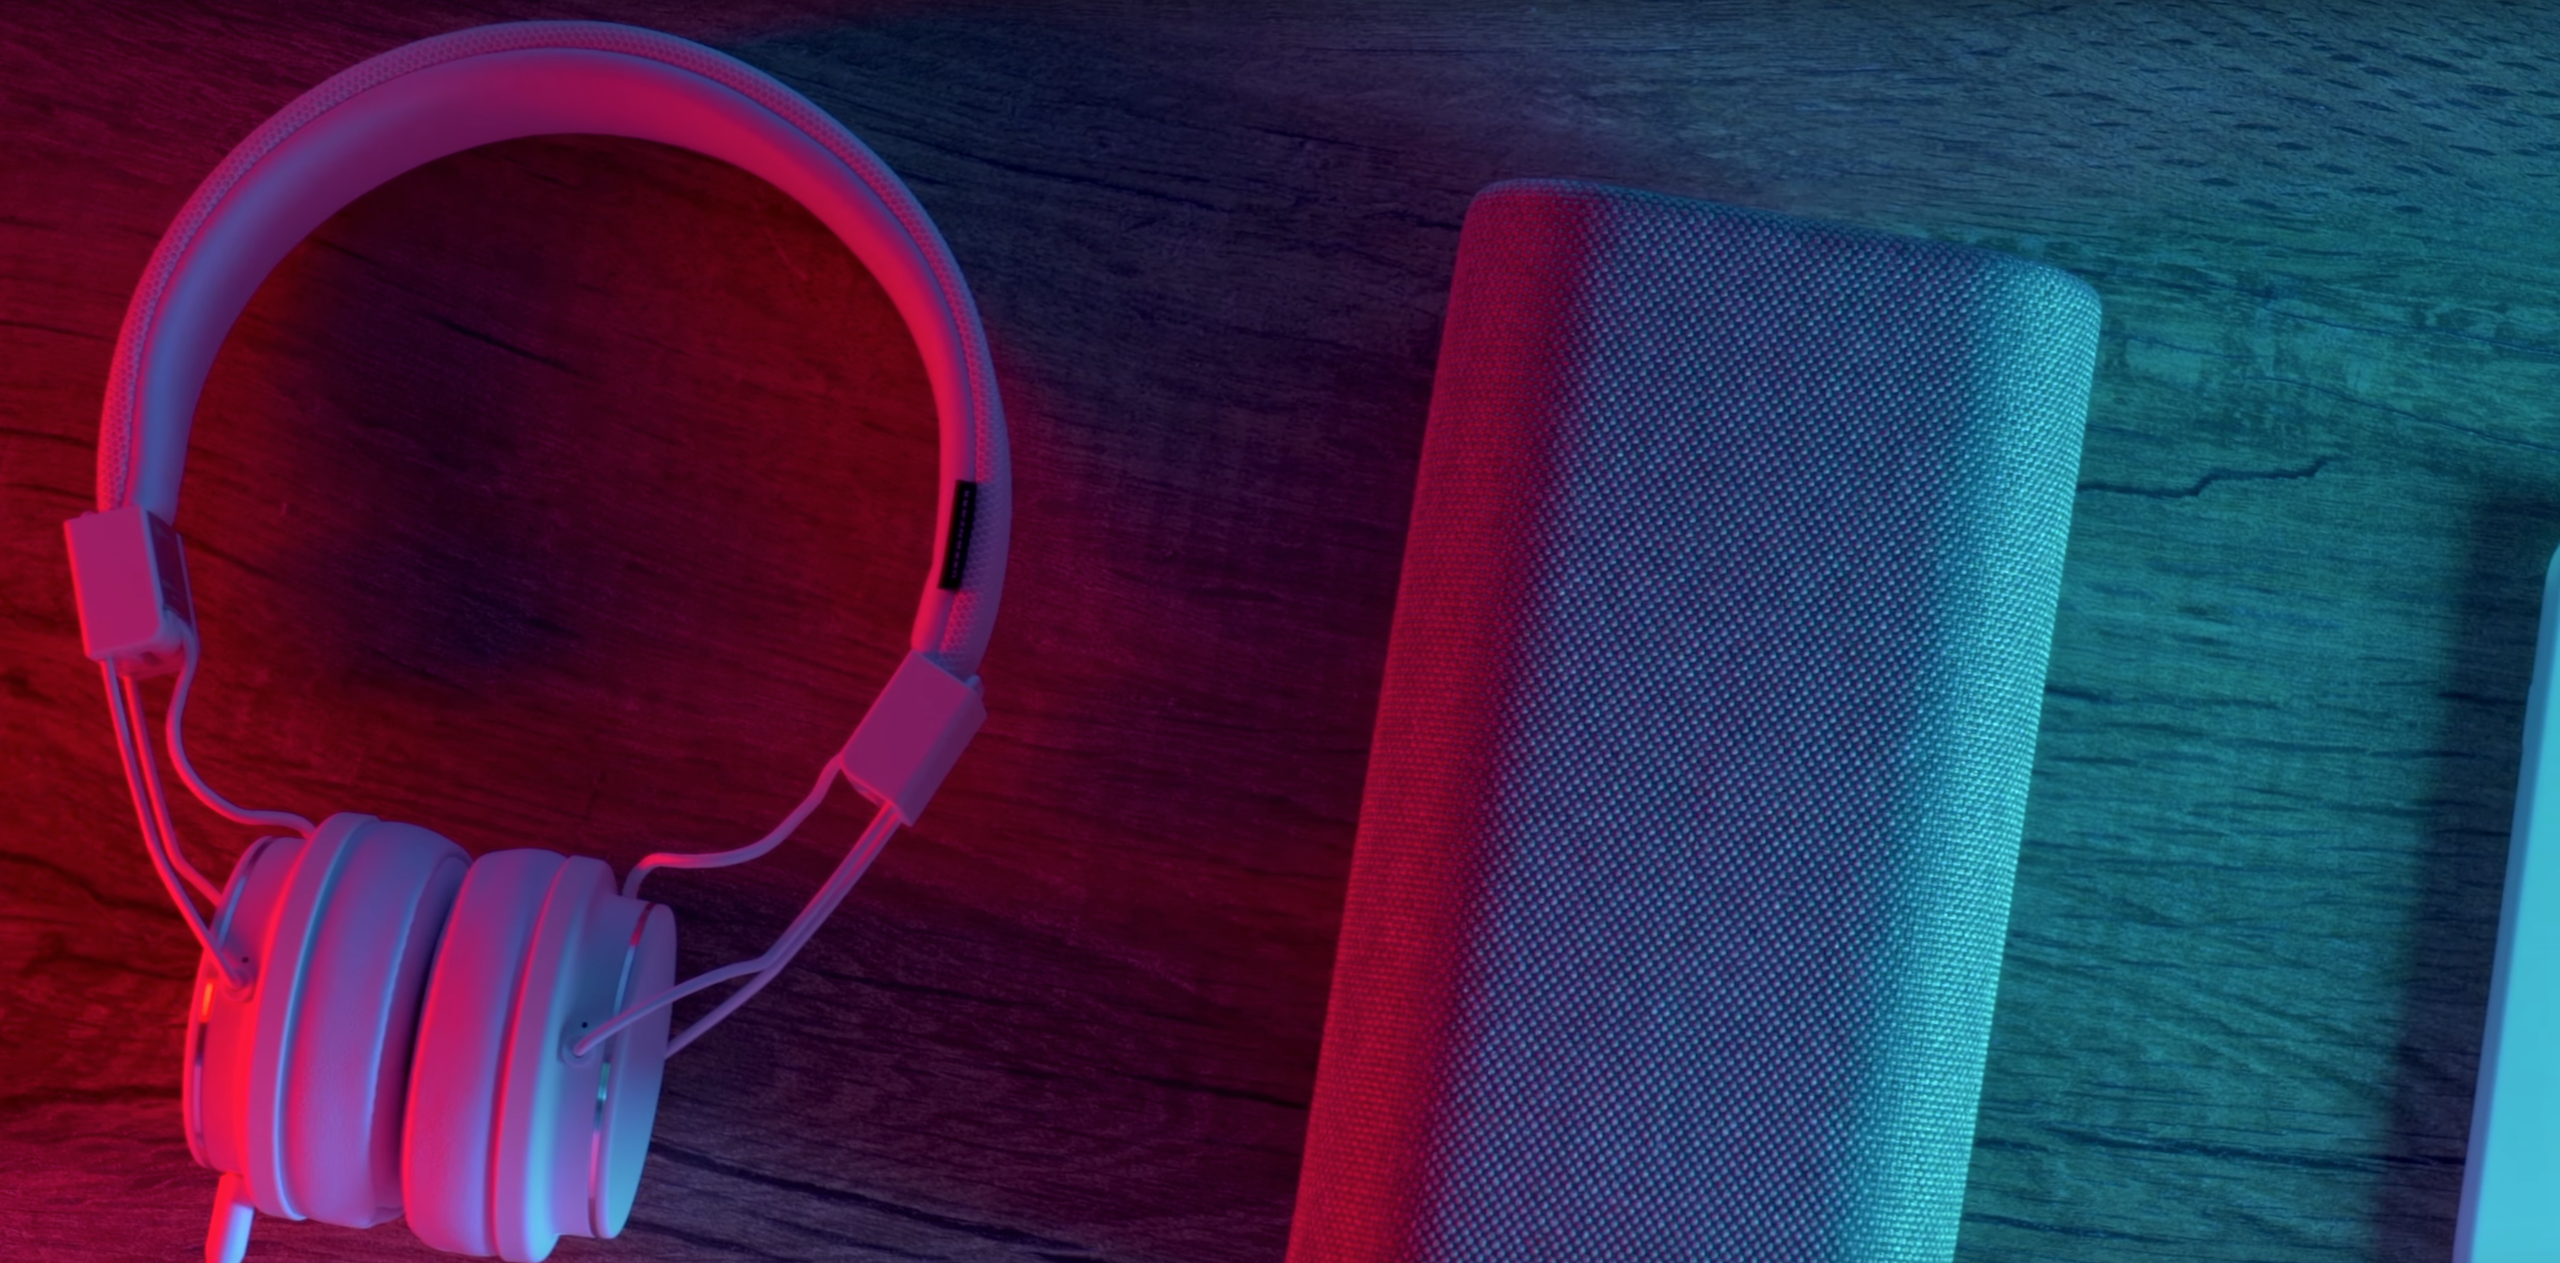
For more cinematic shots to add to our b-roll, we simply turned off the key light and played with some colorful edge lights.
Lighting Gear in Action

Flex Cine DMX RGBW 2-Light Gear Kit (1' x 1')7641
Flex Cine Bi-Color Mat (2' x 2')7594

Flex Cine DMX RGBW 2-Light Gear Kit (1' x 1')7641
Flex Cine Bi-Color Mat (2' x 2')7594

Flex Cine Bi-Color Mat (2' x 2')7594


Leave a Reply
You must be logged in to post a comment.