Few photographers use light to shape mood and drama quite like Joel Grimes, and his top-down approach is a perfect example. In this video, Joel shares one of his go-to techniques for adding drama to a portrait using just a single light. From tough, dramatic portraits to stylized poster-worthy shots, this lighting approach is simple to use and full of creative possibilities. In this article, we’ll break down the lighting technique Joel uses in the video, explore why it works so well, and share a few tips to help you try it in your own studio.
What is Top-Down Lighting?
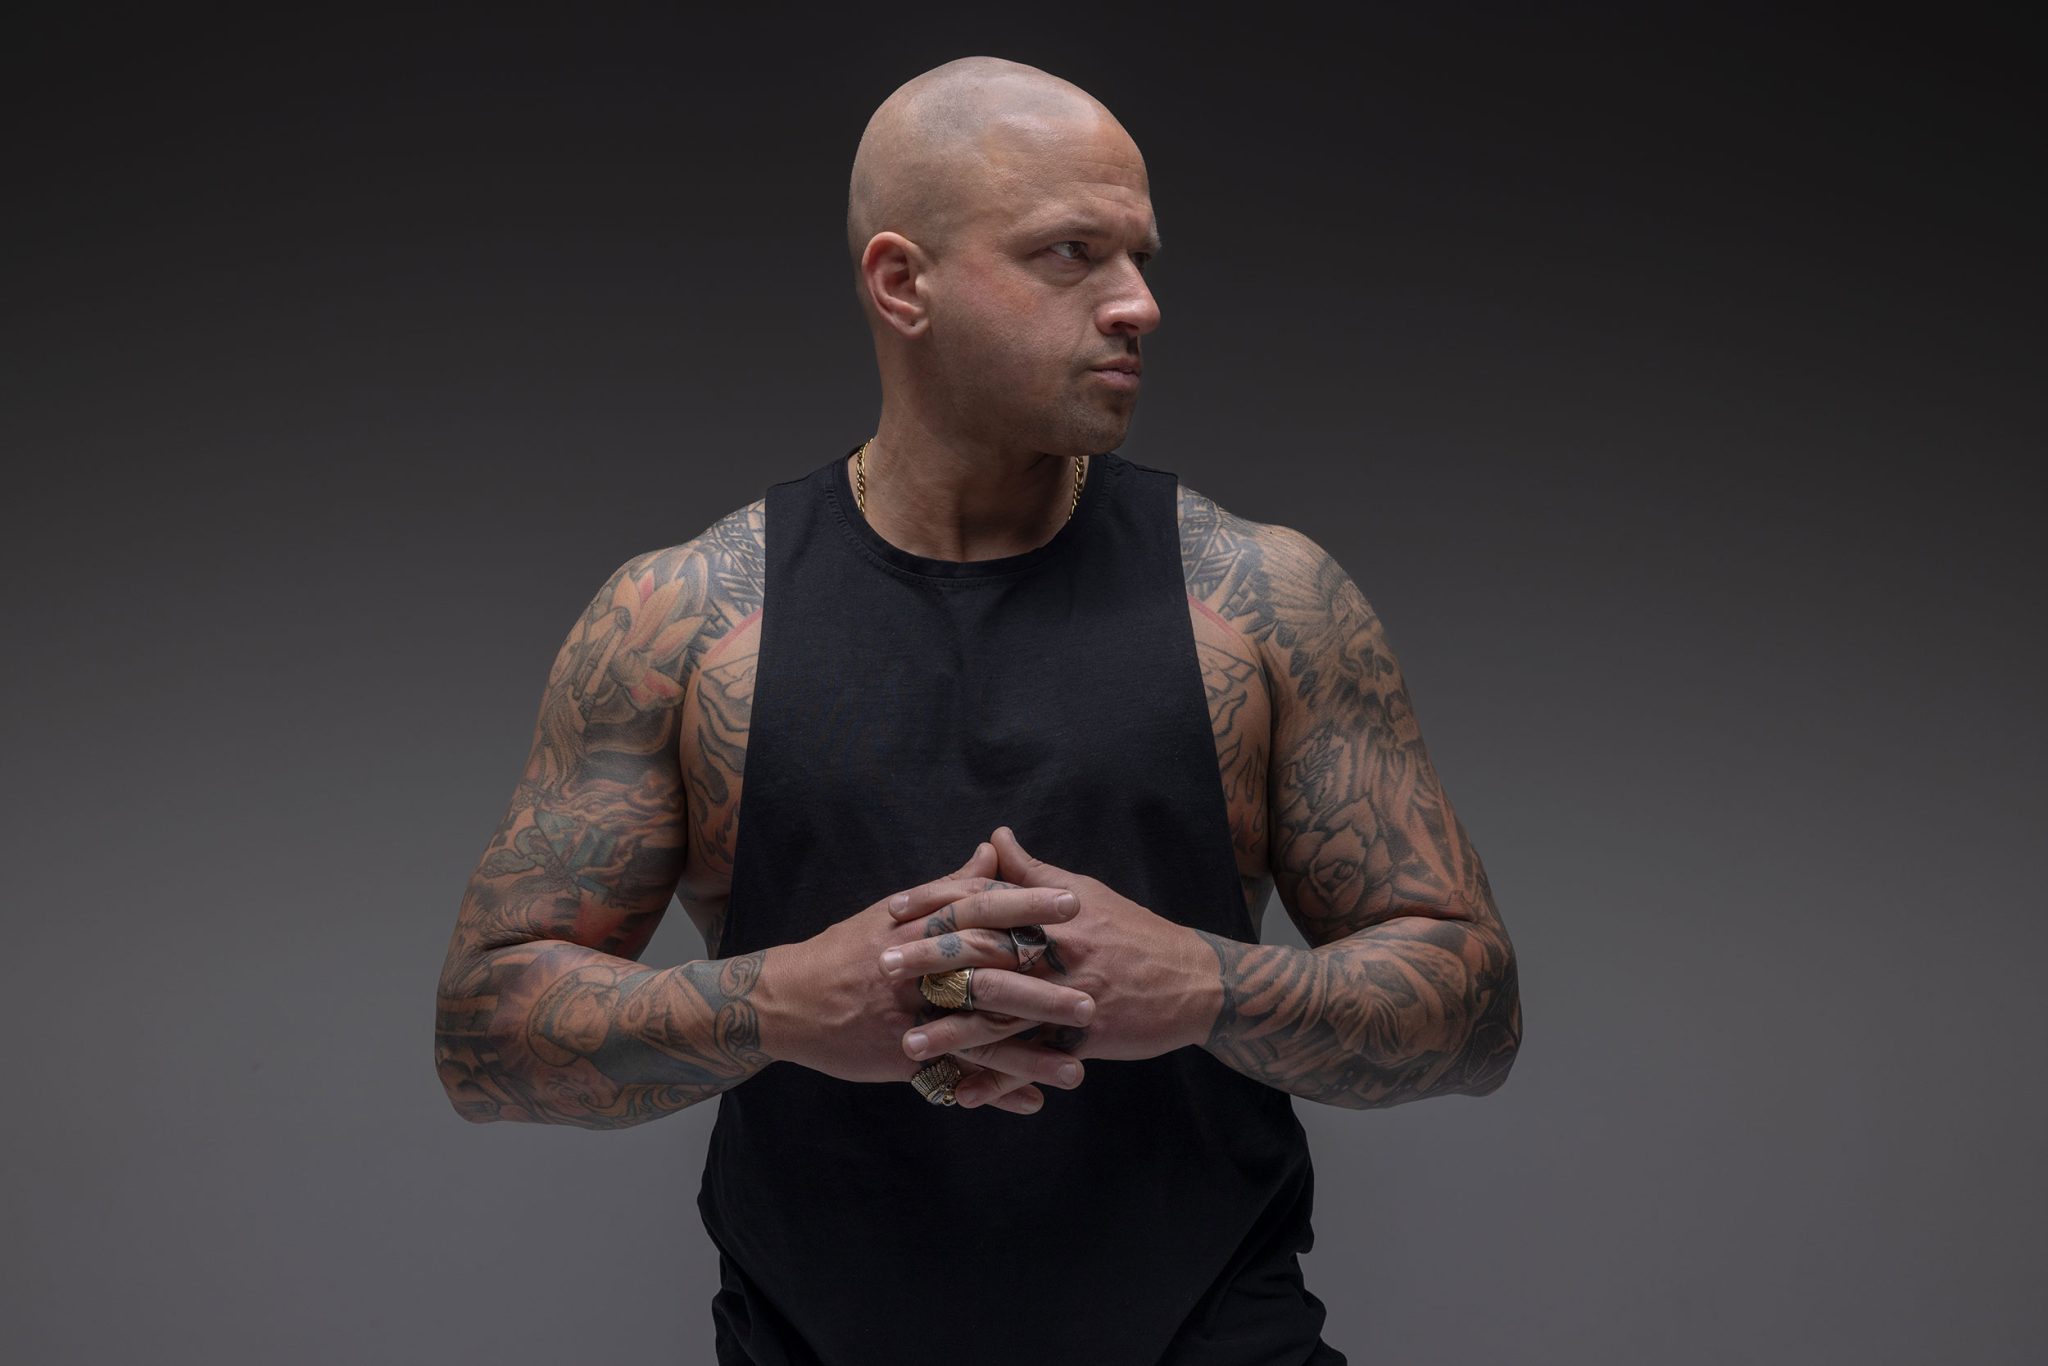
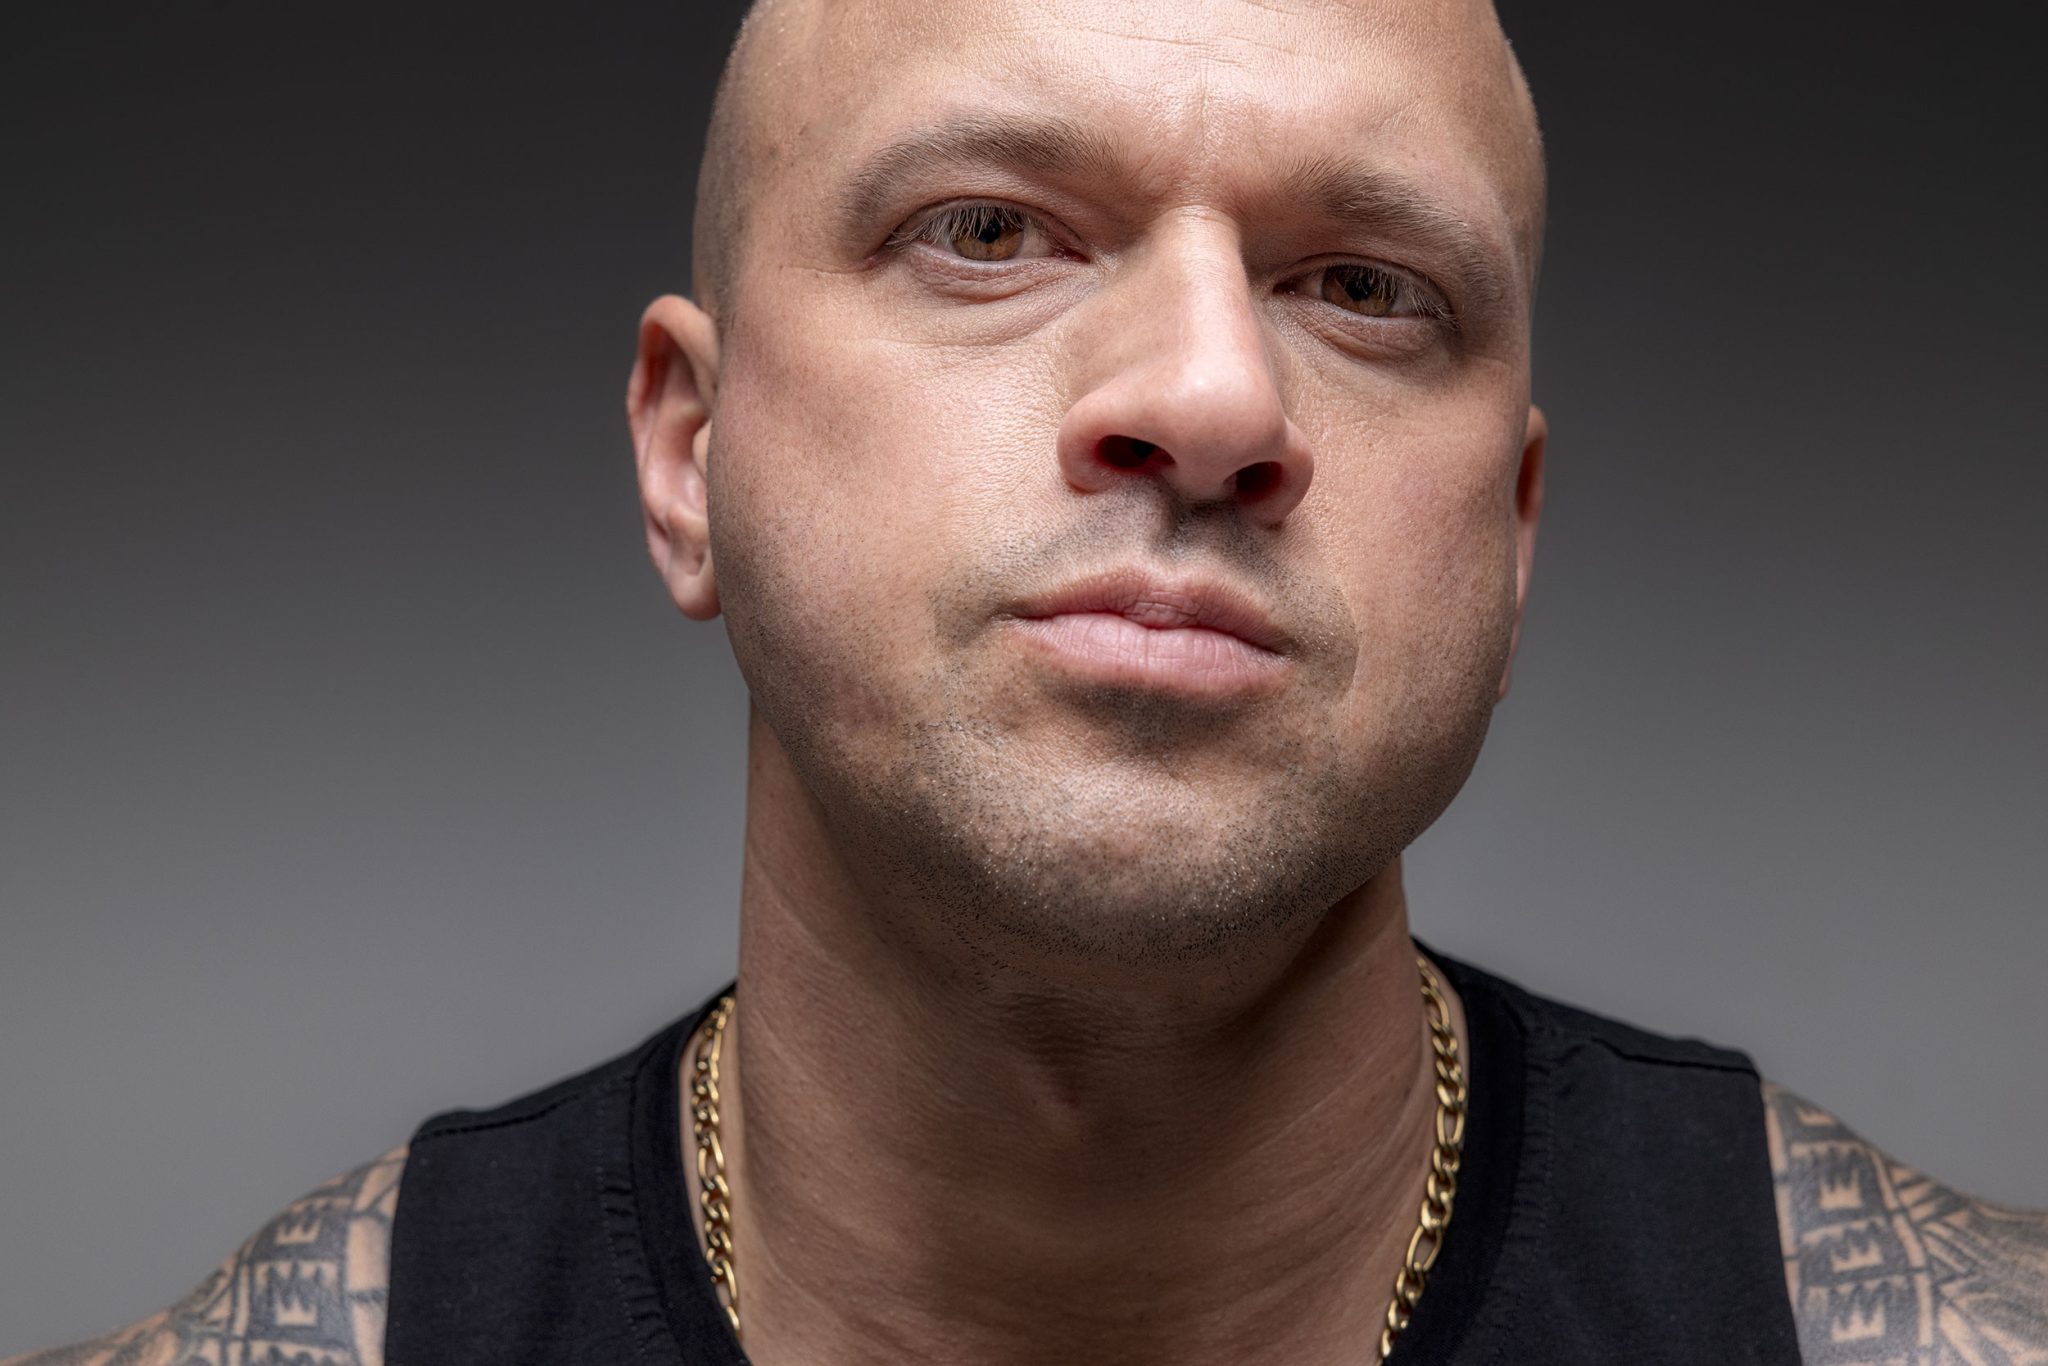
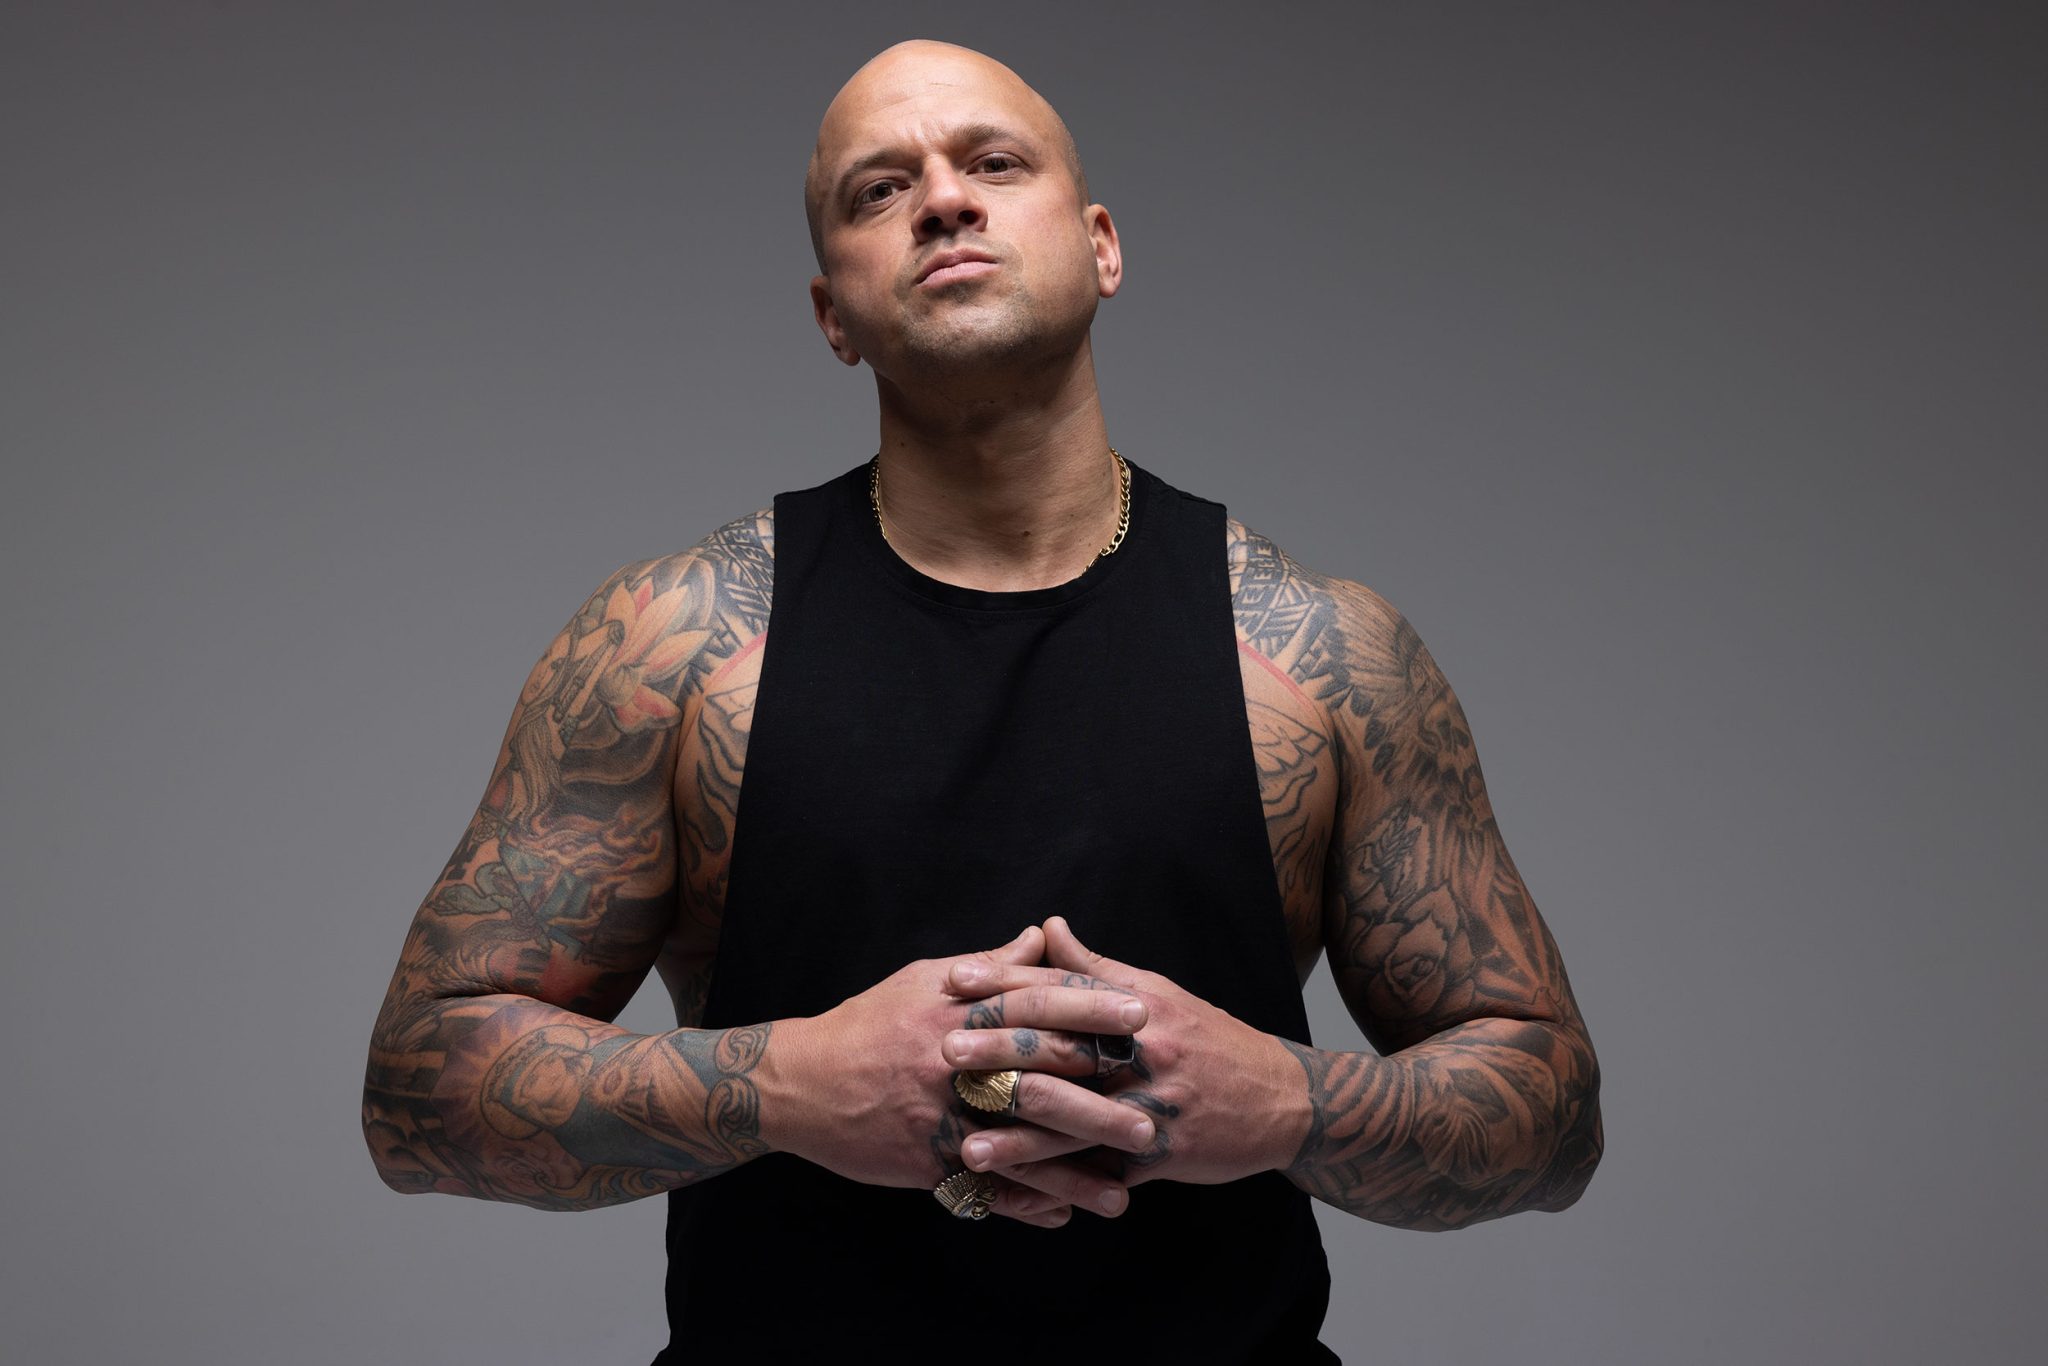
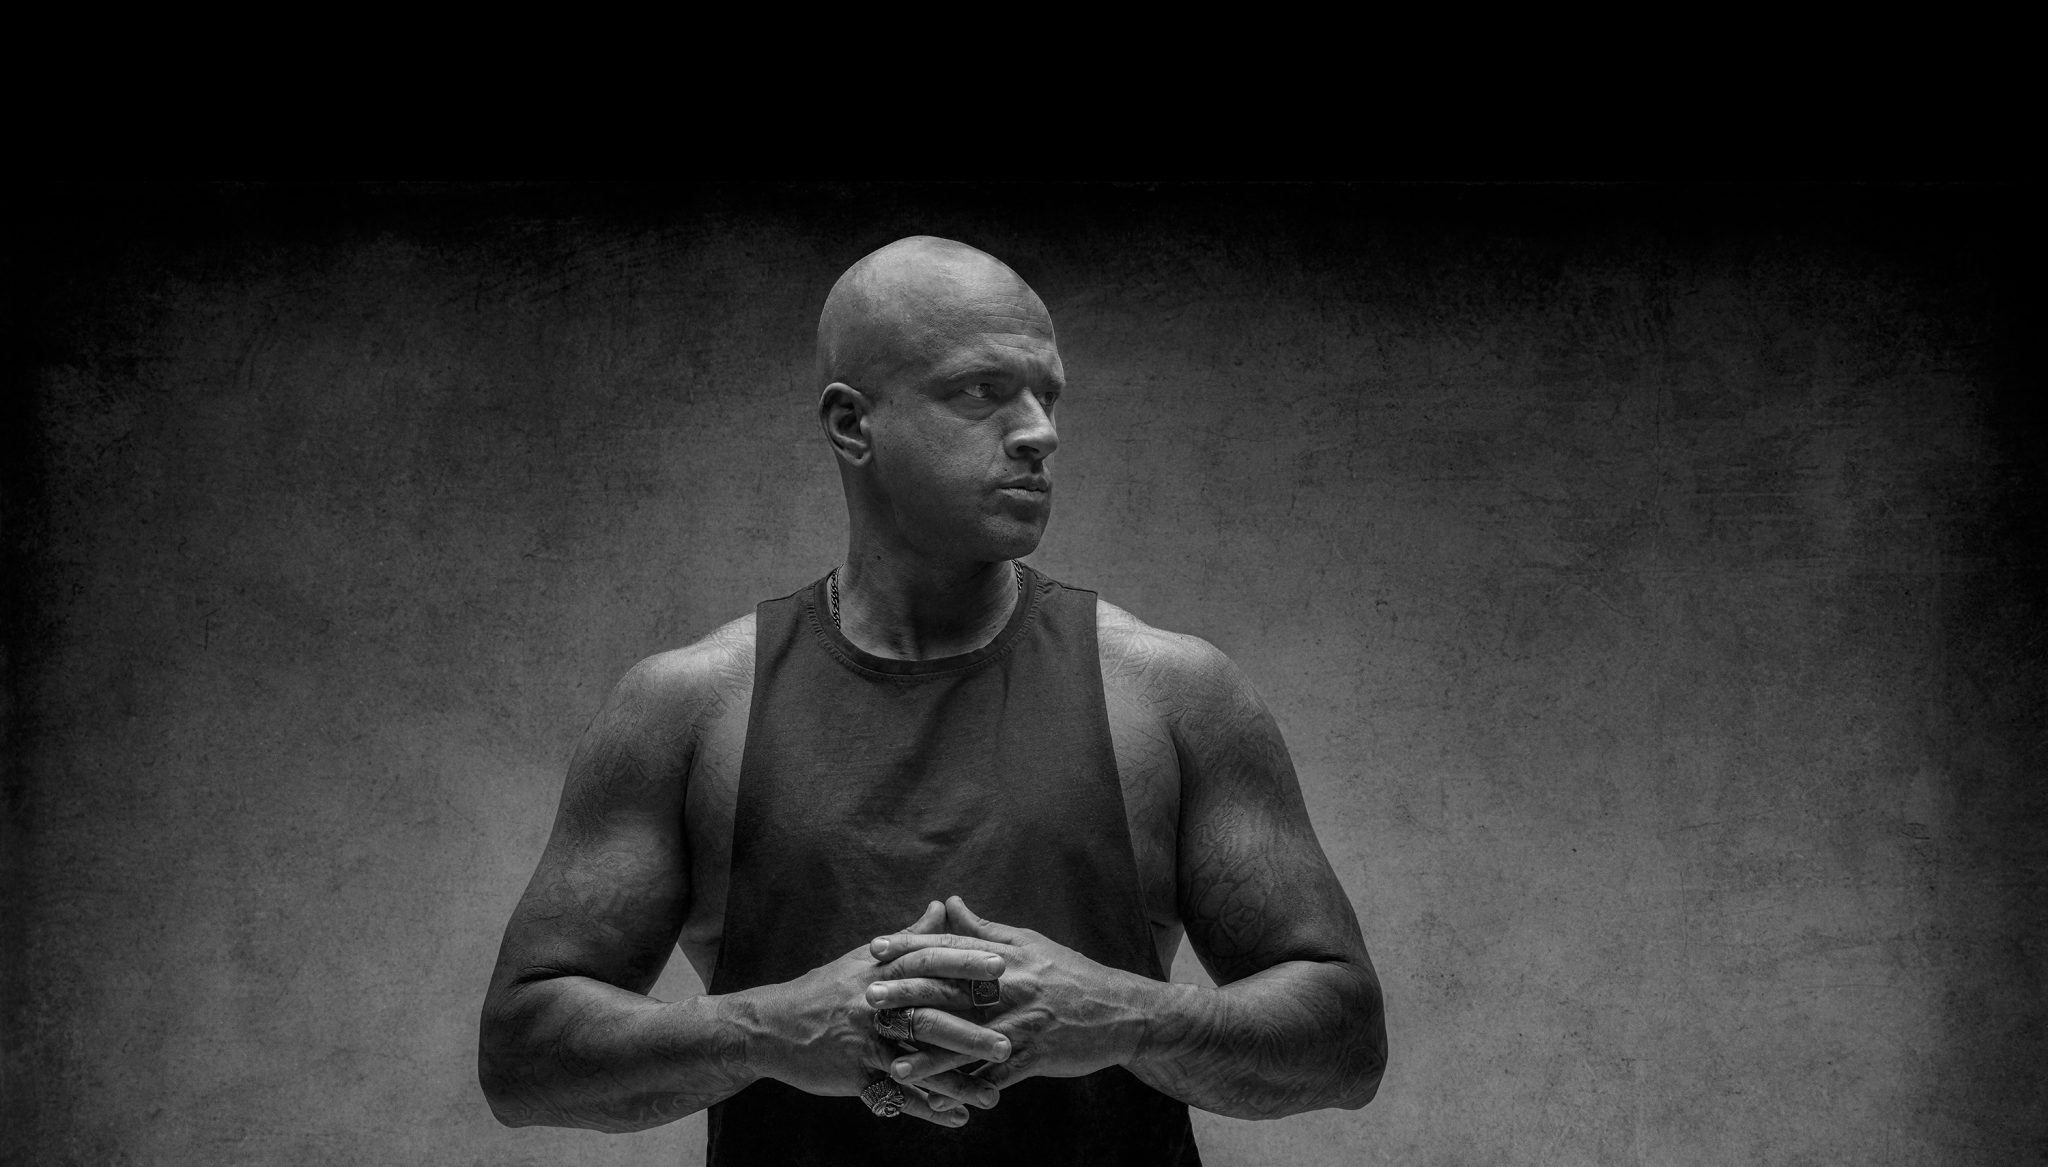
Top-down lighting is exactly what it sounds like: a light source placed directly overhead, casting light straight down onto your subject. It’s a setup that breaks the “rules” of traditional flattering light, but that’s what makes it so striking. This lighting style sculpts the face with deep shadows and bold highlights, perfect for portraits where you want to emphasize strength, grit, or mood.
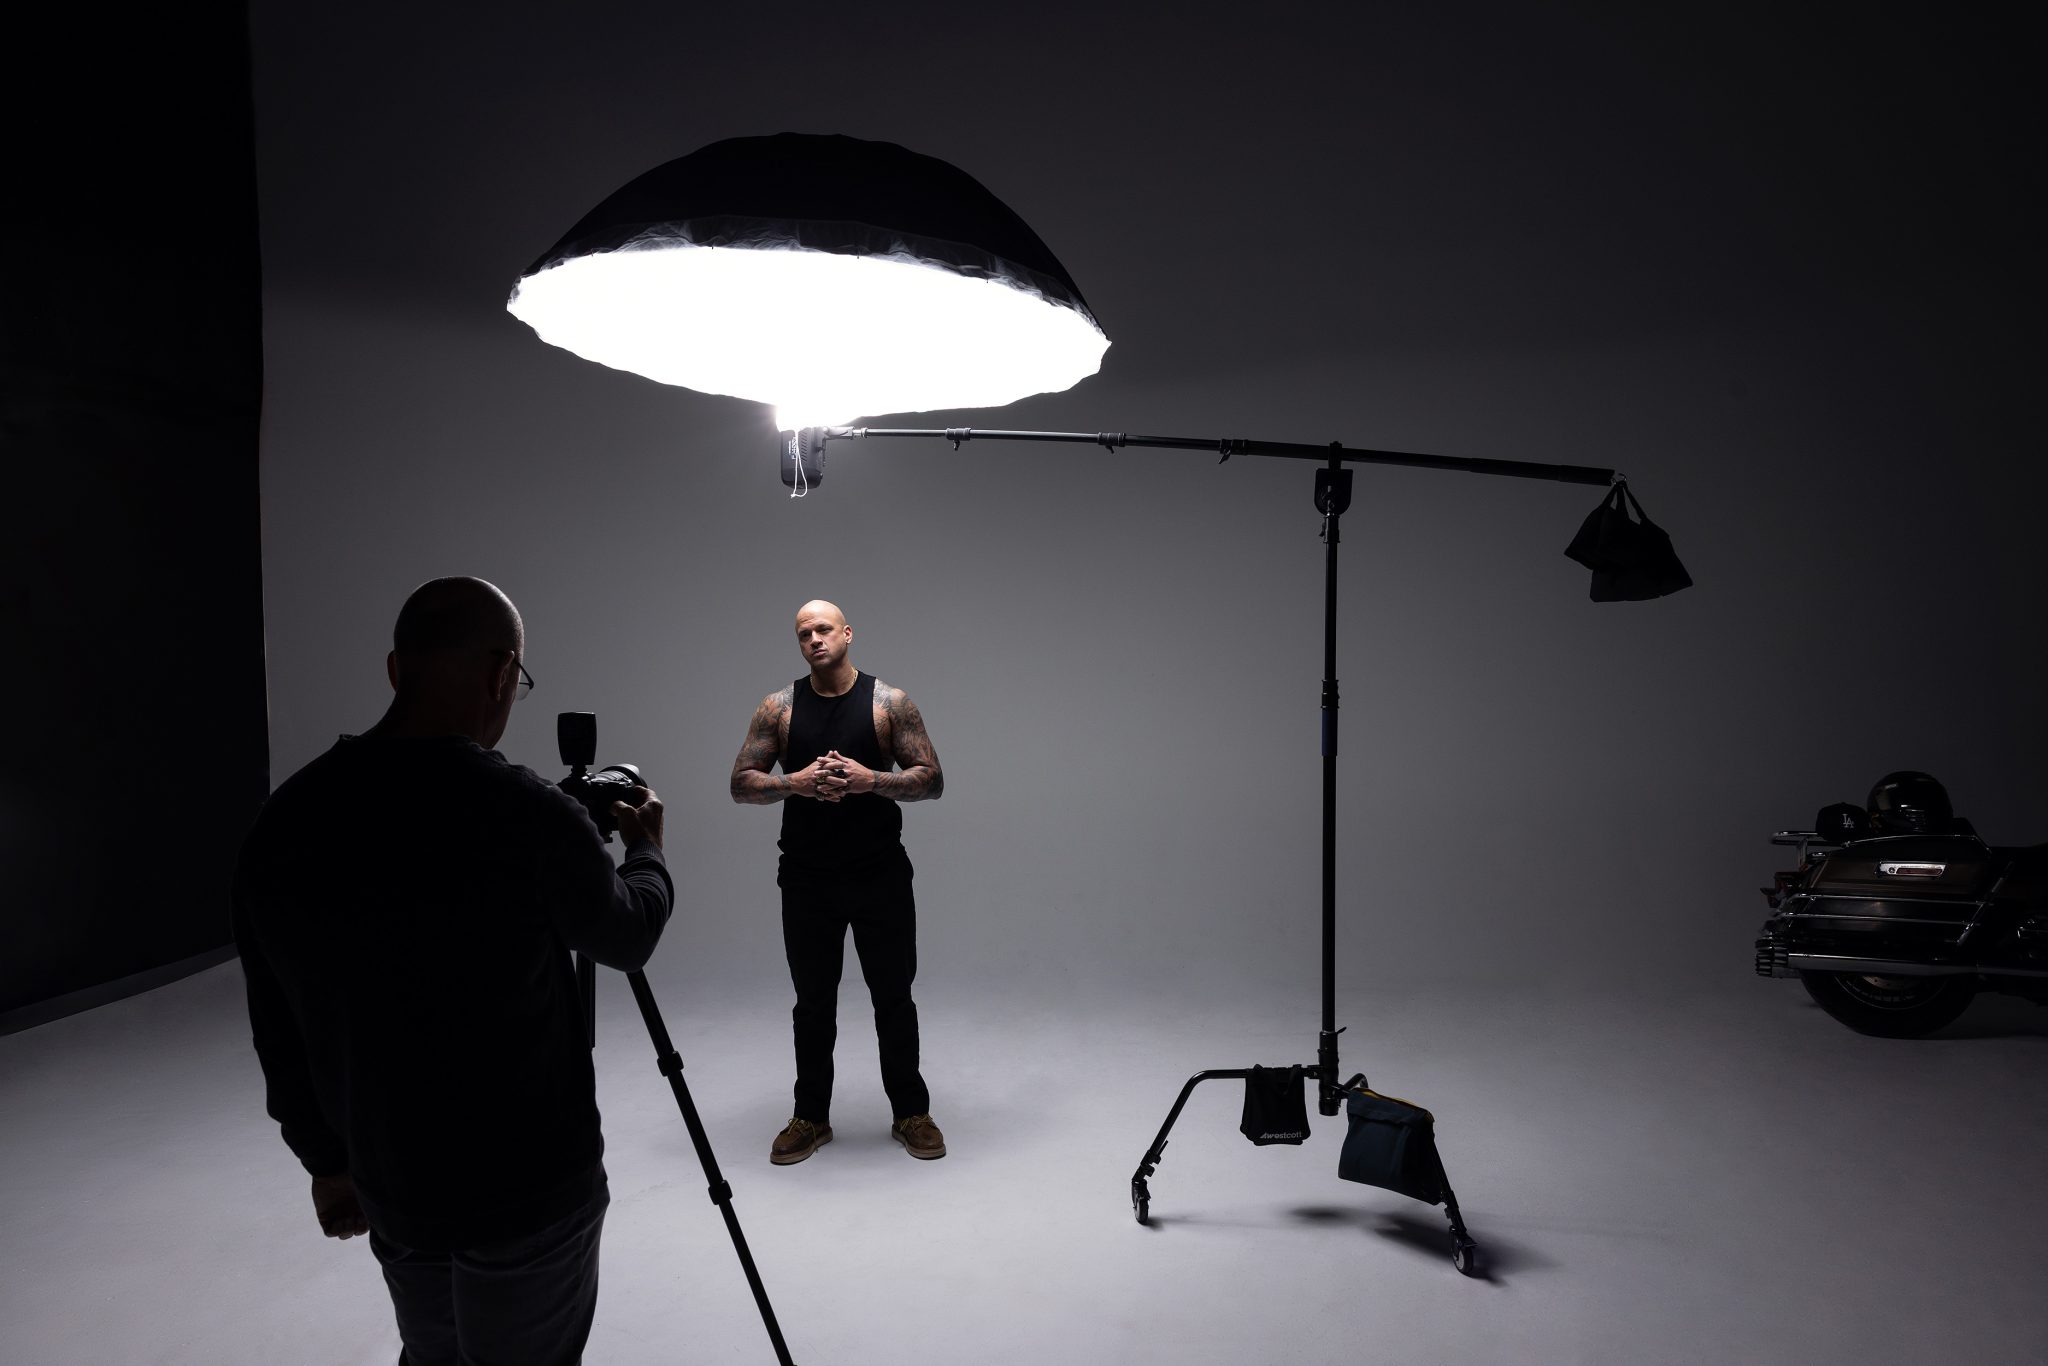
Joel kept things simple for this setup, using just one FJ400 II strobe paired with a 7-foot diffused umbrella mounted high on a boom. The boom is essential here, it allows you to position the light directly above the subject without getting your light stand in the shot. Just be sure to use a counterweight and stable base to keep everything secure. Large modifiers like this help soften the shadows just enough while still maintaining that dramatic feel.
How Distance Changes the Light
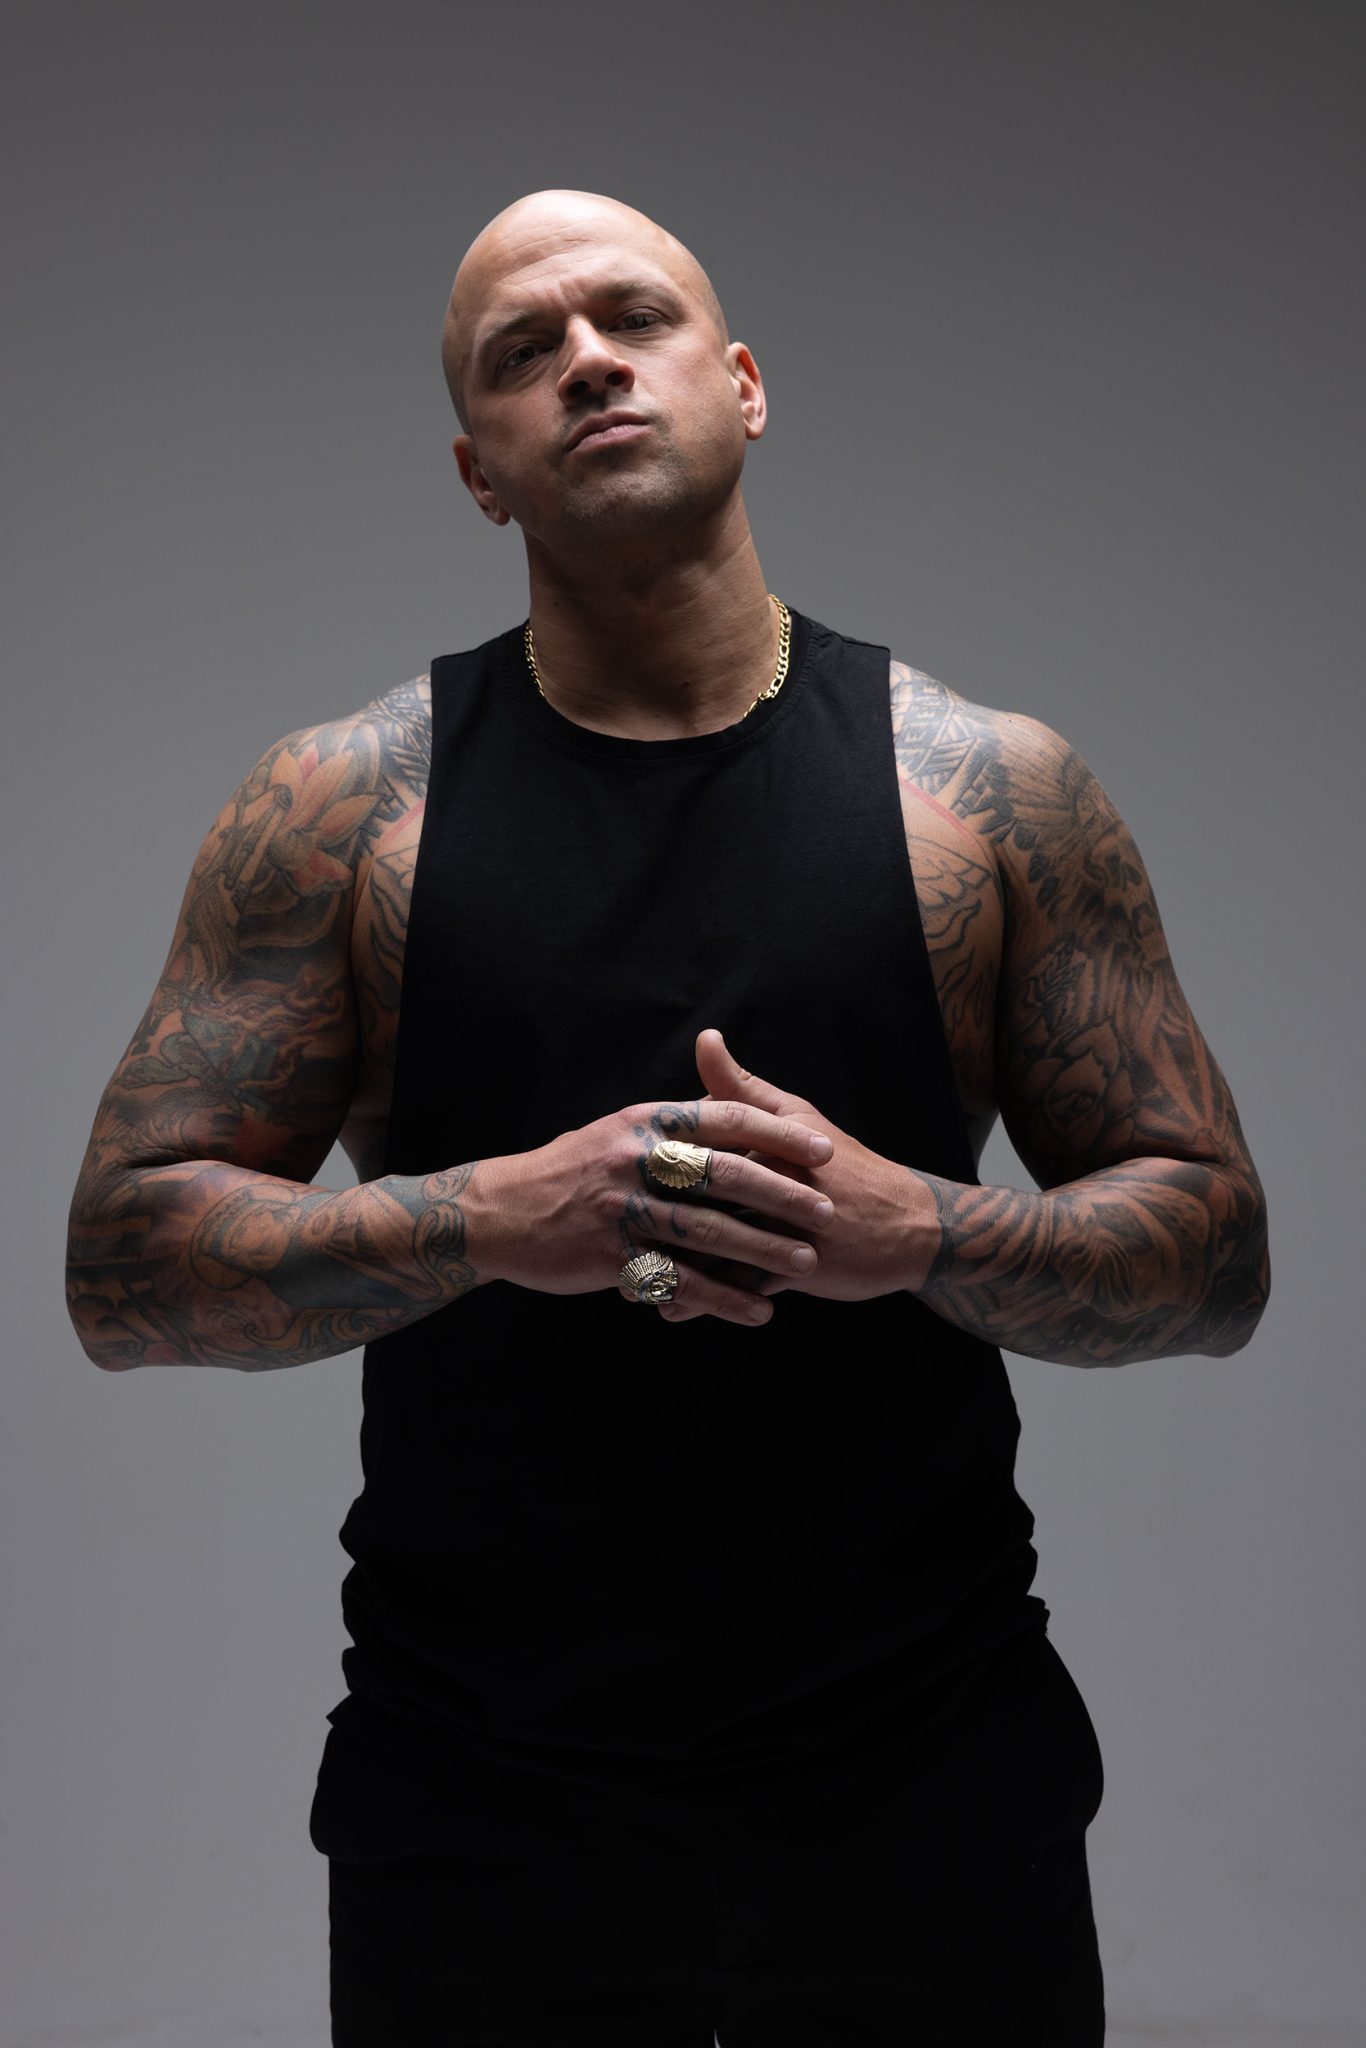
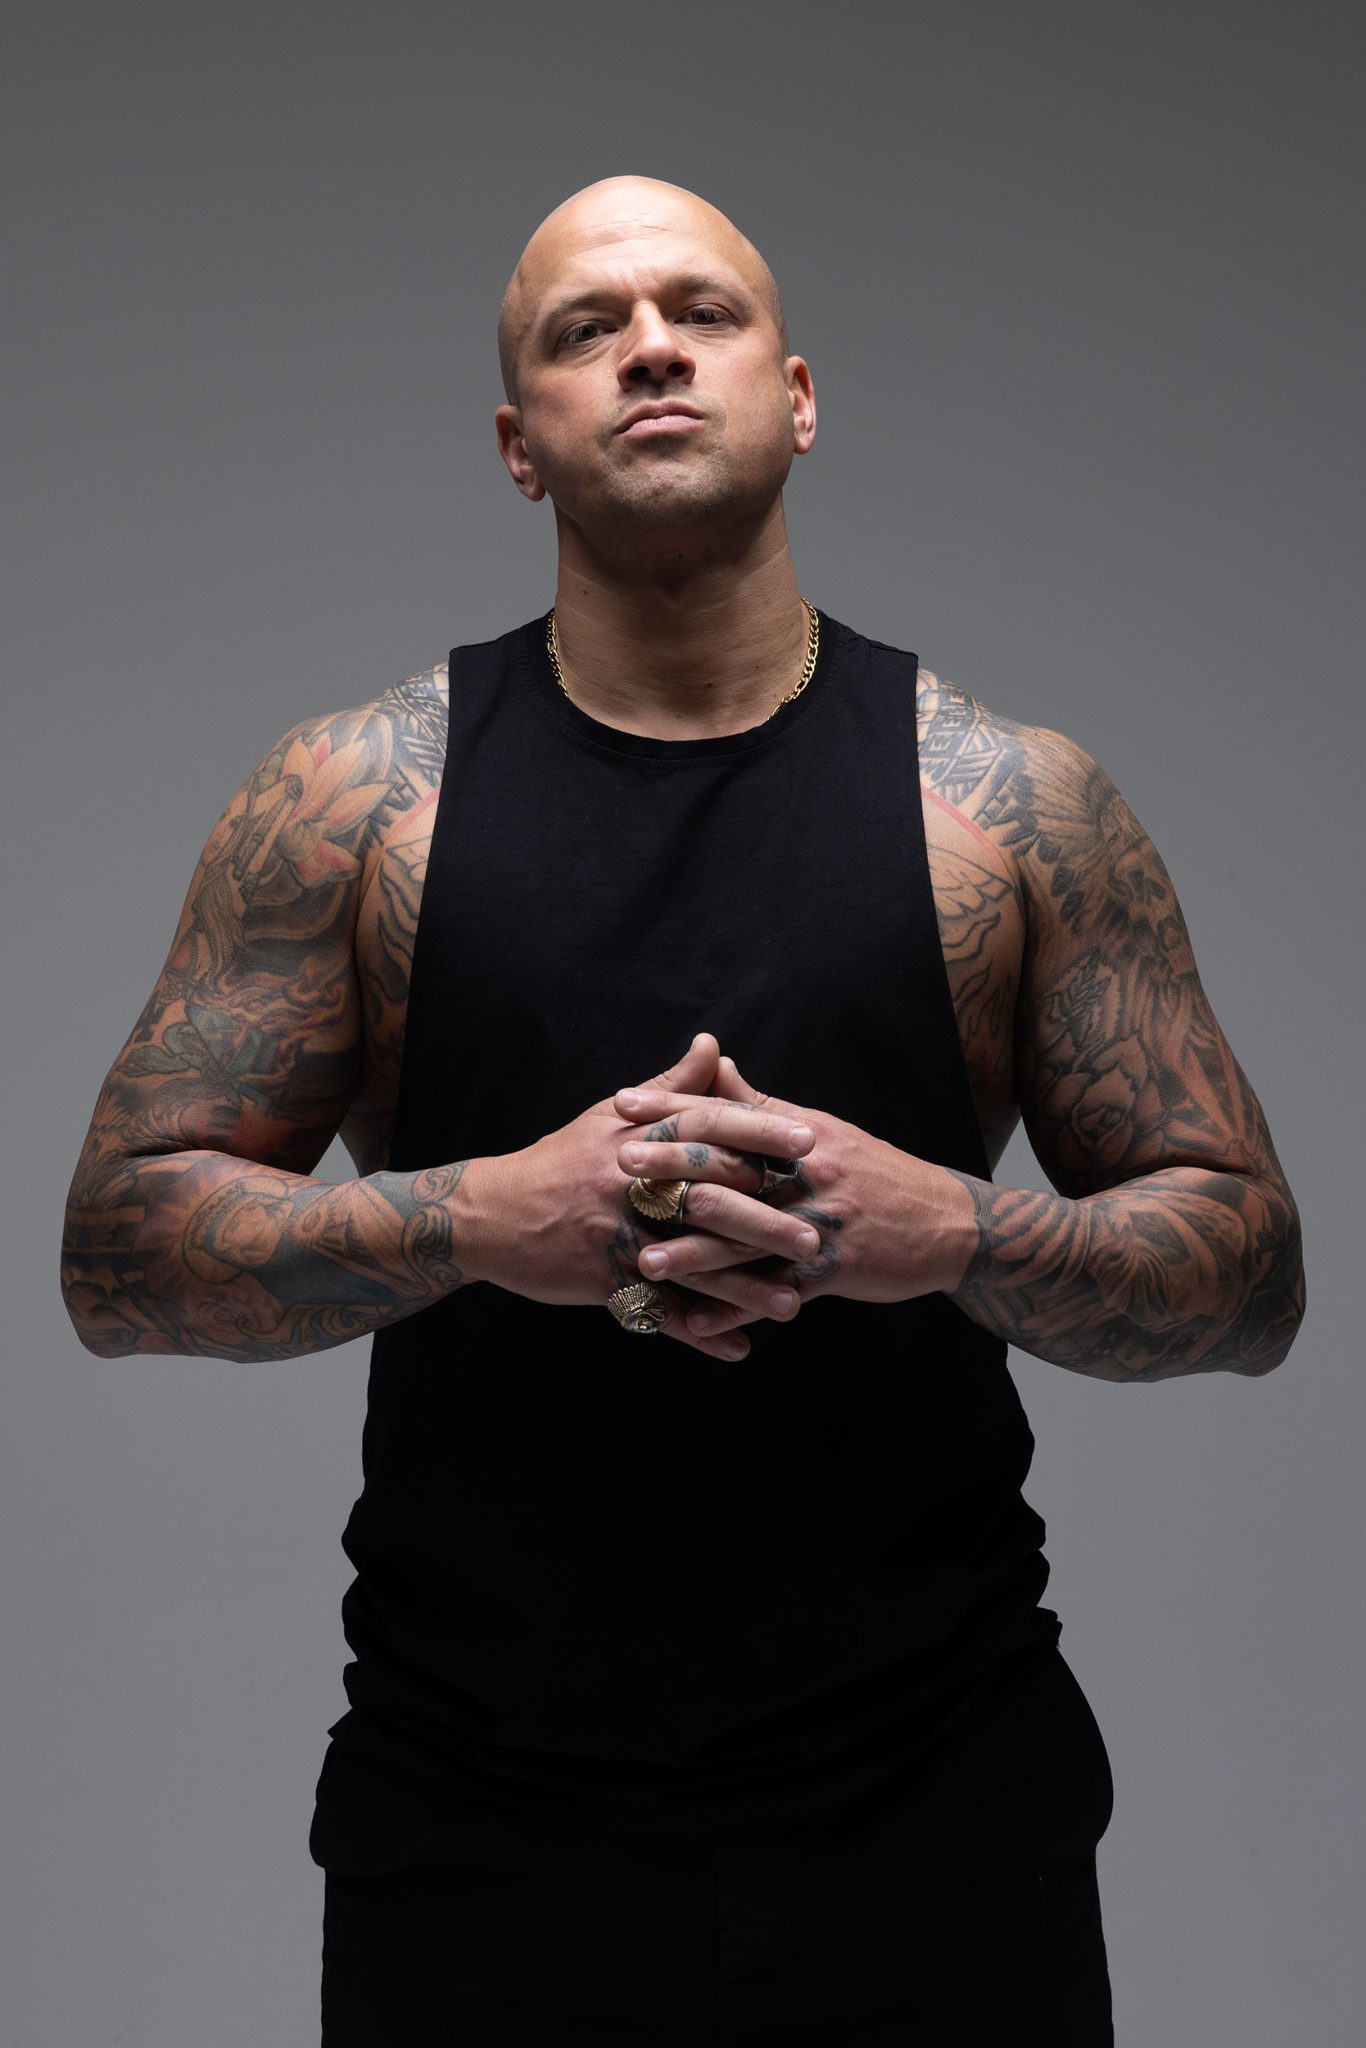
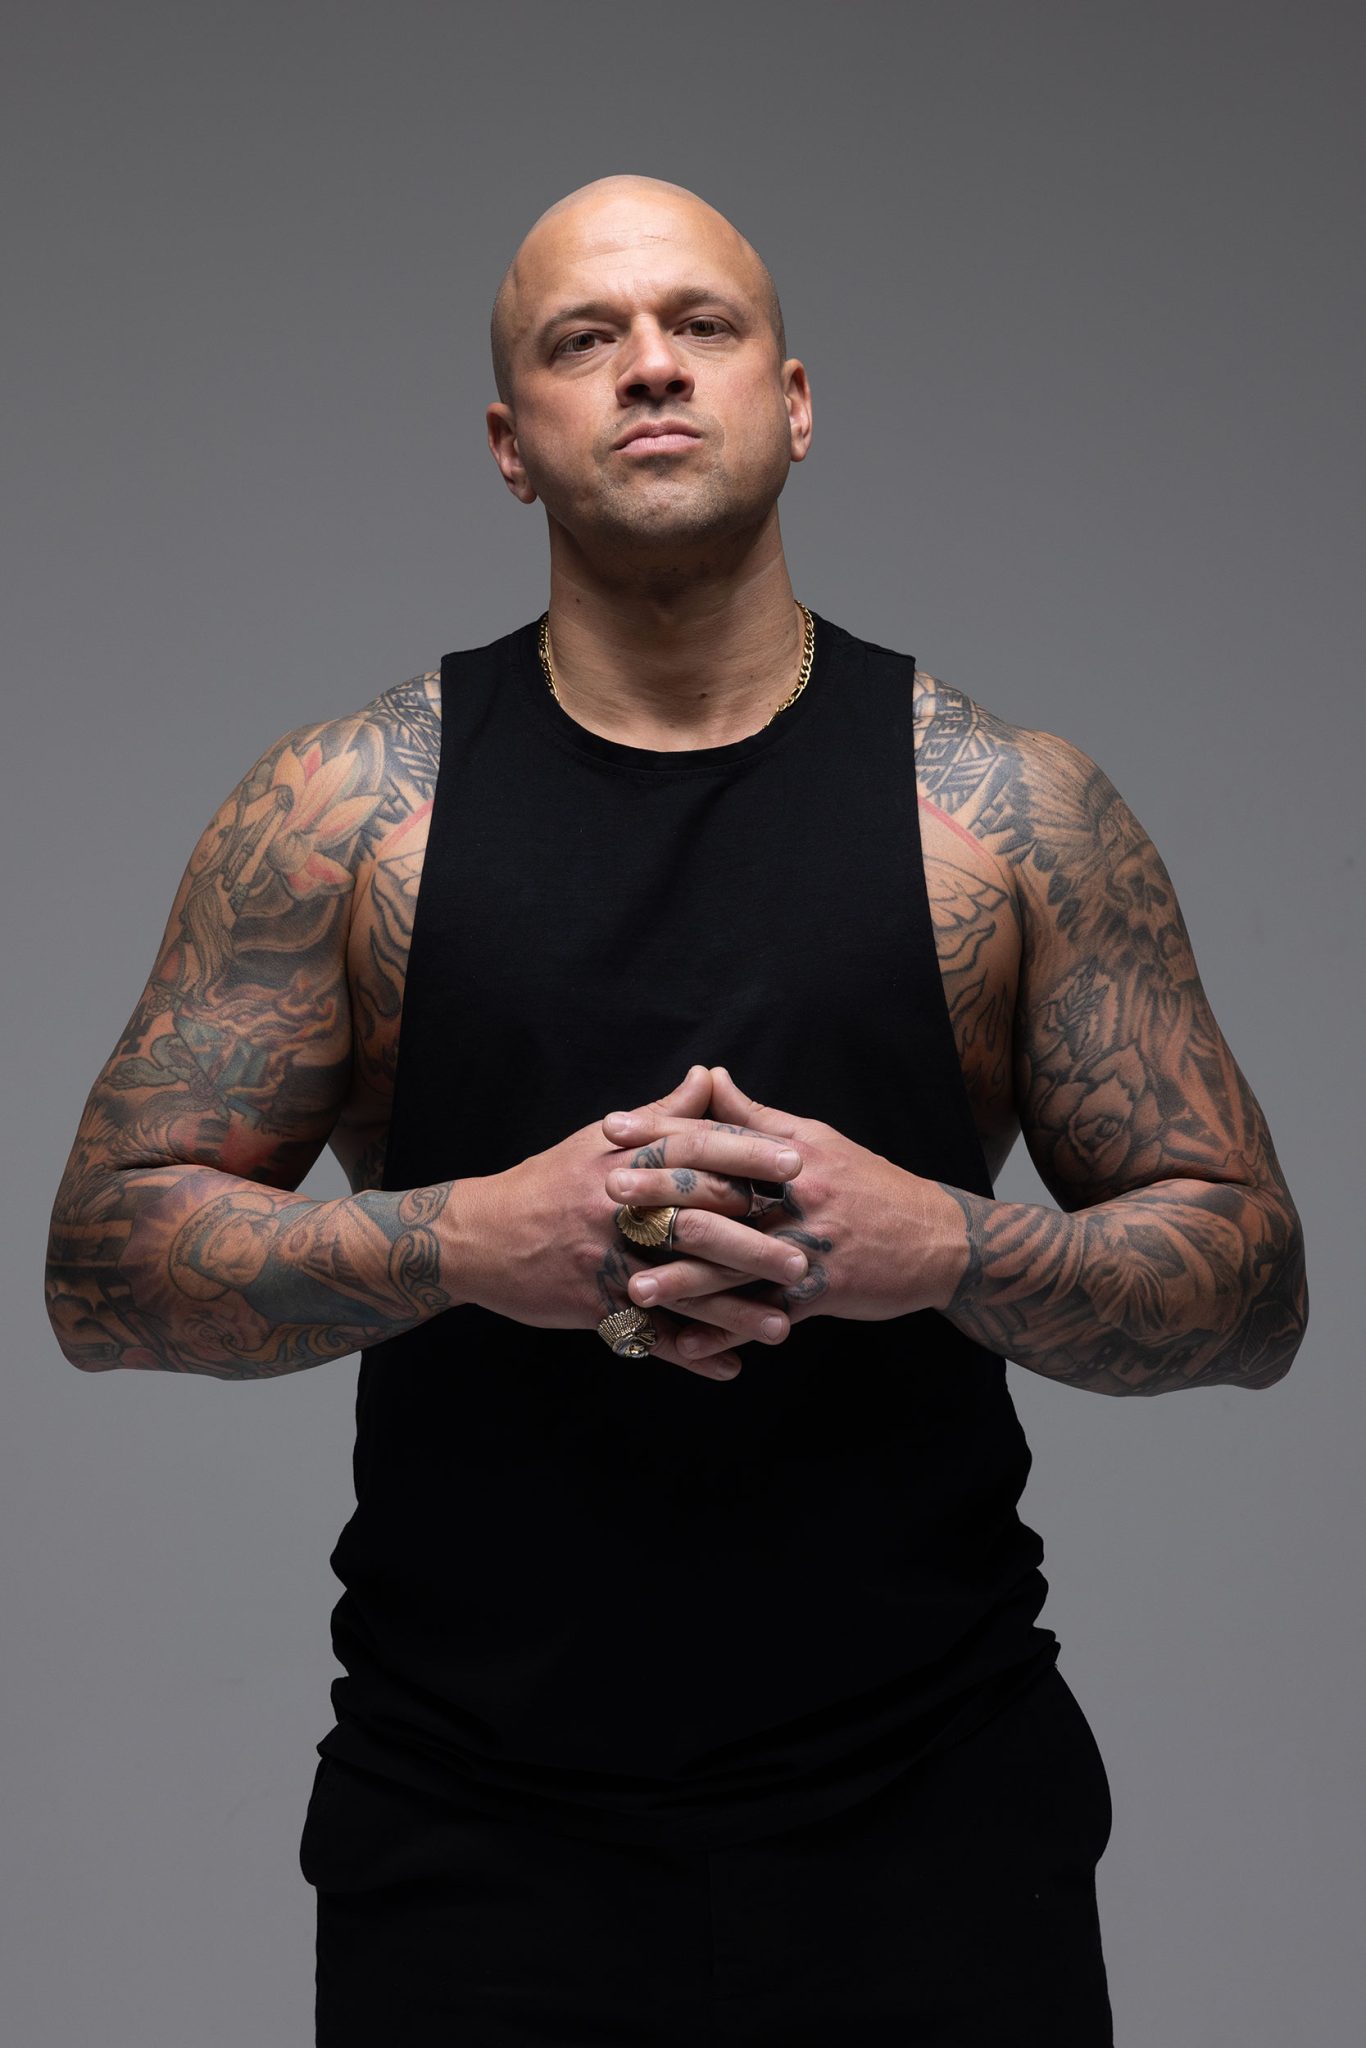
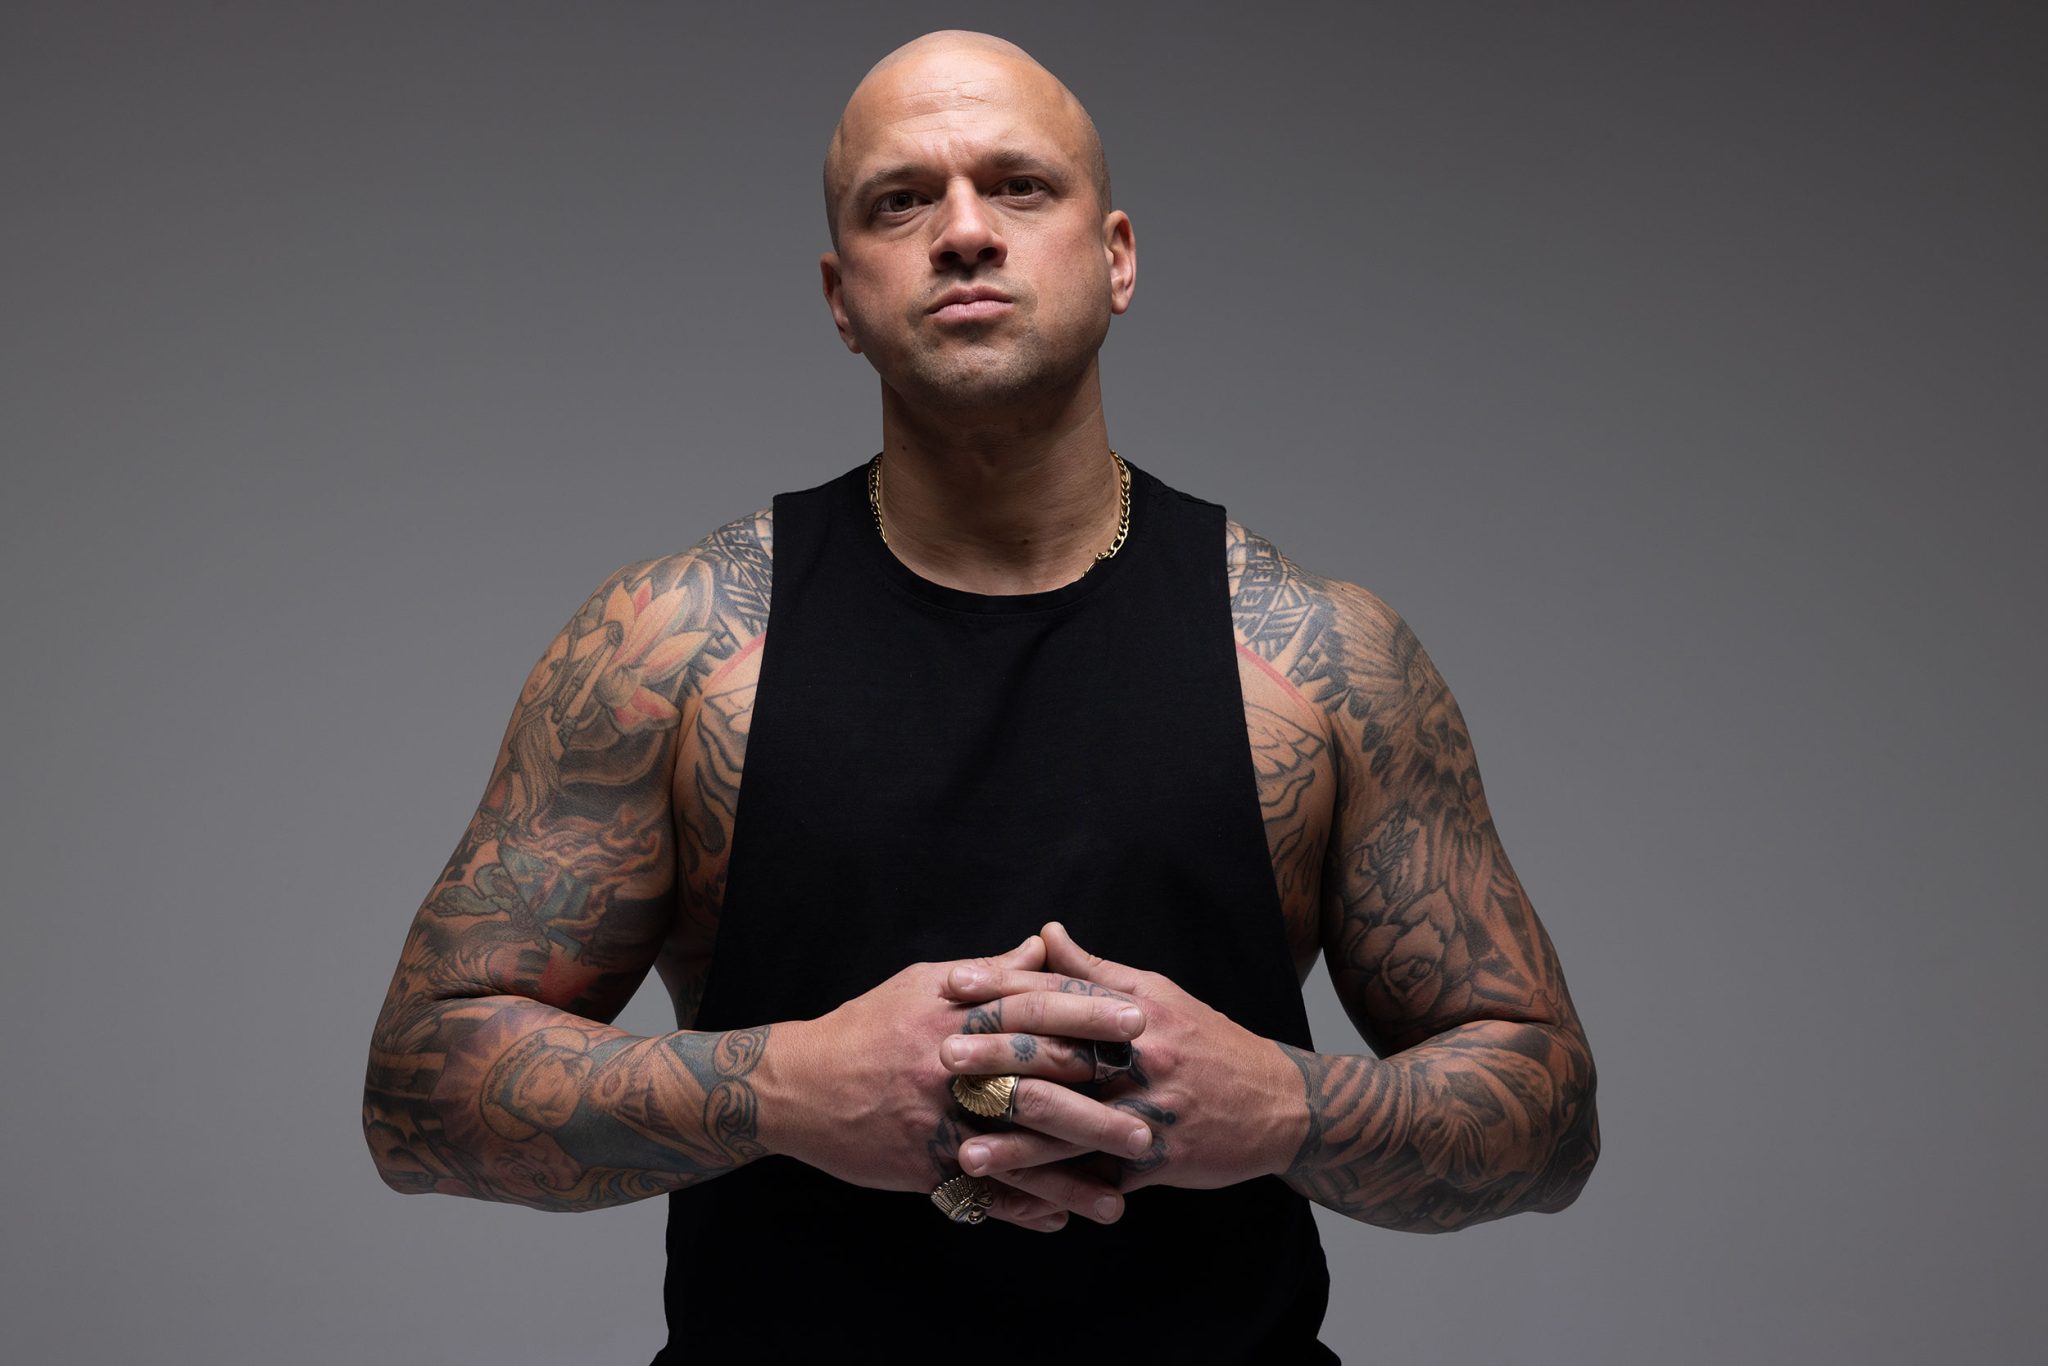
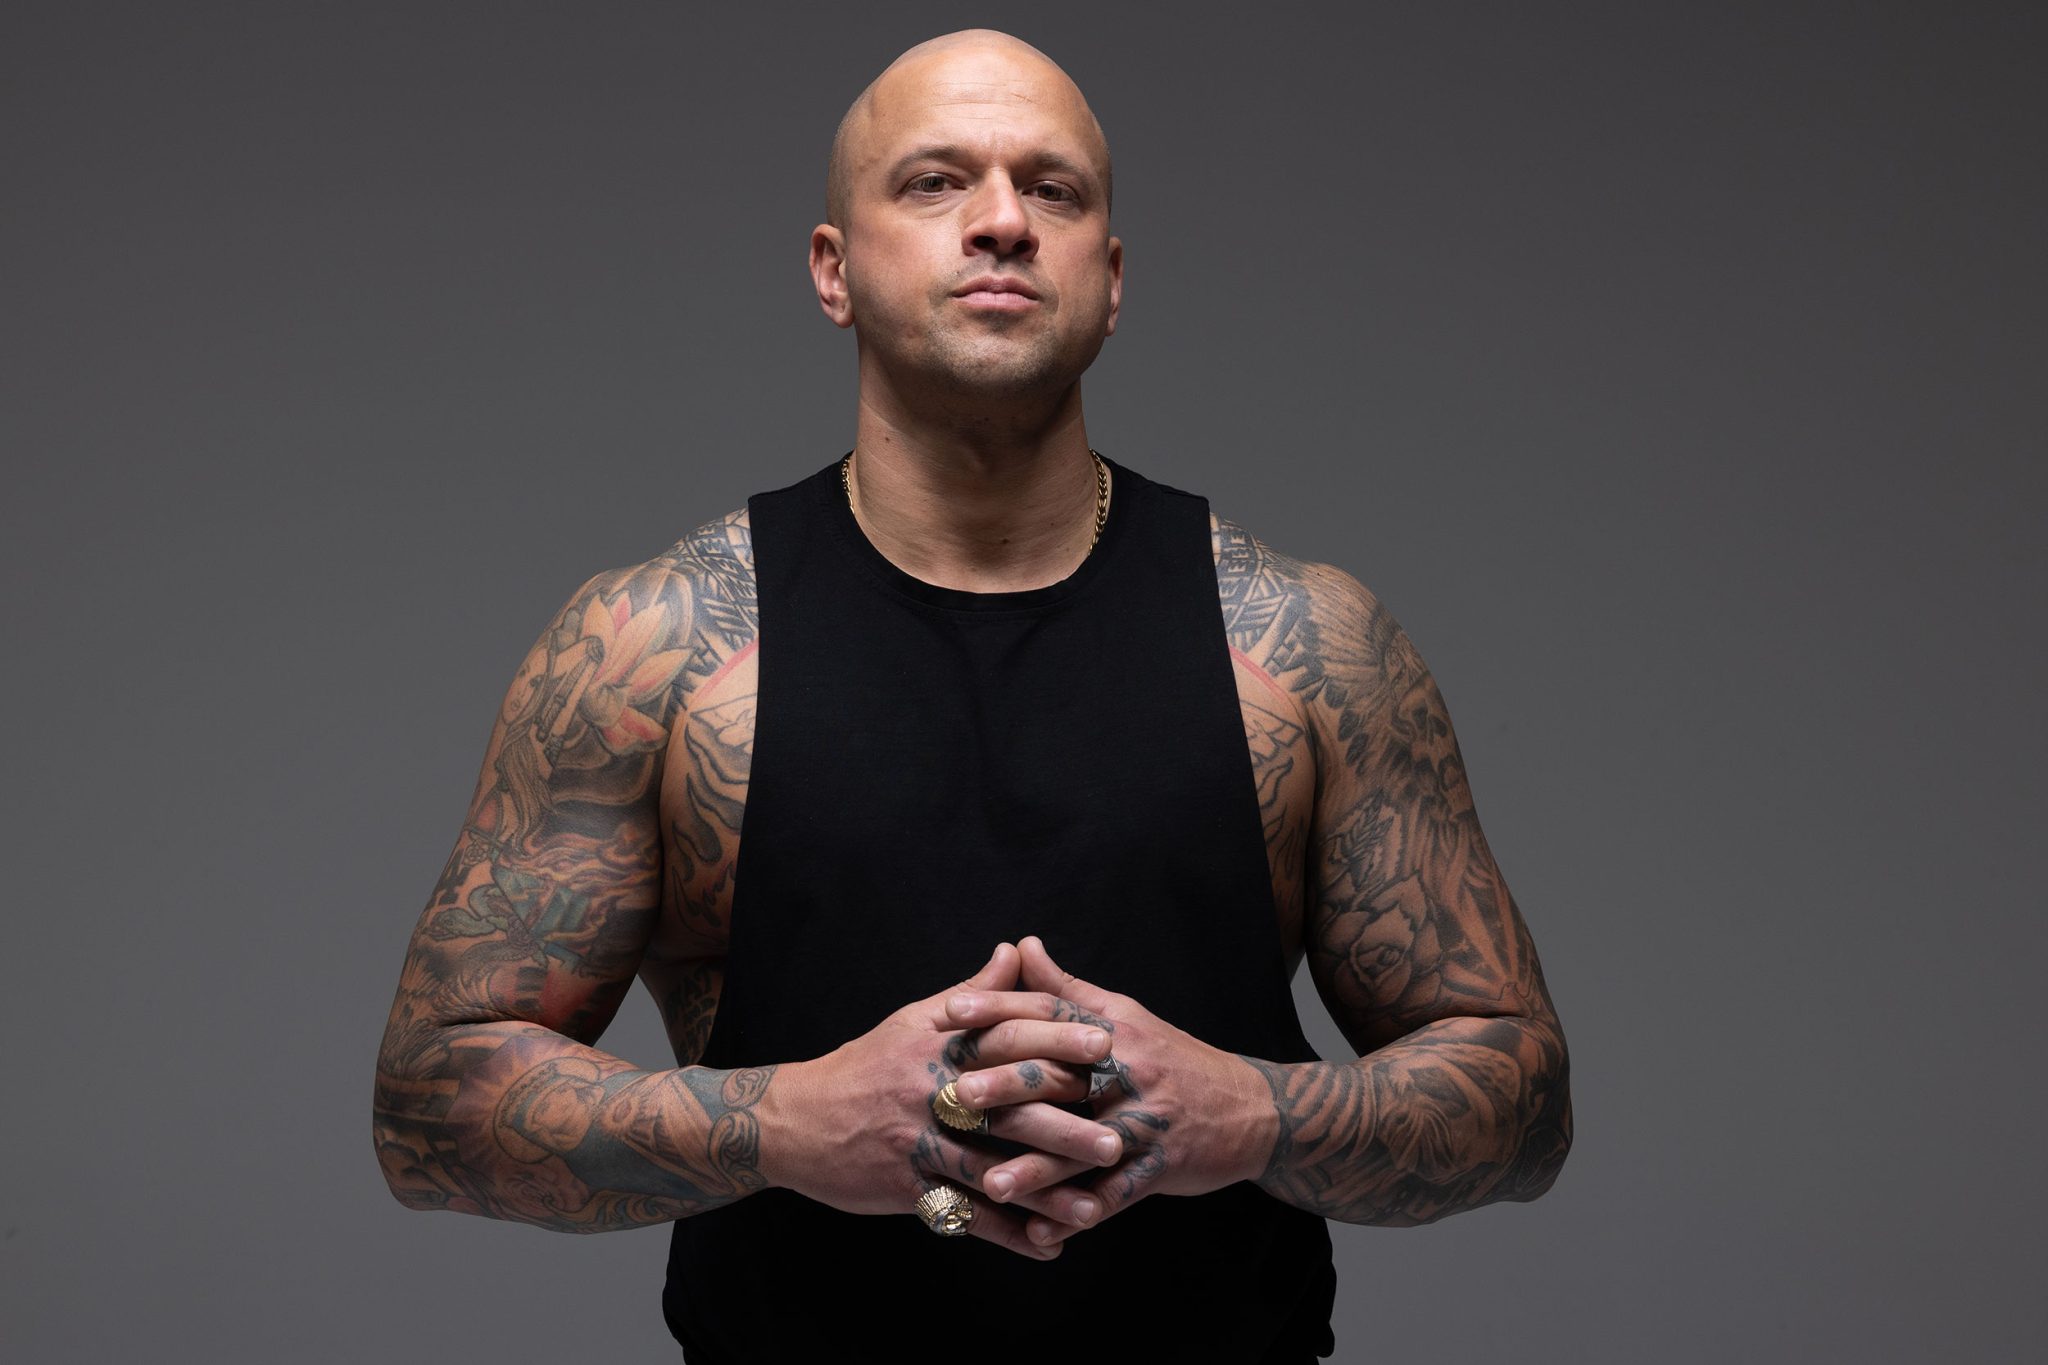
One of the key things Joel demonstrates in the video is how your subject’s distance from the light affects the look of your image. When his model Nick steps directly underneath the umbrella, the shadows are harsher and more defined. But as he steps backward just a few inches, the light starts to wrap around more, especially with help from the bounce off the white studio floor. That small shift softens the shadows under the eyes and chin while still keeping the overall mood intact.
It’s a great reminder that you don’t always need to adjust your gear, just moving your subject a few steps can completely change how the light behaves.
Head Position: A Simple Trick for Shaping Shadows
Another subtle yet powerful way Joel tweaks the light is by adjusting the angle of the model’s head. By slowly raising or lowering the chin, you can control how deep the shadows fall across the face. As Nick lowers his head, shadows deepen across his features, giving the portrait an even more dramatic feel. Lifting the chin just a bit brings more light into the eyes, small change, big difference.
If you’re shooting portraits like this, try having your subject slowly tilt their head between shots. You’ll see how just a few degrees of movement can dramatically reshape your lighting.
Darkening the Background Without a Backdrop
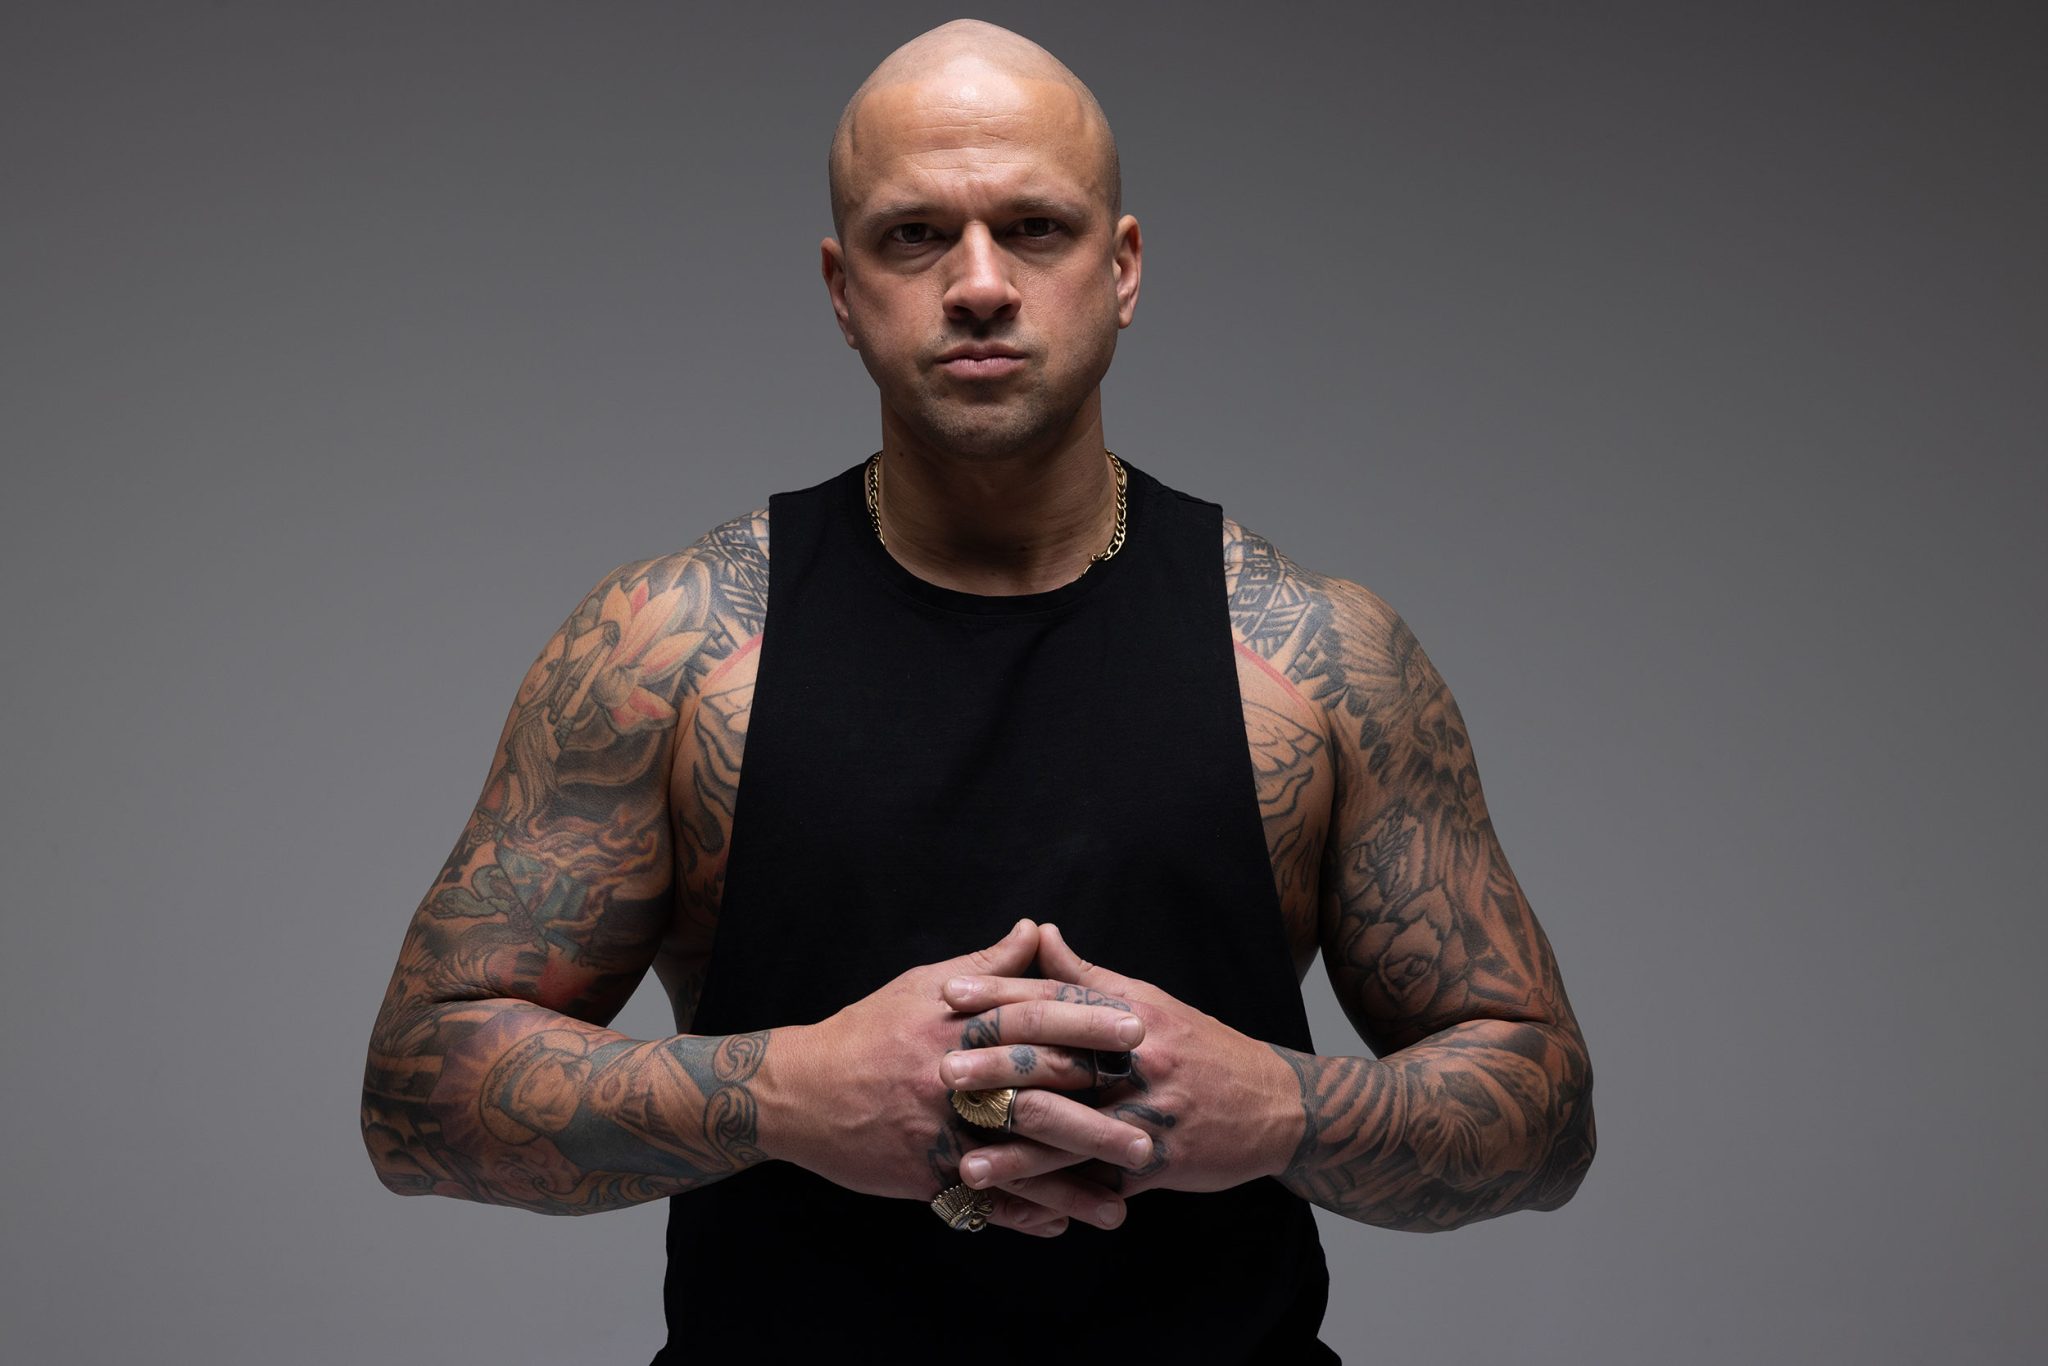
Here’s a smart move Joel uses to make his subject pop: he simply rolls the entire set forward about six feet to darken the background. He’s not using a darker backdrop, just letting the falloff from the light naturally reduce the exposure on the wall. This makes the subject stand out more and gives you a background that’s easy to work with in post.
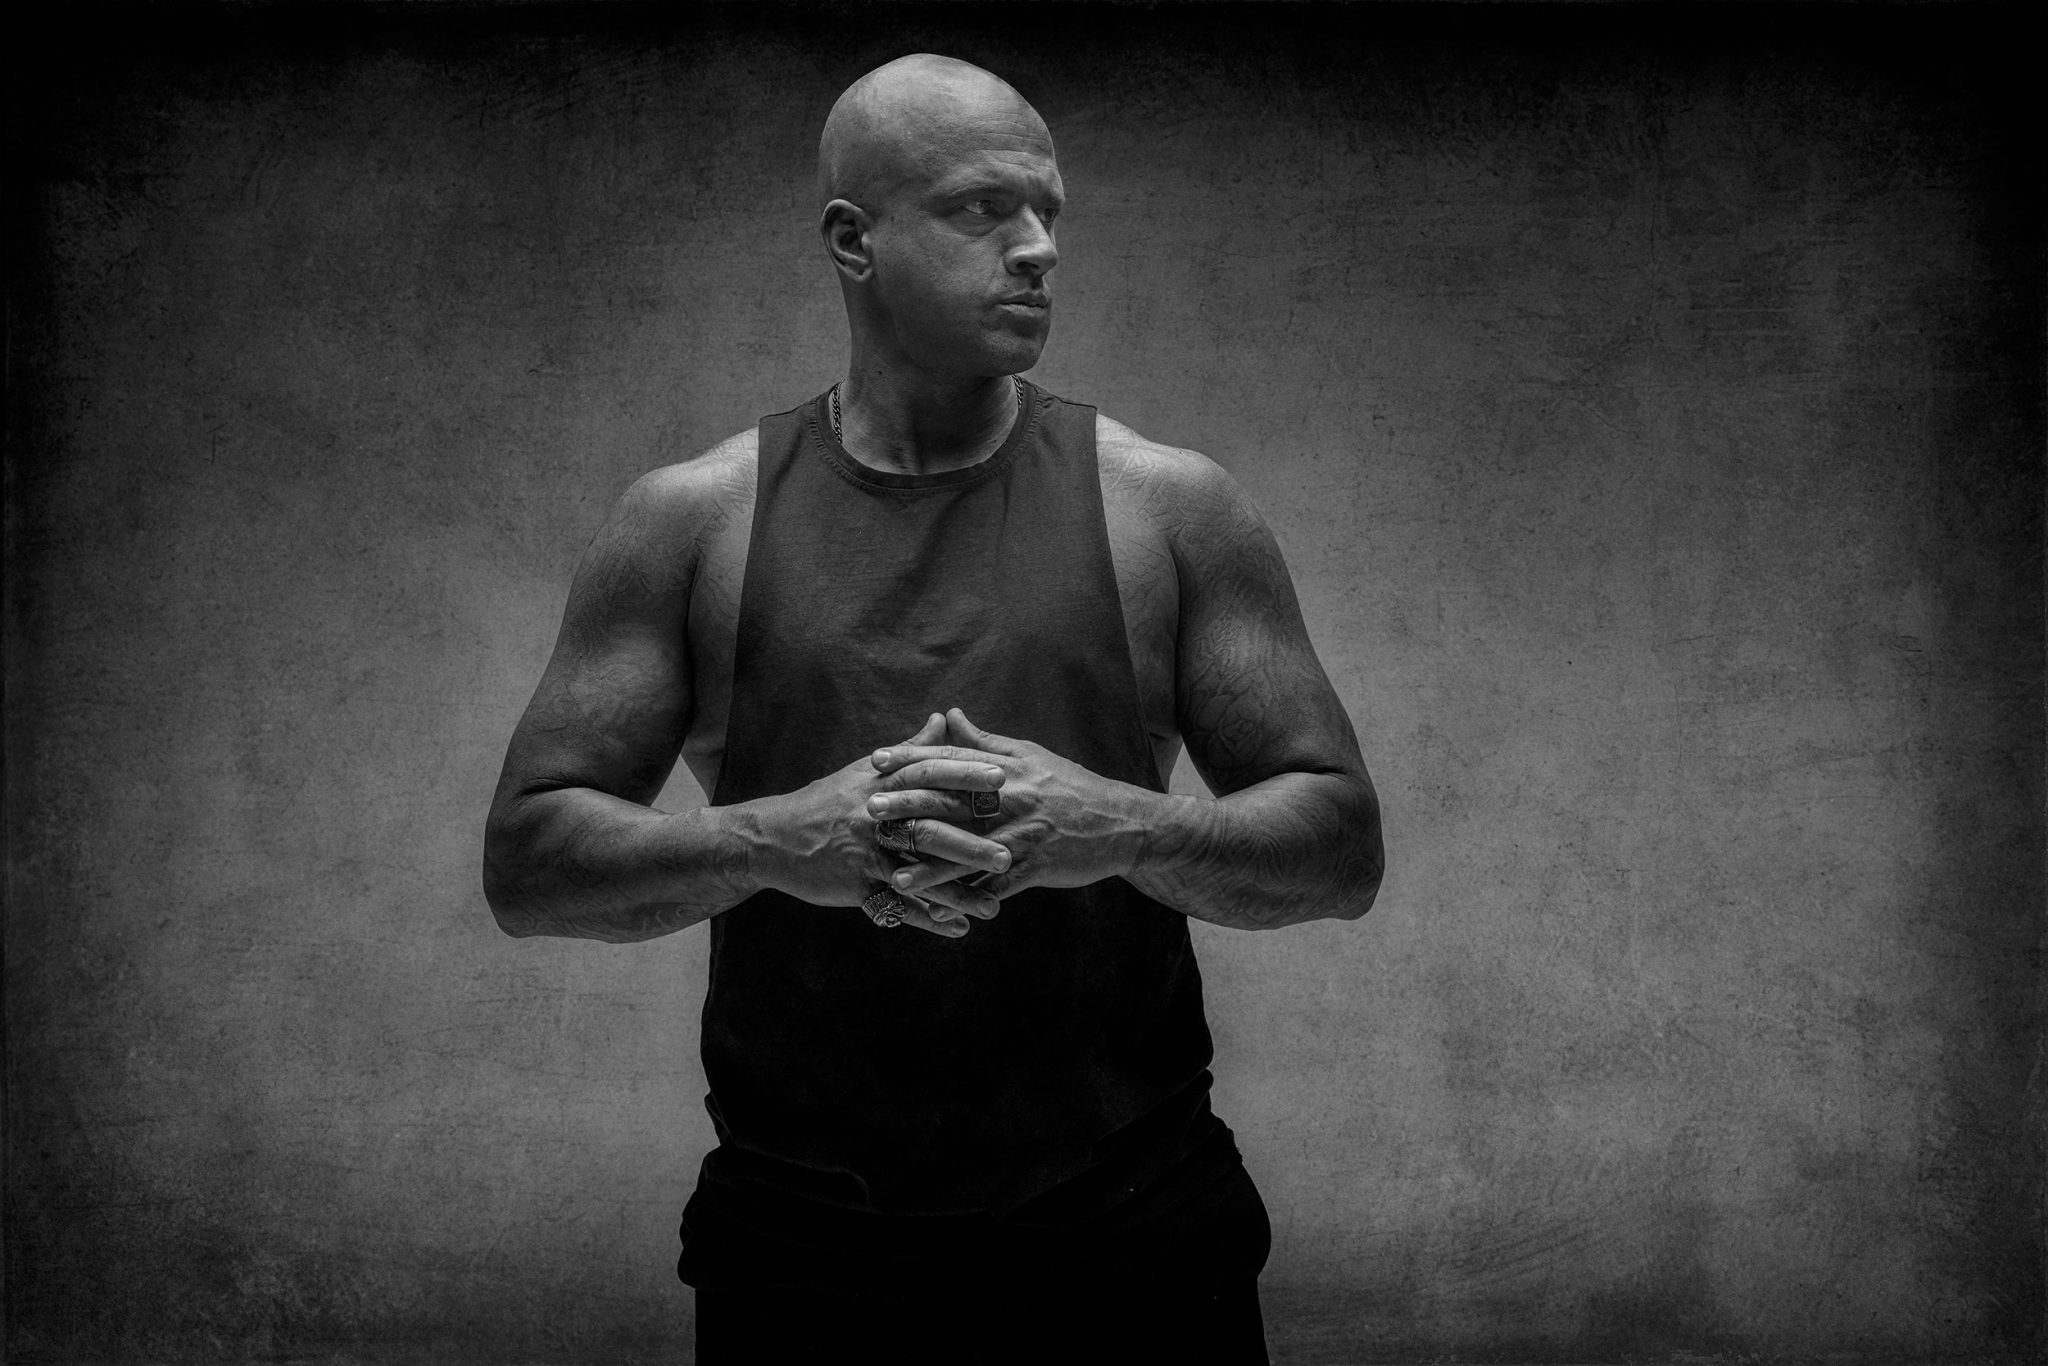
Joel also mentions aiming for a 50% gray background, that sweet spot in the middle of your histogram. Why? Because it gives you more flexibility when compositing or adding textures in Photoshop. To nail this, just keep an eye on your histogram. If your mid-tones spike near the center, you’re in the right zone.
Final Thoughts
This shoot is a great example of how much you can do with just one light, some smart positioning, and a willingness to experiment. Joel used a top-down light setup to create images that feel gritty, cinematic, and full of character. From adjusting the model’s pose to changing distance and background tone, every small tweak had a big impact.
If you’re looking to create portraits that stand out, give this technique a try. Start with a large modifier overhead, work with your subject’s position and expression, and use your histogram to dial in that perfect background tone. As Joel says, don’t be afraid to play around and ask yourself, “What would happen if I moved this here?” That’s how you discover your next favorite look.
Ready to try it yourself? Watch the full video with Joel Grimes to see this one-light setup in action.
Want to see more of Joel Grimes’ work?
Check out How to Simulate Sunlight in Studio Photography, where he shows how to create natural-looking sunlight in a controlled studio environment.
Westcott Gear in Action



You must be logged in to post a comment.