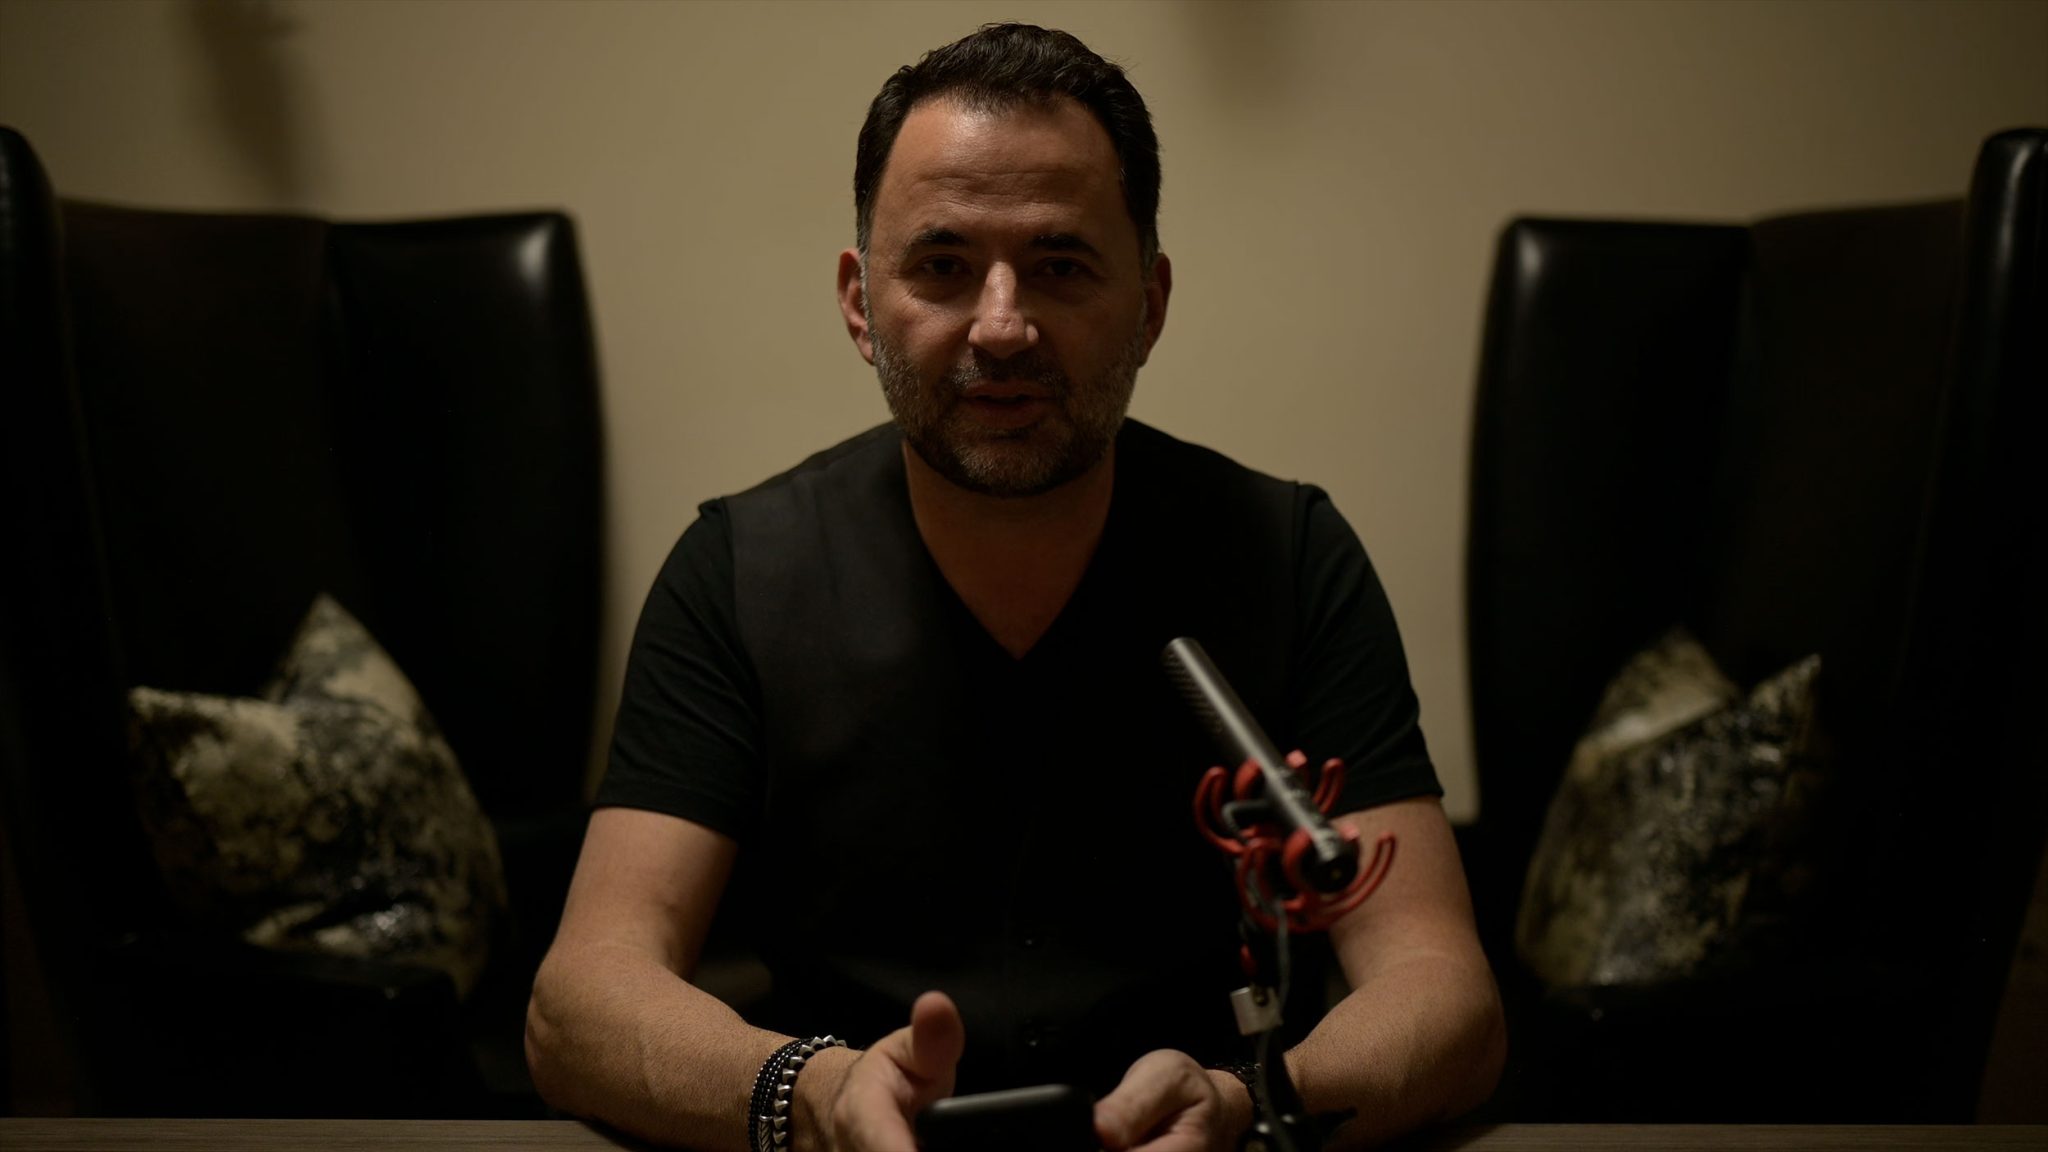
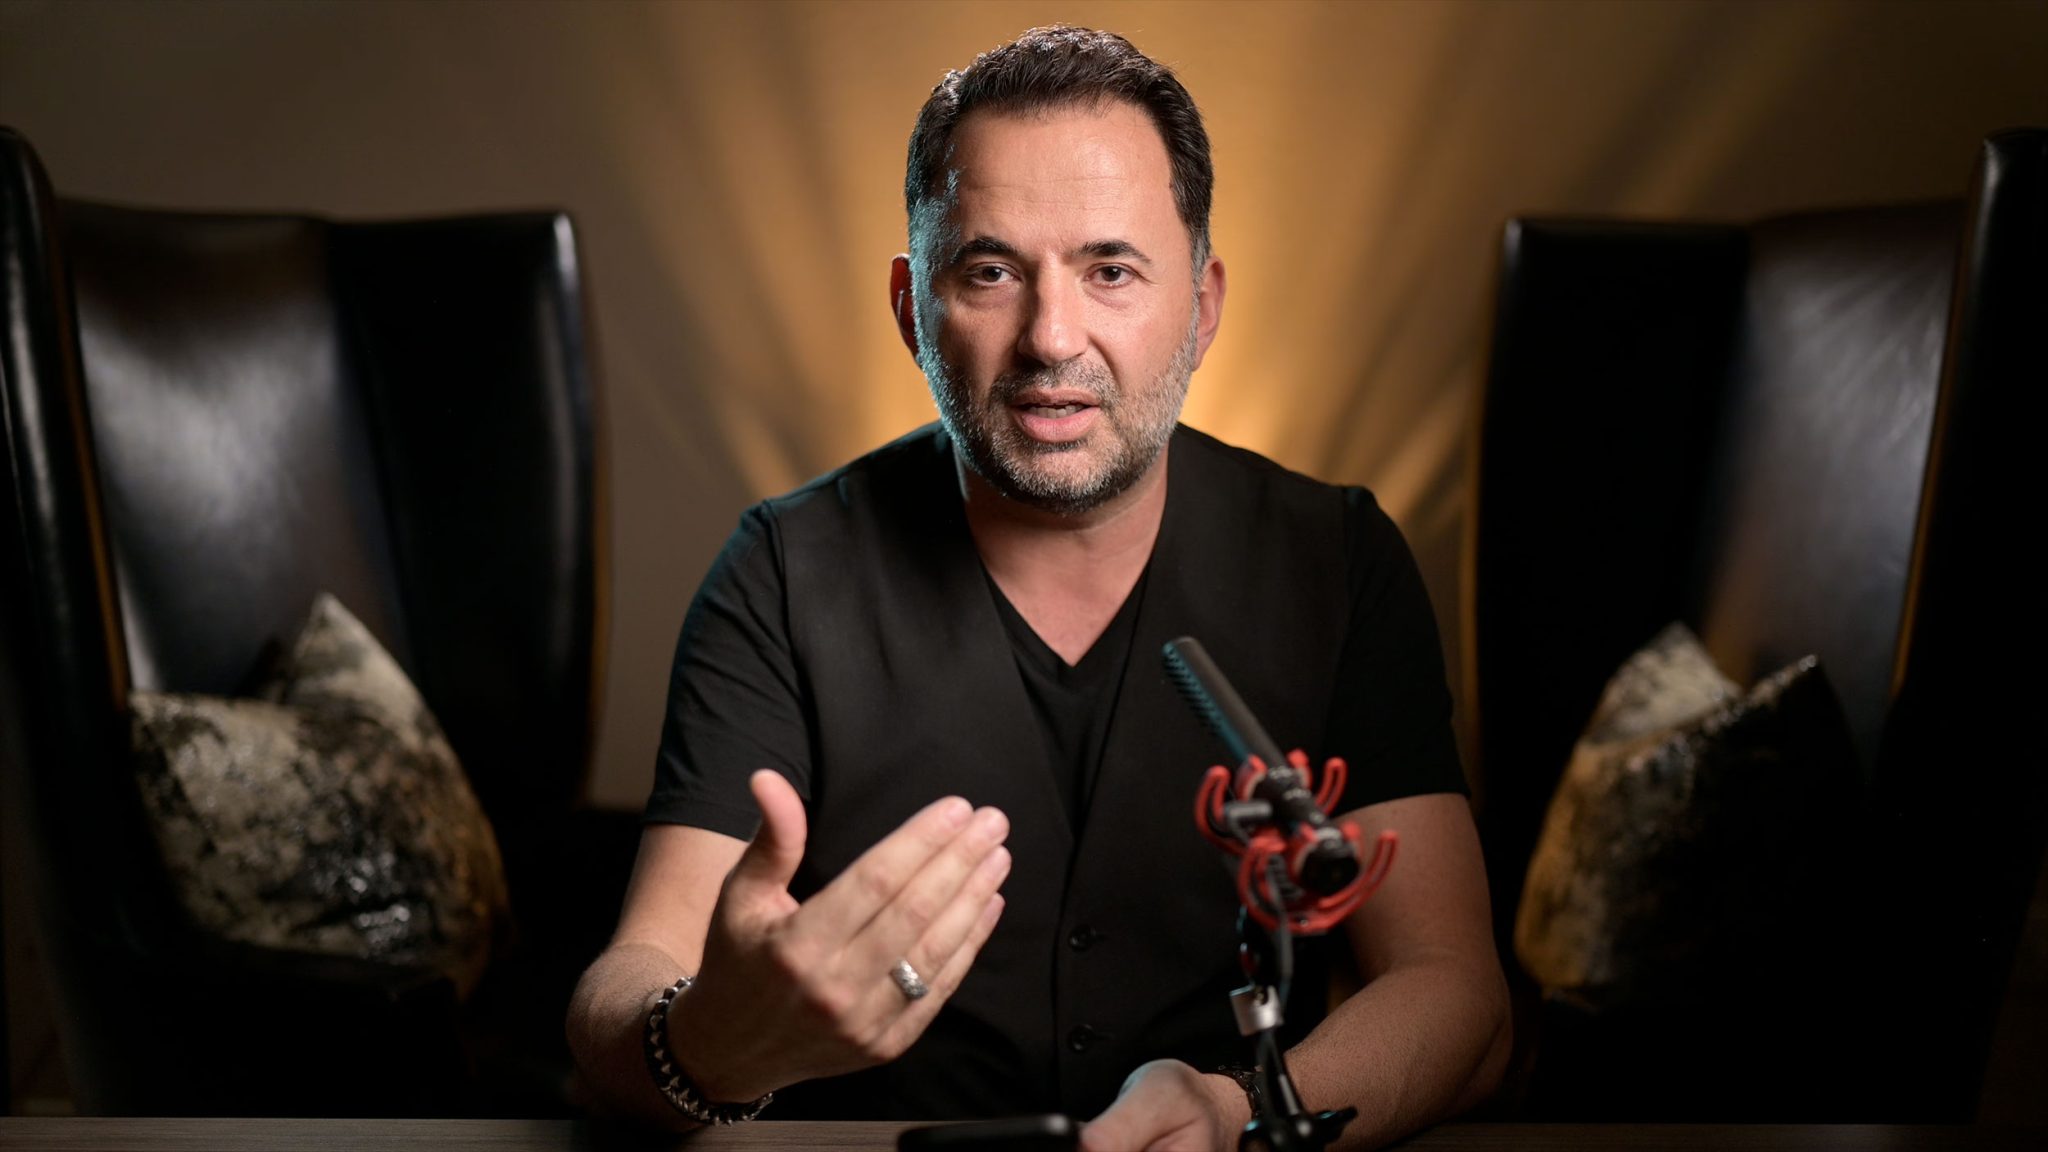
We’ve all been on that video call where someone looks like they’re sitting in a dark cave. Bad lighting can make even the best camera look rough. Good lighting, on the other hand, makes your face look clear, your background look sharp, and your whole setup feel more professional.
Photographer Jerry Ghionis shows how a few well-placed lights can totally change the way you look on screen. Whether you’re hopping on Zoom or filming short videos, lighting can help you look polished, confident, and ready to go.
Why Jerry Uses the Westcott L60-B
For this setup, Jerry uses the Westcott L60-B LED lights. These compact lights are small but powerful, perfect for home offices or small studios. They’re also bi-color, which means you can easily switch between warm and cool light to match your space.
Another big win is that the L60-B can be controlled by the Westcott Studio Link app (available for iOS or Android). You can turn them on, dim them, or change color temperature right from your phone. No running around the room to adjust knobs, just set your look and you’re ready to go.
And because these lights are flicker-free, they’ll look smooth on camera, even if you’re filming in 4K or using slow motion.
What Camera Jerry Uses
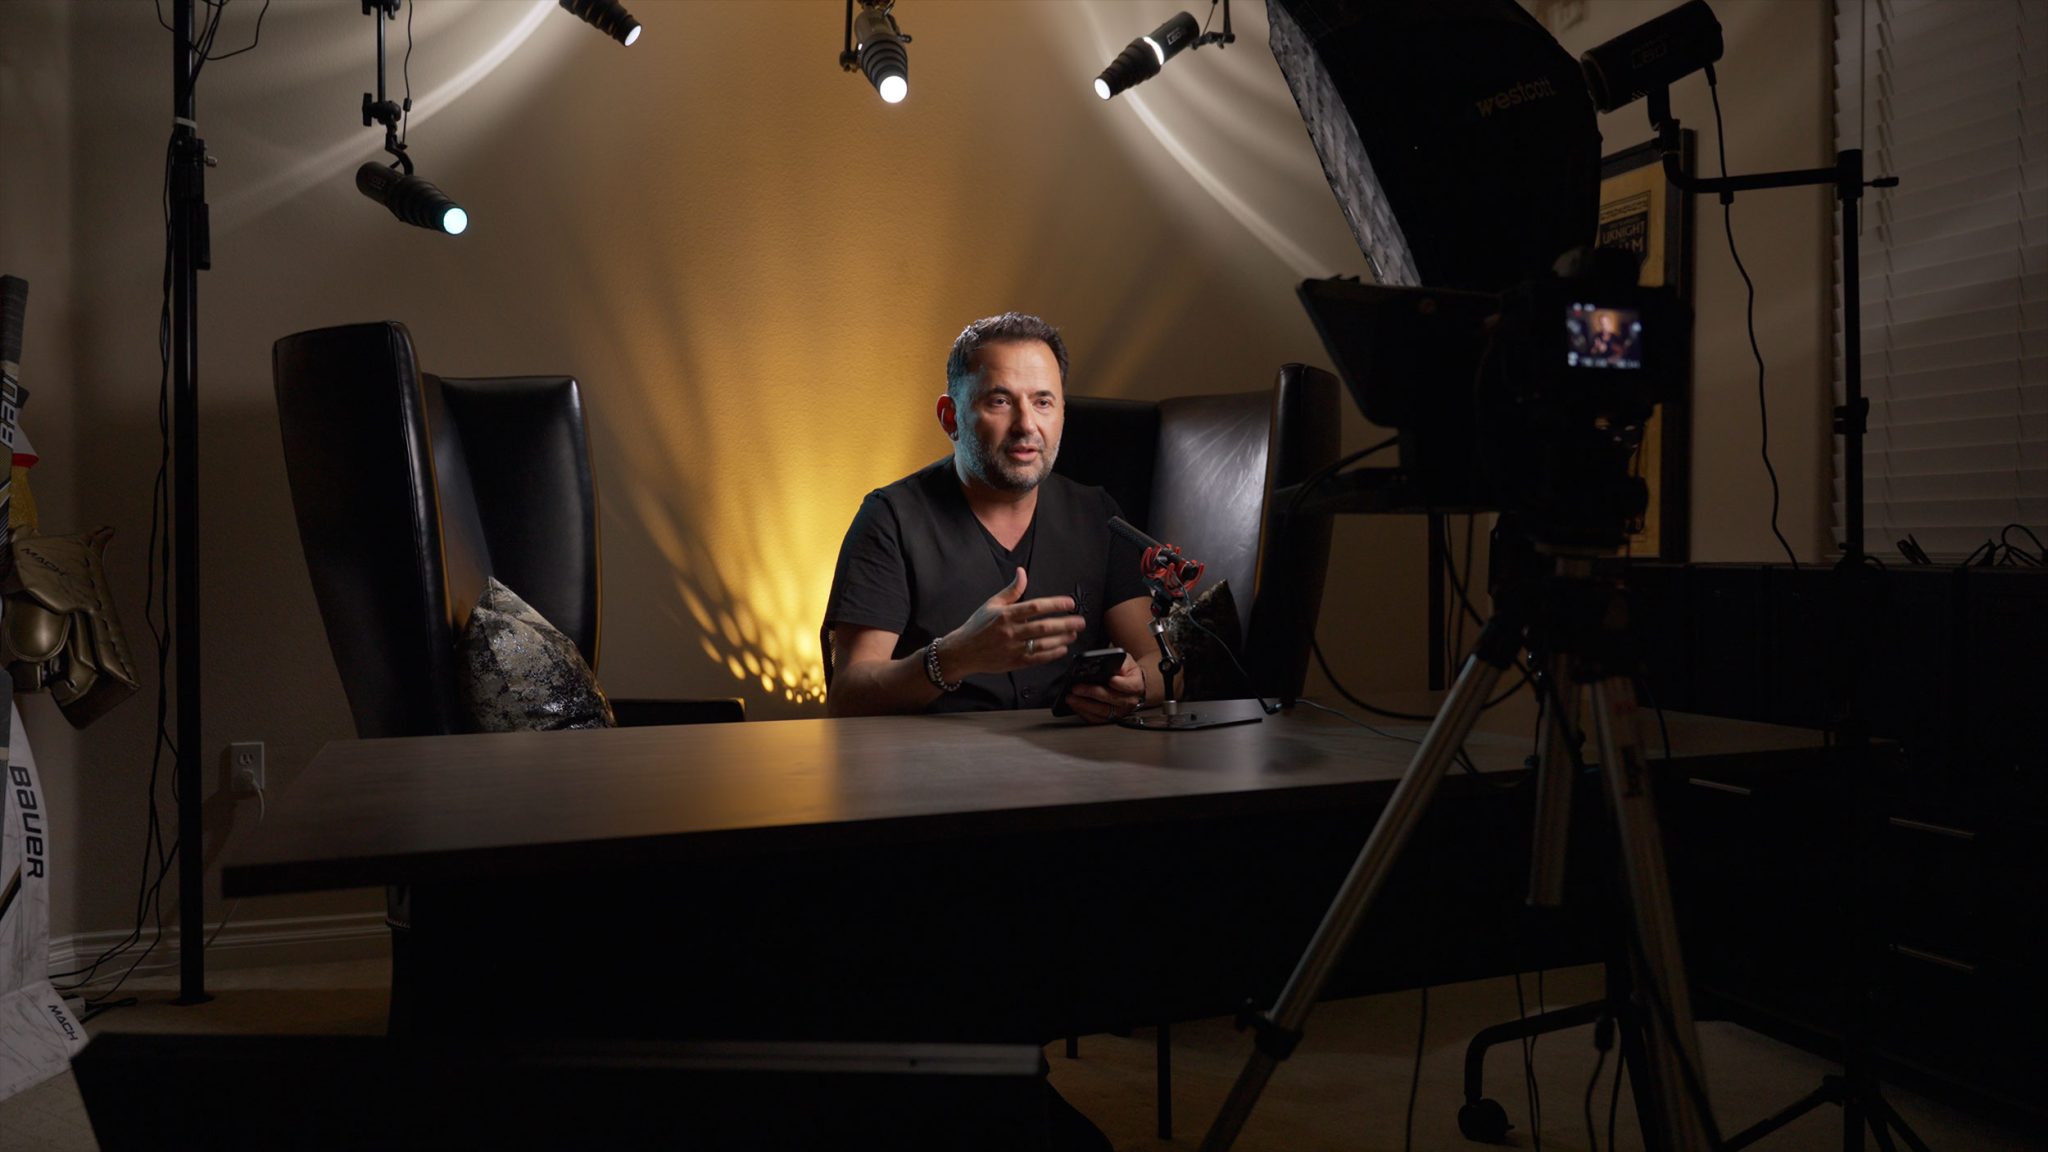
For his setup, Jerry uses a Nikon mirrorless camera with a 35mm f/1.8 lens. The camera has eye-tracking autofocus, so it keeps him sharp even as he moves around. The wide aperture gives that nice soft background blur you see in professional videos.
But here’s the truth, even the best camera will look bad without good lighting. That’s why the lights do most of the heavy lifting here.
Main Light: L60-B with Rapid Box Switch Octa-S
The first light in the setup is the main light, the one lighting Jerry’s face. He’s using an L60-B with a 26-inch Rapid Box Switch Octa S and a 40-Degree Egg Crate Grid. The Octa softbox makes the light soft and flattering, and the grid keeps it focused on the face instead of spilling all over the room.
To set this up, place the light just off to the side of your camera, a little above your eye line, and angle it down toward your face. Start around 5600K for a neutral daylight color and adjust brightness until your face looks clear but not blown out.
Turn off any overhead lights that cause shadows under your eyes. You’ll instantly look more natural and professional.
Edge Light: Adding a Touch of Color
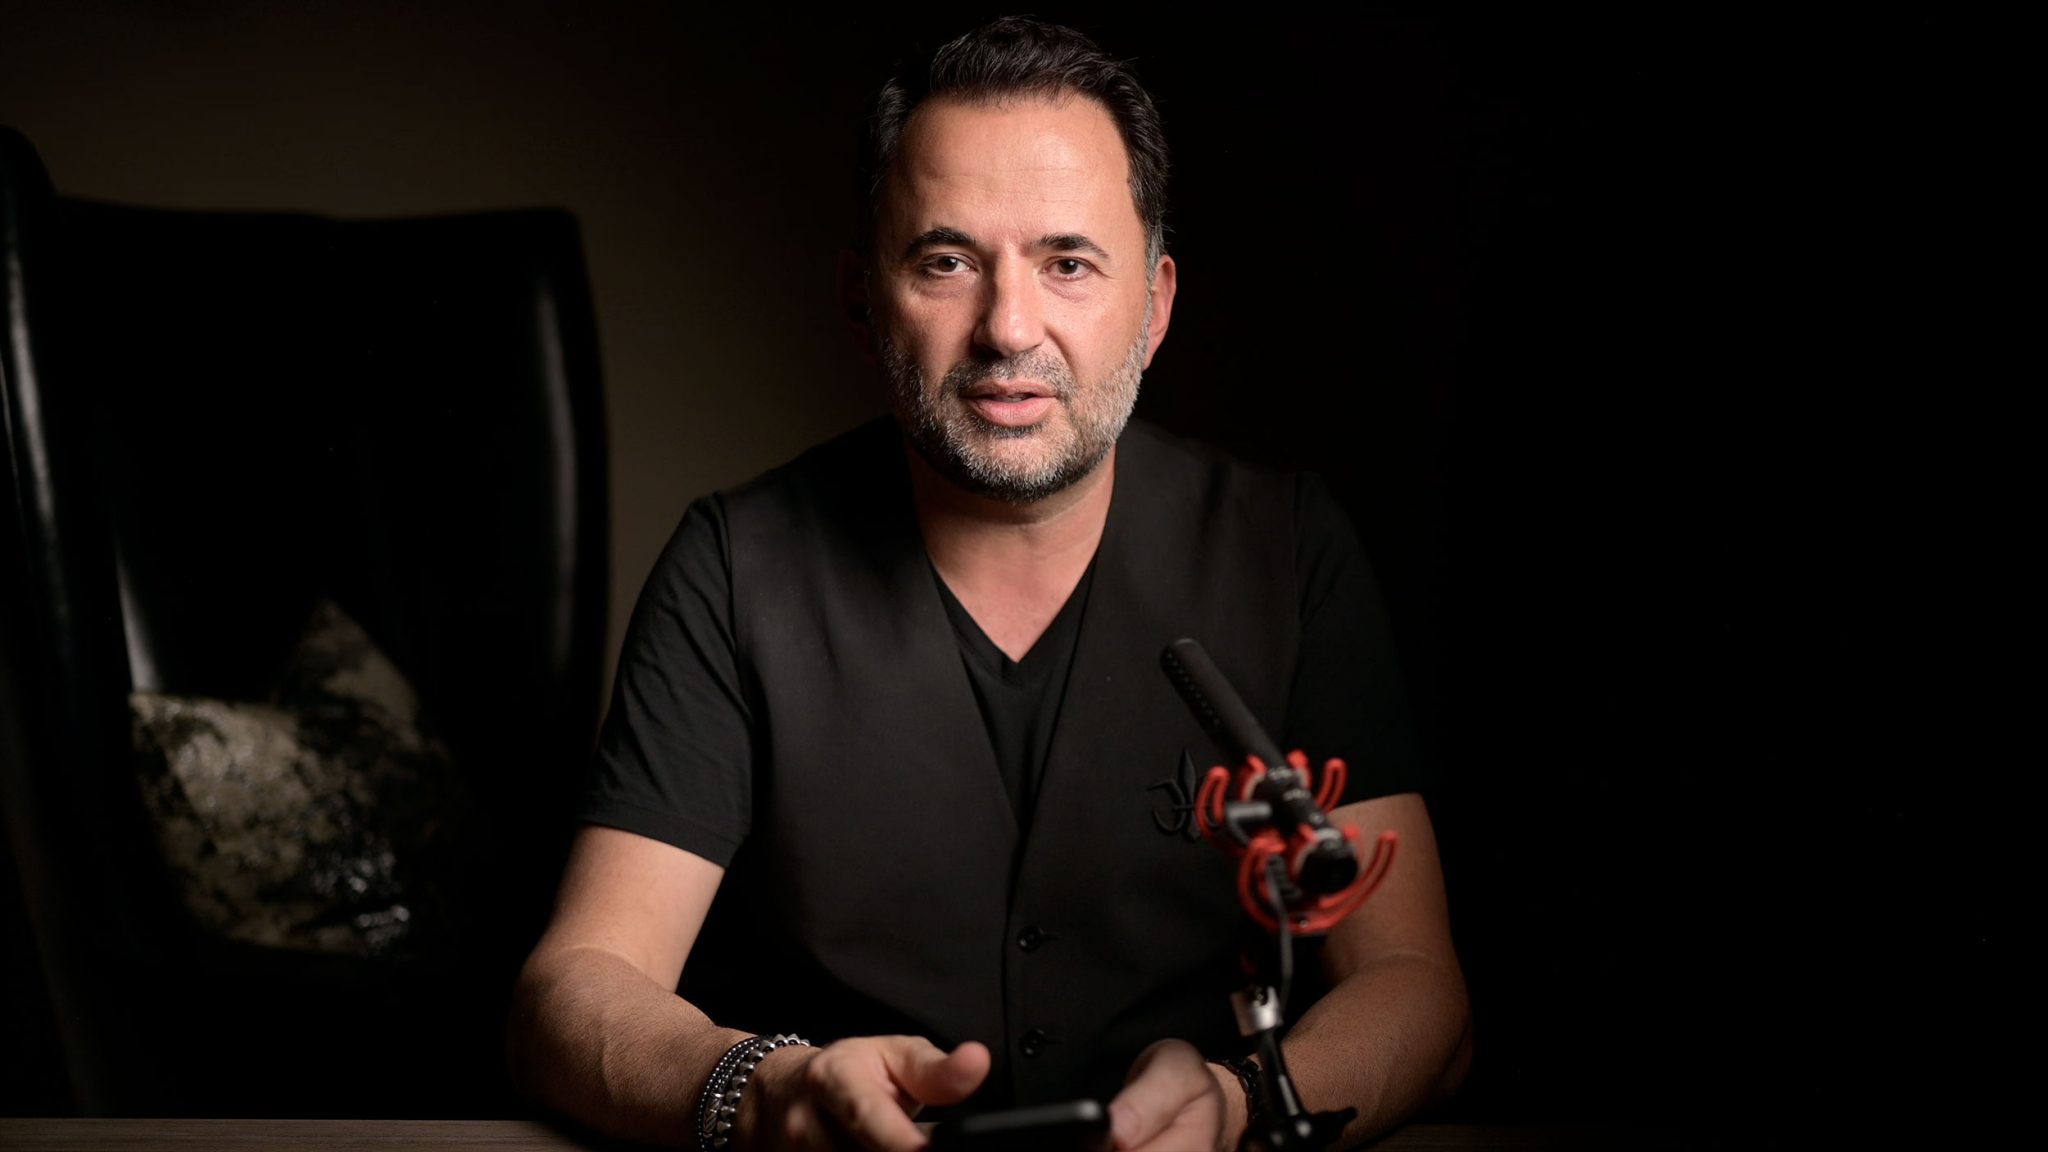
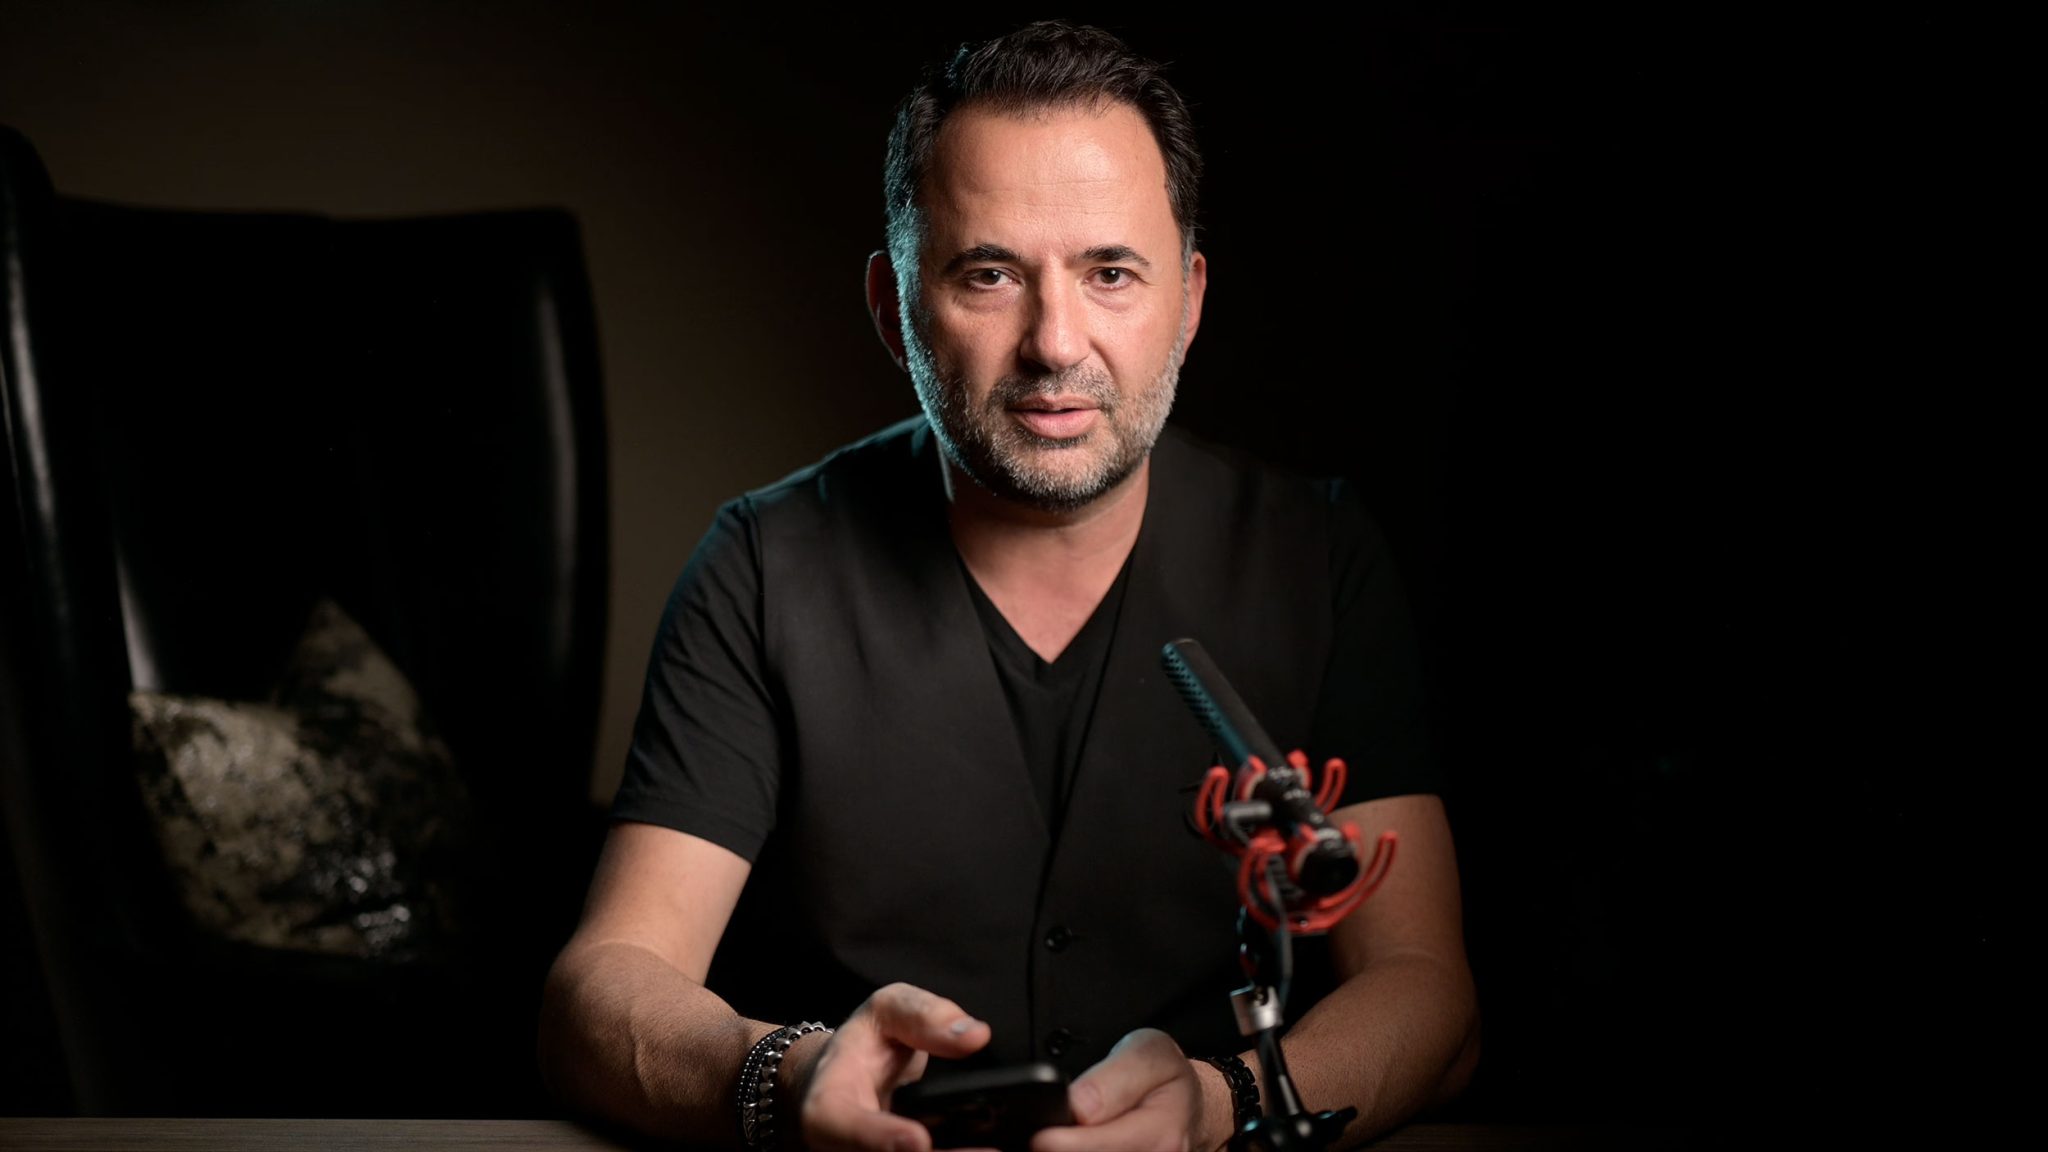
Next is the color edge light, another L60-B with a snoot, grid, and gel. This light adds a cool-toned rim of color to the side of Jerry’s face and helps separate him from the background.
Here’s an important tip: Don’t let this light hit the front of your face or your nose. It should skim along the side of your cheek and jawline. If it hits too far forward, it’ll create a bright stripe that looks distracting.
You can use a subtle blue or teal gel for a modern look, or keep it neutral if you prefer something classic.
Hair Light: Adding Shape and Separation
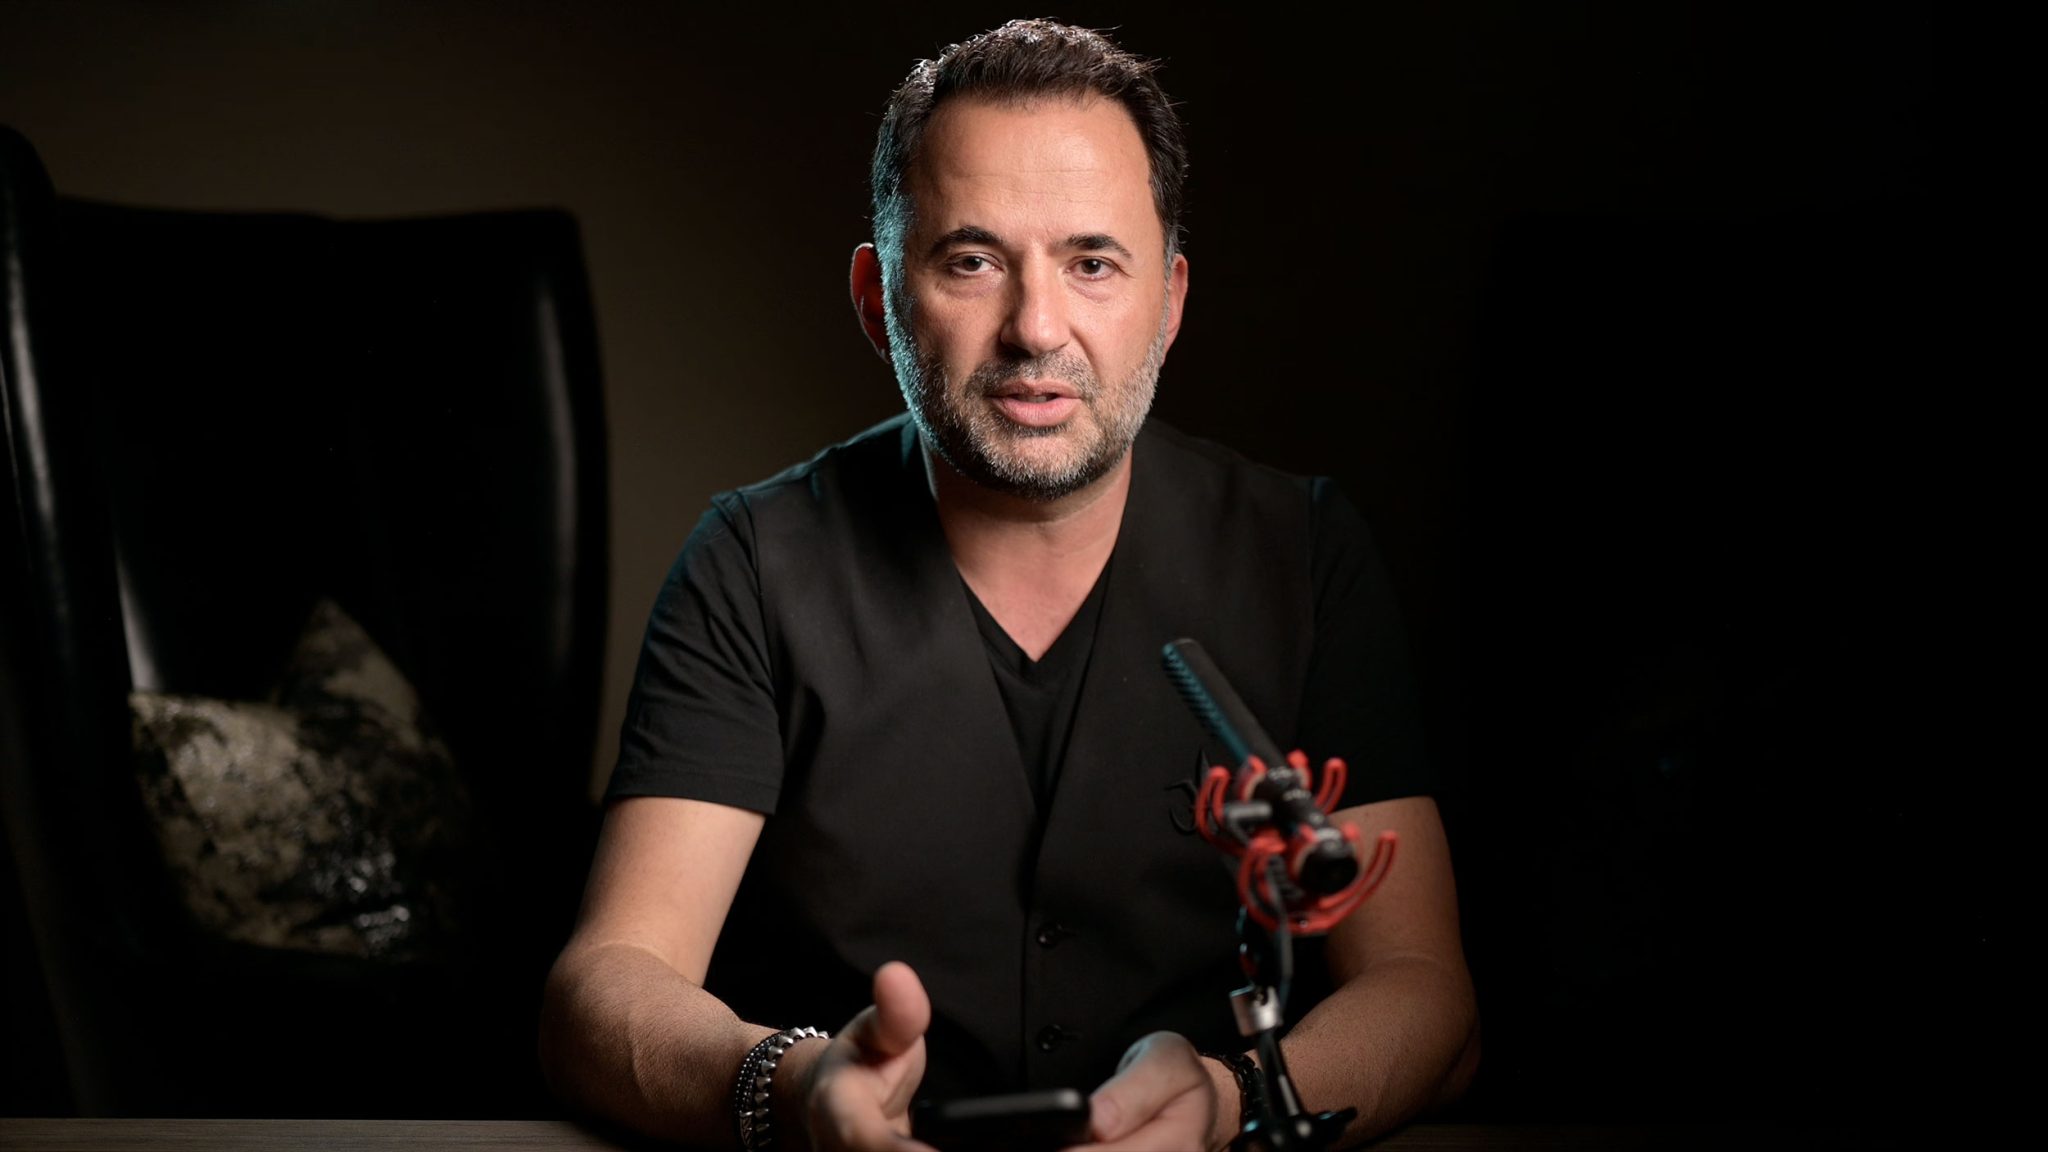
Jerry also adds a hair light, again, an L60-B with a Westcott Snoot and Honeycomb Grid, placed behind and slightly above him. This creates a soft glow on his hair and shoulders, adding shape and helping him stand out from the background.
Keep this one subtle. You want just enough light to lift the hair, not a bright spot. If you see a harsh patch on the top of your head, raise the light or aim it farther back.
Background Light: Creating Texture and Depth
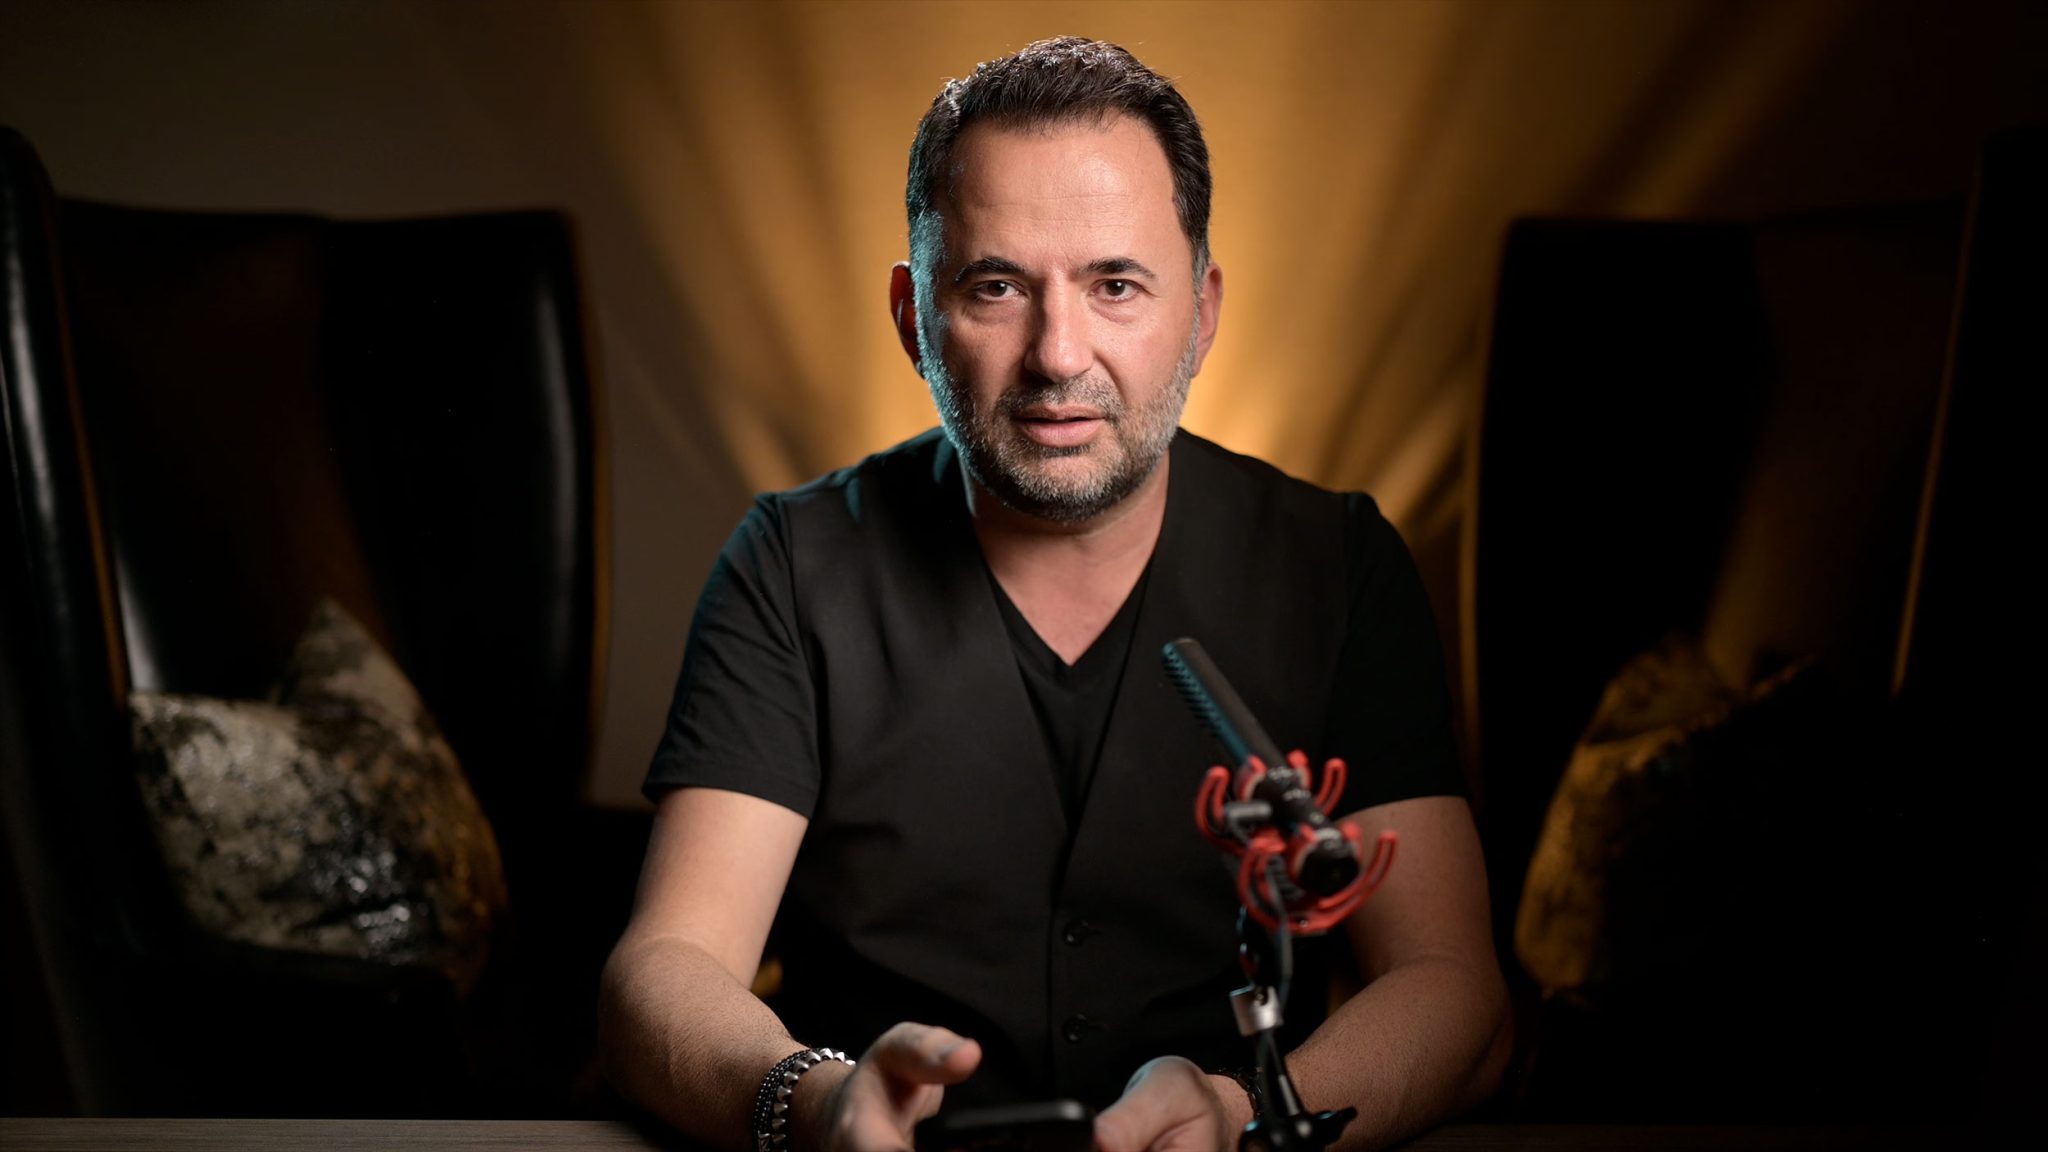
For some extra style, Jerry hides another L60-B under a textured coffee table behind him. The table has holes in it that let light shine through, creating a cool pattern on the wall. He sets this light to a warm color temperature (around 2700K), which adds a cozy contrast against the cooler main light.
If you don’t have a table like that, you can use the Westcott Optical Spot by Lindsay Adler to project patterns and textures on the wall, a great way to make your background look creative without adding clutter.
Accent Lights: Adding Background Glow
Finally, Jerry uses two more L60-B lights with snoots and grids to highlight the furniture in the background. These accent lights draw attention to small areas, like the edge of a chair or a plant, adding visual depth.
Keep these lights dimmer than your main one. They should support the look, not steal attention from your face. Try matching them to your background tones, warm for cozy rooms or cool for modern spaces.
Putting It All Together
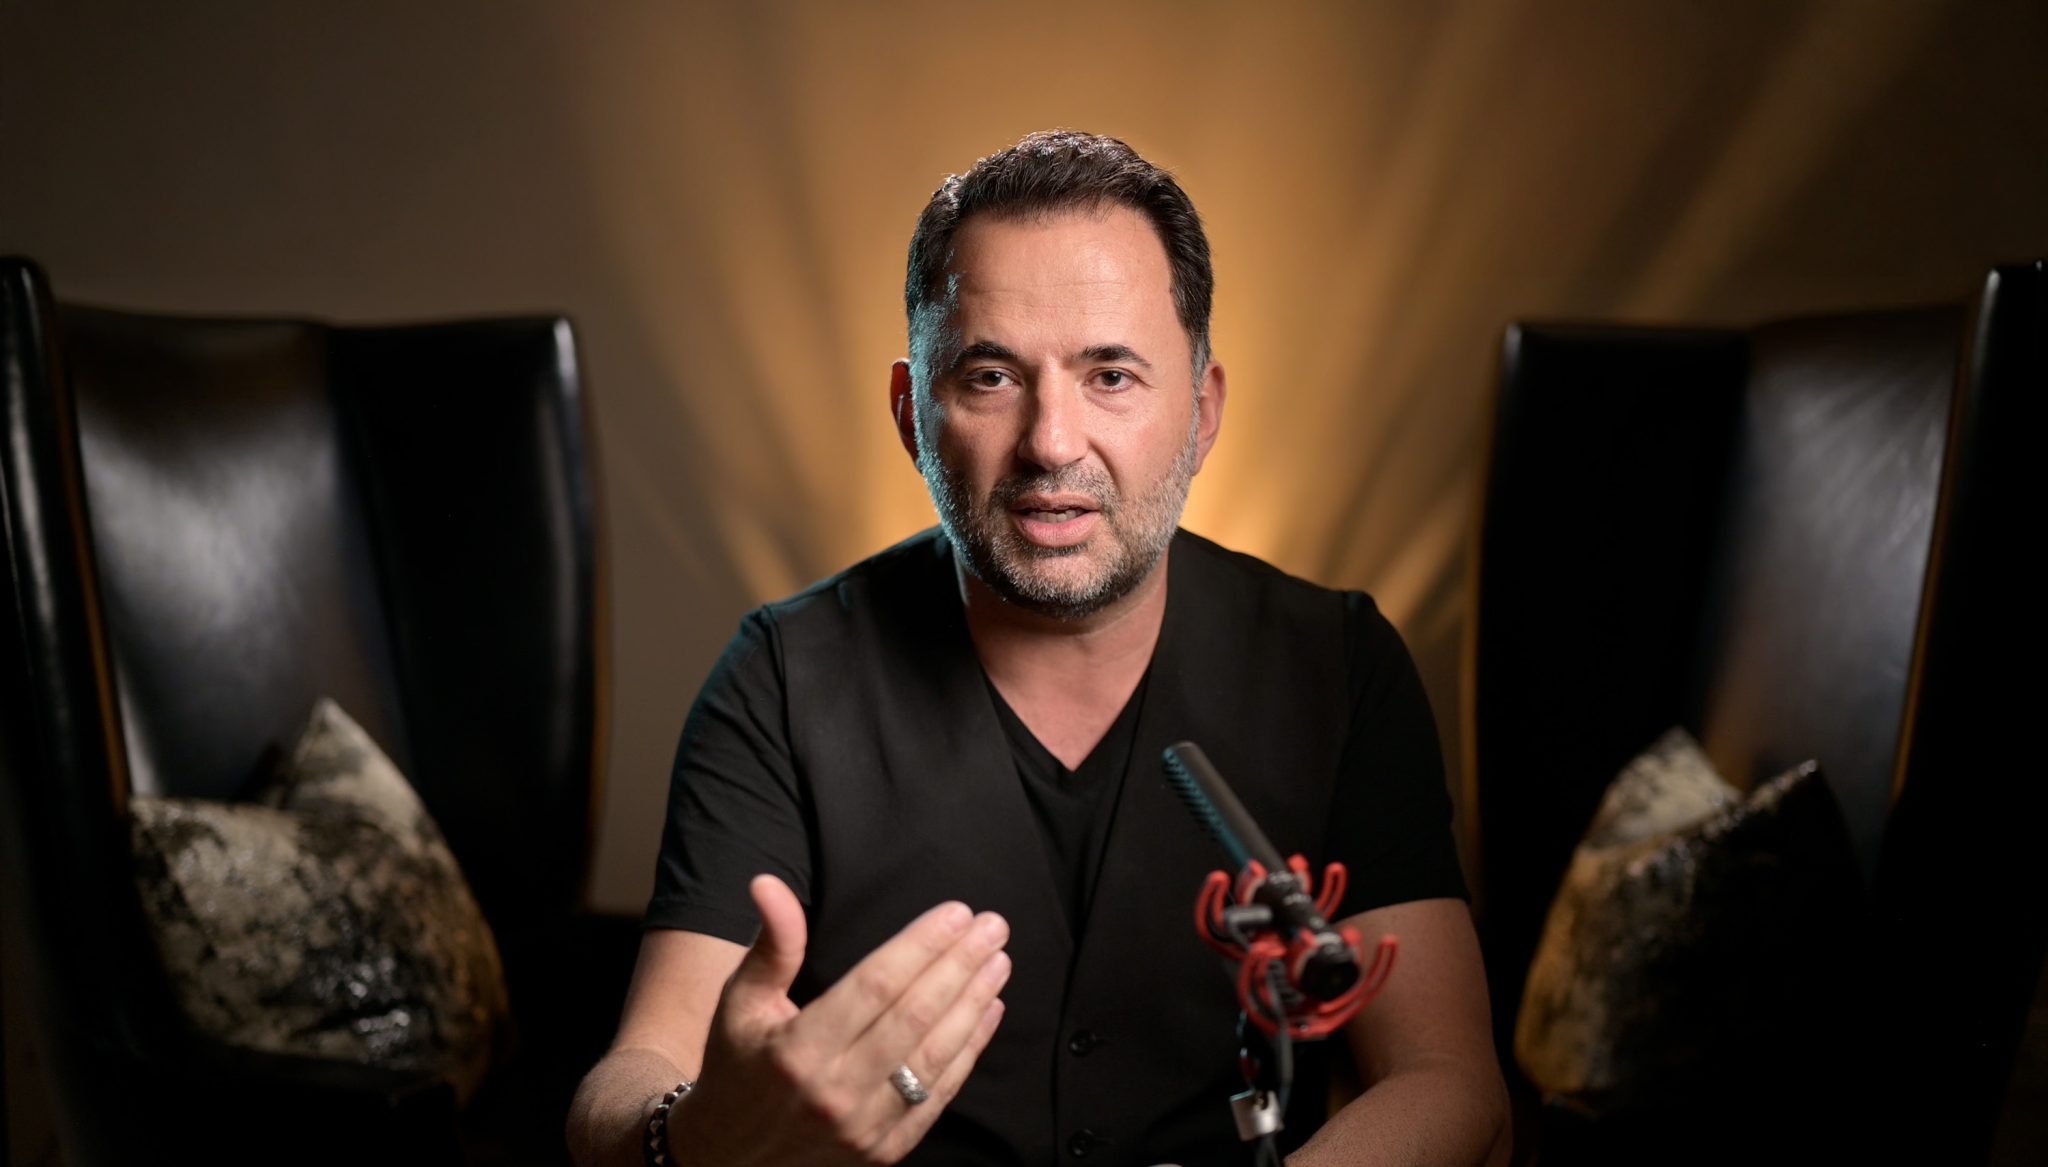
Here’s how to build your setup step by step:
- Start with your main light, get the lighting on your face looking clean and bright.
- Add your edge light, keeping it off the nose.
- Bring in your hair light for separation.
- Add a background light for texture.
- Finish with accent lights for depth.
Check your camera feed as you go. Adjust brightness and color until the whole scene feels balanced.
Start Simple and Build from There
The biggest tip Jerry gives is to start with one light. A single L60-B with a softbox will already make you look way better on camera. As you grow more comfortable, you can add more lights to shape your background and add personality.
The key is to look professional while keeping things simple. With a few Westcott L60-Bs, a couple of grids and snoots, and a little practice, you can build a clean, stylish lighting setup that makes every video call and piece of content look pro.
Want to See More of Jerry Ghionis’ Work?
Check out Portrait Lighting & Posing Techniques: An In-Depth Guide with Jerry Ghionis, where he shares his favorite lighting setups, posing tips, and creative techniques you can use to take your portraits to the next level.


You must be logged in to post a comment.