
Want to capture that bold, hard sunlight look without having to rely on the weather? In this video, photographer Joel Grimes breaks down one of his go-to studio setups using two lights to mimic the feel of sunlight. It’s a repeatable, controlled way to get dramatic shadows and that cinematic outdoor style, all from the controlled environment of your studio.
Joel has used this technique for years in both commercial and editorial work. In this video, he shares how light placement, modifiers, and a few tricks to make it all come together.
Why Simulating Sunlight Matters
Being able to recreate sunlight in-studio is a powerful skill for any photographer. This gives you complete control over your lighting environment and also makes your work more consistent, especially if clients want that same “sunny day” shot again and again, even if it’s snowing outside. With just two lights, Joel builds a look that’s dynamic, dramatic, and entirely repeatable.


Main Light: FJ400 II Strobe with Standard Reflector
To mimic the hard, directional quality of the sun, Joel uses a Westcott FJ400 II paired with a small 7” standard reflector. This creates a tight, focused beam of light with hard-edged shadows, just like midday sun.
Why a small reflector? Because the smaller the source, the harder the light. And when it comes to simulating sunlight, the goal is to keep that shadow edge crisp. Joel typically places the light about 12’ to 18’ from the subject. This distance is key. It keeps the light source small in relation to the subject and helps maintain that realistic sun effect.
If your space is more limited, you can still get a similar result by placing the light closer and using a snoot, gobo or even a piece of black card with a cut-out hole to narrow the beam.

Fill Light: FJ400 II with 7′ Umbrella and Diffusion
Once the main light is in place, Joel adds a second FJ400 II with a white 7’ umbrella and diffusion fabric. This giant modifier softens the shadows without eliminating them, giving the image a more polished and balanced look.
Instead of using foam core or bounce cards, which can be bulky or hard to control, Joel prefers the umbrella because he can dial the power up or down. This gives him fine-tuned control over how much fill he adds to the scene. He typically keeps the fill light about two stops lower than the main light. This keeps the sunlight look intact while still revealing detail in the shadows.


The Background: 8×8 Grunge Concrete with X-Drop Pro Frame
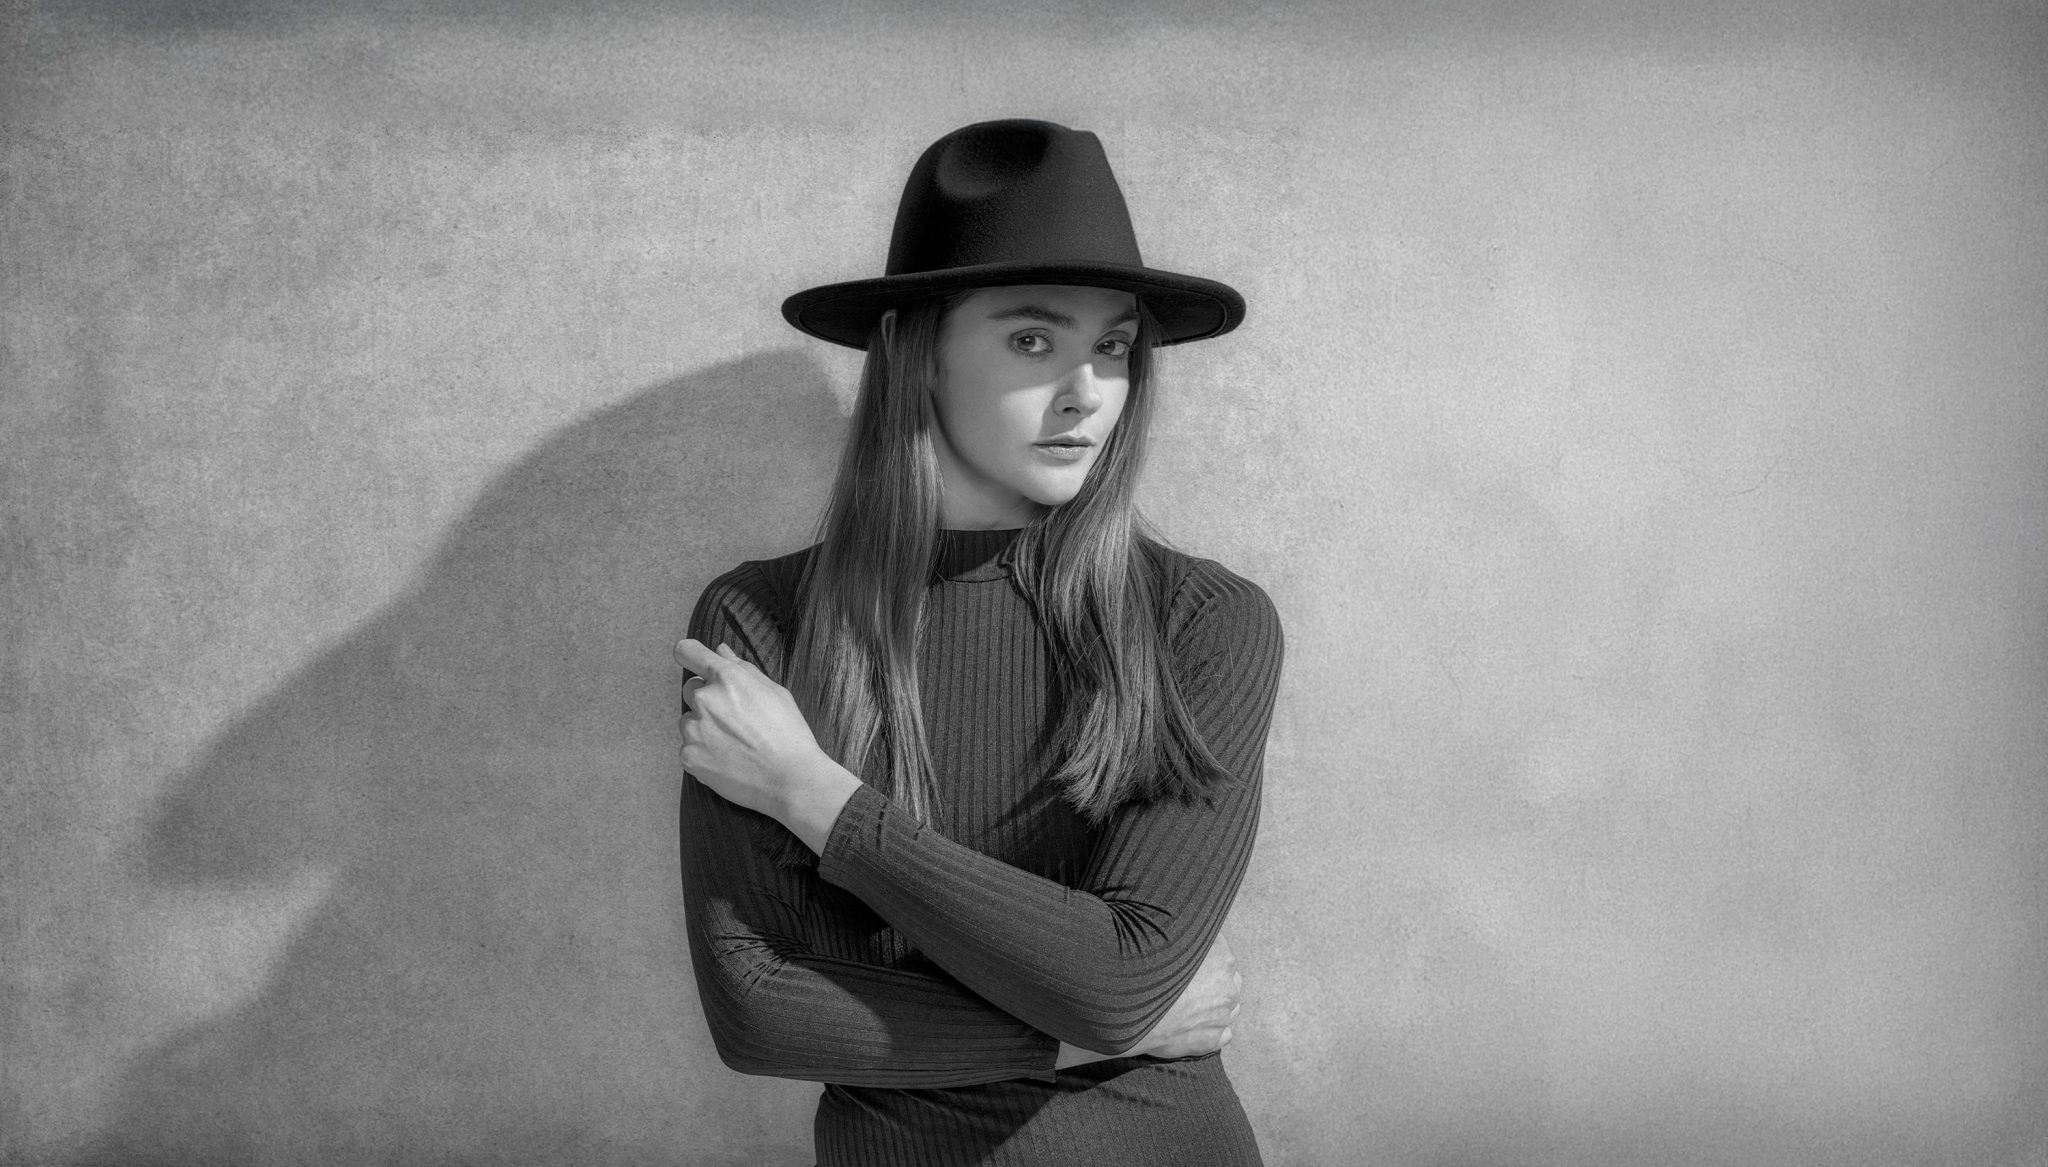
To complete the illusion of an outdoor space, Joel places his model in front of an 8×8’ Smooth Concrete backdrop from Westcott, mounted on the X-Drop Pro frame. This textured background adds realism and depth, and it complements the dramatic lighting by giving the image a weathered, cinematic look, like the model is standing against a sunlit wall.
Finding Your Light Placement and Height
A big part of selling the sunlight look is making sure the light hits just right. Joel uses the model’s shadow as a guide. The direction, length, and placement of that shadow help establish the mood and believability of the scene.
A few things to keep in mind:
- Shadow Direction: Moving the main light left or right changes where the shadow falls. Want a shadow trailing to the side? Move your light to the opposite direction.
- Light Height: Placing the light high above and angled down mimics the sun’s natural path in the sky.
- Face Shadows: Joel often rakes the light across the model’s face to create interesting angles and add dimension, perfect for a bold, fashion-forward look.
Controlling the Shadow Length
One of the easiest ways to shift the feel of the image is by adjusting how close your subject is to the background. Closer means shorter, more compact shadows. Step the model forward a few inches and the shadows grow longer, adding drama and depth. You can also change the angle of your key light to stretch the shadows even more, Joel uses this to create visual interest, especially when working with props like hats or accessories that cast distinct shapes.


A Repeatable and Reliable Lighting Technique
The beauty of this lighting setup is how flexible and repeatable it is. Whether you’re in a large studio, a small garage, or even the shady side of a building, this technique works. With just two lights and some careful positioning, you can craft a look that feels like it was shot outdoors, without having to worry about clouds, wind, or squinting models.
Ready to try this technique for yourself? Whether you’re shooting portraits, editorial work, or just exploring creative lighting, simulating sunlight in-studio is a fun and versatile way to level up your photography.
Want to see more of Joel Grimes’ work? Check out Mastering Difficult Lighting Situations with the FJ800 Strobe to see how he tackles challenging lighting environments and creates stunning portraits, even in the brightest conditions.


You must be logged in to post a comment.