In this guide, we’ll explore how you can control light exposure while keeping sharp detail and contrast—no matter how tricky the light conditions might be. Photographer Joel Grimes takes us through two amazing techniques in his tutorial filmed in Wickenburg, Arizona: High-Speed Sync (HSS) and Neutral Density (ND) filters. These tools let you capture jaw-dropping backlit portraits with ease.
If you’re ready to take your portrait photography to the next level, we’ll break down the basics of both High-Speed Sync and ND filters in this article, showing you how to use them to create stunning, professional-looking photos. Whether you’re a pro or just starting to experiment, you’ll find plenty of tips that you can try right away.
Techniques for Solving Portrait Lighting Challenges in Full Sun
Joel’s shoot takes place in the gorgeous, sun-soaked landscapes of Wickenburg, Arizona. With its wide-open skies and bold lighting, it’s the perfect place to explore these advanced techniques. Outdoor shoots can be a little tricky, as the natural lighting is unpredictable, but that’s where High-Speed Sync and ND filters come in to make things easier.
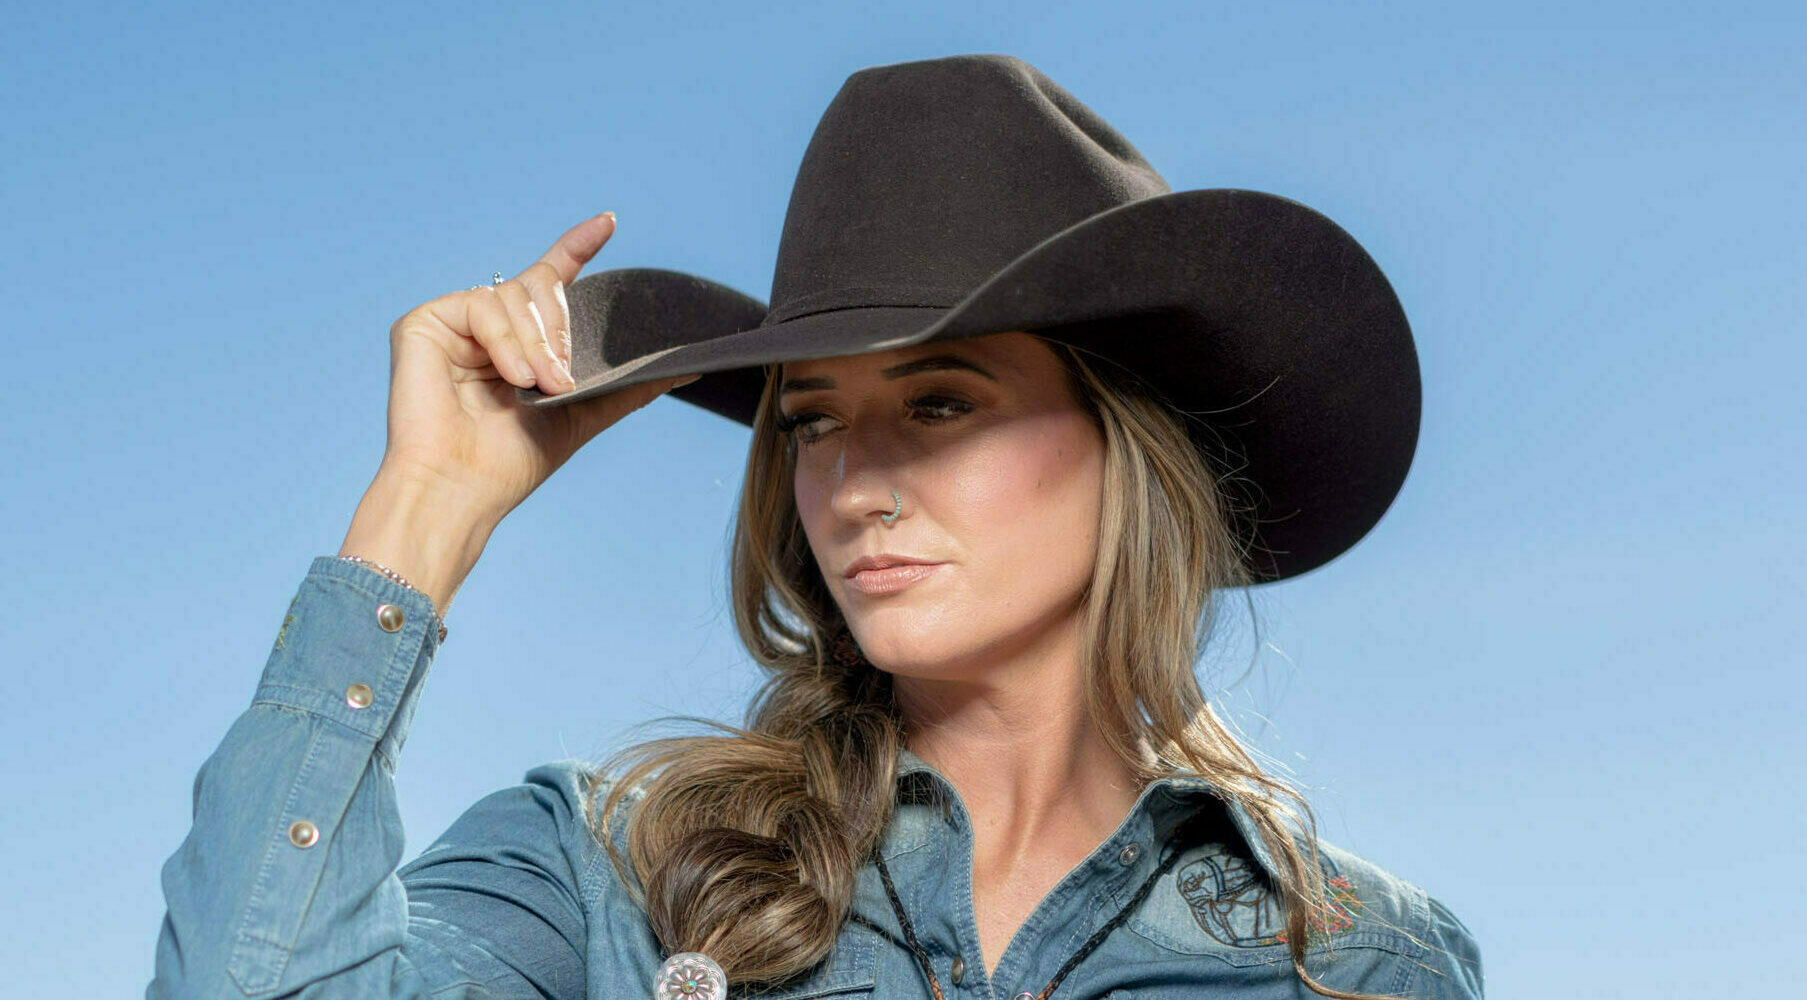
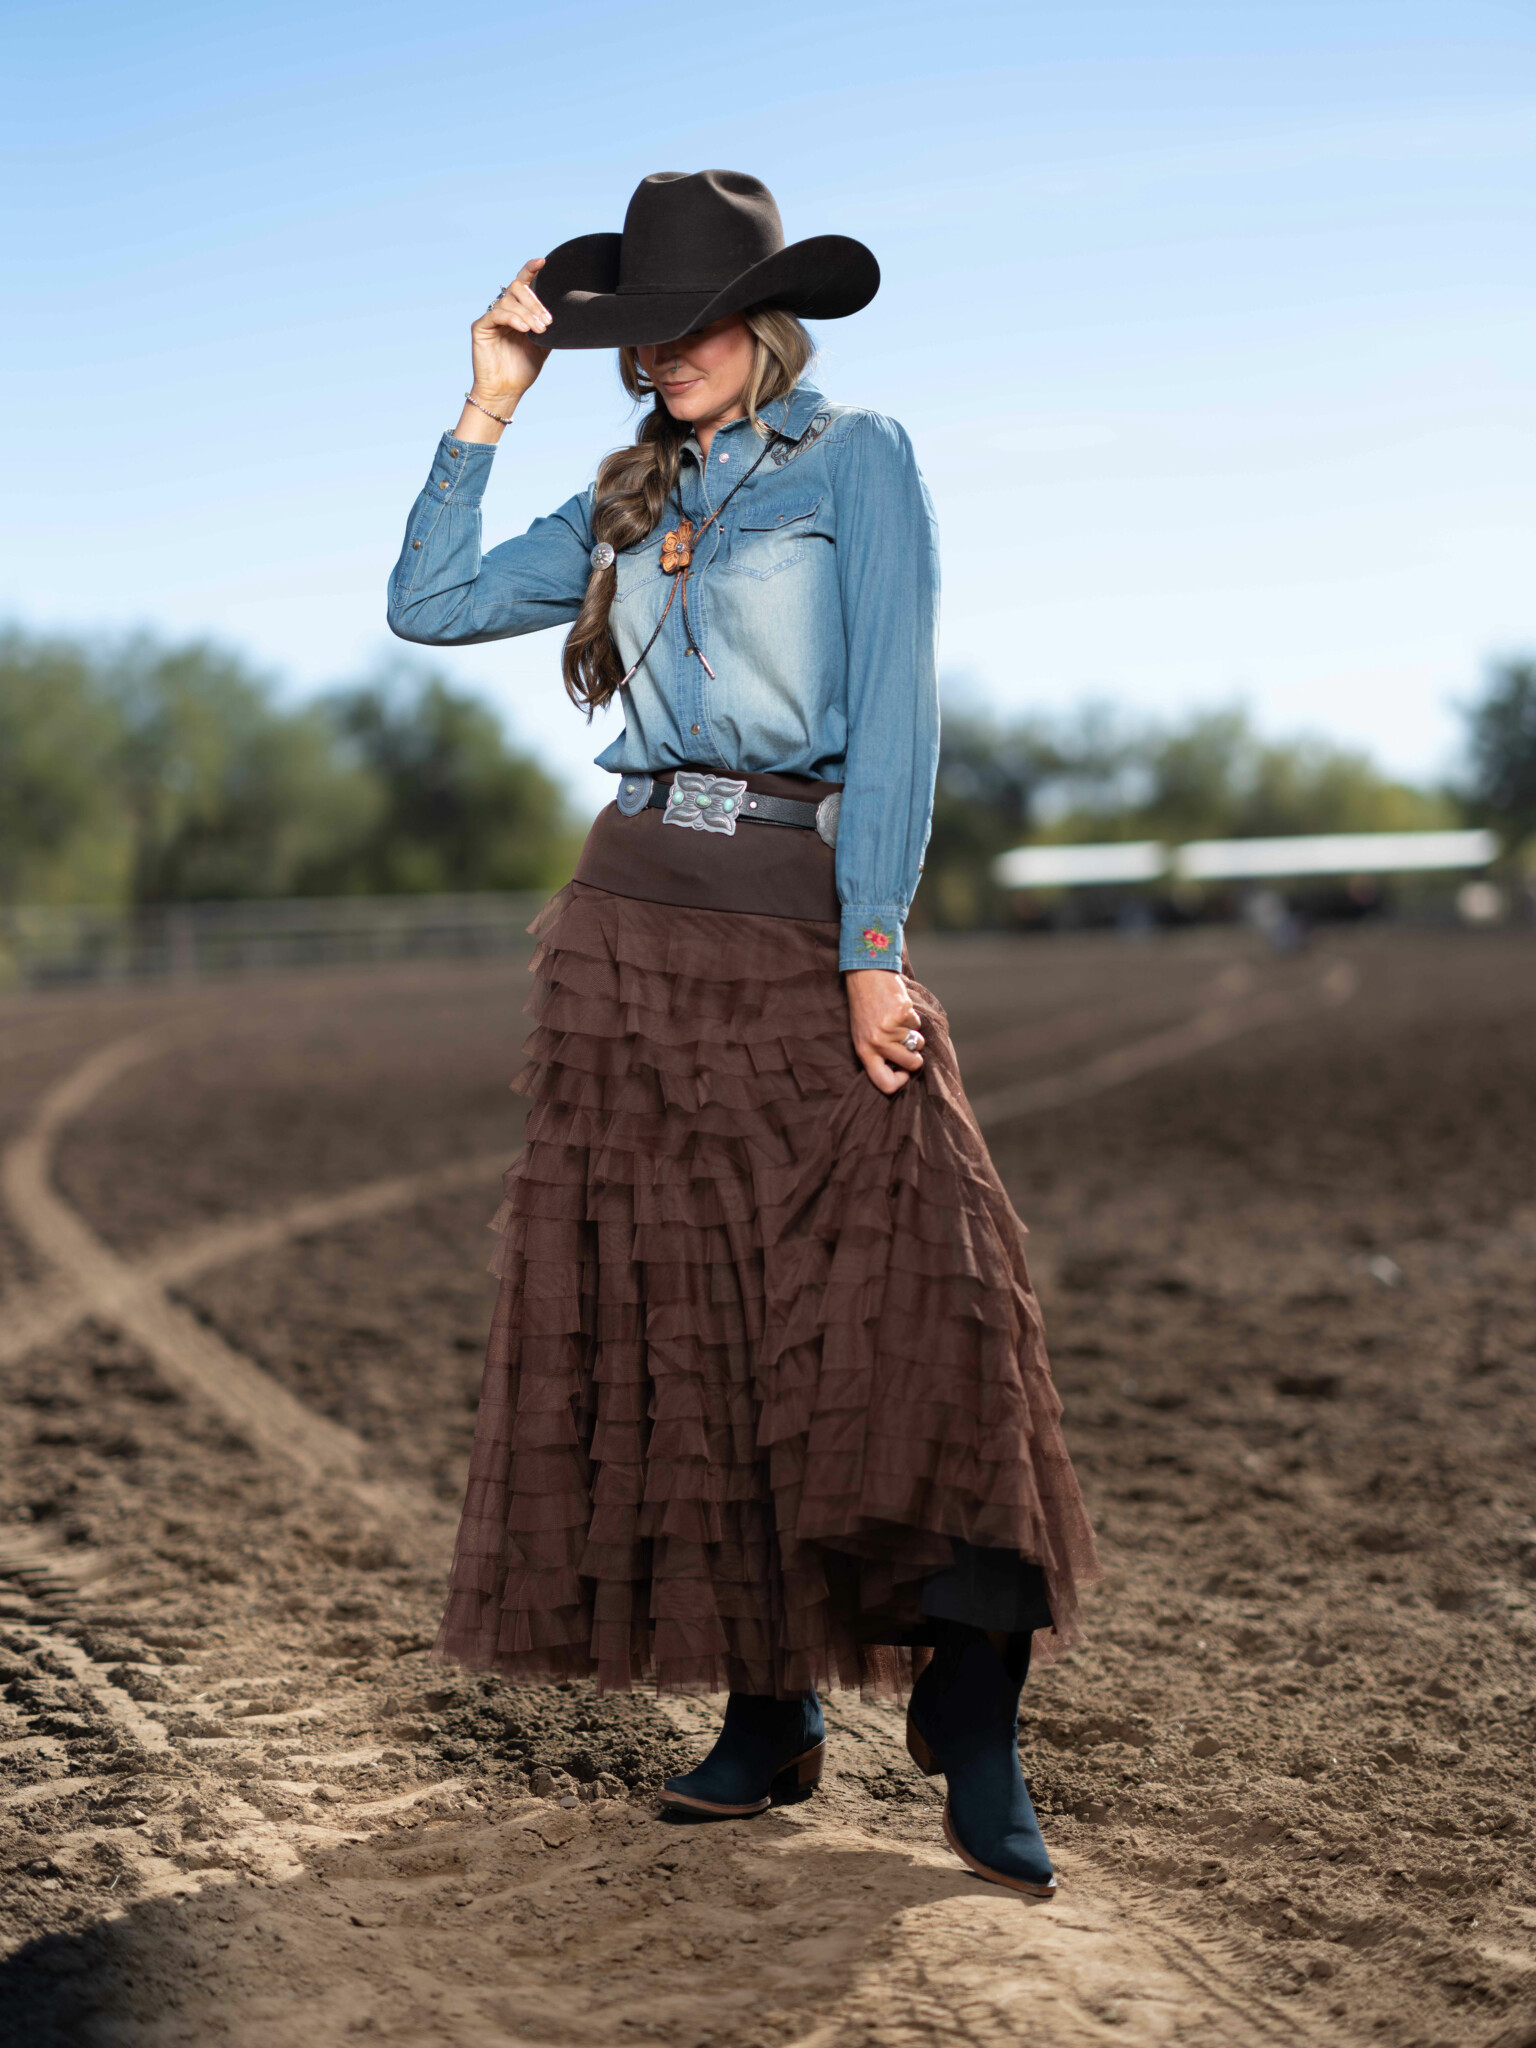
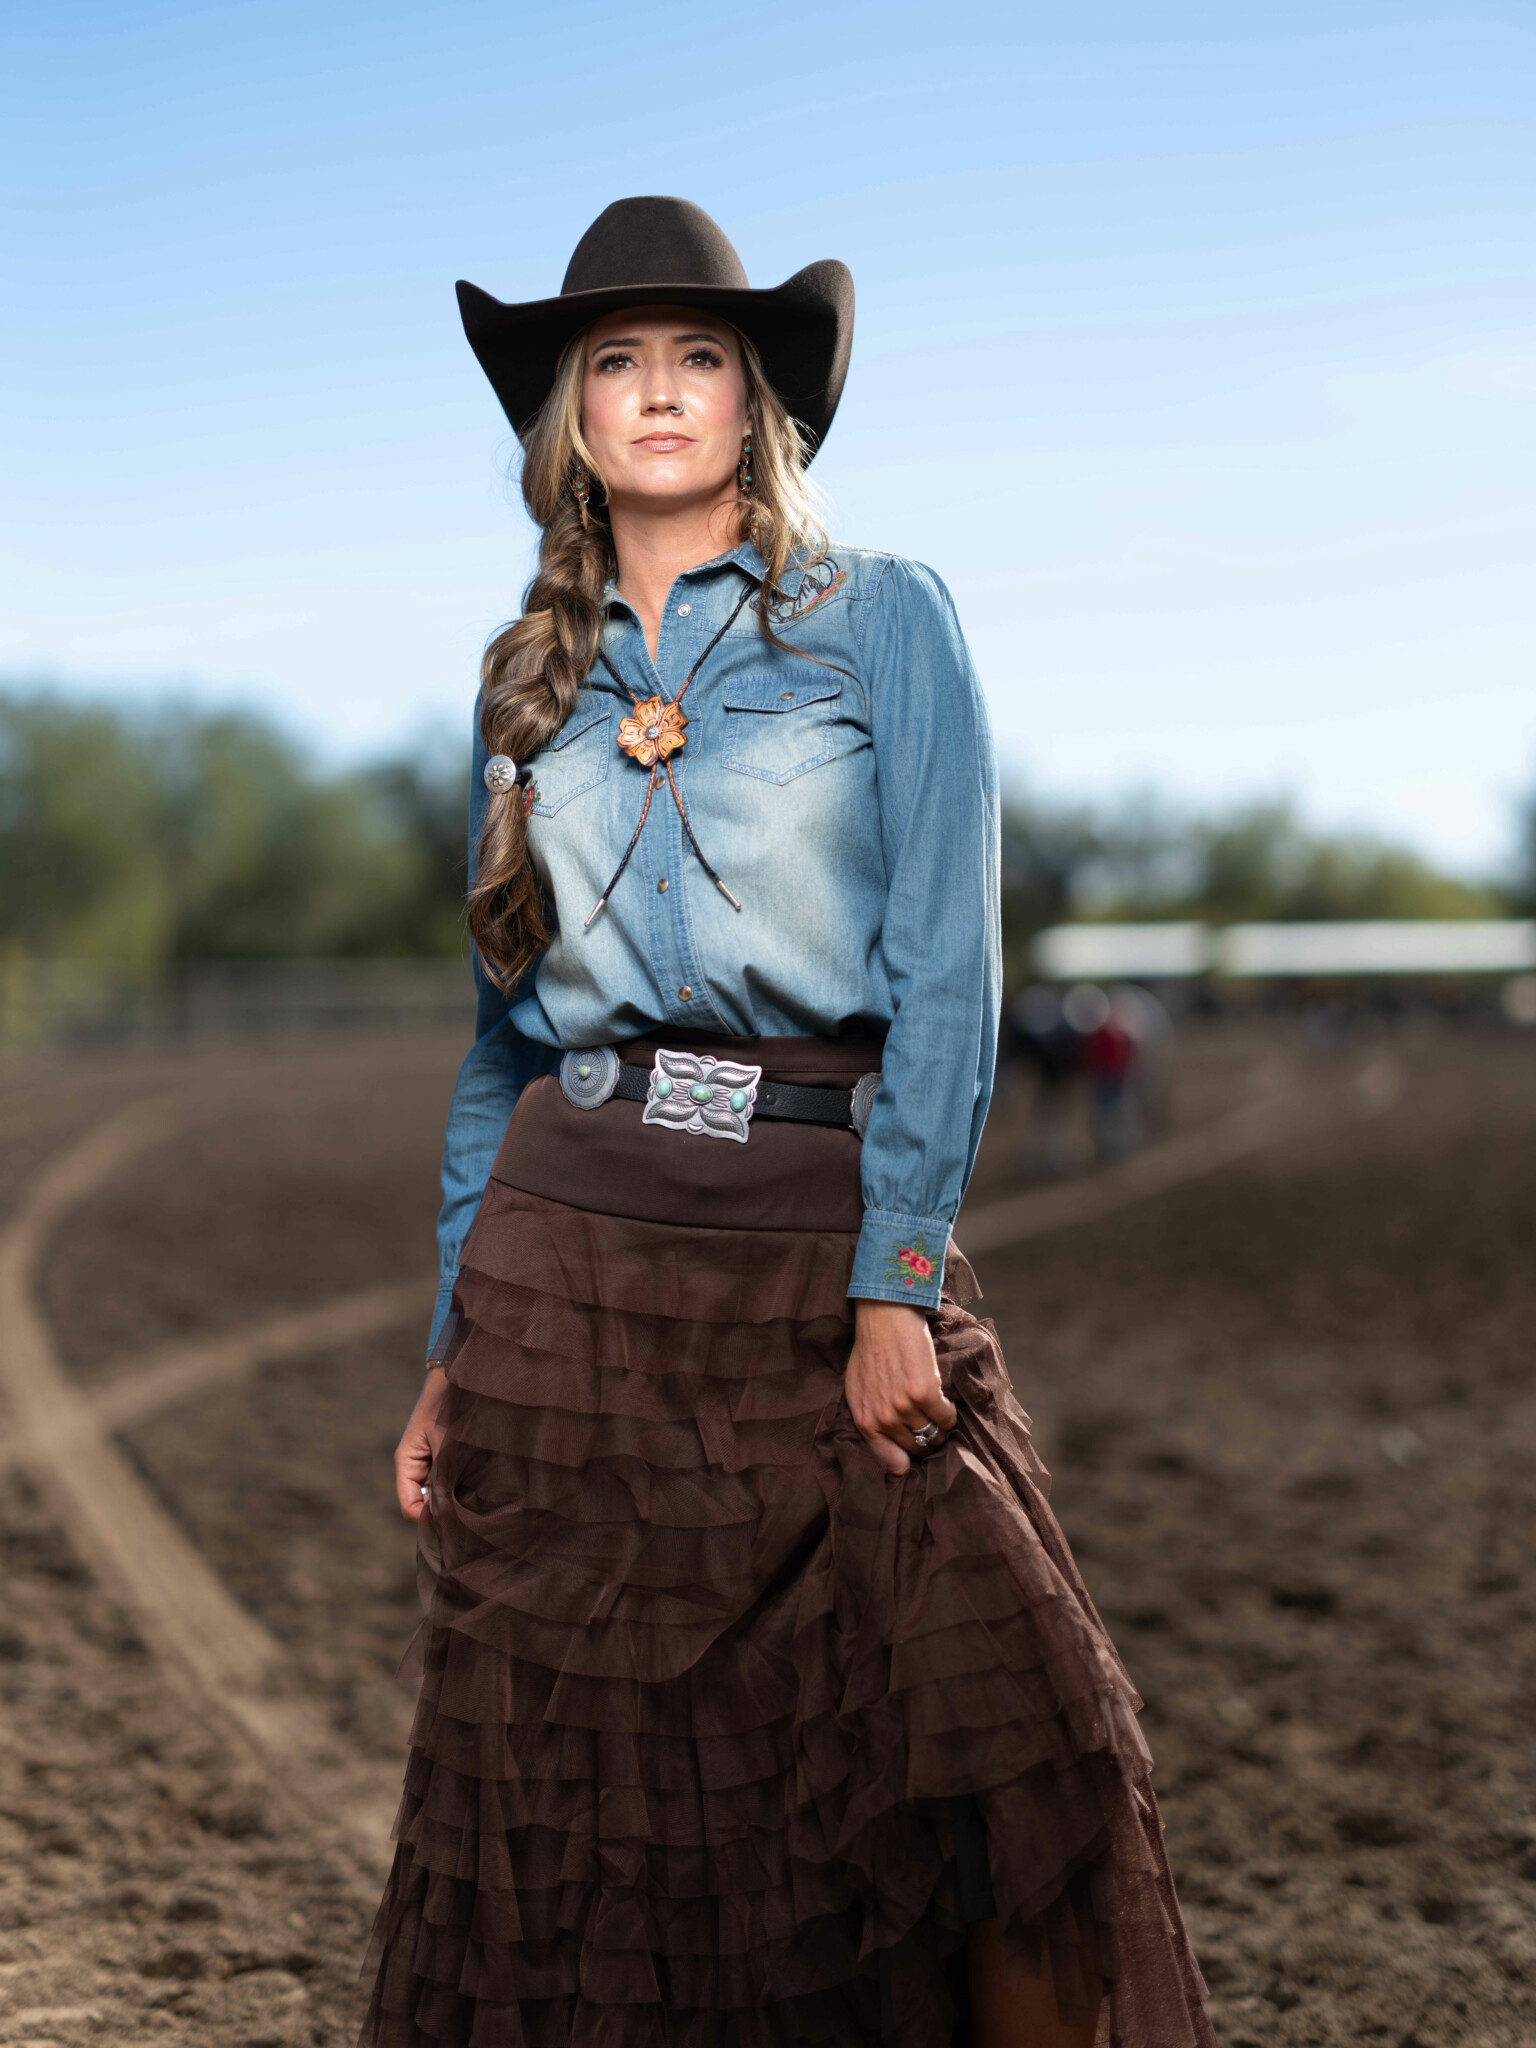
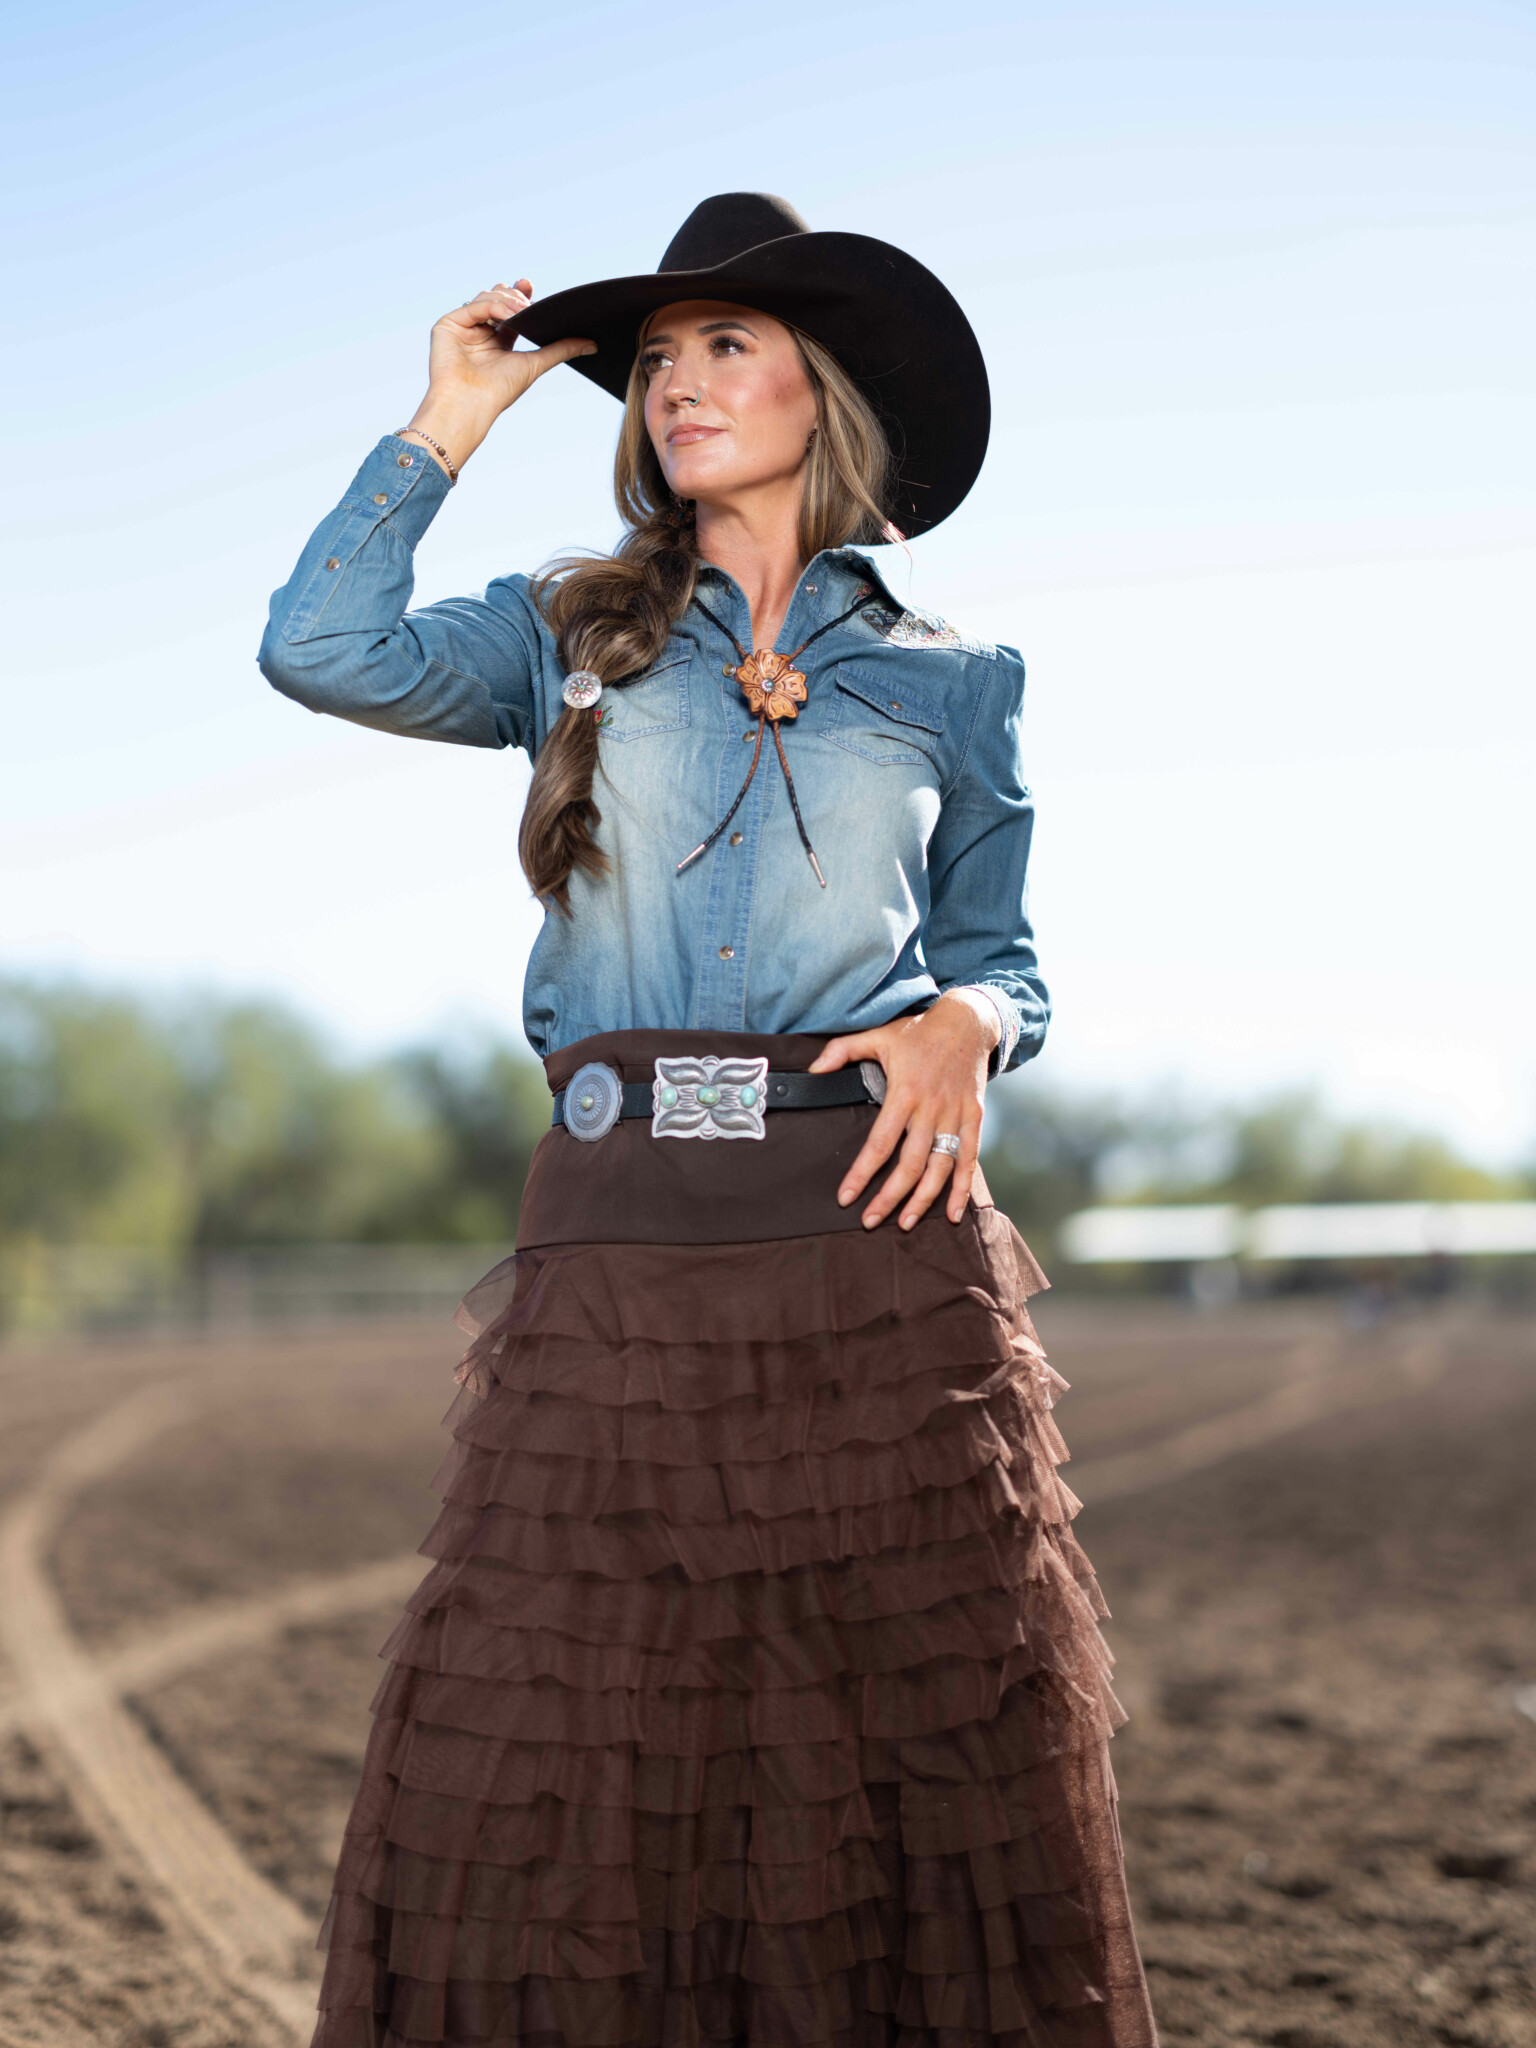
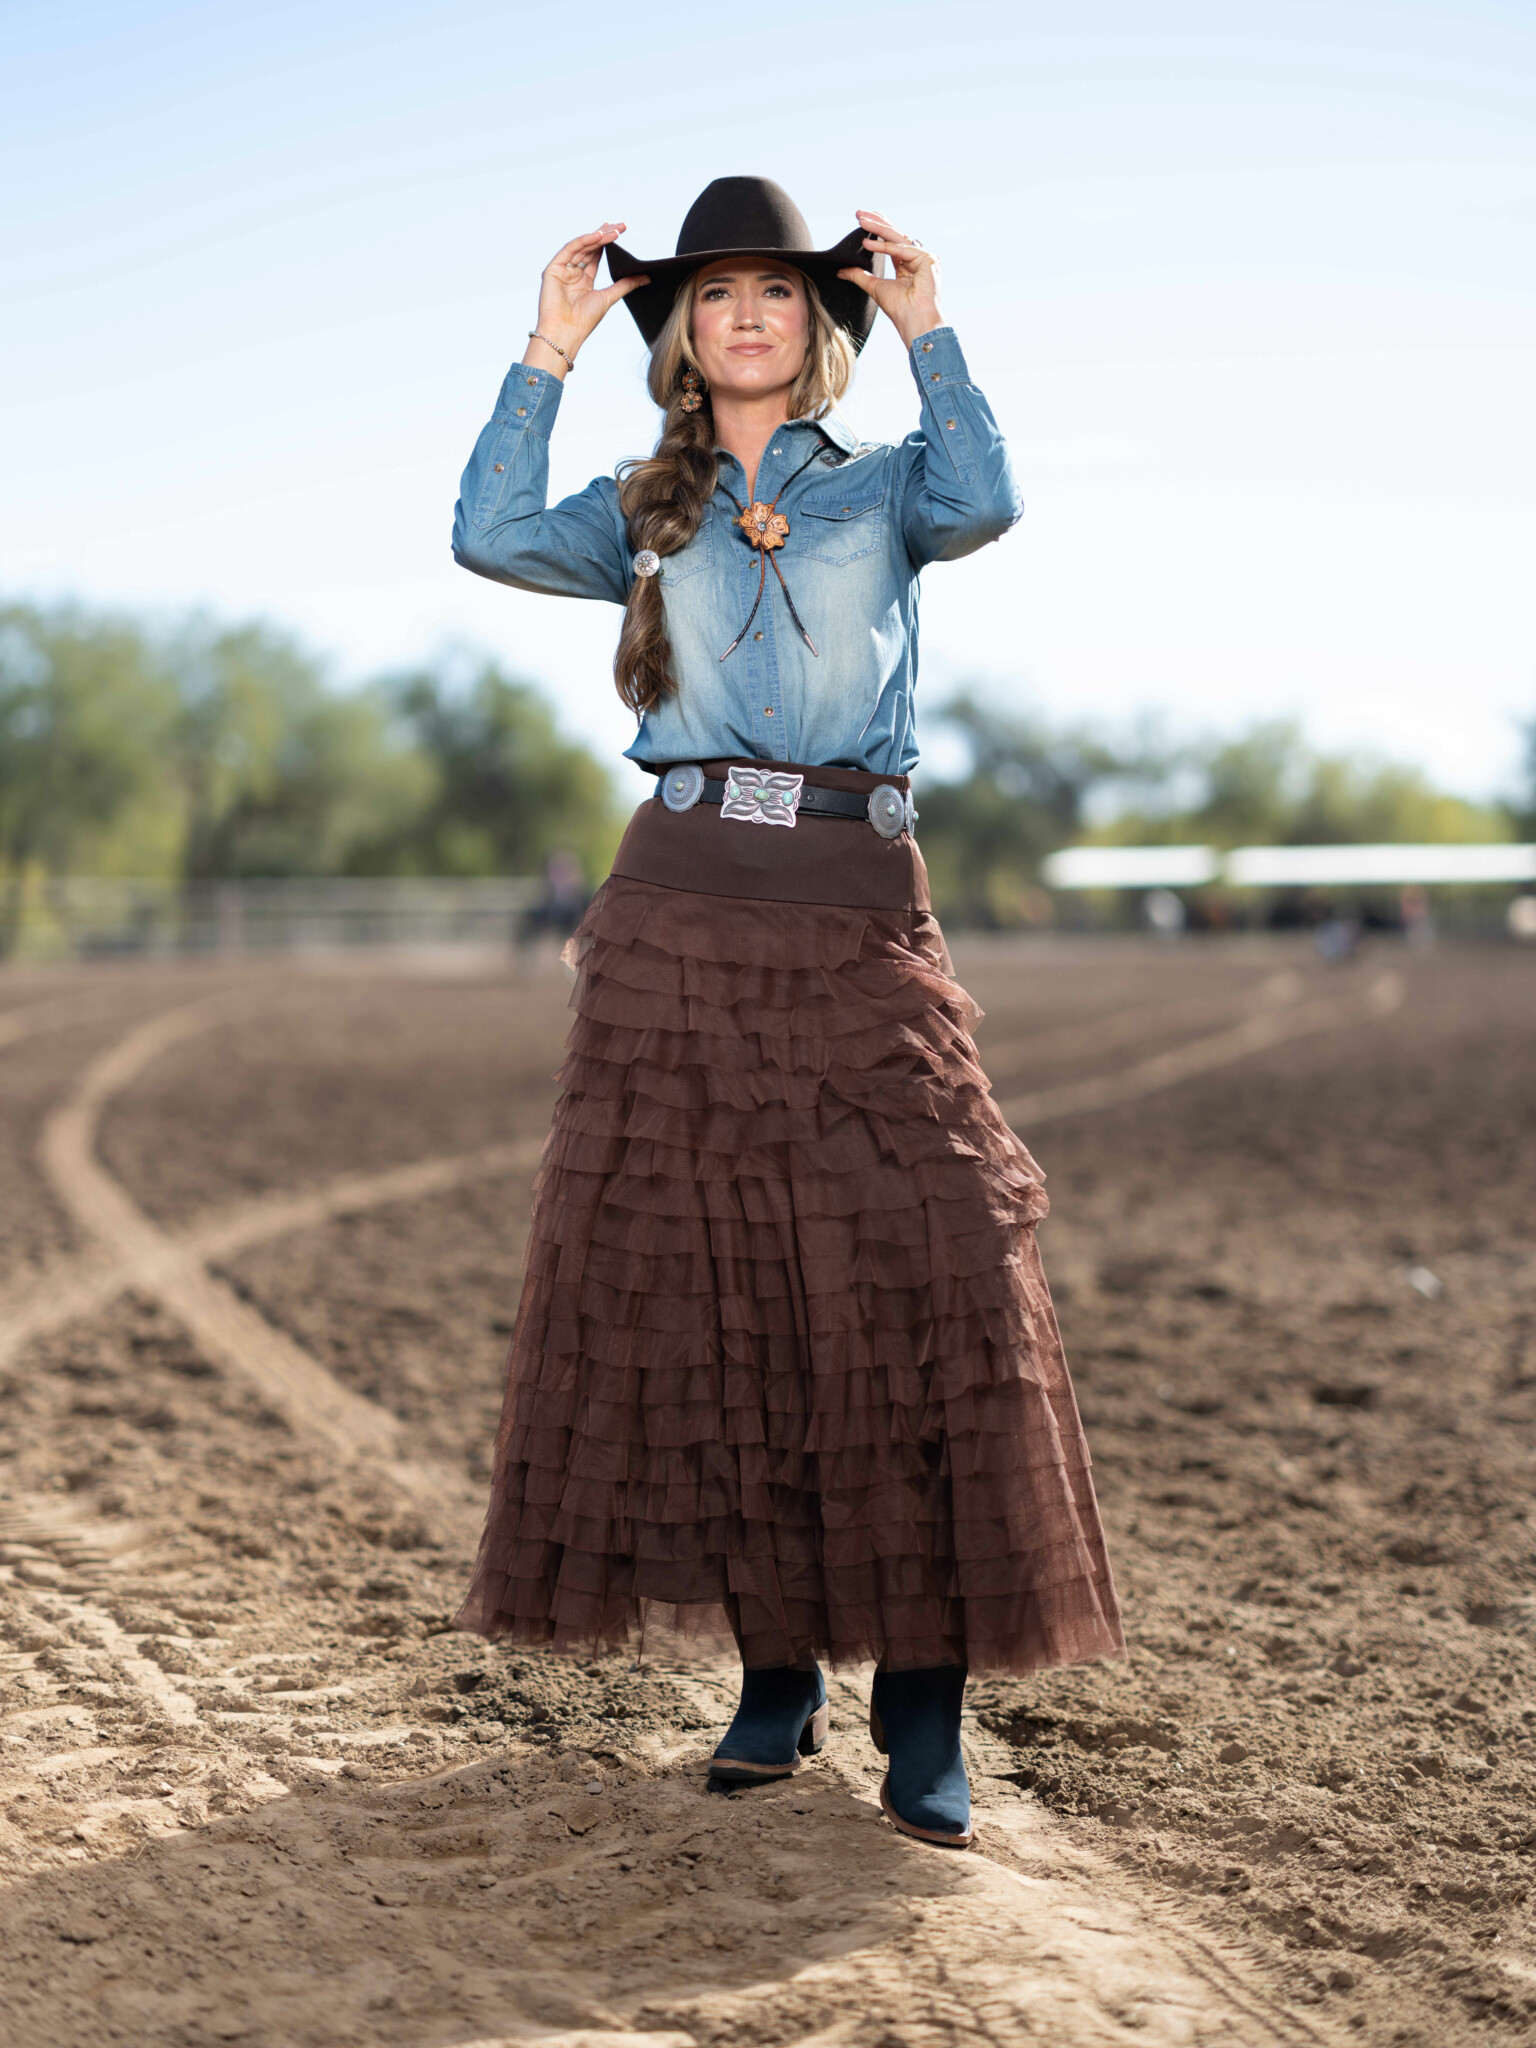
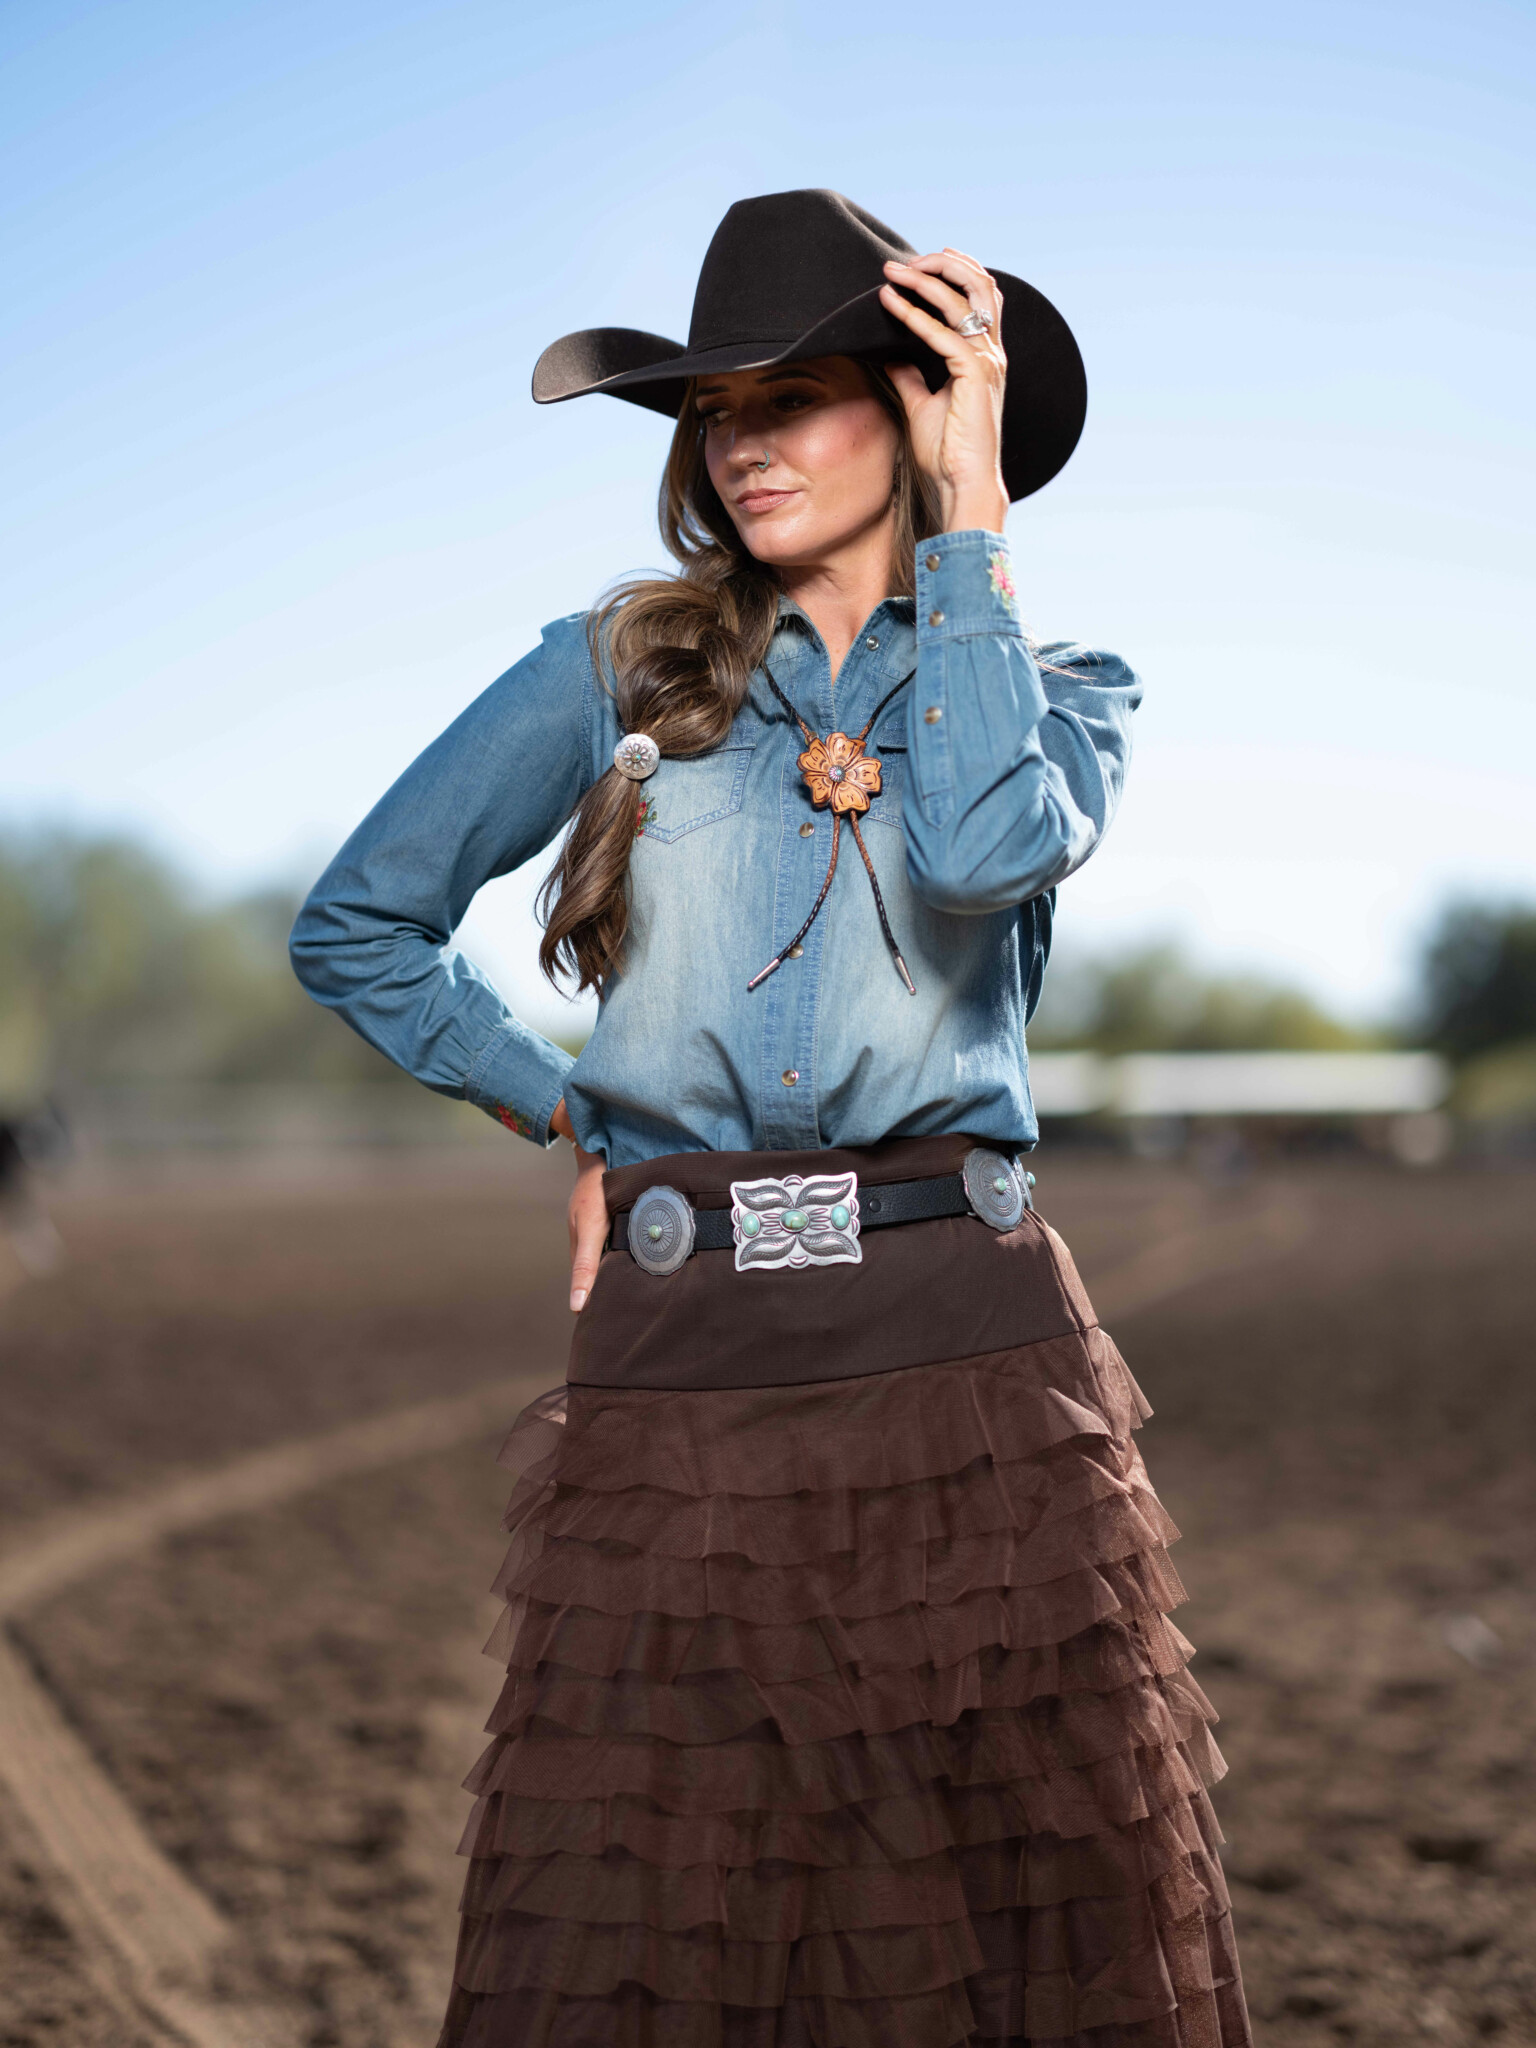
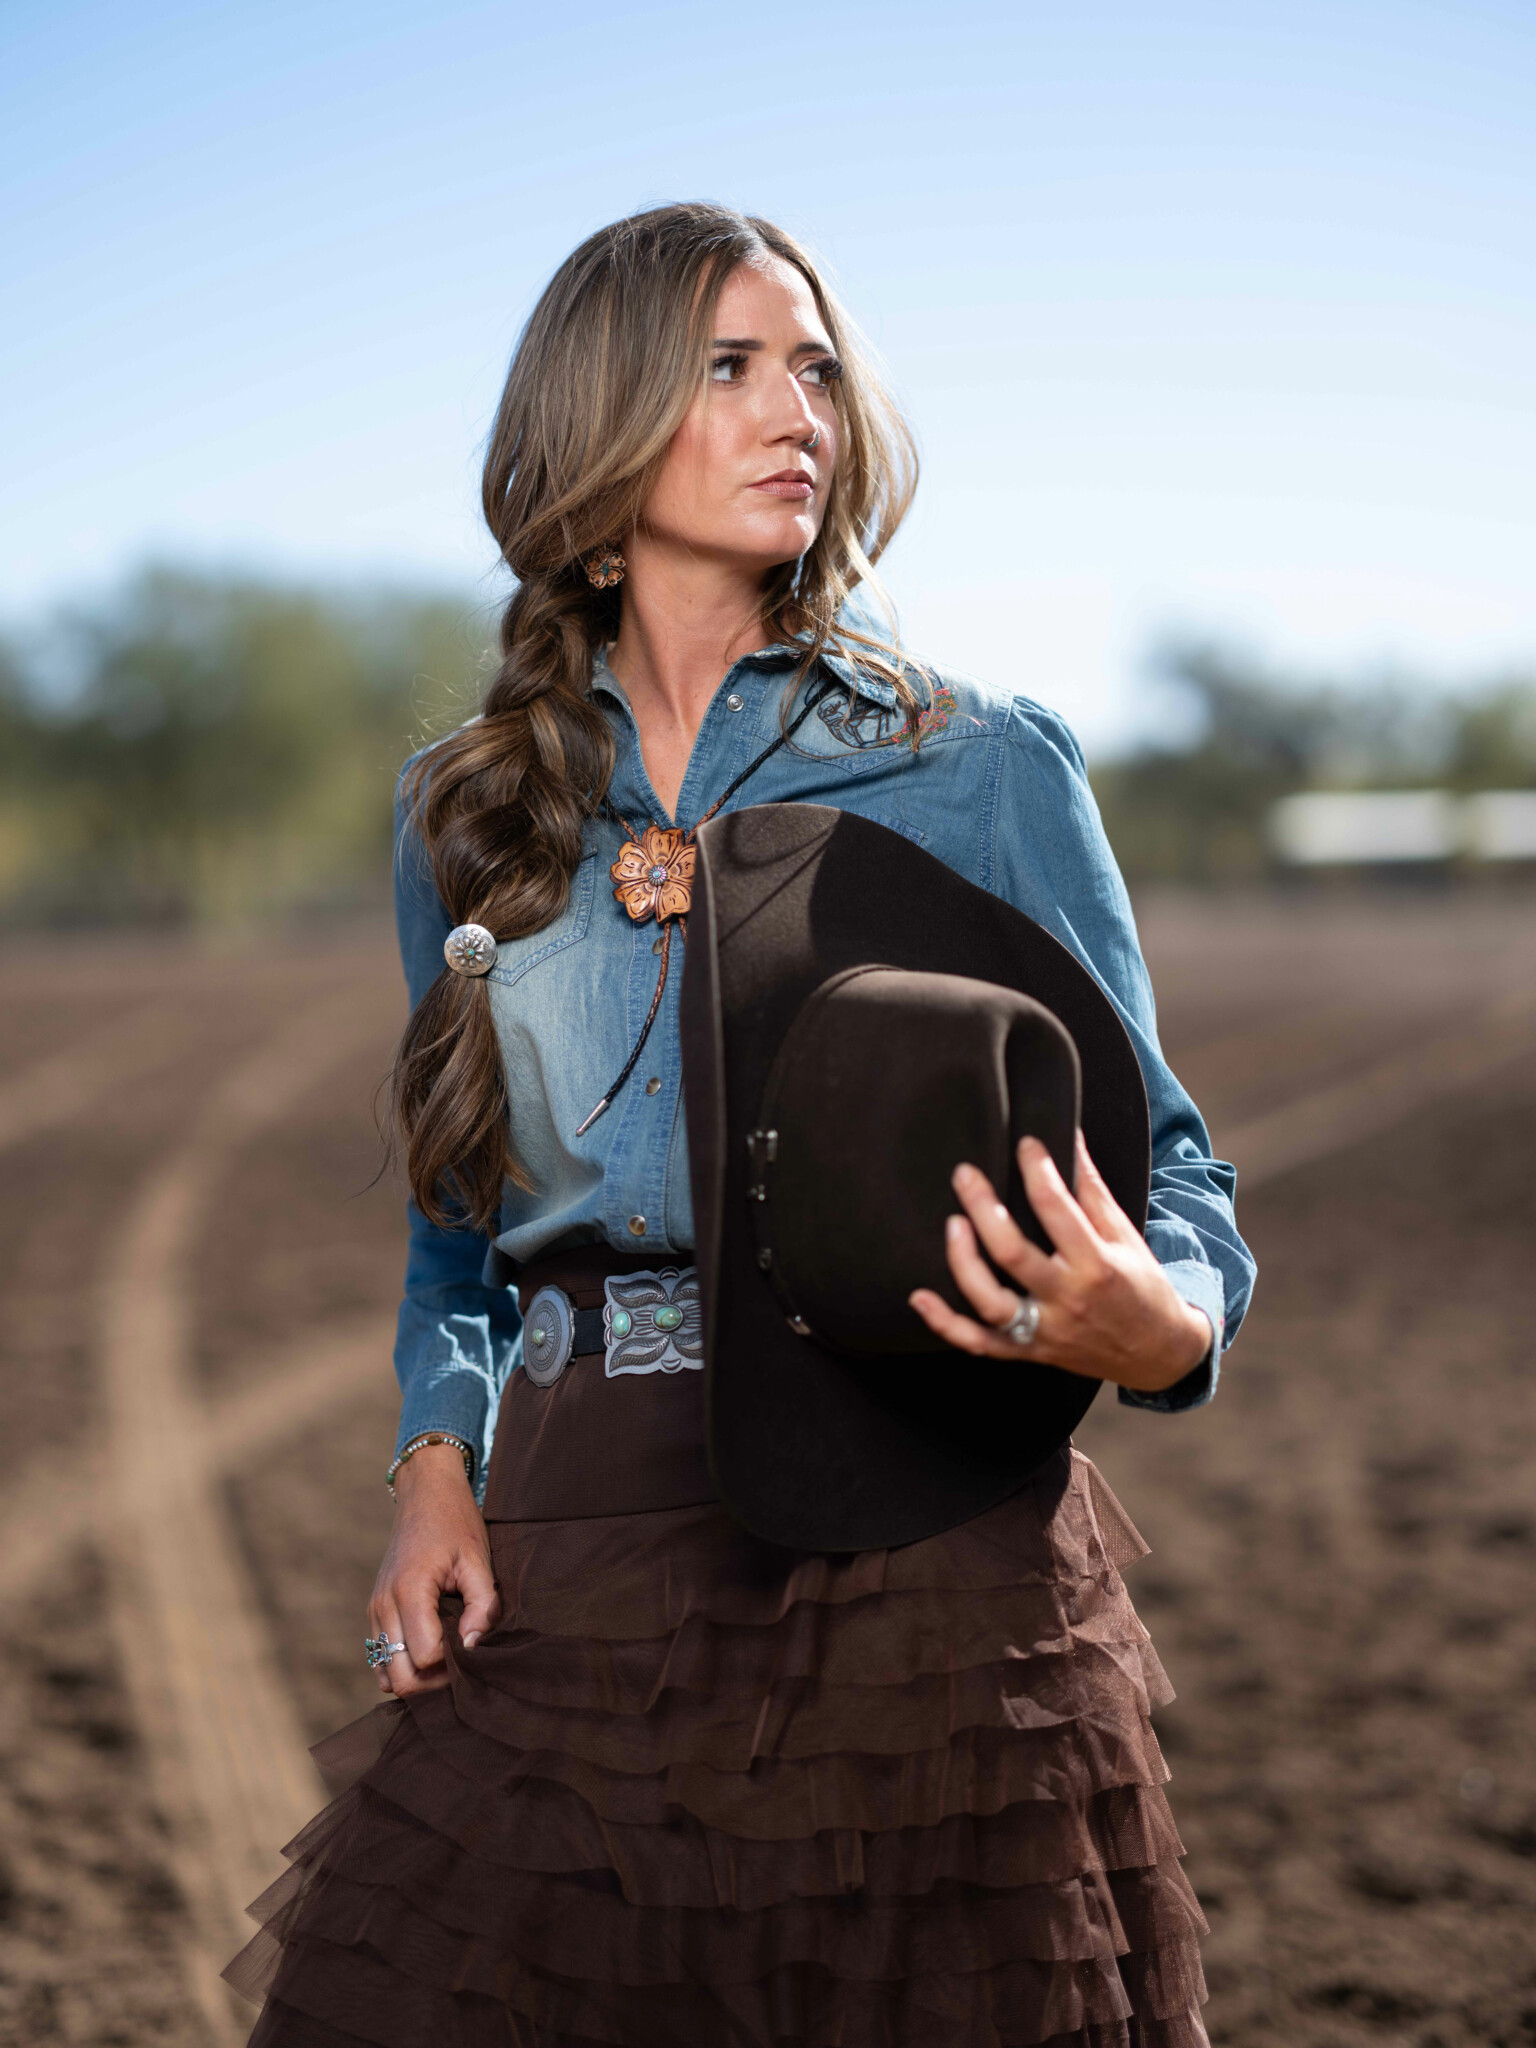
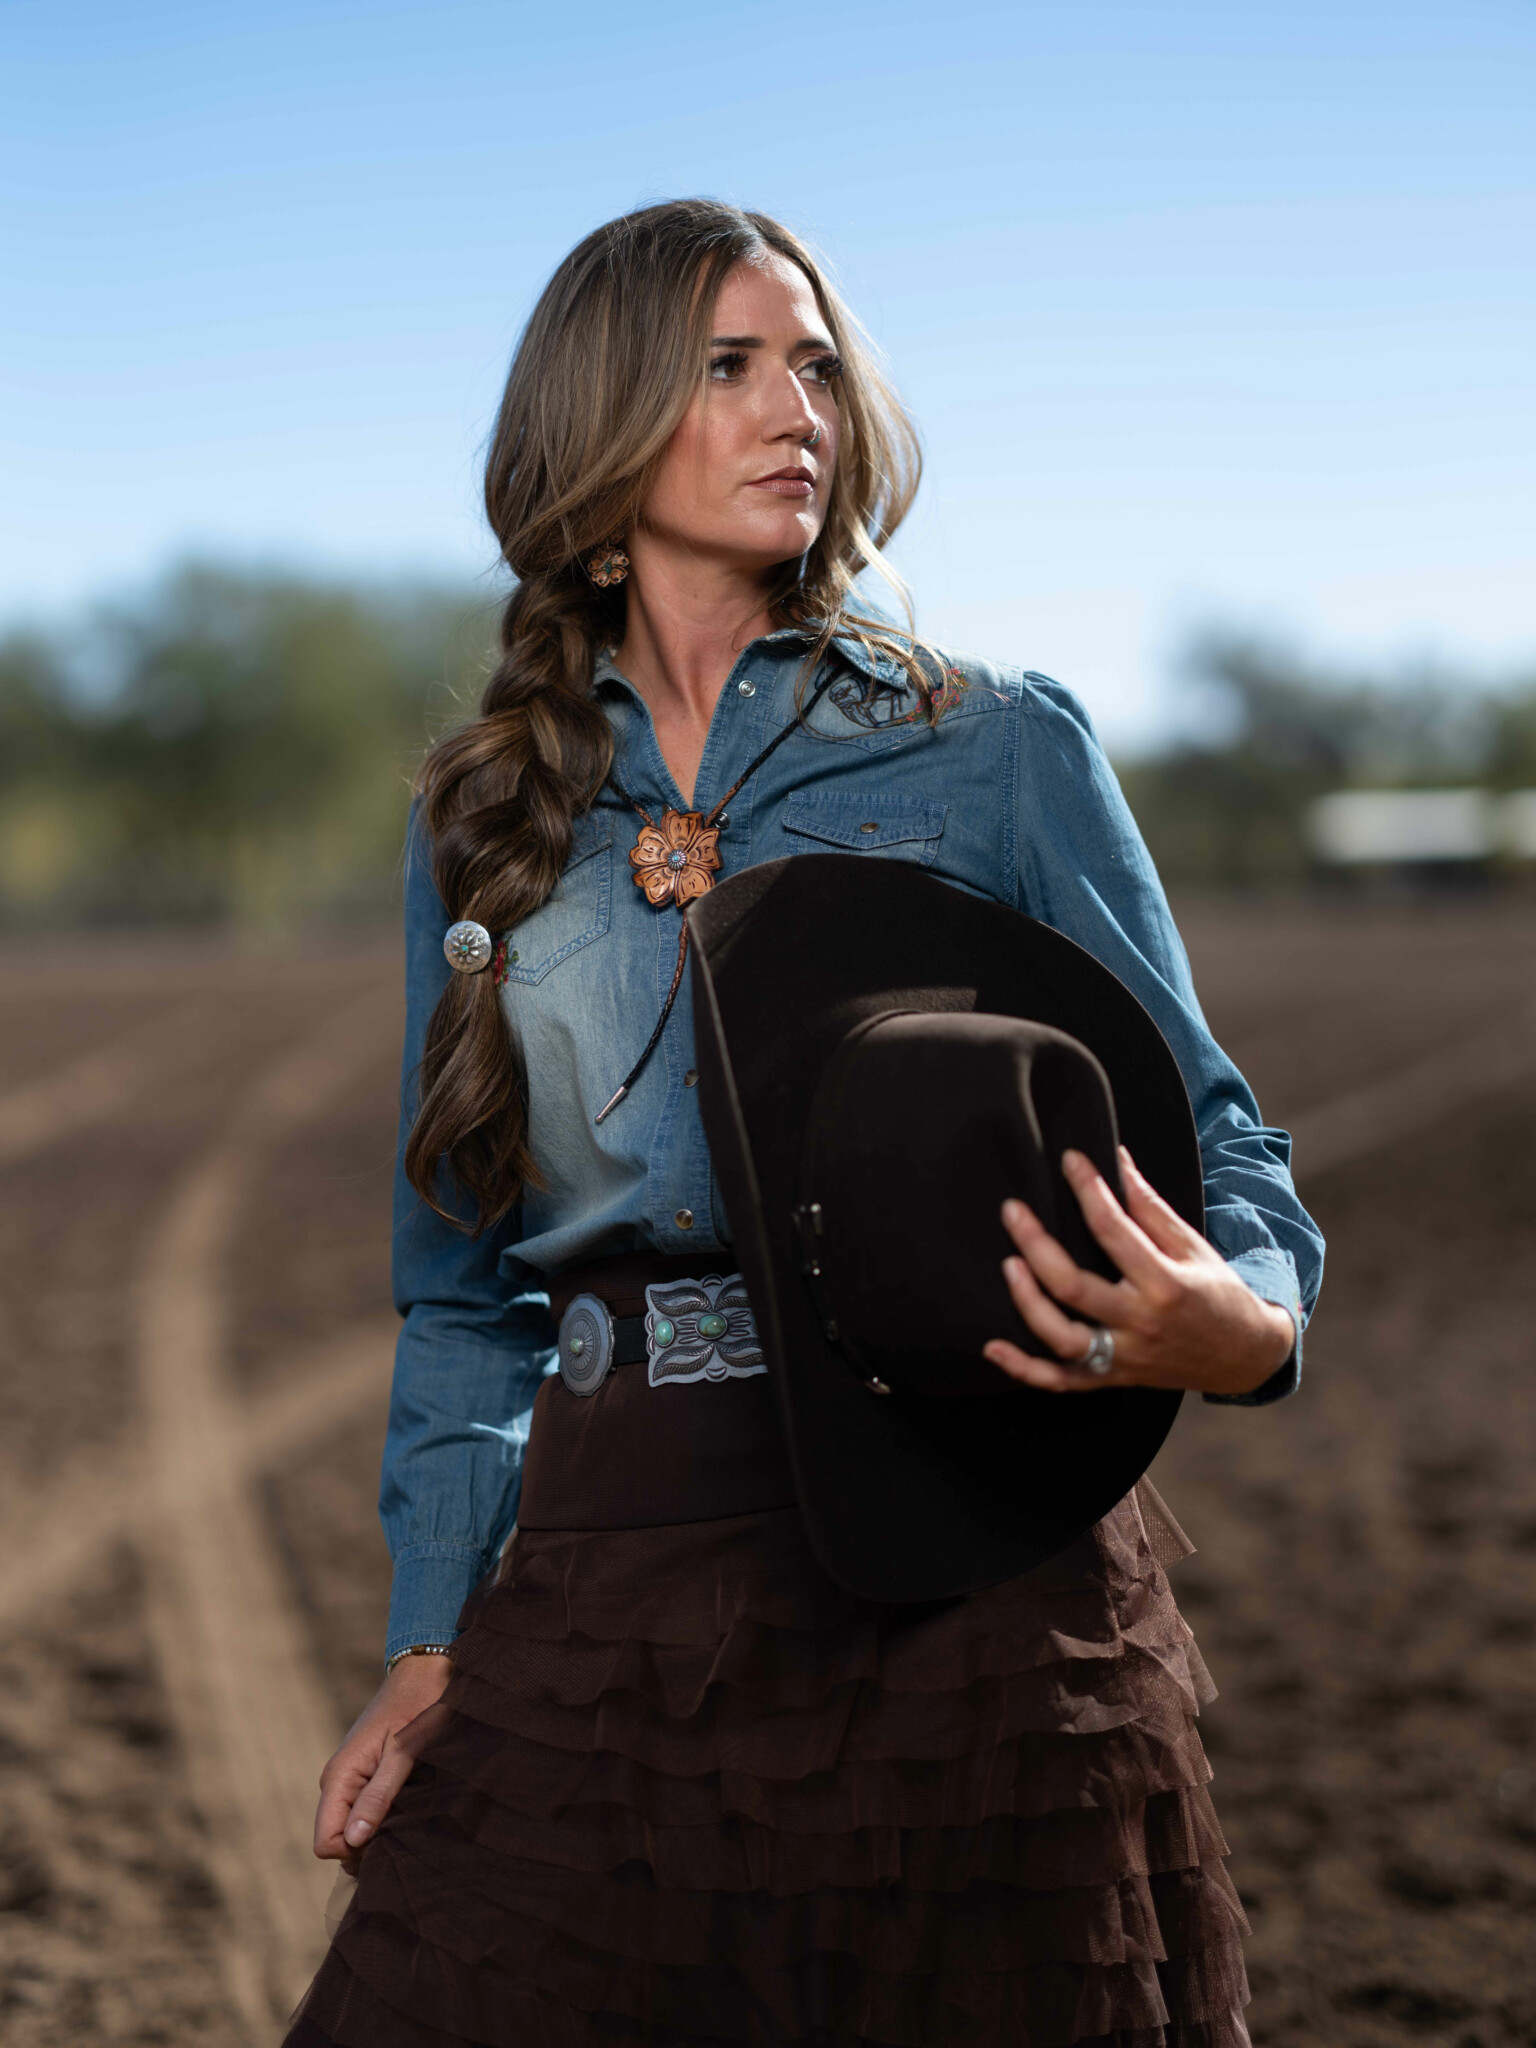
The subject for the shoot is Jess, who gives Joel the chance to test these techniques in action. With the sun positioned behind her, Joel creates a stunning backlit portrait. He uses a Rapid Box Beauty Dish Switch to soften the light on her face while the sunlight behind her creates a glowing effect around her hair and shoulders. It’s a great example of how the right lighting can bring out the best in your photos.
Understanding High-Speed Sync (HSS)
For this shoot, Joel Grimes uses an FJ800 strobe. With its 800Ws power, it provides plenty of light to handle bright sunlight. Additionally, by enabling HSS, Joel gains even more control over the bright ambient light, allowing for precise exposure and more creative flexibility. High-Speed Sync is a game-changer. It lets you use flash at much faster shutter speeds than what your camera usually allows. This is especially helpful in outdoor shoots, where sunlight can often overpower your subject. Normally, your camera’s sync speed (typically around 1/200 to 1/250 sec) puts a limit on how fast you can shoot with a flash without seeing dark bands or partial exposures. HSS fixes that, letting you shoot with ultra-fast shutter speeds without any problems.
One important thing to keep in mind when using HSS is that it comes with a trade-off: you’ll lose some flash power. This happens because HSS essentially breaks the flash pulse into a series of shorter bursts rather than a single, powerful burst. The faster your shutter speed, the more the flash is spread out over time, which reduces its overall intensity. In other words, the faster the shutter speed, the less light your strobe can output in a given moment.
Key Settings for High-Speed Sync
- Shutter Speed: With HSS, you can set your shutter speed much higher than usual. For example, Joel uses 1/4000 sec to freeze motion and gain control over the background light.
- Aperture: Joel uses a wide f/1.7 aperture on his medium format camera, creating a shallow depth of field and a soft, blurry background. Adjusting your aperture helps you control the subject’s exposure while managing how much of the background stays in focus.
- ISO: ISO plays a big part in exposure when using HSS. Joel starts with ISO 100 and tweaks it as needed to keep the subject properly lit without overexposing the background.
During the shoot, Joel uses the beauty dish above Jess to fill in shadows on her face without losing the natural lighting from the sun. The result? Soft light on the subject’s face with a beautiful rim of light around her from the sun.
Adjusting the Background Exposure
One of the challenges of backlit photography is managing the exposure of the background. If the background is too bright, your subject can become underexposed or even turn into a silhouette. High-Speed Sync gives you more control by allowing faster shutter speeds that darken the background and bring out deeper, richer colors.
At first, Joel uses a shutter speed of 1/4000 sec, which darkens the background and gives the sky a gorgeous deep blue. Later, he lowers the shutter speed to 1/2000 sec to bring in more ambient light, giving the shot a more relaxed, lifestyle feel. This flexibility is one reason why you would want to use HSS—it lets you adjust your shots depending on the mood or look you want.
The Role of the ND Filter in Backlit Portraits
While High-Speed Sync is amazing for freezing action and controlling exposure in bright sunlight, Neutral Density (ND) filters are another powerful tool in your photography toolkit. ND filters reduce the amount of light entering the lens, allowing you to use slower shutter speeds or wider apertures in bright conditions.
Joel uses an eight-stop ND filter in this shoot to show how it compares to HSS. By using the ND filter, he’s able to lower his shutter speed to the camera’s sync speed of 1/200 sec, which lets him use the full power of the FJ800 strobe. Normally, this slower shutter speed would overexpose the image, but the ND filter makes it possible.
The real magic of an ND filter is that it lets you darken the background, allowing for richer colors without the limitations of HSS. The catch is that you’ll need to adjust your flash power to make up for the reduced light coming through the lens. ND filters are great when you want a more dramatic, cinematic look with a darker background.
High-Speed Sync vs. ND Filter: Which to Choose?
In the end, Joel compares the results from HSS and ND filters to help you decide which to use in different situations.
- High-Speed Sync: Perfect for freezing fast-moving subjects and controlling a bright, dynamic background. HSS is great when you need to capture the vibrancy of a blue sky or control the exposure of the background. It’s also awesome for action shots where you want to freeze motion with minimal blur.
- ND Filter: Great for darkening the background and gaining more creative control over your exposure. ND filters let you slow down your shutter speed for smoother motion and a more cinematic vibe. Just remember, you may need to adjust your lighting to compensate for the reduced light entering through the lens.
Both techniques are fantastic—each with its own strengths. Your choice will depend on what kind of shot you’re going for. If you want to freeze motion and brighten up the background, HSS is your friend. If you prefer a darker background with more control over exposure, ND filters are the way to go.
Perfecting Your Backlit Portraits
Mastering backlit portraits with High-Speed Sync and ND filters gives you creative control over both the subject and the background. With the right tools, like a Rapid Box Beauty Dish Switch and a powerful strobe like the FJ800, you can capture stunning, professional-level portraits in any outdoor environment.
Don’t be afraid to experiment with shutter speed, aperture, and ISO, and test both HSS and ND filters to see which technique fits your style. The more you practice, the more confident you’ll become at controlling the light and creating beautiful portraits that perfectly balance your subject and the surroundings.



You must be logged in to post a comment.