
Have you ever found the perfect location, only to realize the harsh midday sun is ruining your shot? Many photographers shy away from using a strobe outdoors because they’re afraid it will look fake or unnatural. In this guide, professional portrait photographer Eli Infante walks us through how he uses the and the Manny Ortiz Beauty Dish to create stunning, natural-looking flash portraits on location. Whether it’s a cloudy afternoon or high-noon sun, Eli shows us that a little bit of portable lighting power can go a long way in making your subject pop while keeping the environment looking beautiful.
Be Intentional with Your Location
When Eli arrives at a location, he isn’t just looking for a cool bridge or a pretty tree. He’s looking for color harmony. For this shoot, his subject, Aiva, wore a green sweater. By placing her near a vibrant red tree, Eli utilized complementary colors to make her stand out.
Don’t just place your subject in a spot because it’s convenient. Look at how the colors of their outfit interact with the scenery. Being intentional with your placement before you even turn on your light will give your final image a much more professional and polished feel.


Blocking the Sun for Better Light
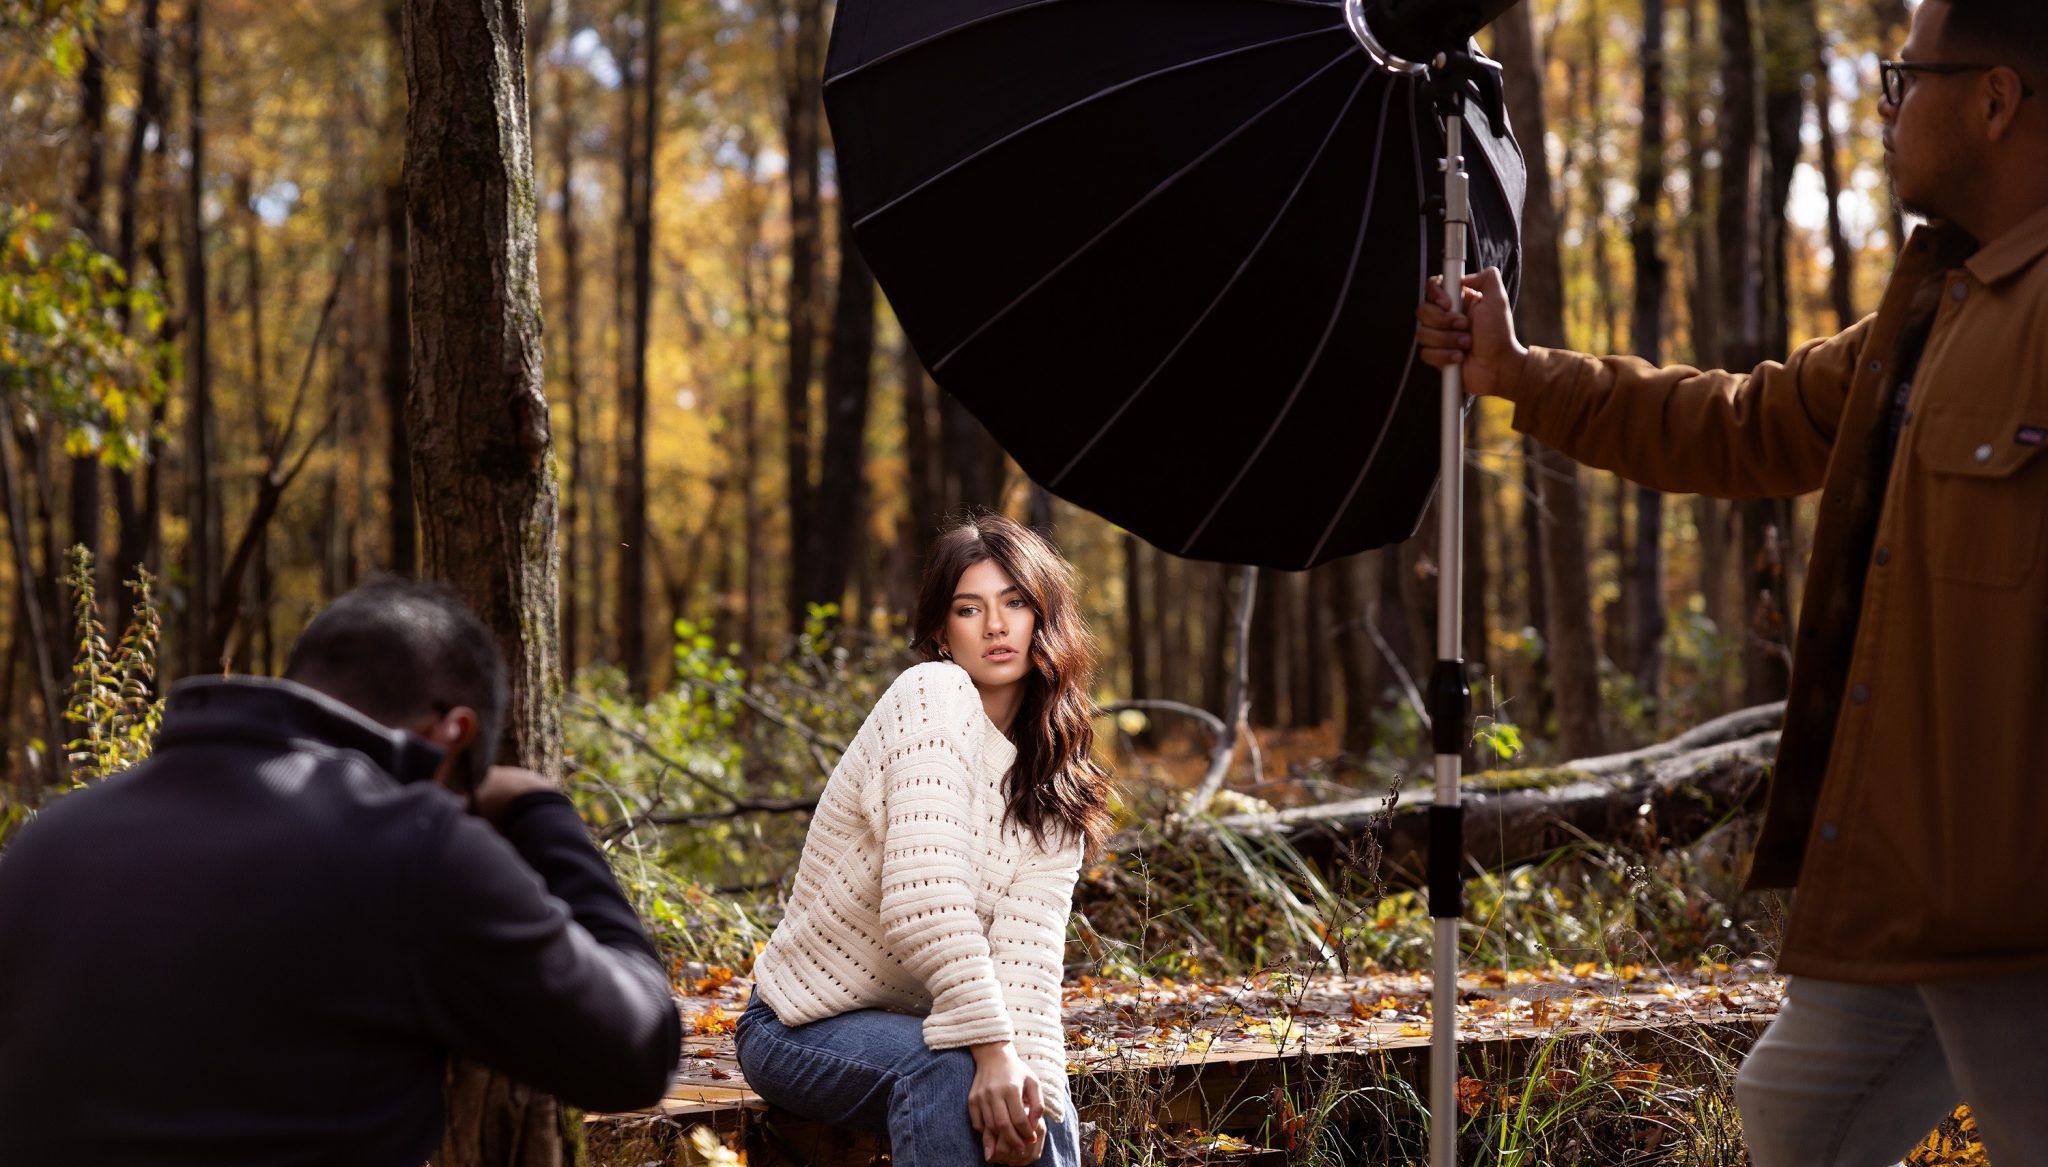
One of the biggest challenges of shooting outdoors is the direction of the sun. If the sun is hitting your subject directly, it can create harsh, unflattering highlights. Eli’s secret is to use the light modifier, in this case, his 36-inch Beauty Dish Switch, to block the sun from hitting his subject’s face.
By positioning the softbox between the sun and the subject, he creates his own shade. This puts the subject in soft, diffused light, while a provides the main illumination. This allows Eli to keep the beautiful colors of the background without having messy sun patches on his subject’s face.


Picking the Right Aperture
There is a common debate in portrait photography: f/1.4 vs. f/2.8. While many photographers love the bokeh look created with f/1.4, Eli explains that he chooses his aperture based on the story he wants to tell.
- f/1.4: Use this when you want to completely isolate the subject and turn the background into a soft blur.
- f/2.2 to f/2.8: Eli prefers this range when the location is beautiful. It keeps the background soft, but retains enough detail so the viewer can still appreciate the environment.


Posing and Light Direction
Sitting poses are a favorite for Eli because they feel more natural. When he had Aiva sit on a bridge, she fell into a relaxed pose almost instantly. However, once the pose is set, you have to decide where the light goes.
To keep the light looking natural, Eli usually places his strobe on the same side as the sun. For these shots, he used a Loop Lighting pattern, at camera left. By keeping the shadows on the unlit side of the face, he mimics the physics of light found in nature. This prevents the portrait from looking like it was shot in a studio.


Move Around for Variety
Once you’ve nailed the lighting in a spot you love, don’t just pack up and leave! Eli’s secret to a productive shoot is squeezing every bit of potential out of a great location. After finishing the sitting poses on the bridge, he adjusted his angle and moved his light to find a fresh perspective in the same area.
By having the subject sit differently moving away from the crisscross legs to a new seated position, you get a completely different look without wasting time hiking to a new spot. This is where the portability of the FJ250 really shines, especially when mounted to a paint pole with a paint pole adapter. It’s light enough to pick up and reposition in seconds, so you can keep your creative flow going.


Create Depth with Layers
To make a portrait feel three-dimensional, think about the foreground, middle ground, and background.
- Foreground: Use leaves, branches, or parts of the bridge close to your lens to create a frame.
- Middle Ground: This is where your subject lives.
- Background: Use your aperture to blur this out, creating a sense of scale.
This layering technique adds depth to the image and makes the viewer feel like they are standing right there in the scene with the subject.
Final Takeaways
At the end of the day, photography is all about how you handle the light. Eli Infante’s approach proves that you don’t need a massive crew or a studio to get world-class, natural-looking portraits. By being intentional with your colors, understanding the direction of the sun, and using the right tools, like the Westcott FJ250, you can turn any outdoor location into your own professional studio.
Looking for More Outdoor Portrait Lighting Tips?
If you enjoyed this breakdown, you’ll love How to Create Multiple Portrait Looks with One Portable Strobe. Eli Infante shares how a small, portable flash setup can help you move faster on location while creating a variety of professional outdoor portraits with just one light.


You must be logged in to post a comment.