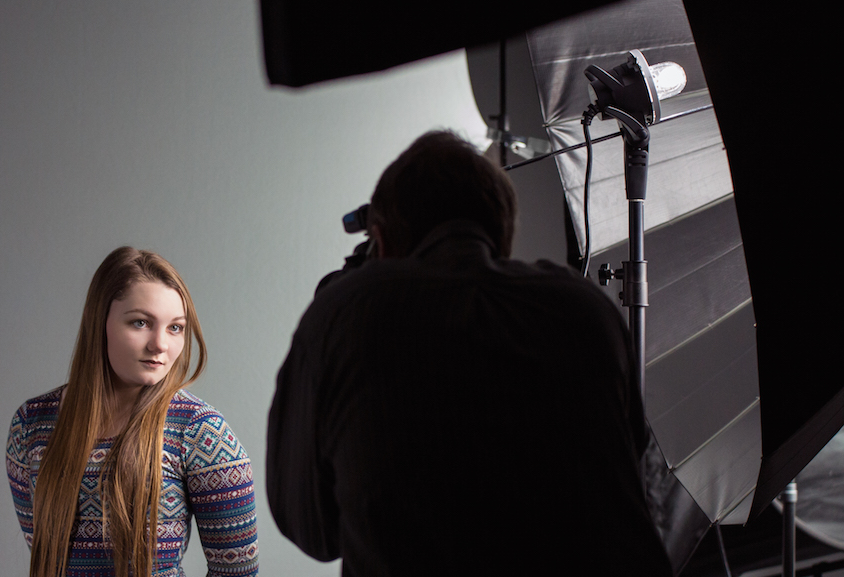
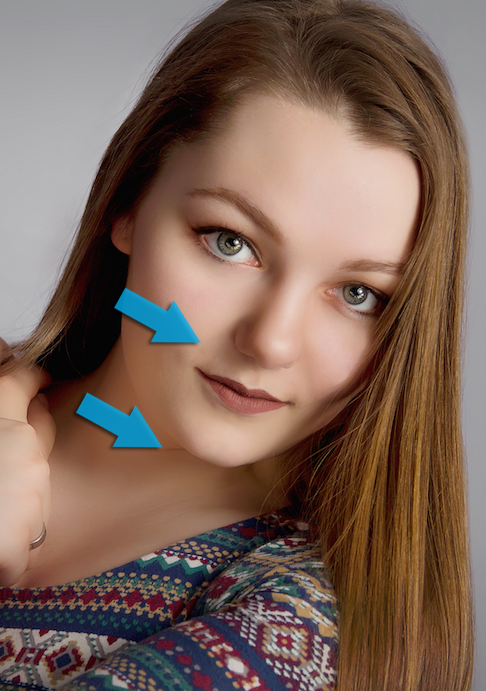
Loop lighting is an essential lighting technique for portrait photographers. It is easy to create with just a single light source and is flattering on most subjects. This lighting pattern will create a shadow that loops down and around the side of the nose, and on the neck and under the chin. These shadows subtly help define the subject’s bone structure.


A loop lighting pattern is created by using a light source positioned just to the side and pointed downward toward the subject. When working with a continuous light source or a strobe with a modelling lamp, positioning the light is very simple since the shadows can be seen immediately. This is a bit more difficult when working with speedlites though.

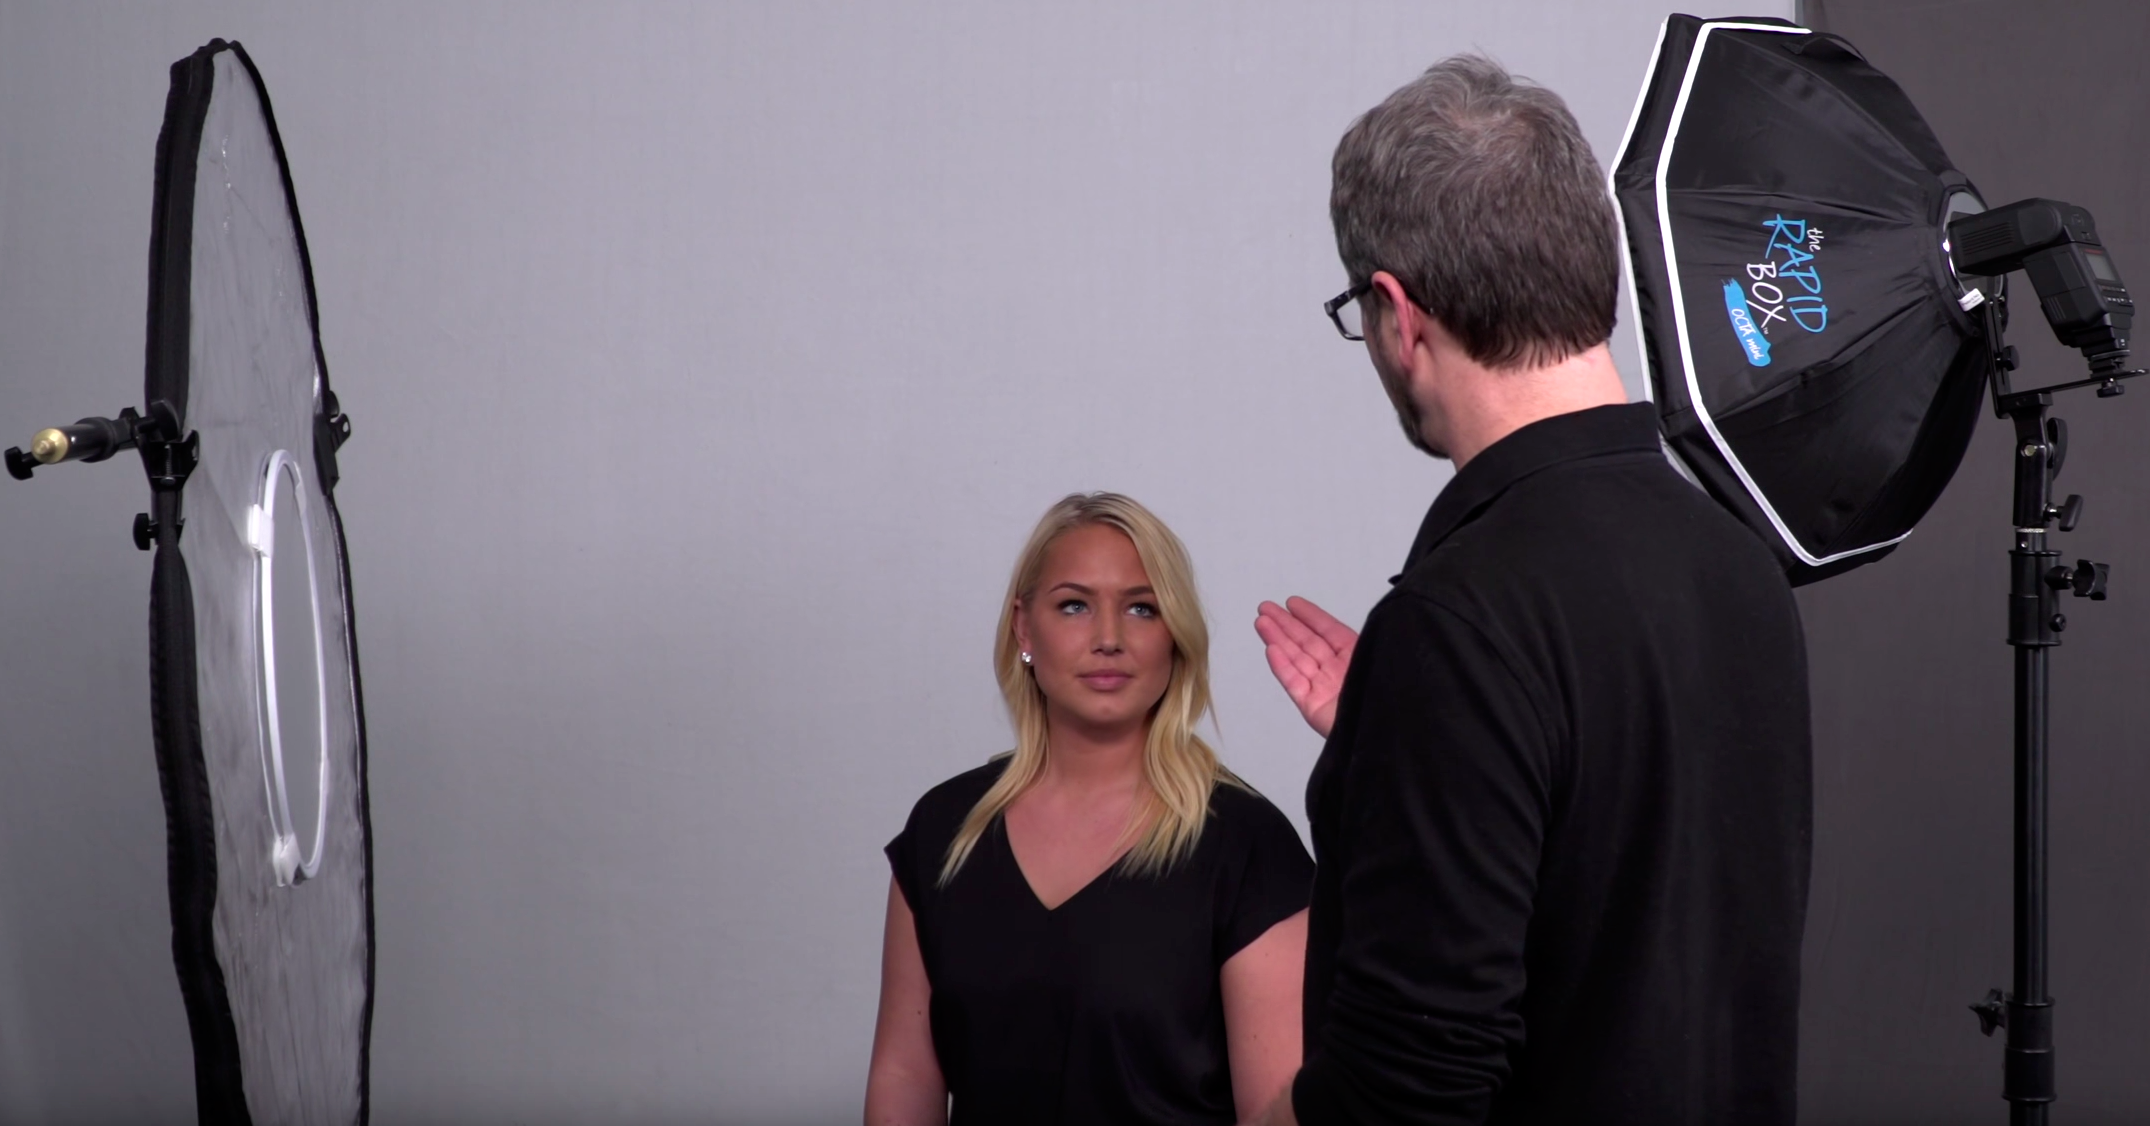
Loop Lighting Setup with a Speedlite, Rapid Box, and Omega 360
As Pete demonstrates in the video above, it is best to start by placing the light (in this case a speedlite in a ) to the left or right of the subject where the subjects opposite ear is no longer visible from the modifier. Then, position the modifier just above the subject directed toward the face.
To soften shadows that are a bit too harsh, a reflector can also be brought into the picture to subtly bounce light back onto the shadowed side of the face (as shown here with the Omega Reflector 360).

Final Portrait
Lighting Gear in Action

Omega Reflector 360 (40")5577

Omega Reflector 360 (40")5577

[…] https://westcottu.com/loop-lighting-tips […]
[…] Loop Lighting Technique for Speedlite Shooters. [online] Westcott University. Available at: https://westcottu.com/loop-lighting-tips#:~:text=Loop%20lighting%20is%20an%20essential [Accessed 13 Mar. […]
[…] Loop lighting is one of the best and easiest ways to take flattering portraits. This style of portrait photography refers to positioning the light at such an angle that it creates a streak of shadow that runs from the nose toward the cheek of the subject. However, this is only if you’re using a flash. But if you’re only using natural light, then you simply place the subject at an angle where the light creates the shadow leading from the nose towards the cheek. […]