
Mastering Golden Hour Portraits with Off-Camera Flash
Golden hour is famous for its warm, flattering glow. It’s soft, it’s dreamy, and it naturally makes portraits look better. But even with beautiful natural light, challenges still pop up. Backgrounds can blow out, shadows can get muddy, and once the sun drops, that magical glow disappears fast.
In this video, photographer Julie Gayler shows how to take full control of golden hour with simple off-camera flash. She walks through how she chooses locations, balances ambient light with flash, uses the sun as a built-in hair light, and even recreates golden hour after the real one fades. If you want portraits that look consistent, clean, and vibrant every time, Julie’s approach gives you all the tools to make it happen.
Using the Sun as a Natural Hair Light
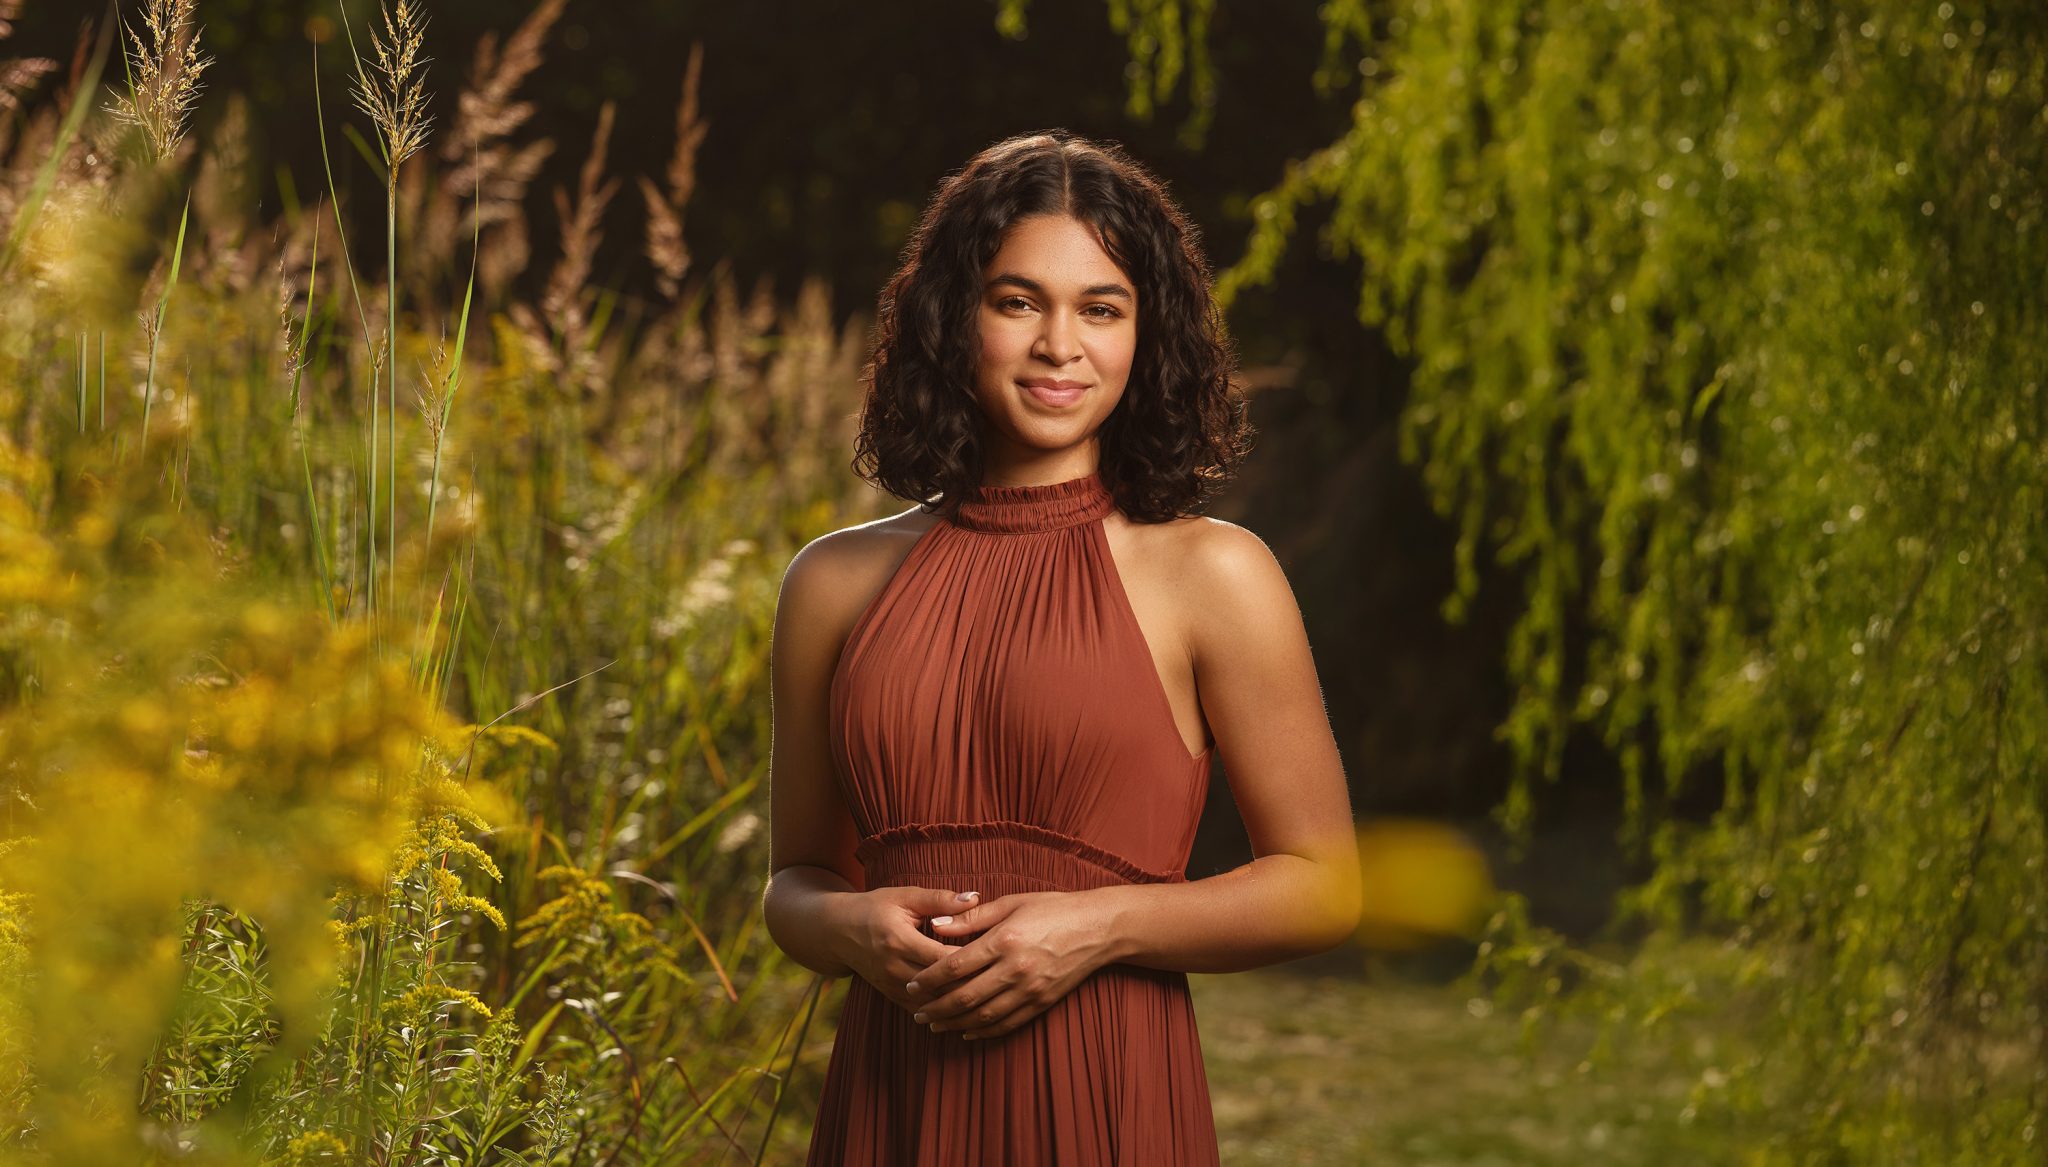
Golden hour is at its best when you let the sun work with your lighting instead of fighting against it. Julie treats the sun like a free hair light that adds instant warmth and dimension. By placing the sun behind the subject, she gets that beautiful rim of light along the hair and shoulders, which separates the subject from the background and adds depth to the portrait.


How to Choose a Golden Hour Location
Julie starts by picking a spot with either full sun or full shade. Mixes of harsh sunlight and dark shadows can be tricky, so she keeps things simple. She also looks for texture behind her subject. Trees, flowers, and branches give the sun something to shine through, which makes the background feel rich and layered.
Most importantly, she checks the sun’s direction. For the best glow, she wants the sun behind the subject, not wrapping around to the face. This placement creates that perfect rim light and leaves the face in soft shadow, which is ideal when adding flash.
Lighting Gear and Camera Settings for Golden Hour Portraits
Julie uses the Westcott FJ800 Strobe with the Manny Ortiz Beauty Dish in White as her main light. This combo gives her a soft but contrasty look that pairs well with golden hour.
She starts her exposure with the background. Julie sets her aperture first based on the look she wants (usually around f/5.6), then raises her shutter speed until the highlight alerts stop blinking. Since the Westcott FJ800 has plenty of power and supports High Speed Sync, fast shutter speeds aren’t a problem.

Why Add Flash During Golden Hour?
Shooting natural light only often means choosing between exposing for the face or the background. Flash lets you keep both. By exposing for the brightest parts of the scene first, Julie keeps all the texture the sun is lighting up. Then she uses flash to bring the face back to the right brightness.
She feathers the beauty dish slightly off the subject, so only the softer edge of the modifier hits the face. This keeps the light flattering without looking harsh or flashy. Julie also prefers a little falloff toward the bottom of the frame because it adds depth and keeps the portrait from looking flat.
Her one non-negotiable is keeping the nose toward the light. If the subject turns away, the flash hits the wrong part of the head and the face falls into shadow.
Adding the Extra Golden Hour Glow
To get that soft haze and flare golden hour is known for, Julie lines up the sun right at the top edge of her frame. This creates a warm, natural glow that looks great in portraits.
She also pays attention to the foreground, midground, and background. Shooting through flowers or branches gives a three-dimensional feel and makes the viewer feel like they’re stepping into the scene.


Creating Your Own Golden Hour When the Sun Sets
Once the real sun dips below the tree line, that warm golden rim light disappears quickly. The background starts to look flat, the color fades, and the scene loses that magic glow. But Julie doesn’t stop shooting just because the natural light is gone. Instead, she creates her own golden hour using off-camera flash. This gives her full control over the look of the portrait and lets her keep shooting long after most photographers have packed up for the night.
Julie’s goal here isn’t just to add light. She wants to mimic what the sun was doing earlier. That means matching the color, the direction, and the contrast. When all three of those things line up, your viewer can’t tell the difference between real golden hour and a recreated one.


Gear Setup for “Fake” Golden Hour Lighting
Julie keeps her main light the same with the FJ800 with the Manny Ortiz Beauty Dish. To replace the sun, she adds an FJ400 II strobe behind the subject. She puts a CTO gel on it and uses the included reflector, so the light is hard and directional, just like real sunlight.
Distance is the most important part. The “sun” needs to be far enough behind the subject that it lights the plants, paths, and trees in the background. She also raises the light high as possible, so it spreads across the whole scene.
As her subject switches from standing to sitting, Julie simply lowers the main light to match the new height. The lighting stays consistent, and she doesn’t need to change camera settings.

How to Match the Look of Real Sunlight
To line everything up, Julie turns on the modeling lamp and watches for the light hitting the top edge of her lens. When it catches the corner of the frame, it creates that same soft flare the real sun did earlier.
Once everything is dialed in, the background transforms. Without the fake sun, the scene looks flat and dull. With it, you get warm tones, glowing highlights, and that classic golden hour depth.


Make Golden Hour Work for You
Golden hour is naturally beautiful, but adding flash makes it even better. By exposing for your background, shaping soft light on the face, and using the sun as a natural hair light, you get clean, consistent portraits every time. And when the sun disappears, you can recreate that same glow with a single gelled flash placed behind the subject.
Julie’s setup is simple, portable, and easy for beginners to follow. With a little practice, you’ll be able to create golden hour portraits that look warm, vibrant, and full of depth no matter what the sun is doing.
Looking for More Tips from Julie Gayler?
Check out Enhancing Window Light Portraits with Flash where Julie shows how pairing window light with off-camera flash can give you clean, controlled, and consistent portraits.


You must be logged in to post a comment.