In photography, the choice of location can dramatically transform a simple portrait into a compelling piece of art. For photographers, especially those specializing in flash photography and on-location portraits, understanding how to select and utilize outdoor locations is crucial. In this video, Eli Infante goes over exactly what he is looking for when choosing his background when shooting portraits on location.
Introduction to Location Scouting
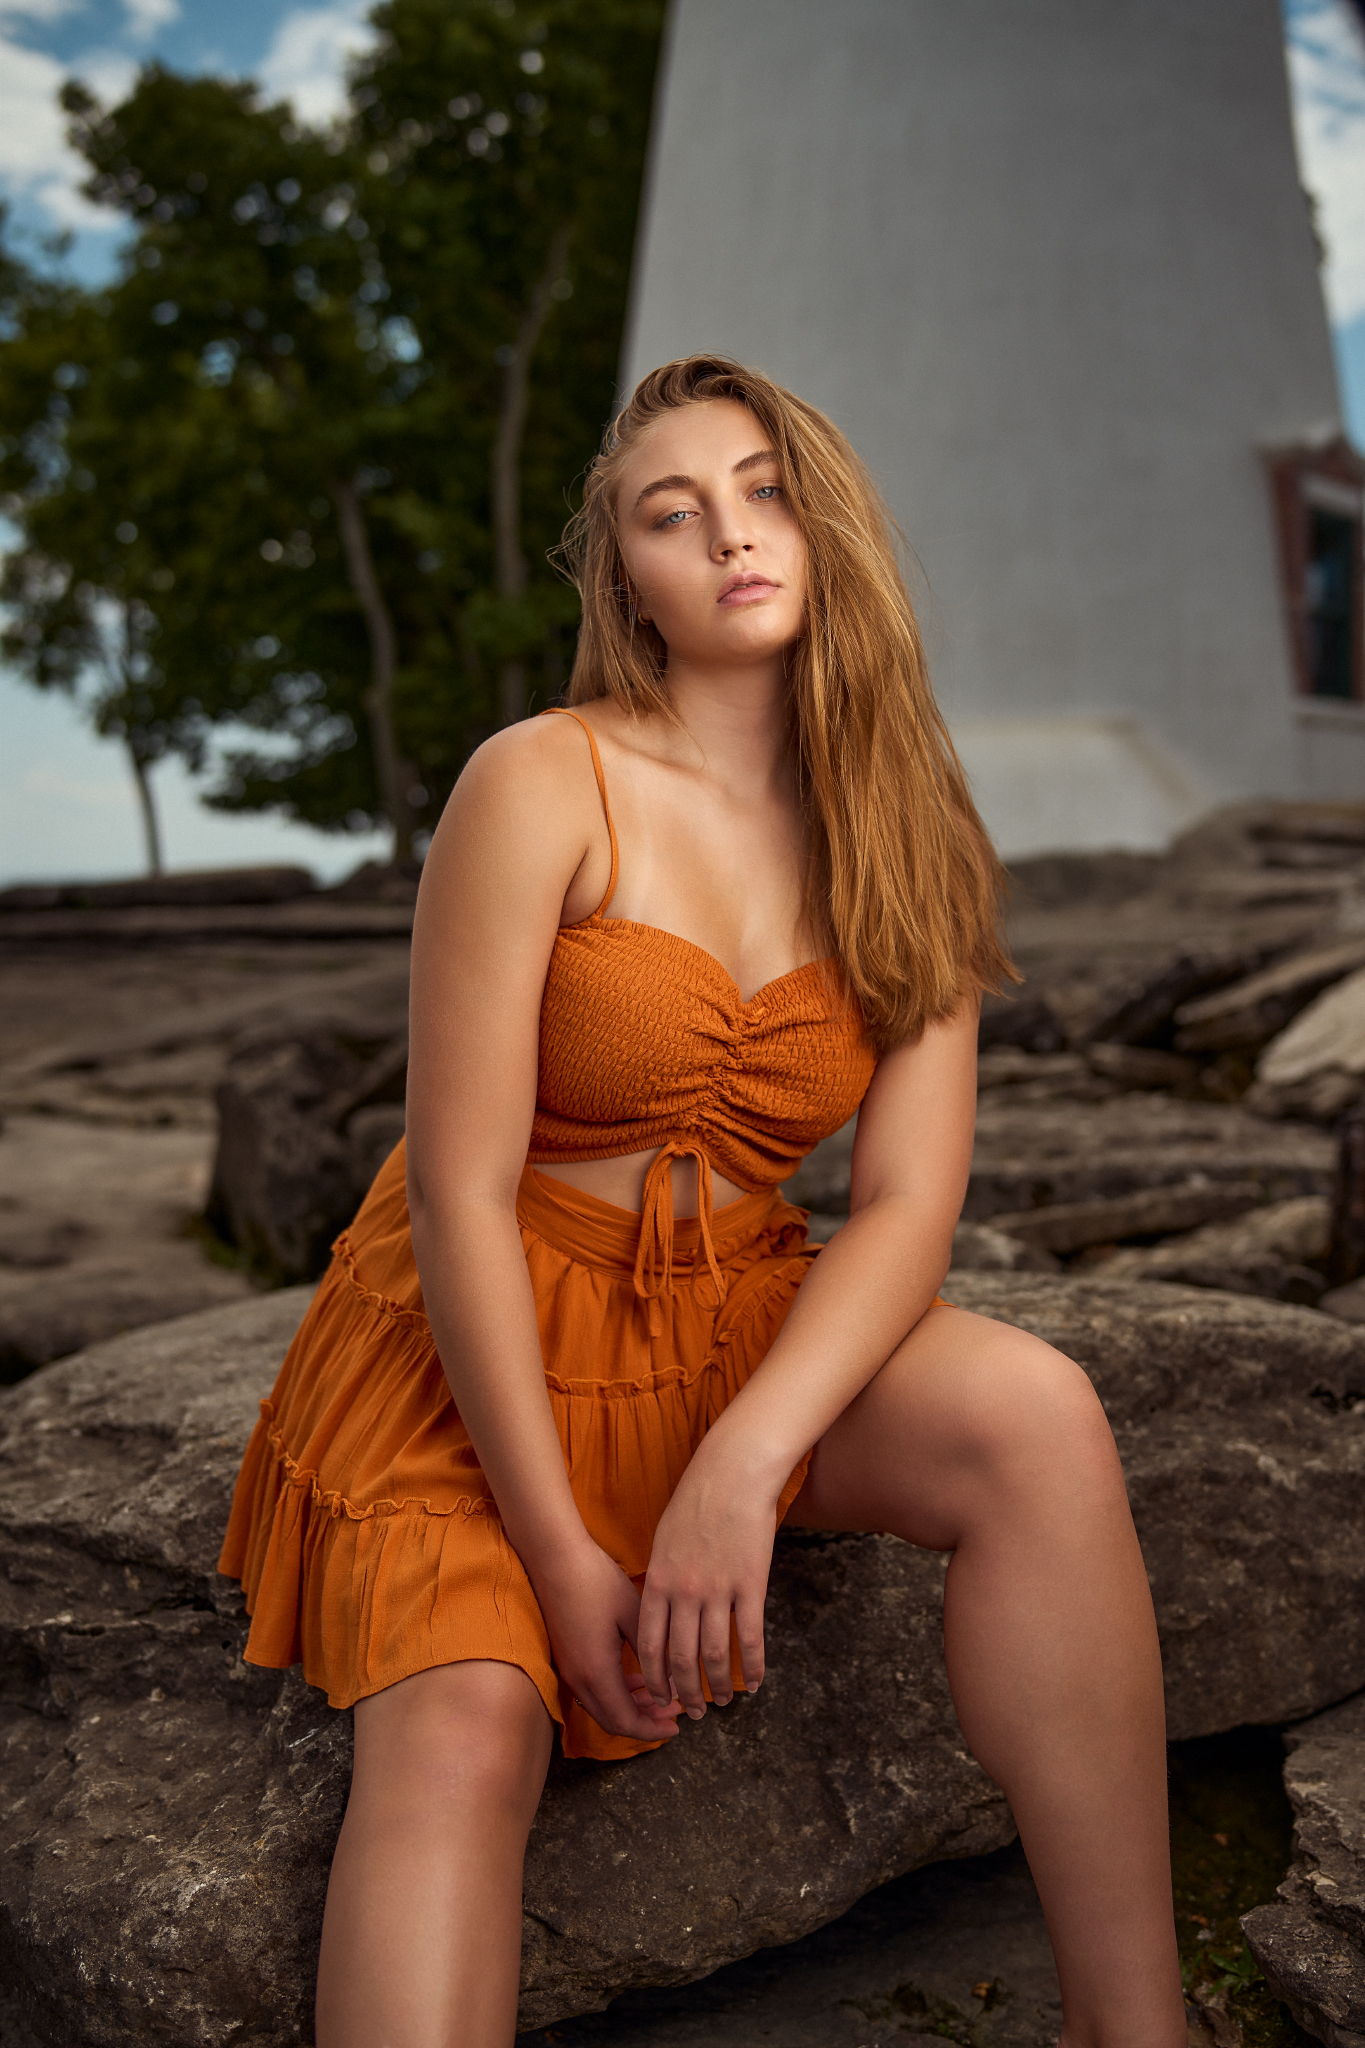
Location scouting is more than just finding a pretty place; it’s about seeing the potential for how the light and the environment will interact with your subject. Eli Infante’s journey at Marblehead Lighthouse in Ohio provides a perfect example of how to assess and use a location to its fullest potential.
Understanding Available Light
As Eli mentions, one of the first considerations in location scouting is understanding the available light. He notes, “Today we have a very cloudy day, so I’m looking at possibilities of where I can get some beautiful rim light with the Sun seeing if I can get backlit portraits.”
Key Points:
- Cloudy Days: Use the diffused sunlight to create soft, even lighting on your subject.
- Rim Light and Backlighting: Look for opportunities to use the sun to create a halo effect around your subject, especially on clearer days.
Interacting with the Environment
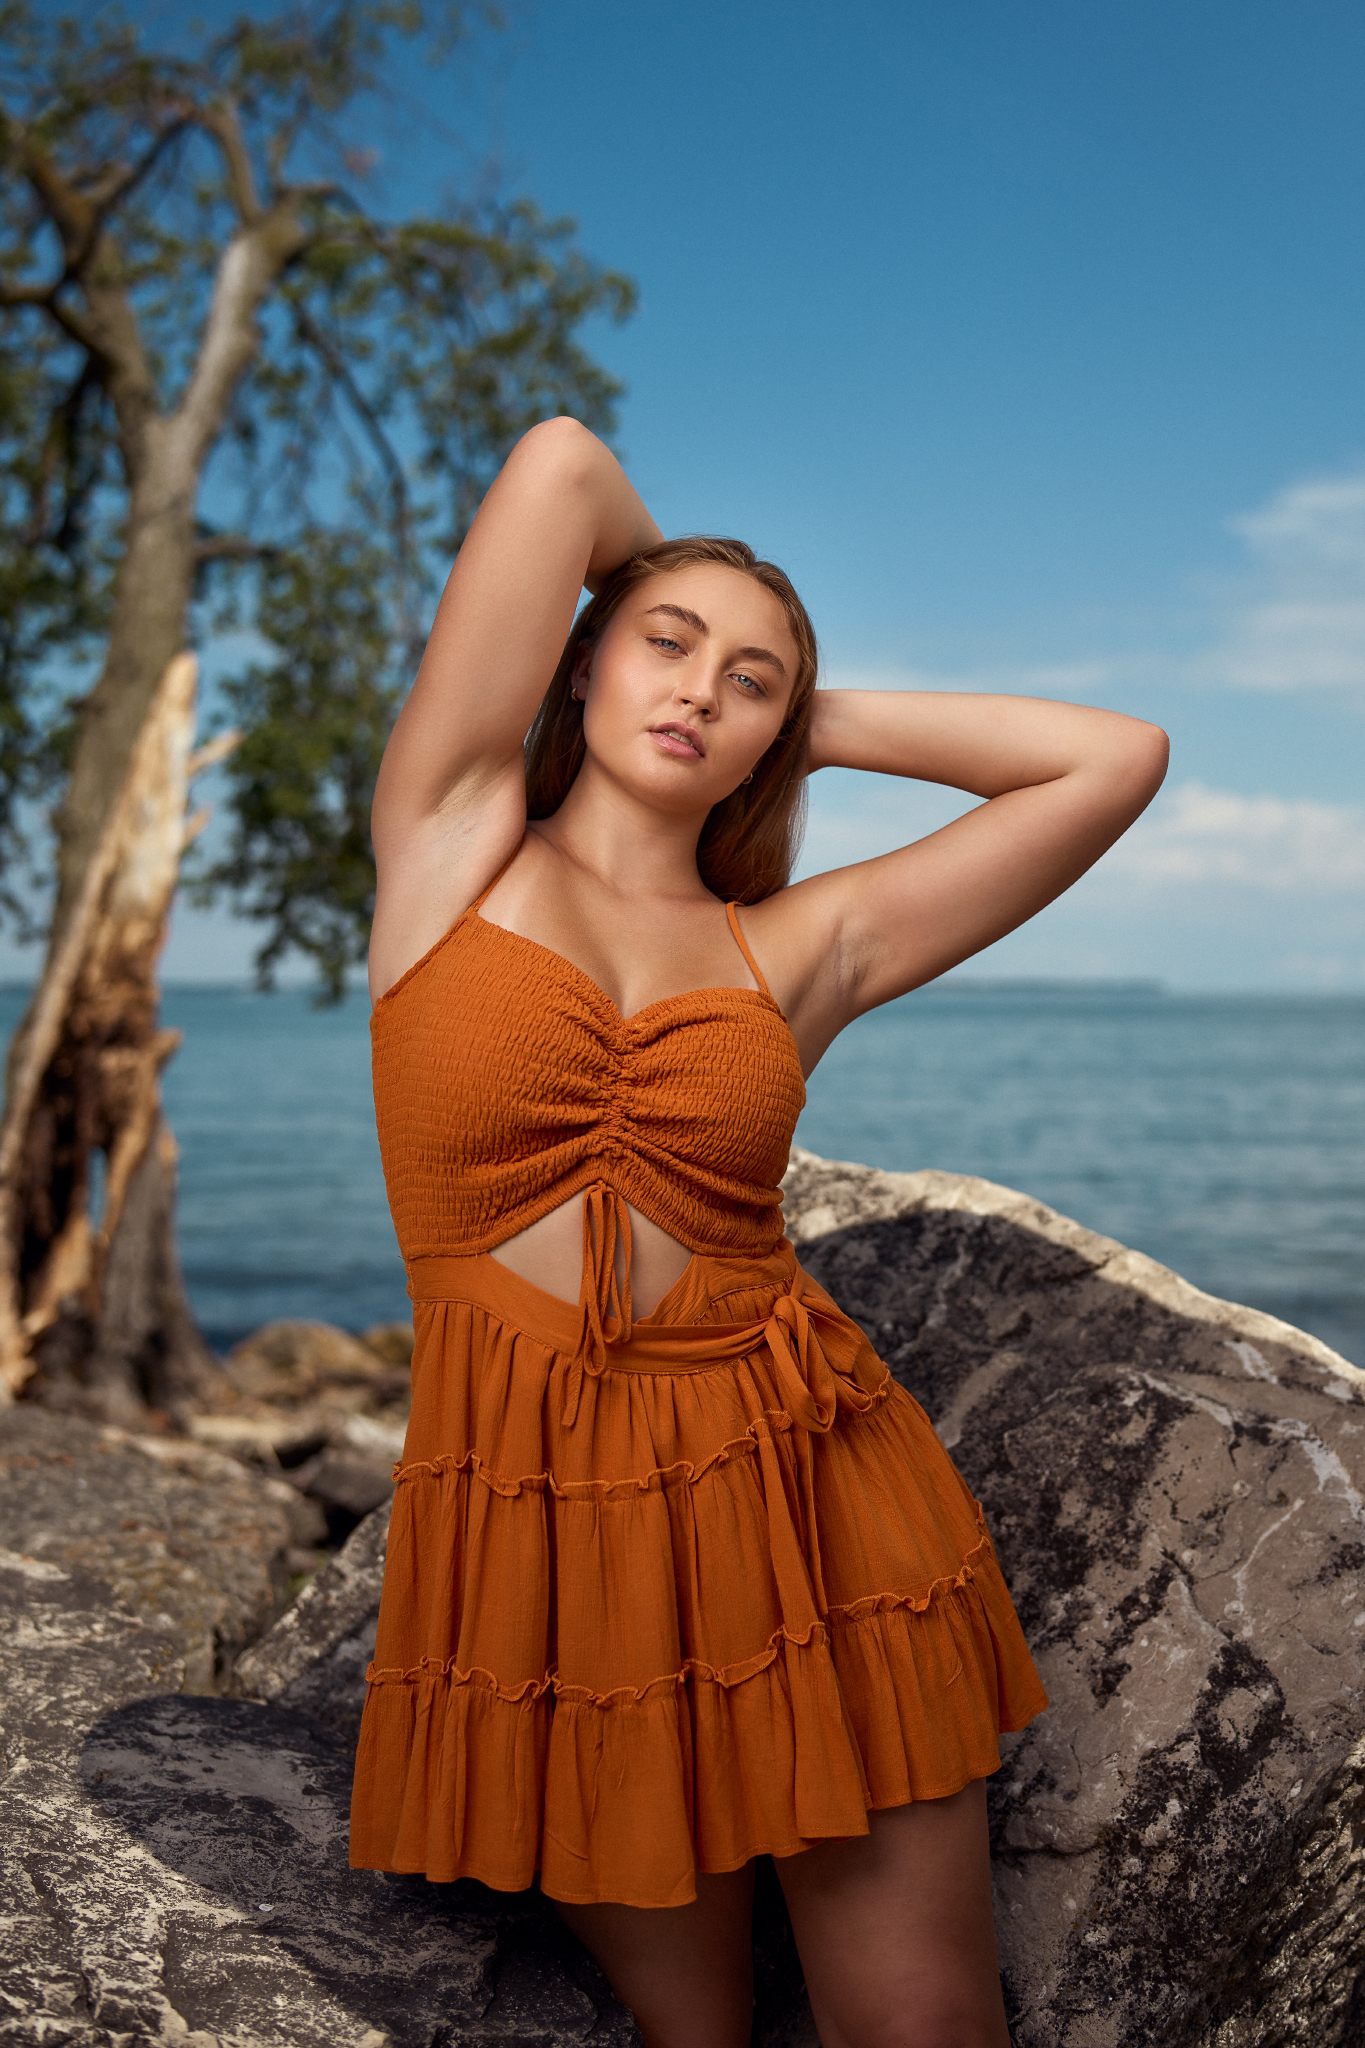
A significant aspect of creating dramatic portraits is having your subject interact with their surroundings. Eli uses the lighthouse and the rocks by the lakeside to create context and depth in his shots. But he explains that a nearby tree also caught his attention when he first arrived at the location. The leading lines of the tree along with the brown color tones are what drew him into the interesting background.
Suggestions for Photographers:
- Use natural features like trees and rocks to frame your subject.
- Look for textures and colors in the environment that complement your subject’s attire and the overall mood of the shoot.
Choosing the Right Equipment
Lens Selection
The choice of lens can significantly affect how the background and the subject are portrayed. Eli prefers a 35 mm lens for its versatility, and ability to showcase the environment, “I want to show it off; I don’t want to use a highly compressed lens like an 85 or a 135 and really just blur out the background.”
Tips for Lens Usage:
- Wide Angles (24mm, 35mm): These lenses are great for showing off the location while keeping the subject in focus.
- Telephoto Lenses (85mm, 135mm): Use these if you want to isolate your subject from a busy background.
Using Reflectors and Strobes
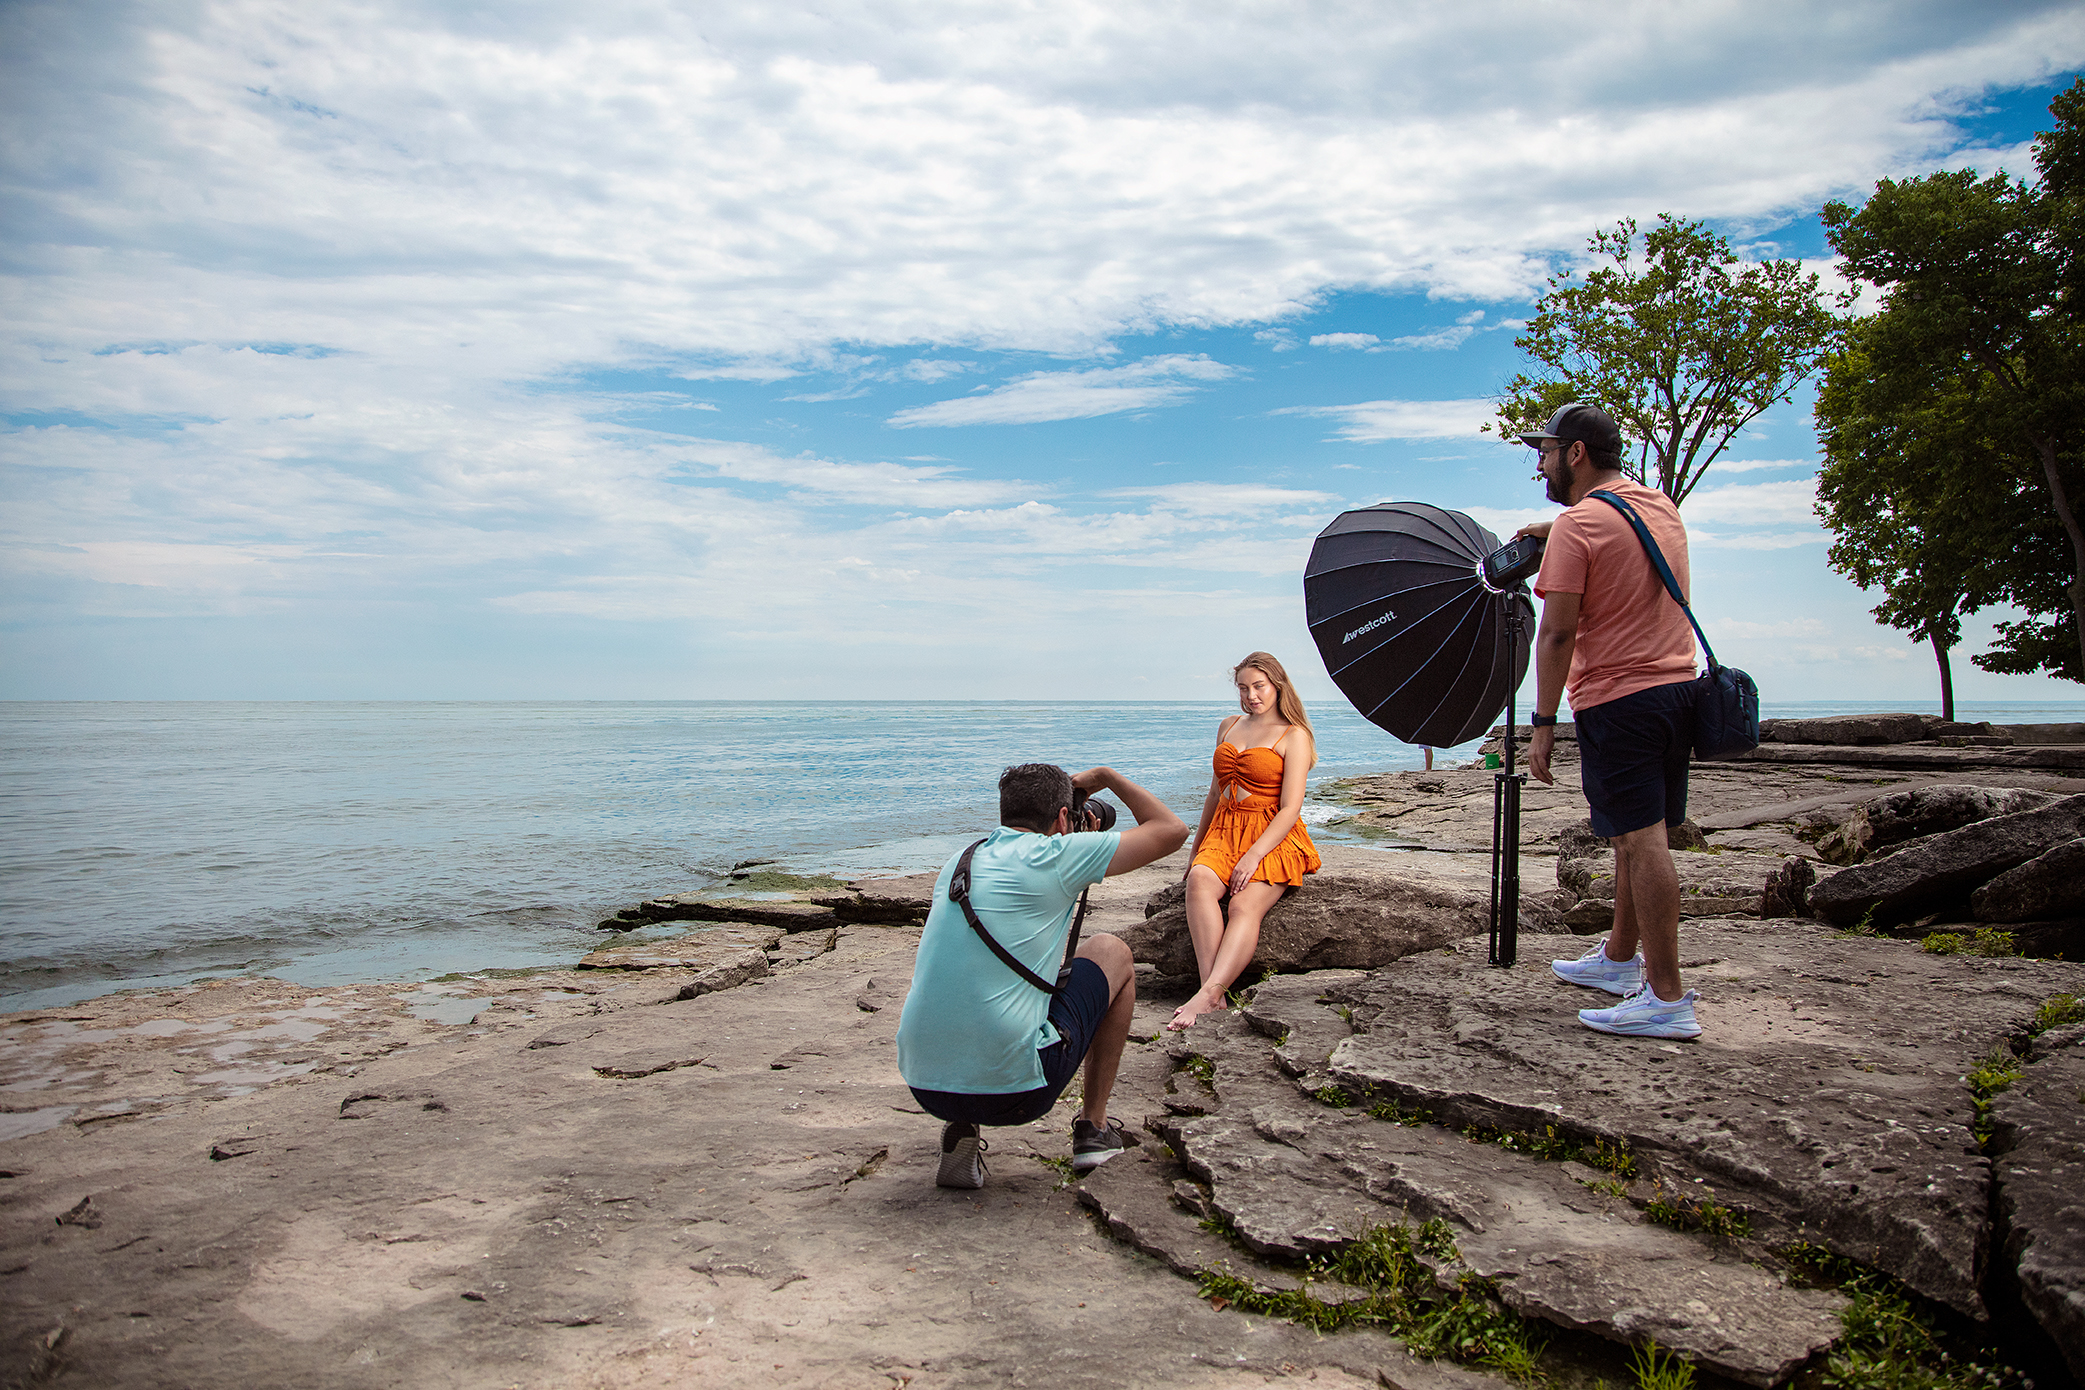
Managing light is a fundamental skill in outdoor portraits. Eli uses both a collapsible reflector and a strobe to balance the light on his subject. Eli uses the diffusion panel from a 4-1 Reflector to block any unflattering sunlight from hitting his subject. By doing this he is creating soft even lighting giving him a blank slate for lighting his subject with strobes.
Lighting Techniques:
- Diffusers: Use these to direct natural light and soften shadows on your subject.
- Strobes and High-Speed Sync: When you need more light or want to balance the harsh sunlight, strobes can be added to complement the natural lighting.
Practical Tips for Dramatic Portraits
Scouting the Location
Before bringing in your subject, walk around and explore various angles and perspectives. Eli notes, “I’m going to check the framing basically, with my camera, and see what I can create.”
Scouting Tips:
- Look for natural frames and interesting foregrounds.
- Consider the background elements that might enhance or distract from the subject.
Managing the Environment
Adjust your position and the subject’s to avoid unwanted background elements. Eli shares a practical approach: “By just moving just a little bit to the left I’m able to hide out all those distractions in the background.”
Environment Management:
- Use your subject or props to block distracting elements.
- Change your shooting angle to find cleaner backgrounds.
Experimenting with Composition
Don’t hesitate to move around and try different compositions. Eli finds that “usually my first spot is pretty good, but then after I move around a couple of times, that’s when I find the sweet spot.”
Composition Advice:
- Try shooting from various heights and angles to see what gives the best view.
- Look for leading lines, patterns, and textures that can add interest to your photos.
Working with Color and Contrast
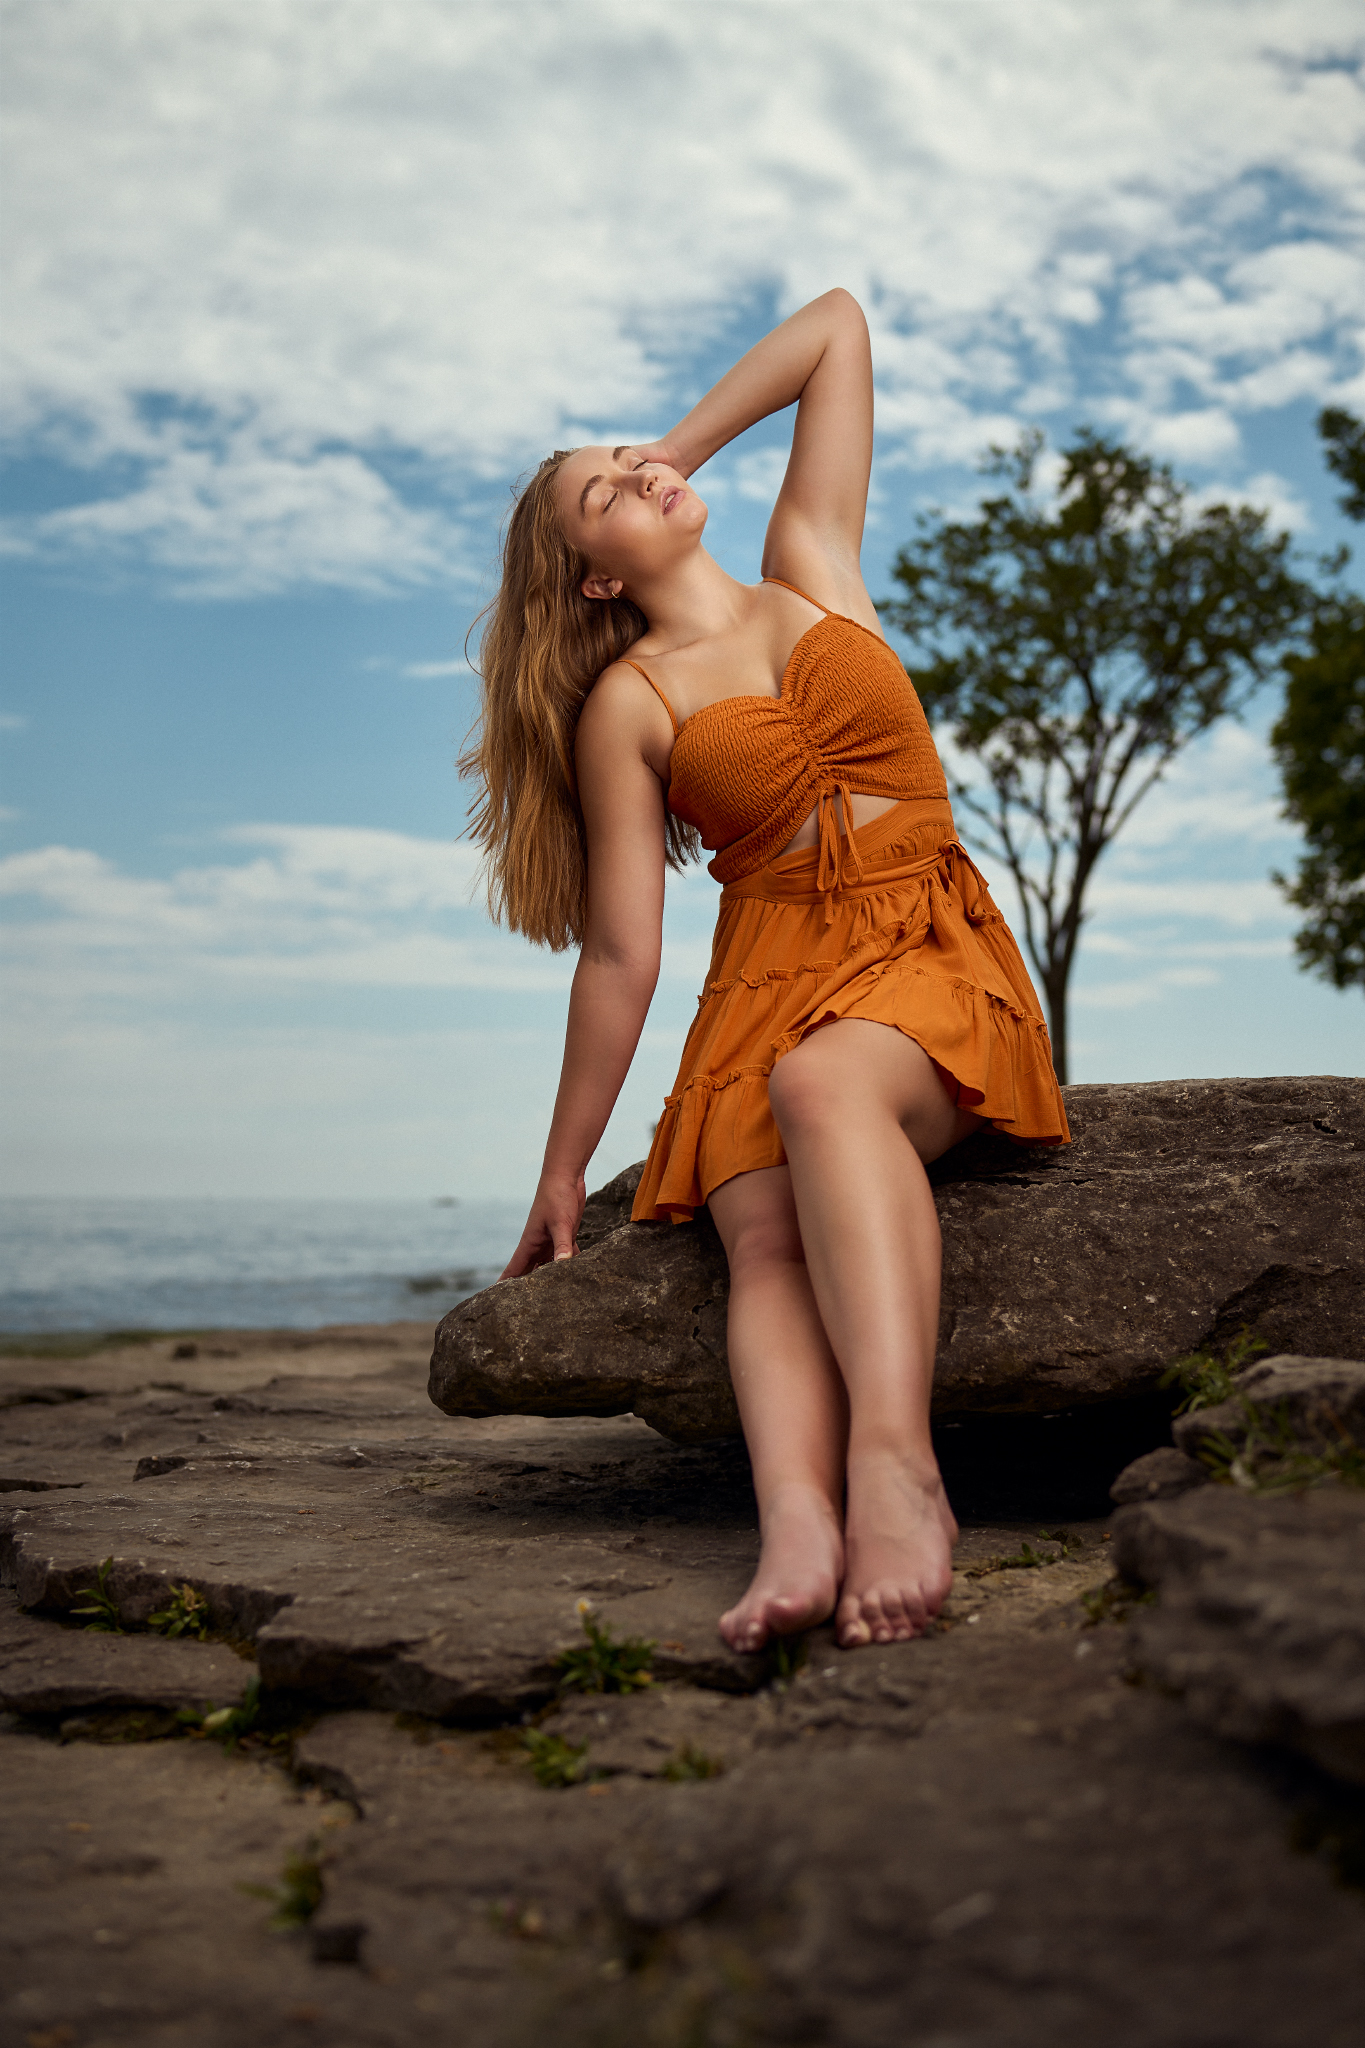
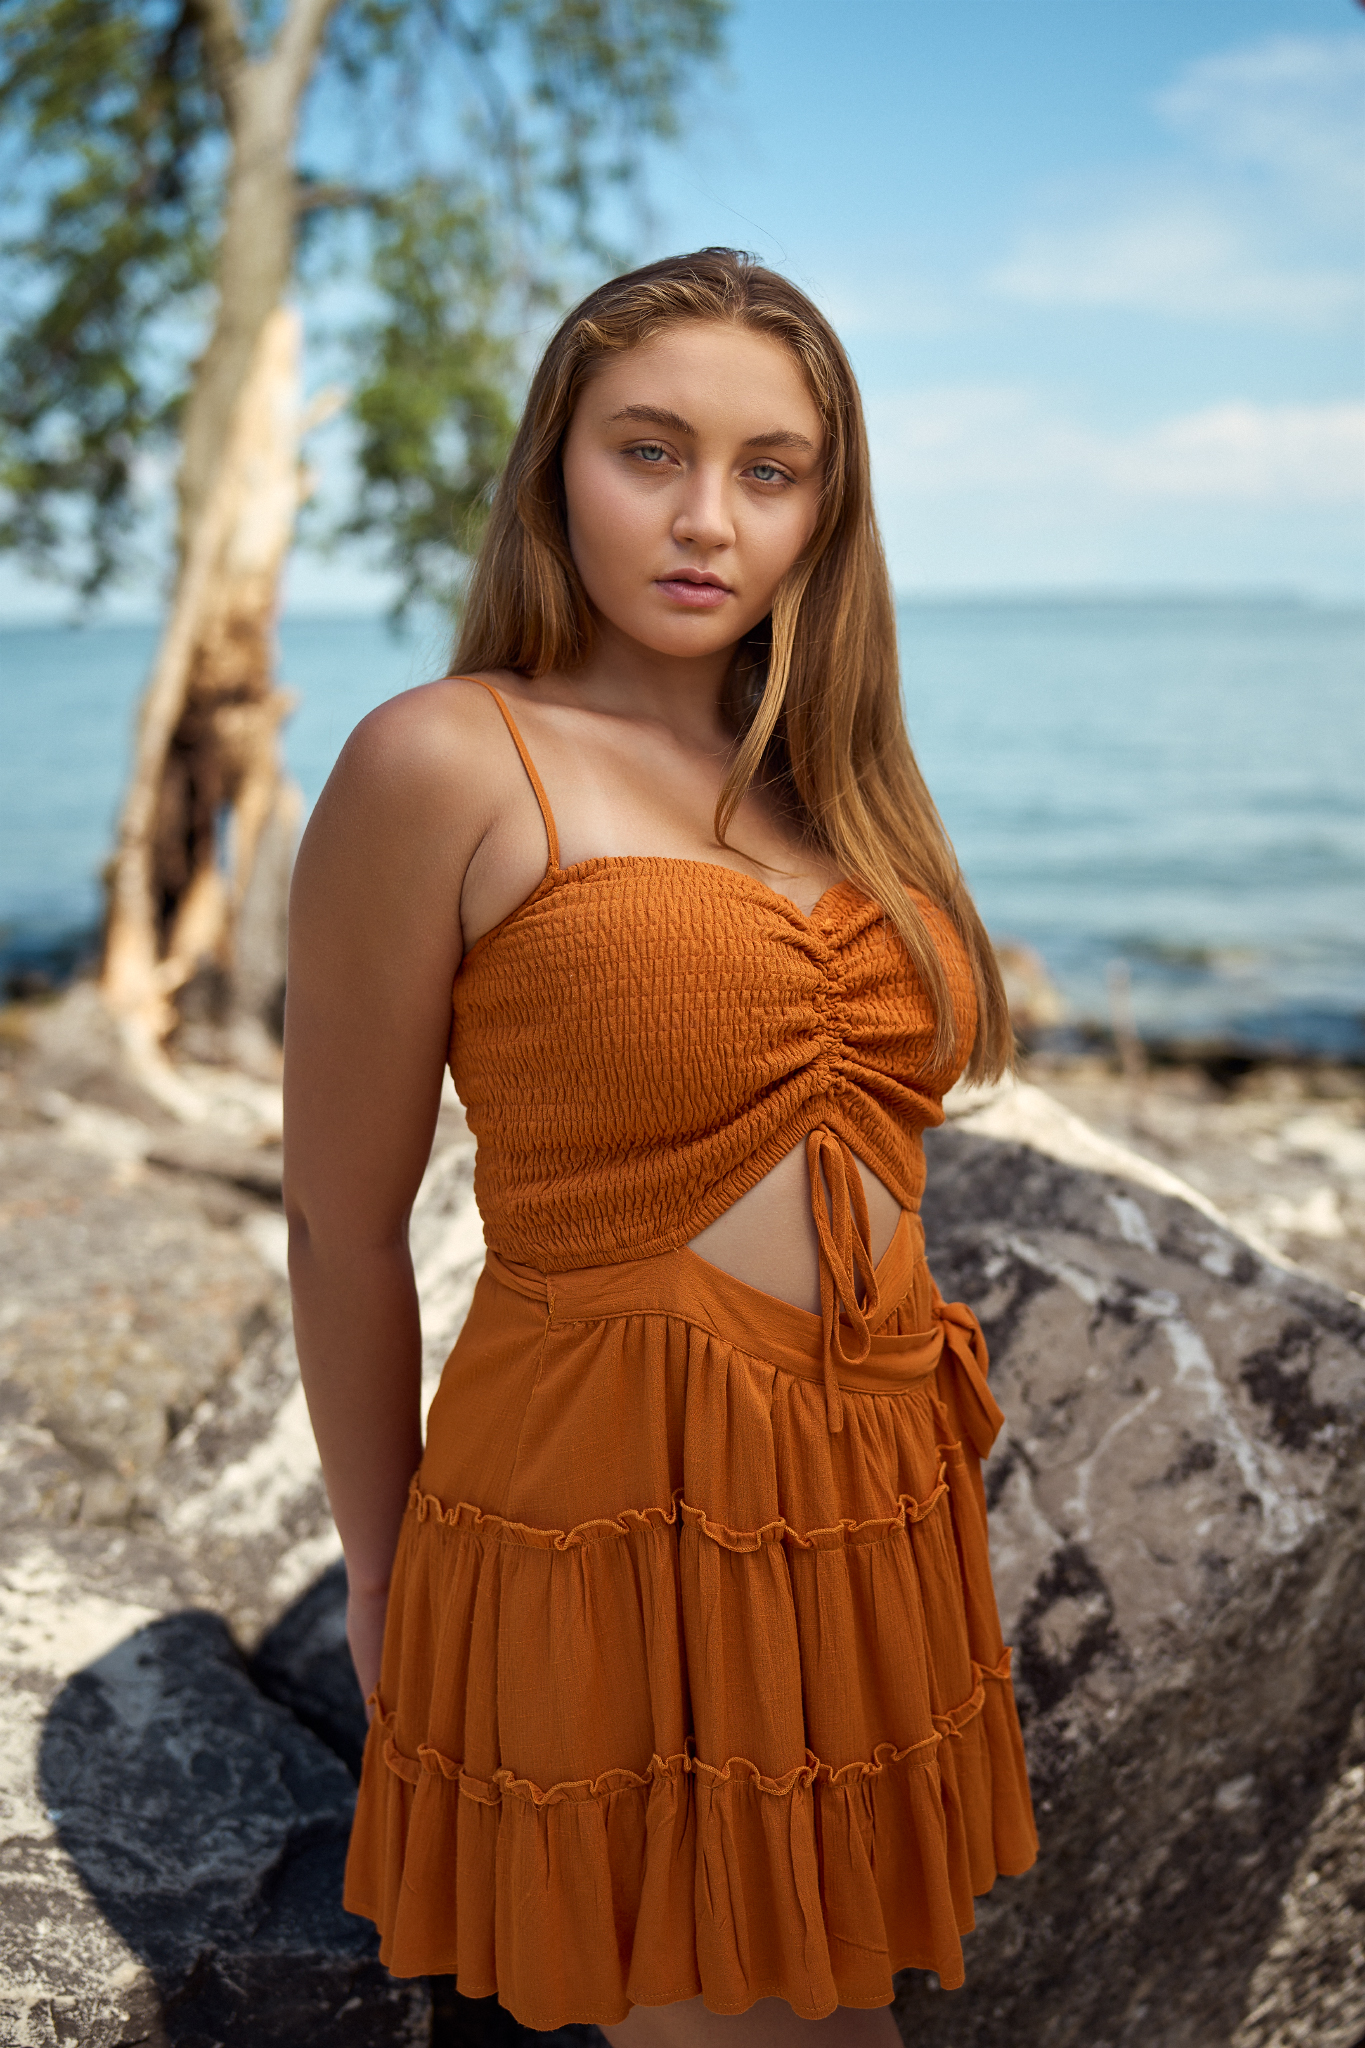
Eli is keen on using colors to make his subject stand out. He observes, “The wardrobe is awesome, it got the oranges; it means we get a beautiful complimentary color scheme with the blue sky that we have.”
Color Tips:
- Look for complementary colors in the environment to make your subject pop.
- Adjust your white balance to enhance the mood of the scene.
Final Thoughts and Review
At the end of your session, review your shots and think about how different elements came together. Eli concludes, “Remember when you find your locations, don’t forget to slow down and try to get as much variety as possible.”
By following these guidelines and exploring your creativity, you can capture dramatic and captivating portraits in outdoor settings. Whether you’re an entry-level or a seasoned photographer, understanding how to effectively scout and utilize locations will elevate your photography. Remember, the best tool you have is your vision, so keep experimenting and refining your approach to outdoor portraits.
Watch how to capture senior portraits in harsh outdoor lighting.
Lighting Gear in Action

Original FJ400 Strobe with AC/DC Battery (400Ws)4700

Original FJ400 Strobe with AC/DC Battery (400Ws)4700


You must be logged in to post a comment.