
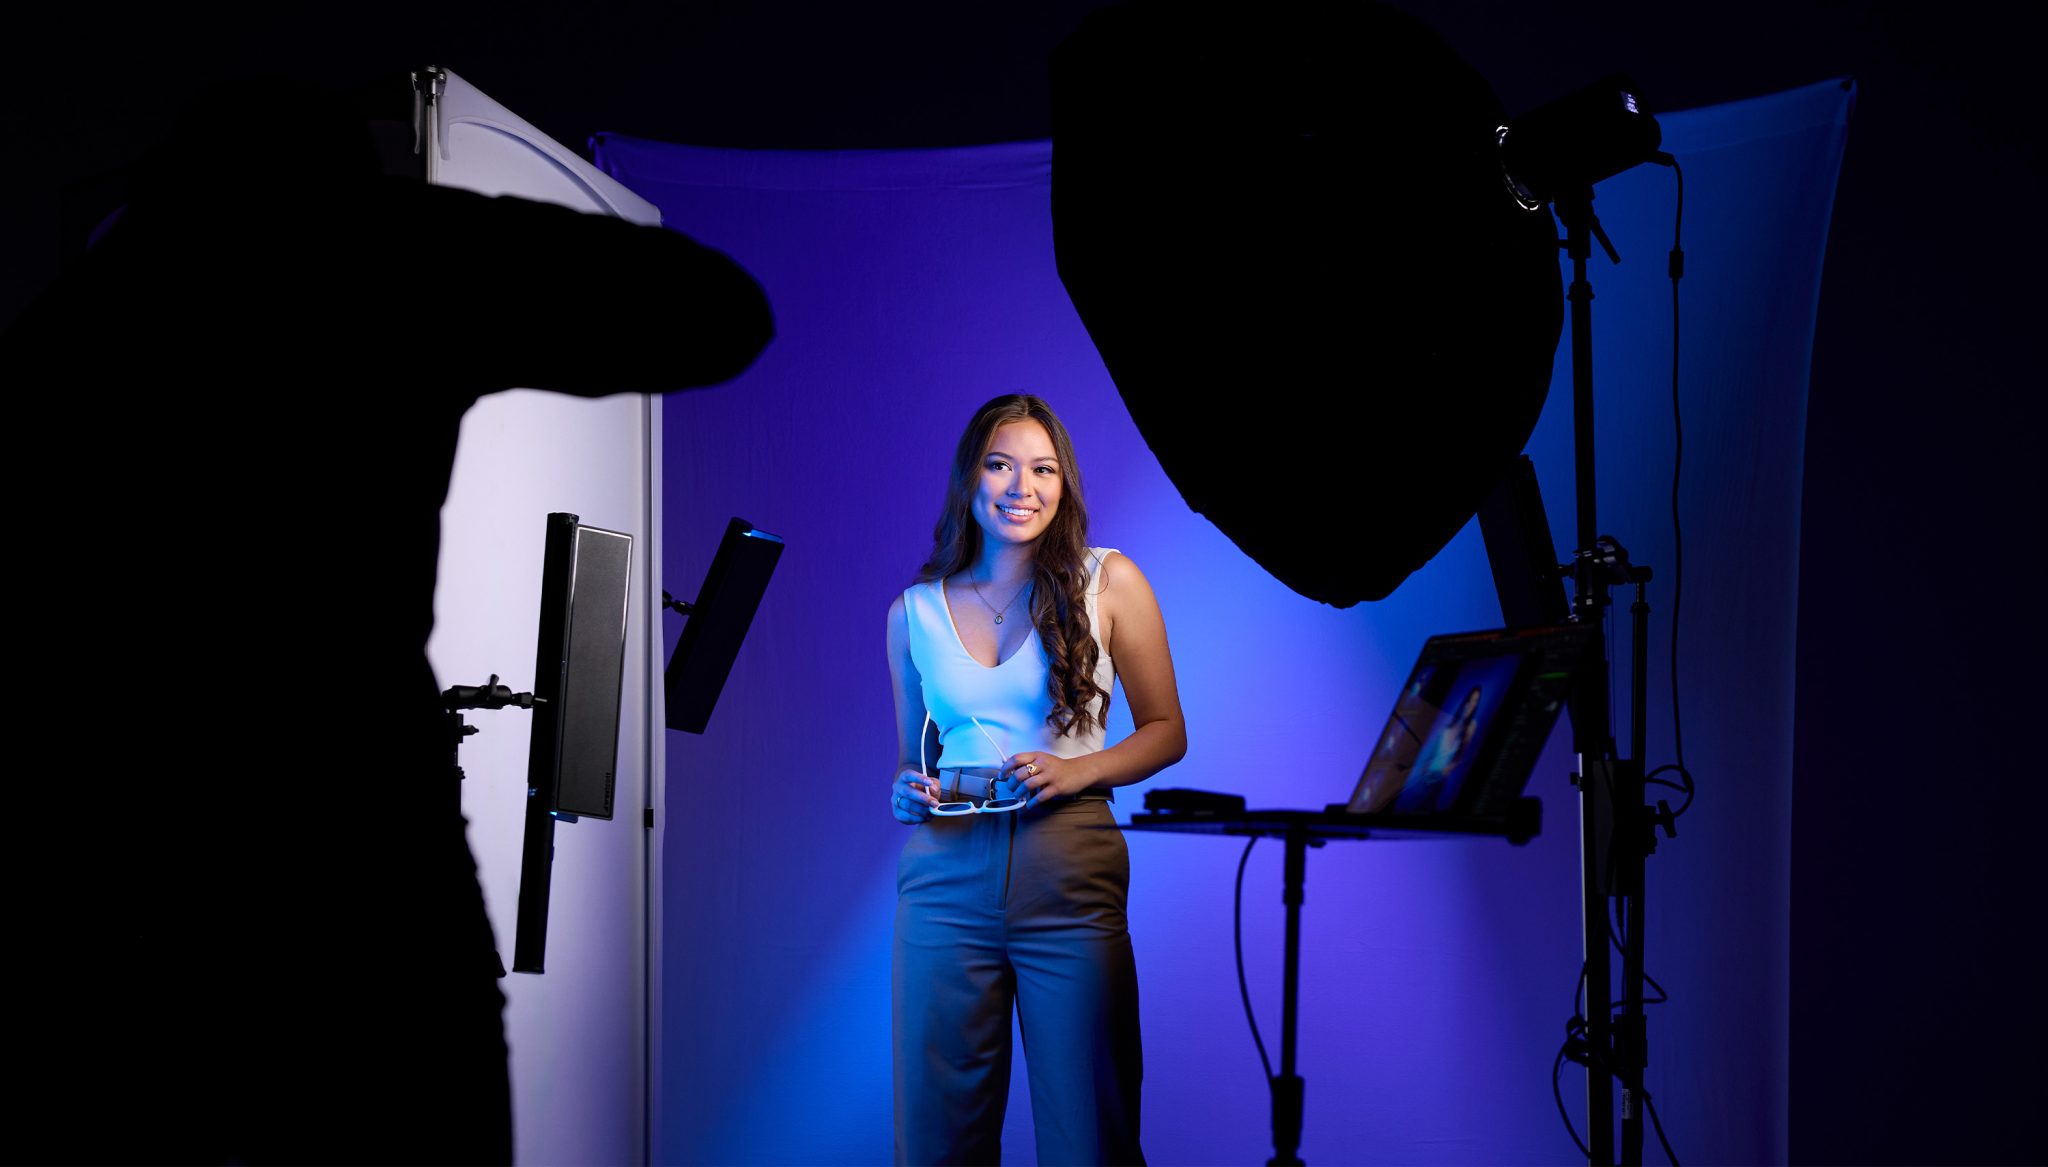
Ever wondered how to create dynamic, colorful studio portraits using compact lighting gear? Photographer Eli Infante recently set out to show how you can build striking, vibrant portraits without needing a massive studio setup. To compare two popular workflows, Eli recreated the exact same colorful portrait lighting setup using two different systems: continuous RGBW lights and portable flash strobes with gels.
The main goal of this side-by-side demonstration is to show how each lighting system behaves on set. By highlighting the strengths and setup techniques of both systems, you can easily figure out which lighting style best fits your personal shooting workflow.
Advantages of Continuous RGB Lights for Creative Portraits
Continuous lighting offers one massive advantage right out of the box: what you see is what you get. Because the lights are always on, you can see exactly where the shadows fall and how the colors blend before you ever press the shutter button. This real-time visual feedback makes constant light ideal for fine-tuning your shot quickly without guessing or taking constant test photos.
Another major perk of modern RGB constant lights is instant color flexibility. Instead of carrying physical gel sheets and swapping them out between shots, you can adjust the color hue directly on the light fixture. Switching from a cool teal and purple palette to a warm orange and red look takes seconds with the simple turn of a dial.
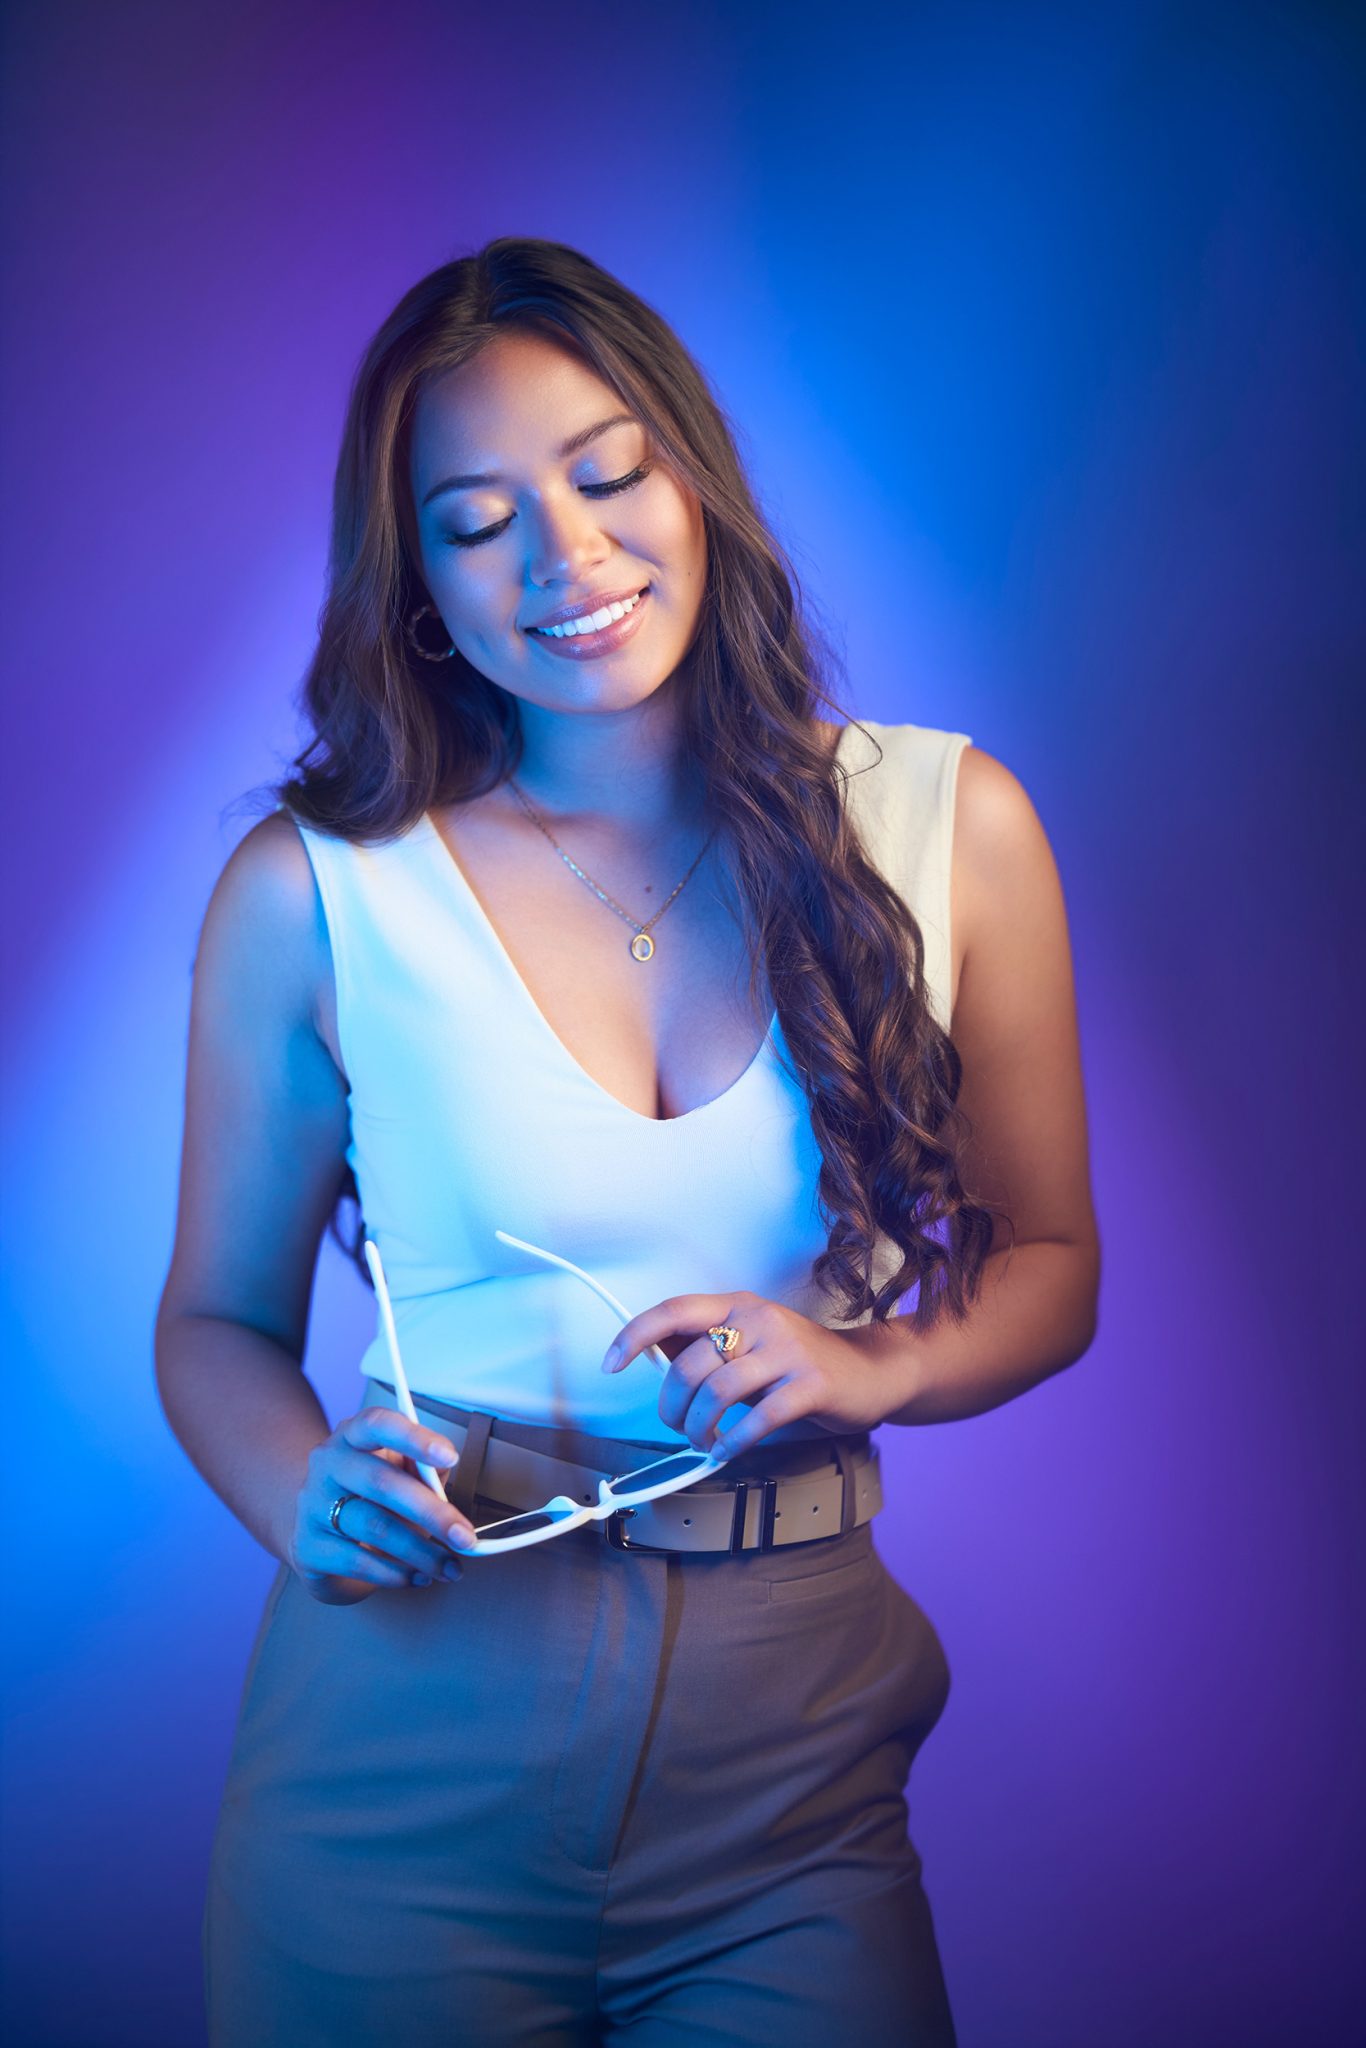
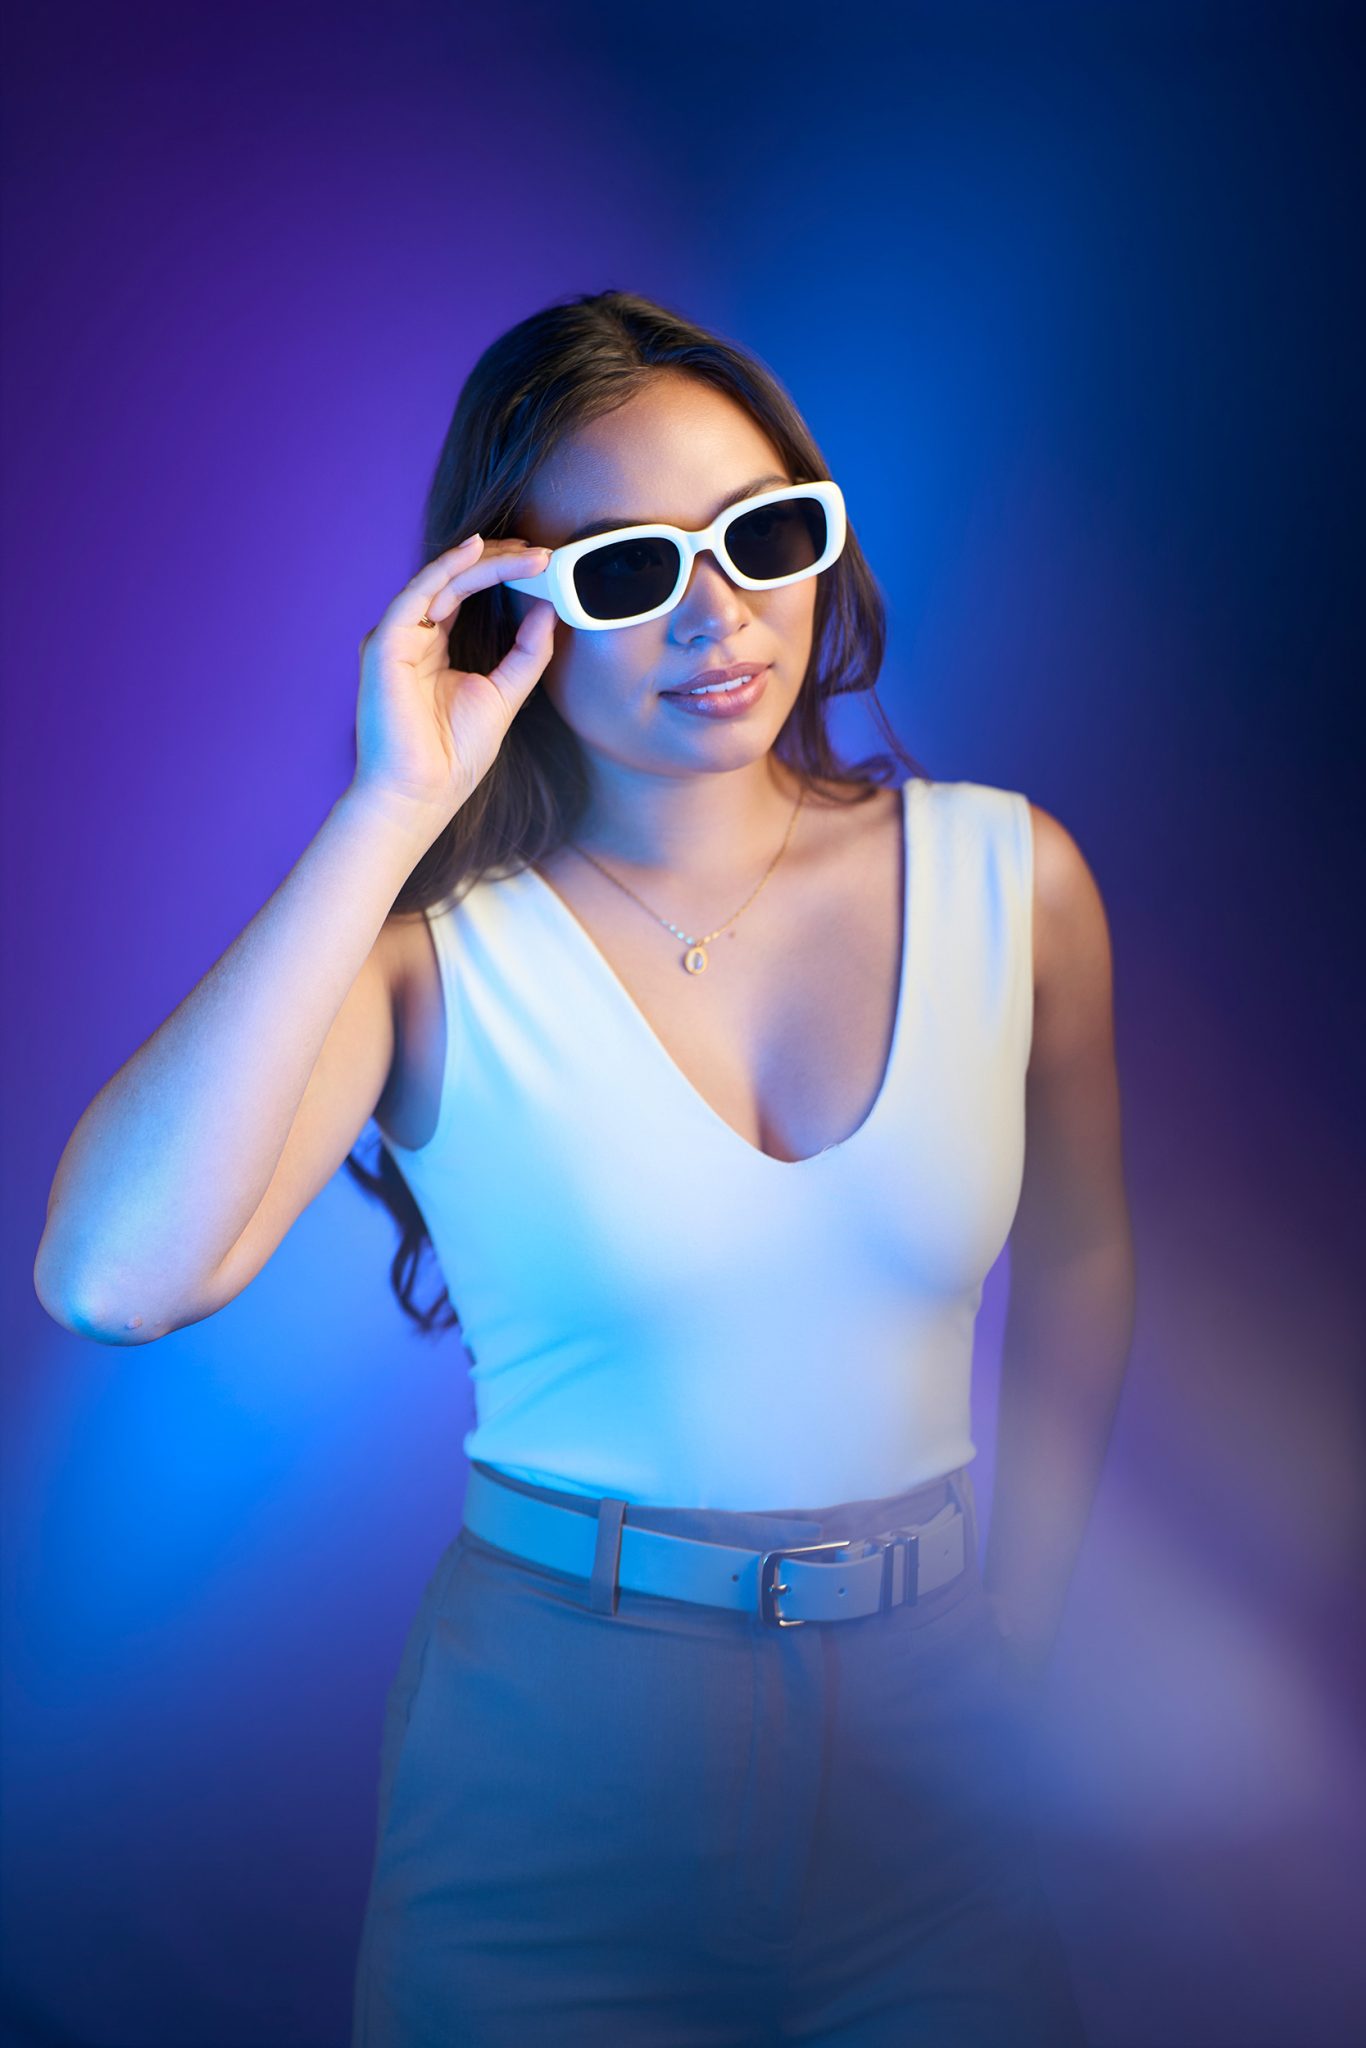
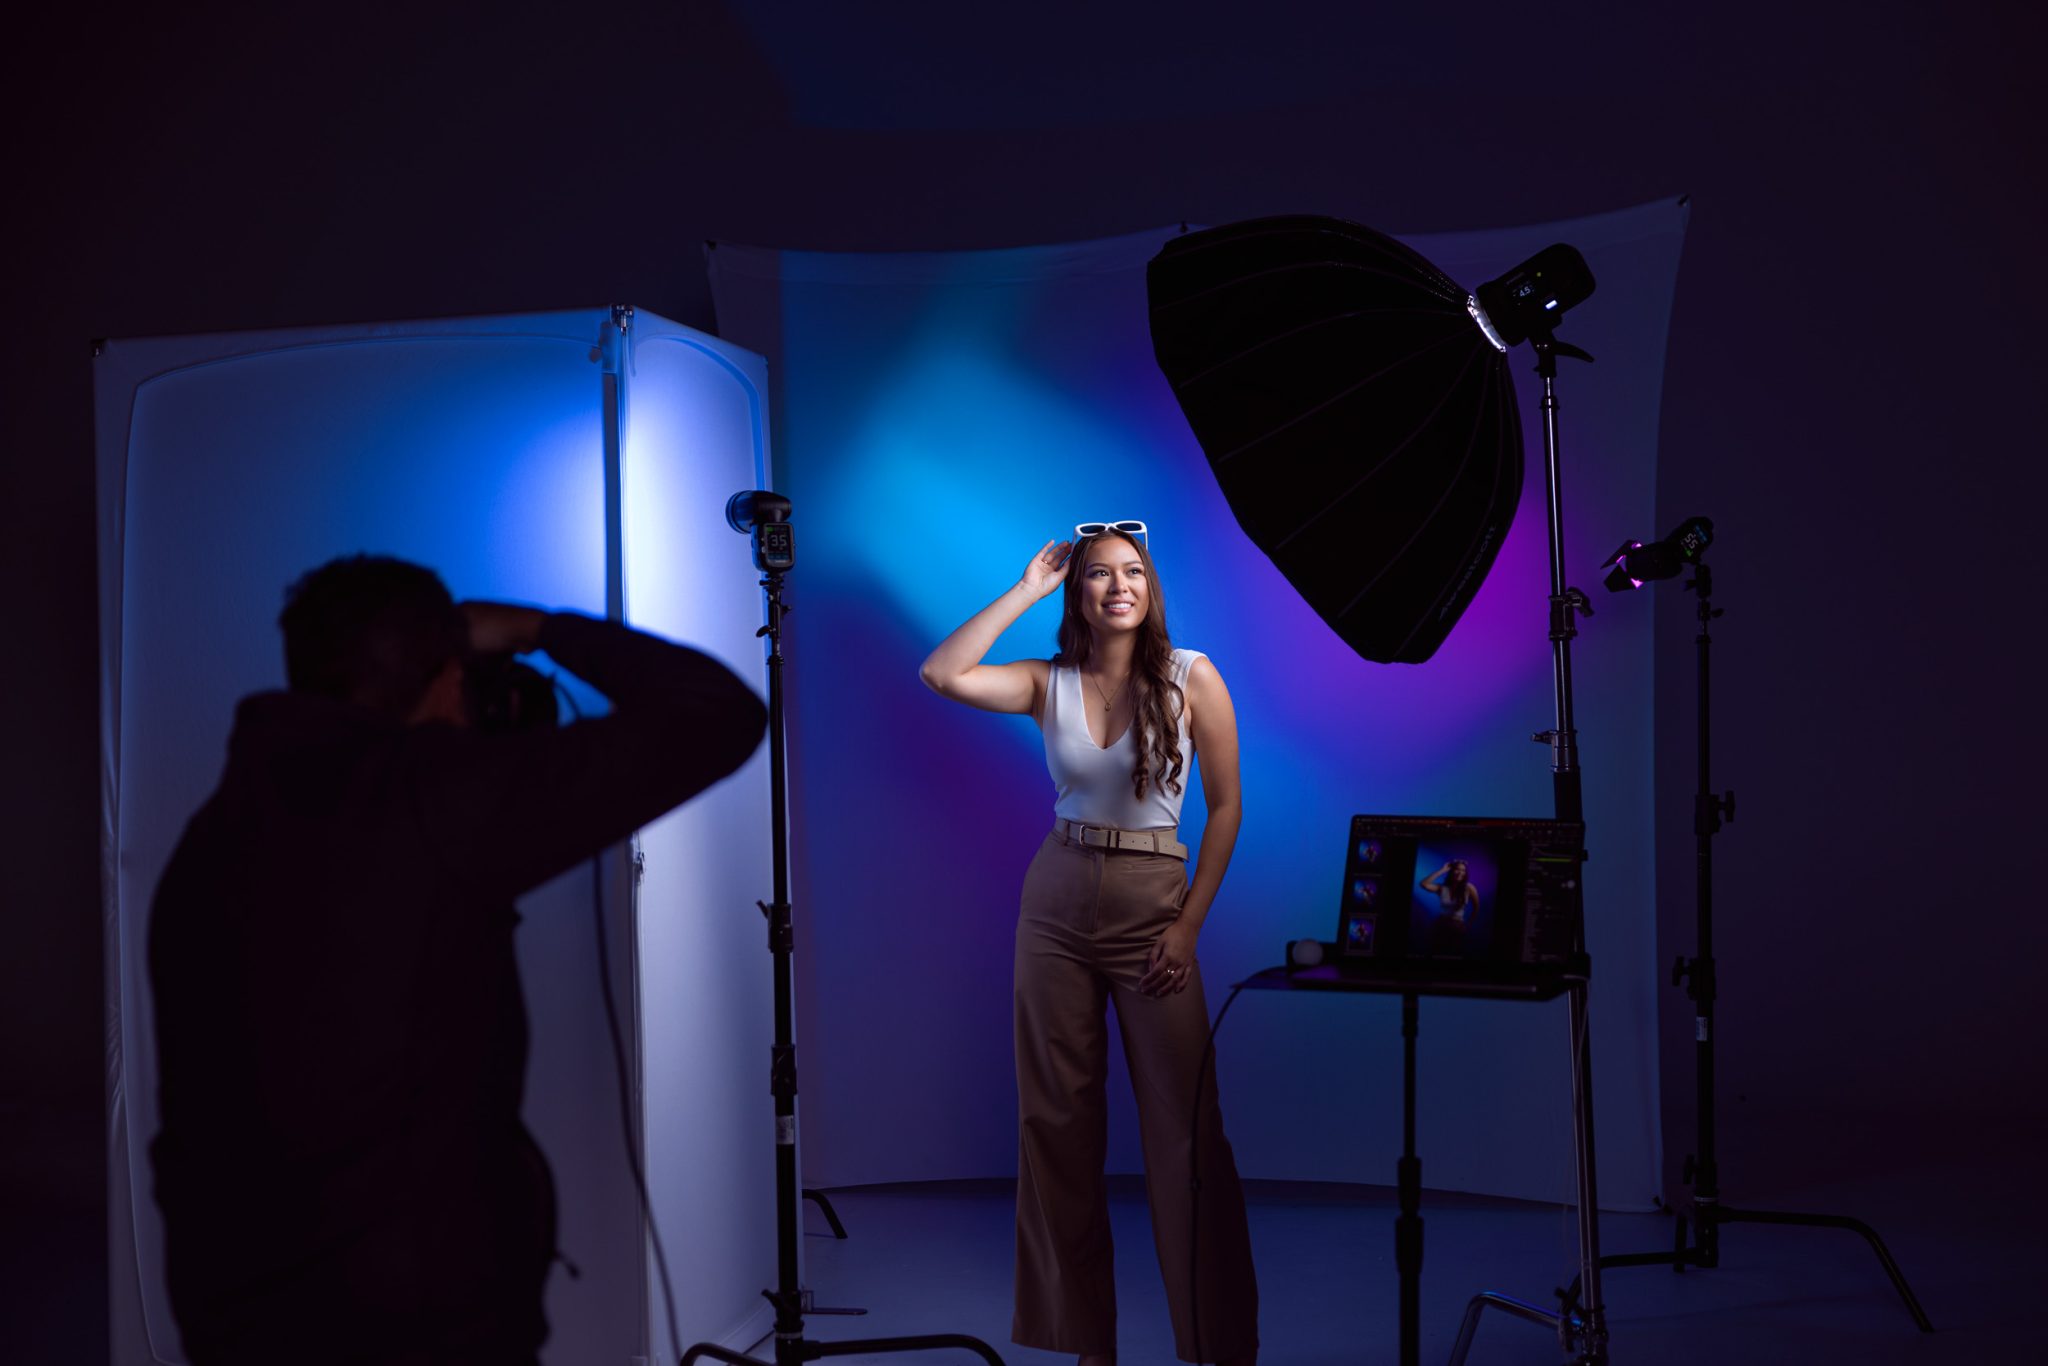
Continuous RGB Lighting Setup
Step 1: Key Light
Set up the Westcott L120-B Bi-Color LED continuous light mounted inside a 36-inch Beauty Dish Switch equipped with a grid as your main light. The grid is essential because it directs the light solely onto your subject and prevents white light from spilling onto the background and washing out your rich colors.
Step 2: Shadow Fill
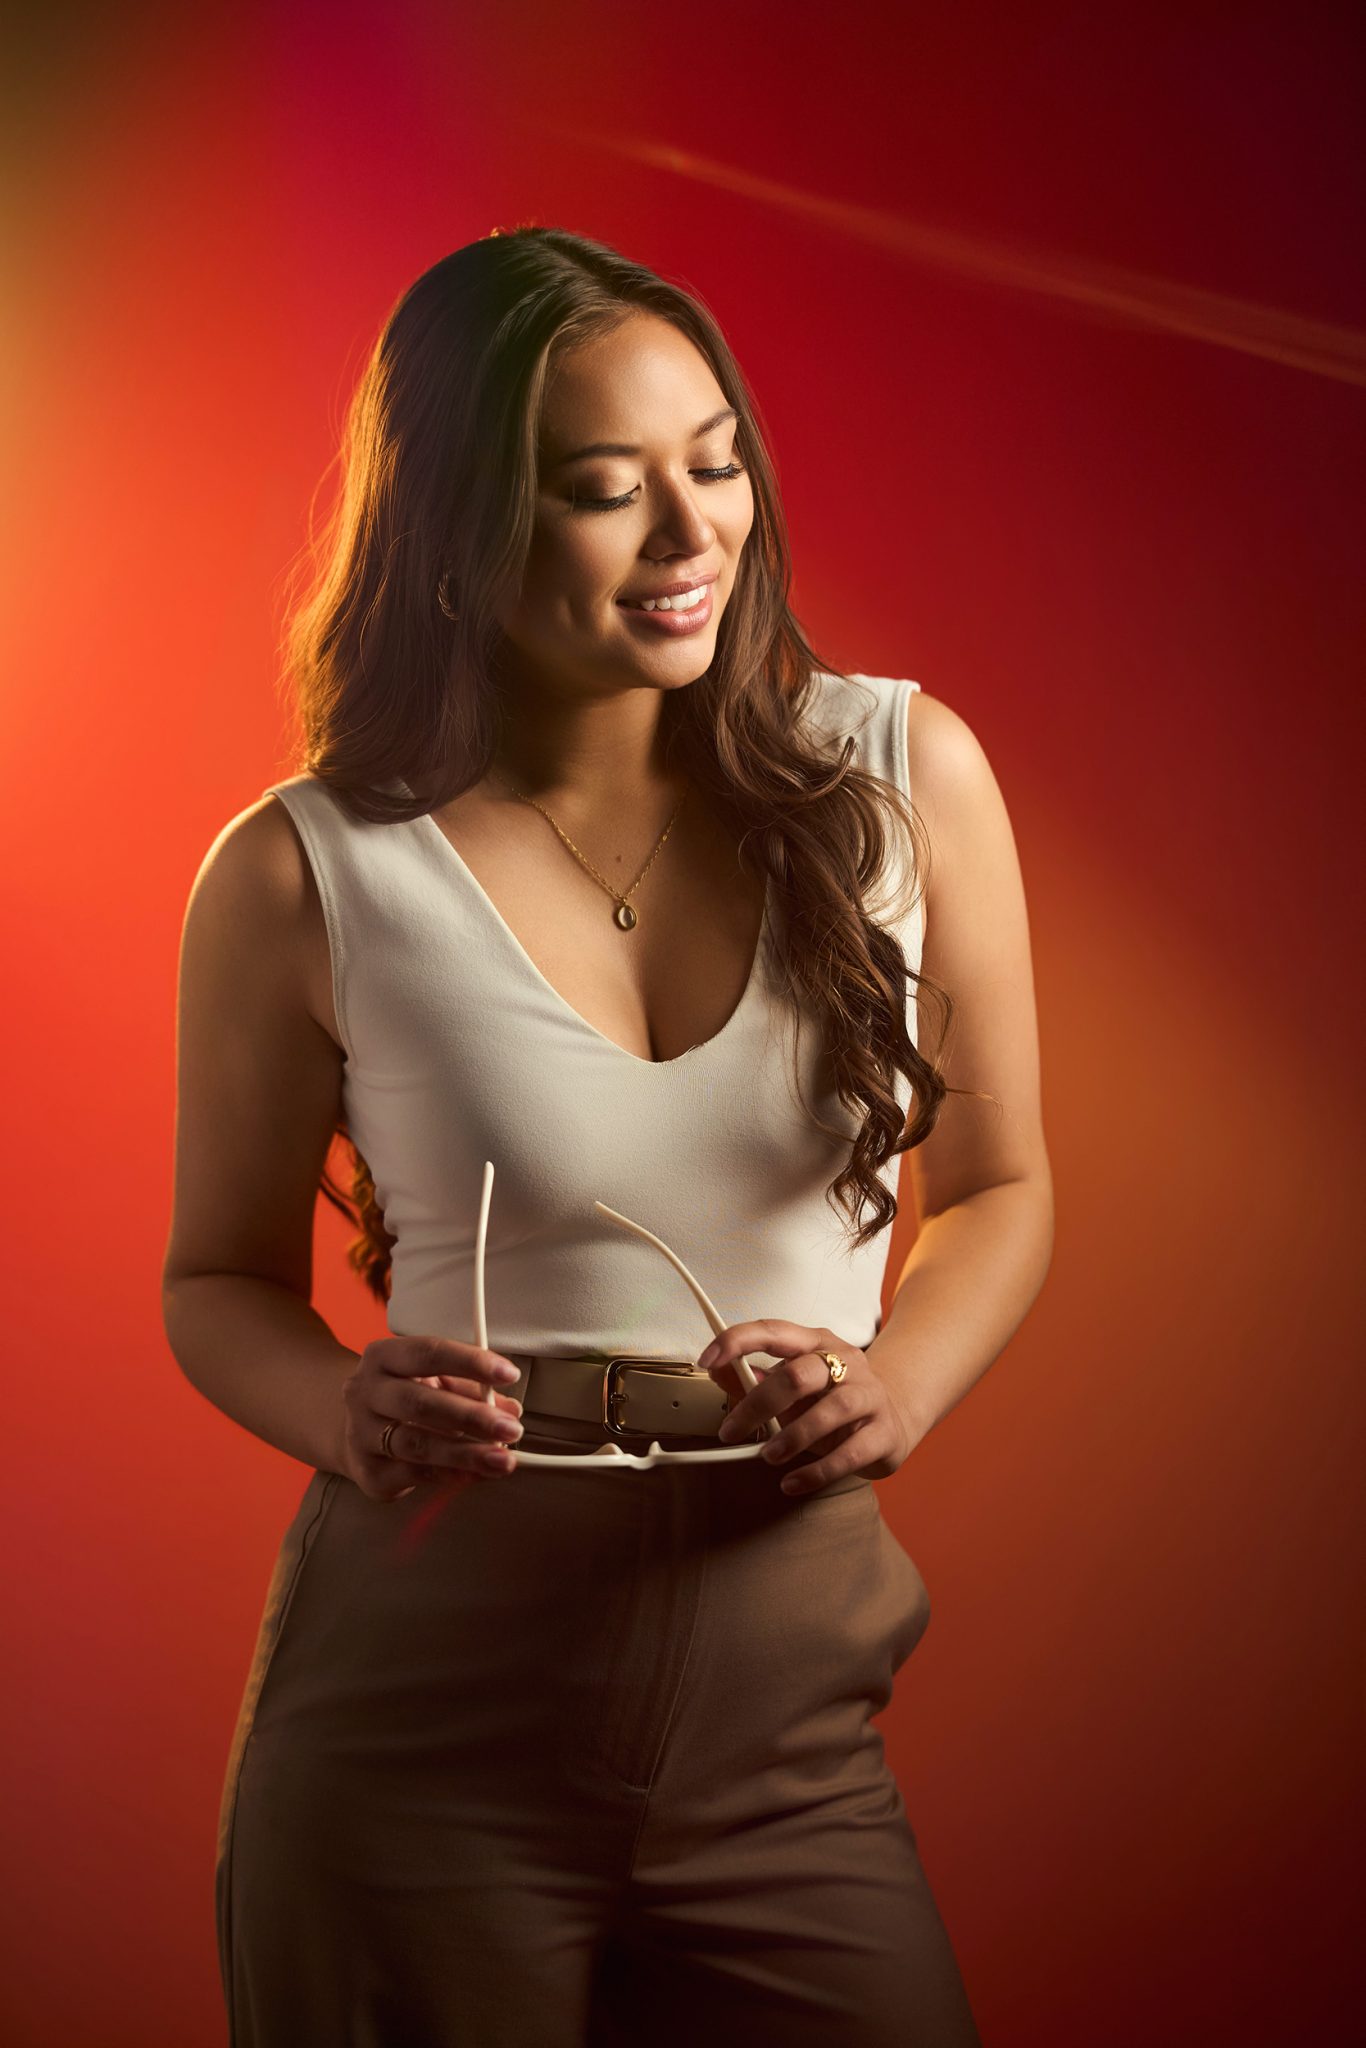
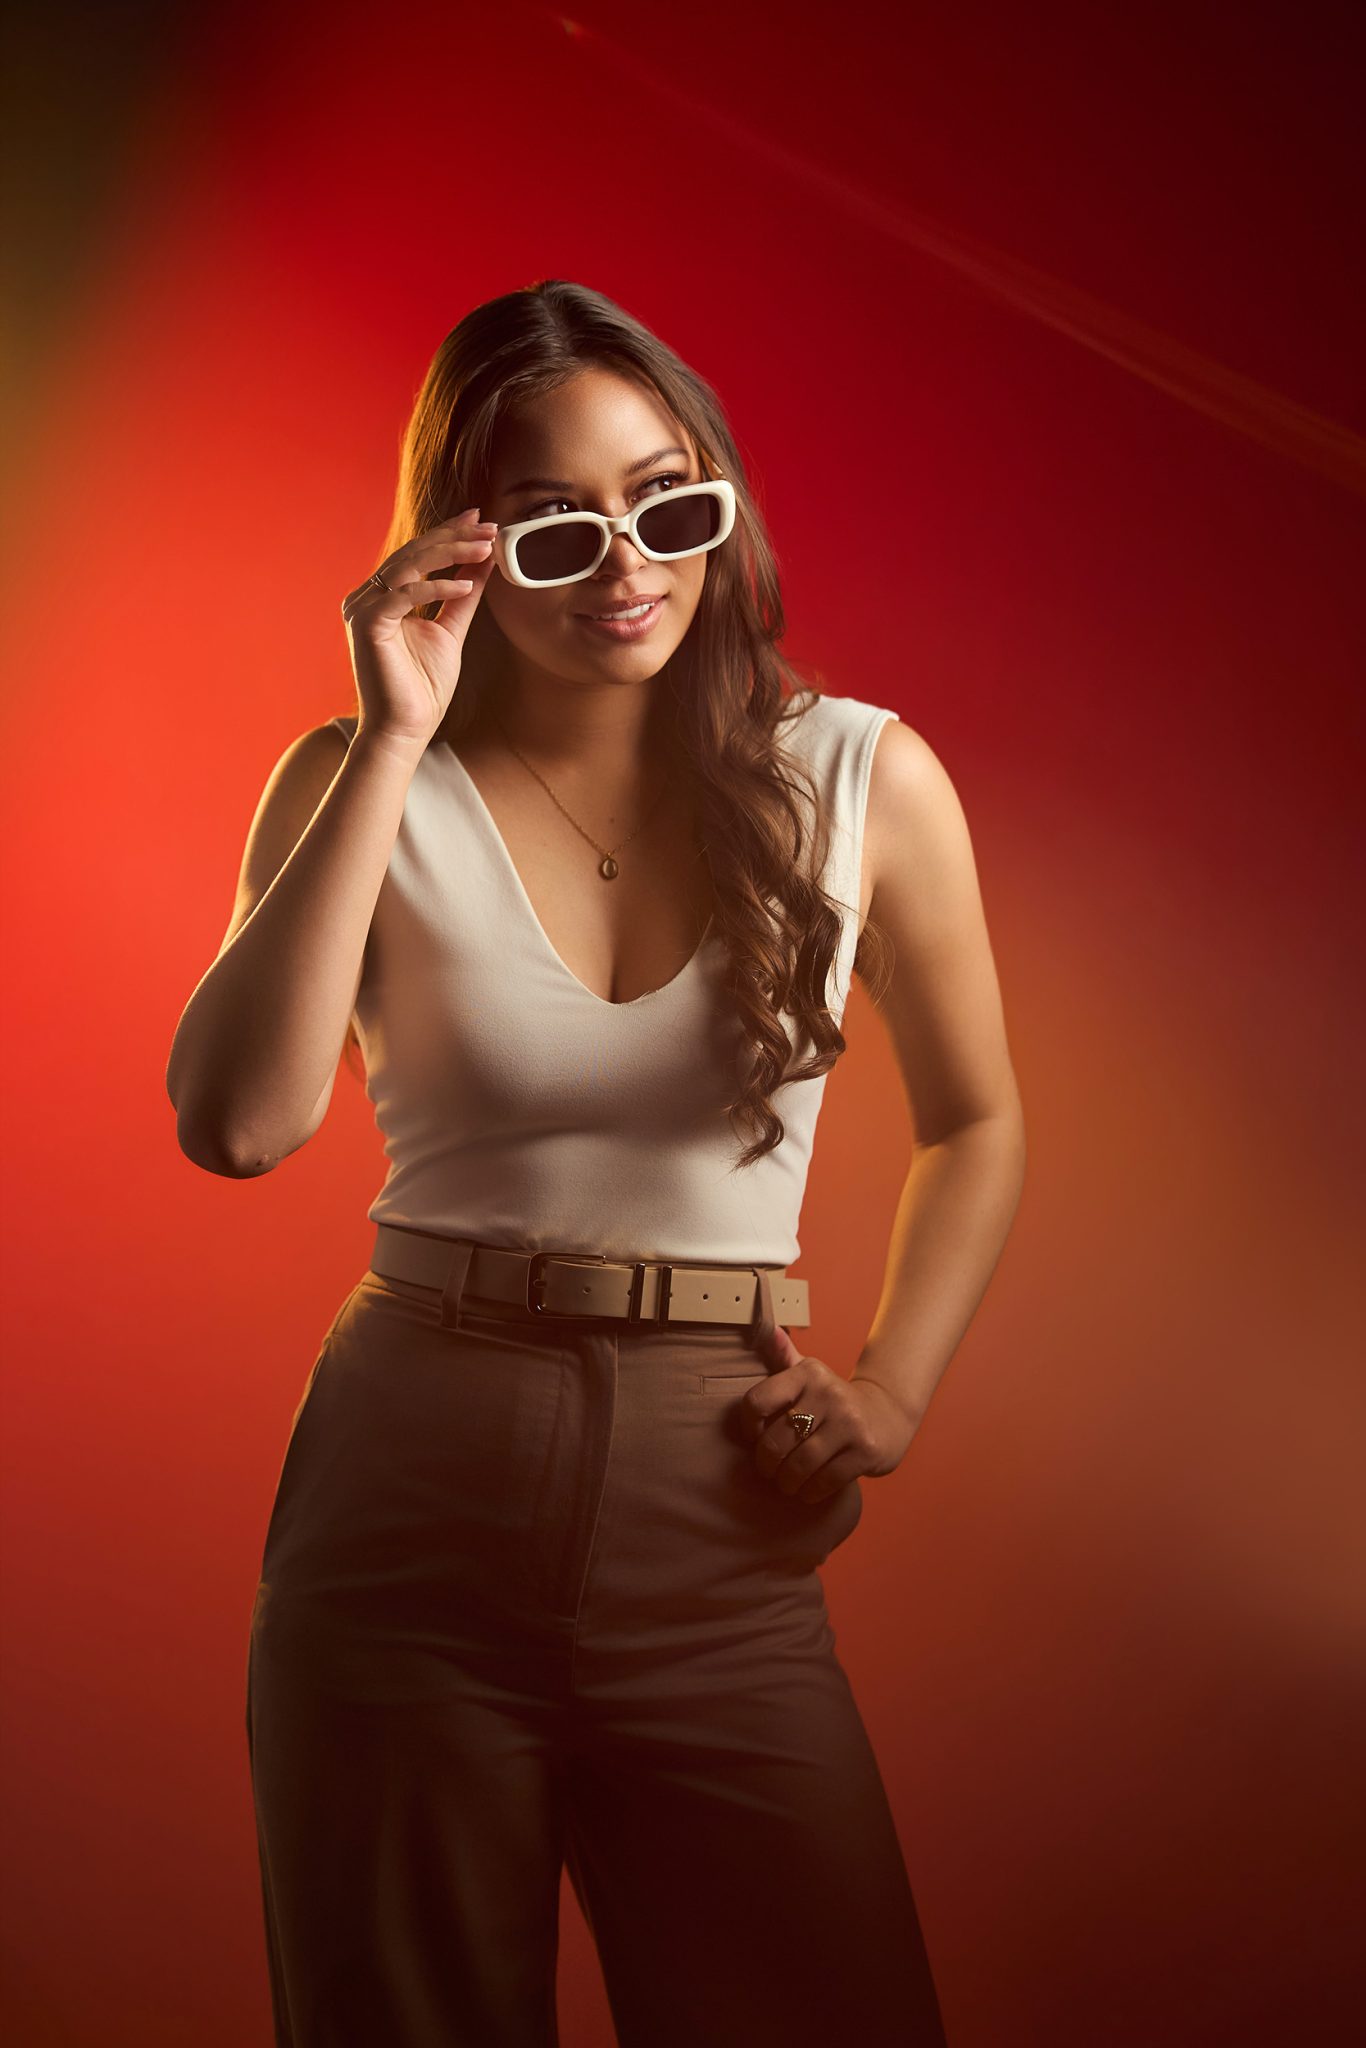
Place a white Westcott V-Flat on the shadow side of the face to bounce light back and soften contrast. To add creative depth, place a third Westcott Ice Light 3 set to a blue hue on the shadow side to fill those deep facial shadows with subtle color.
Step 3: Background Accents
Set up the Westcott 8x8 X-Drop Pro portable white background behind your subject. Place two Westcott Ice Light 3 handheld RGB lights pointing at the backdrop, using attached barn doors to shape the light into controlled geometric patterns (one side set to teal, one side to purple). Finally, for an additional creativity add a lens filter directly in front of your camera lens to add foreground depth and a soft color flare.
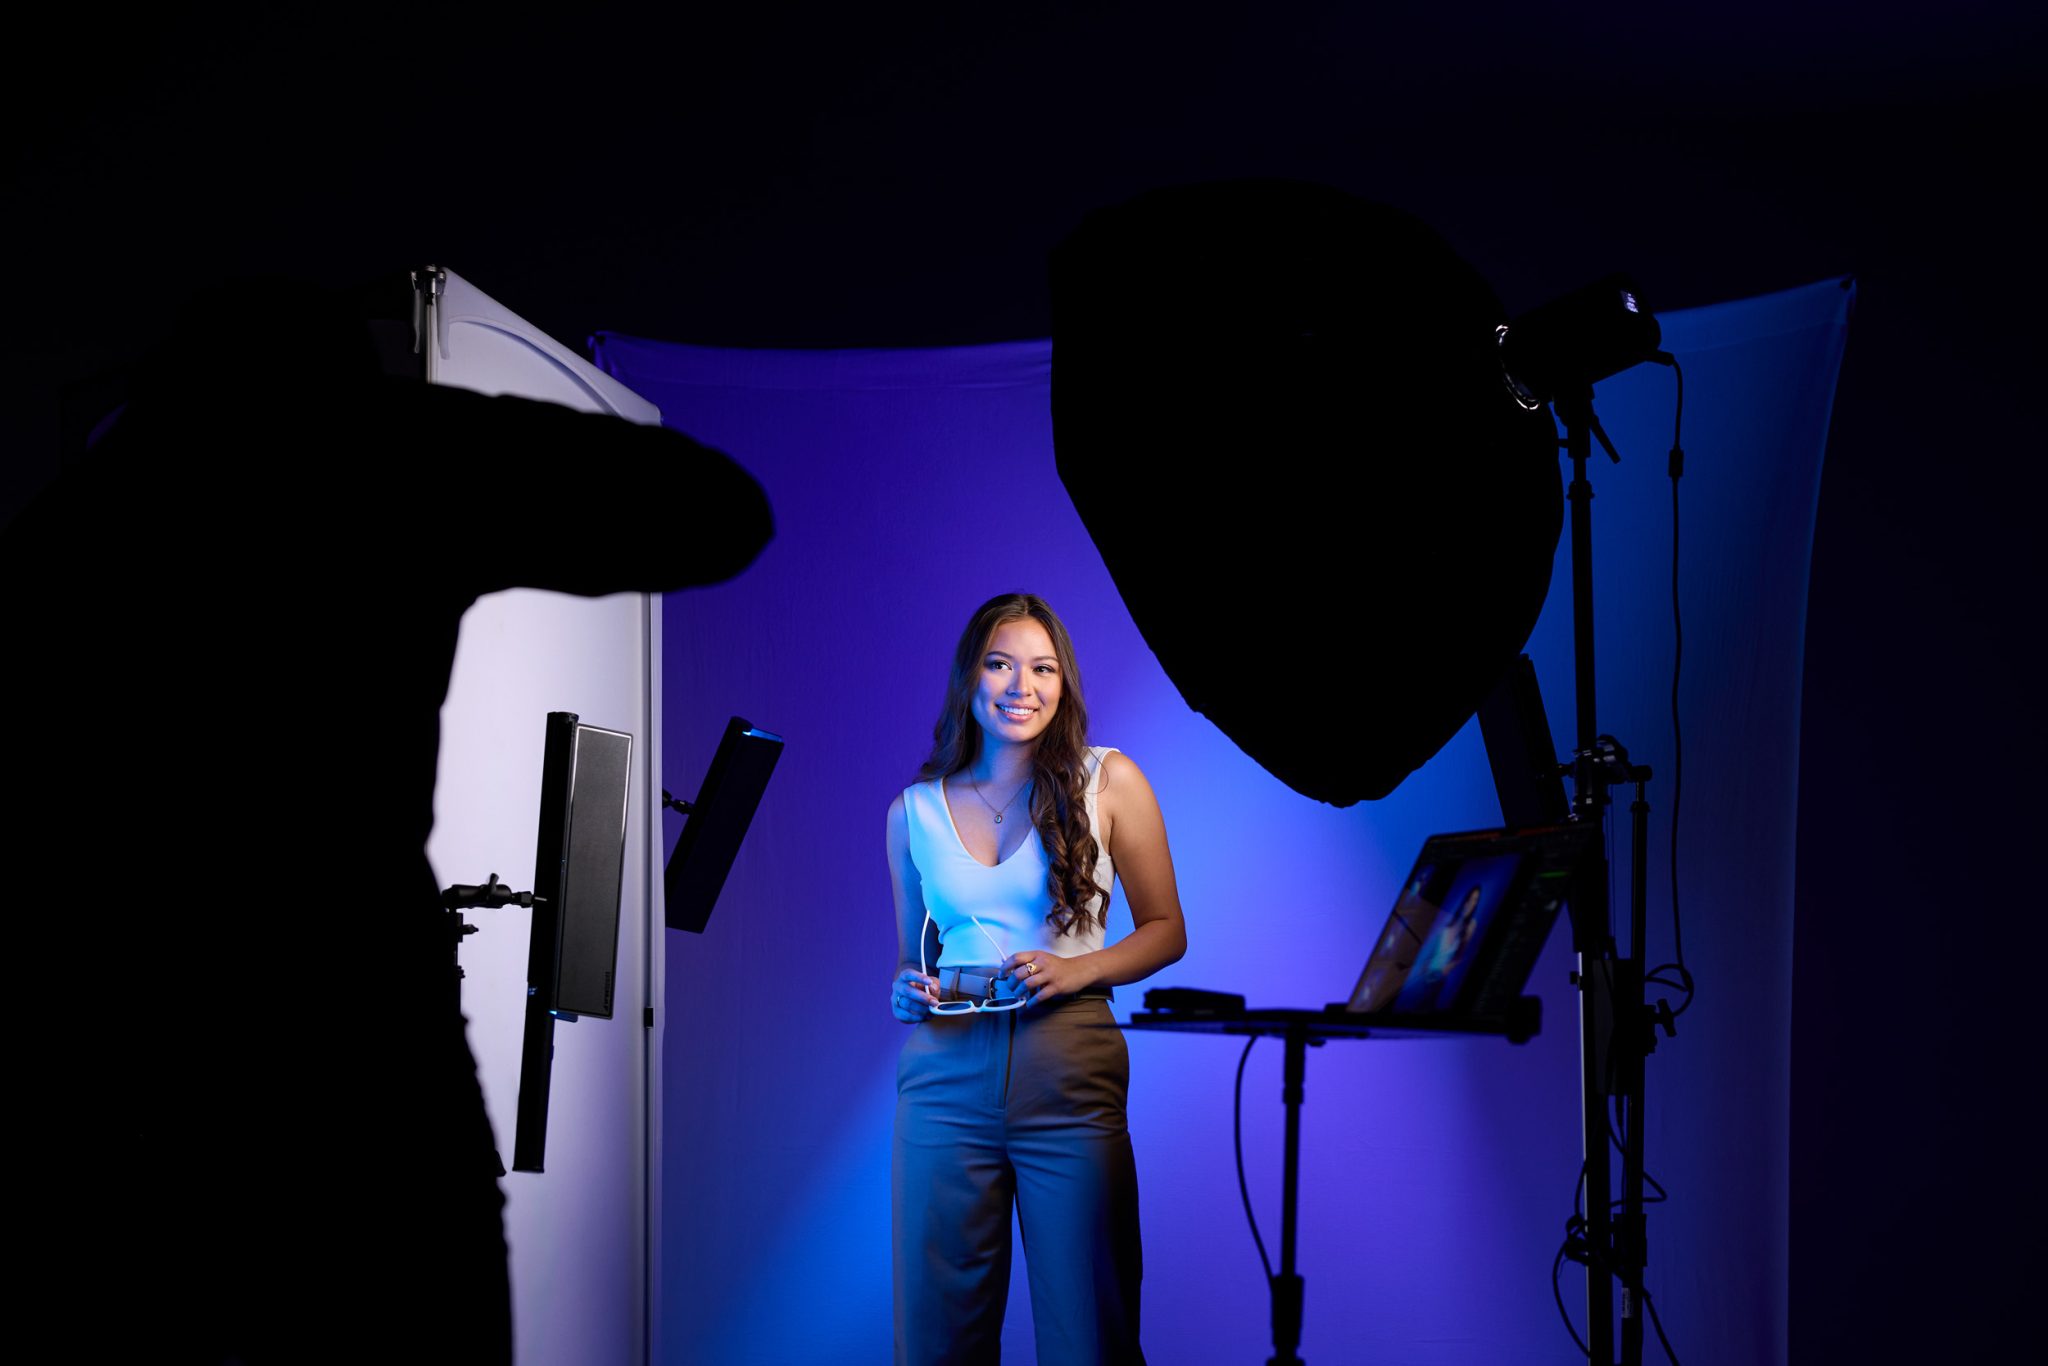
Bonus Setup: Warm Palette & Rim Separation
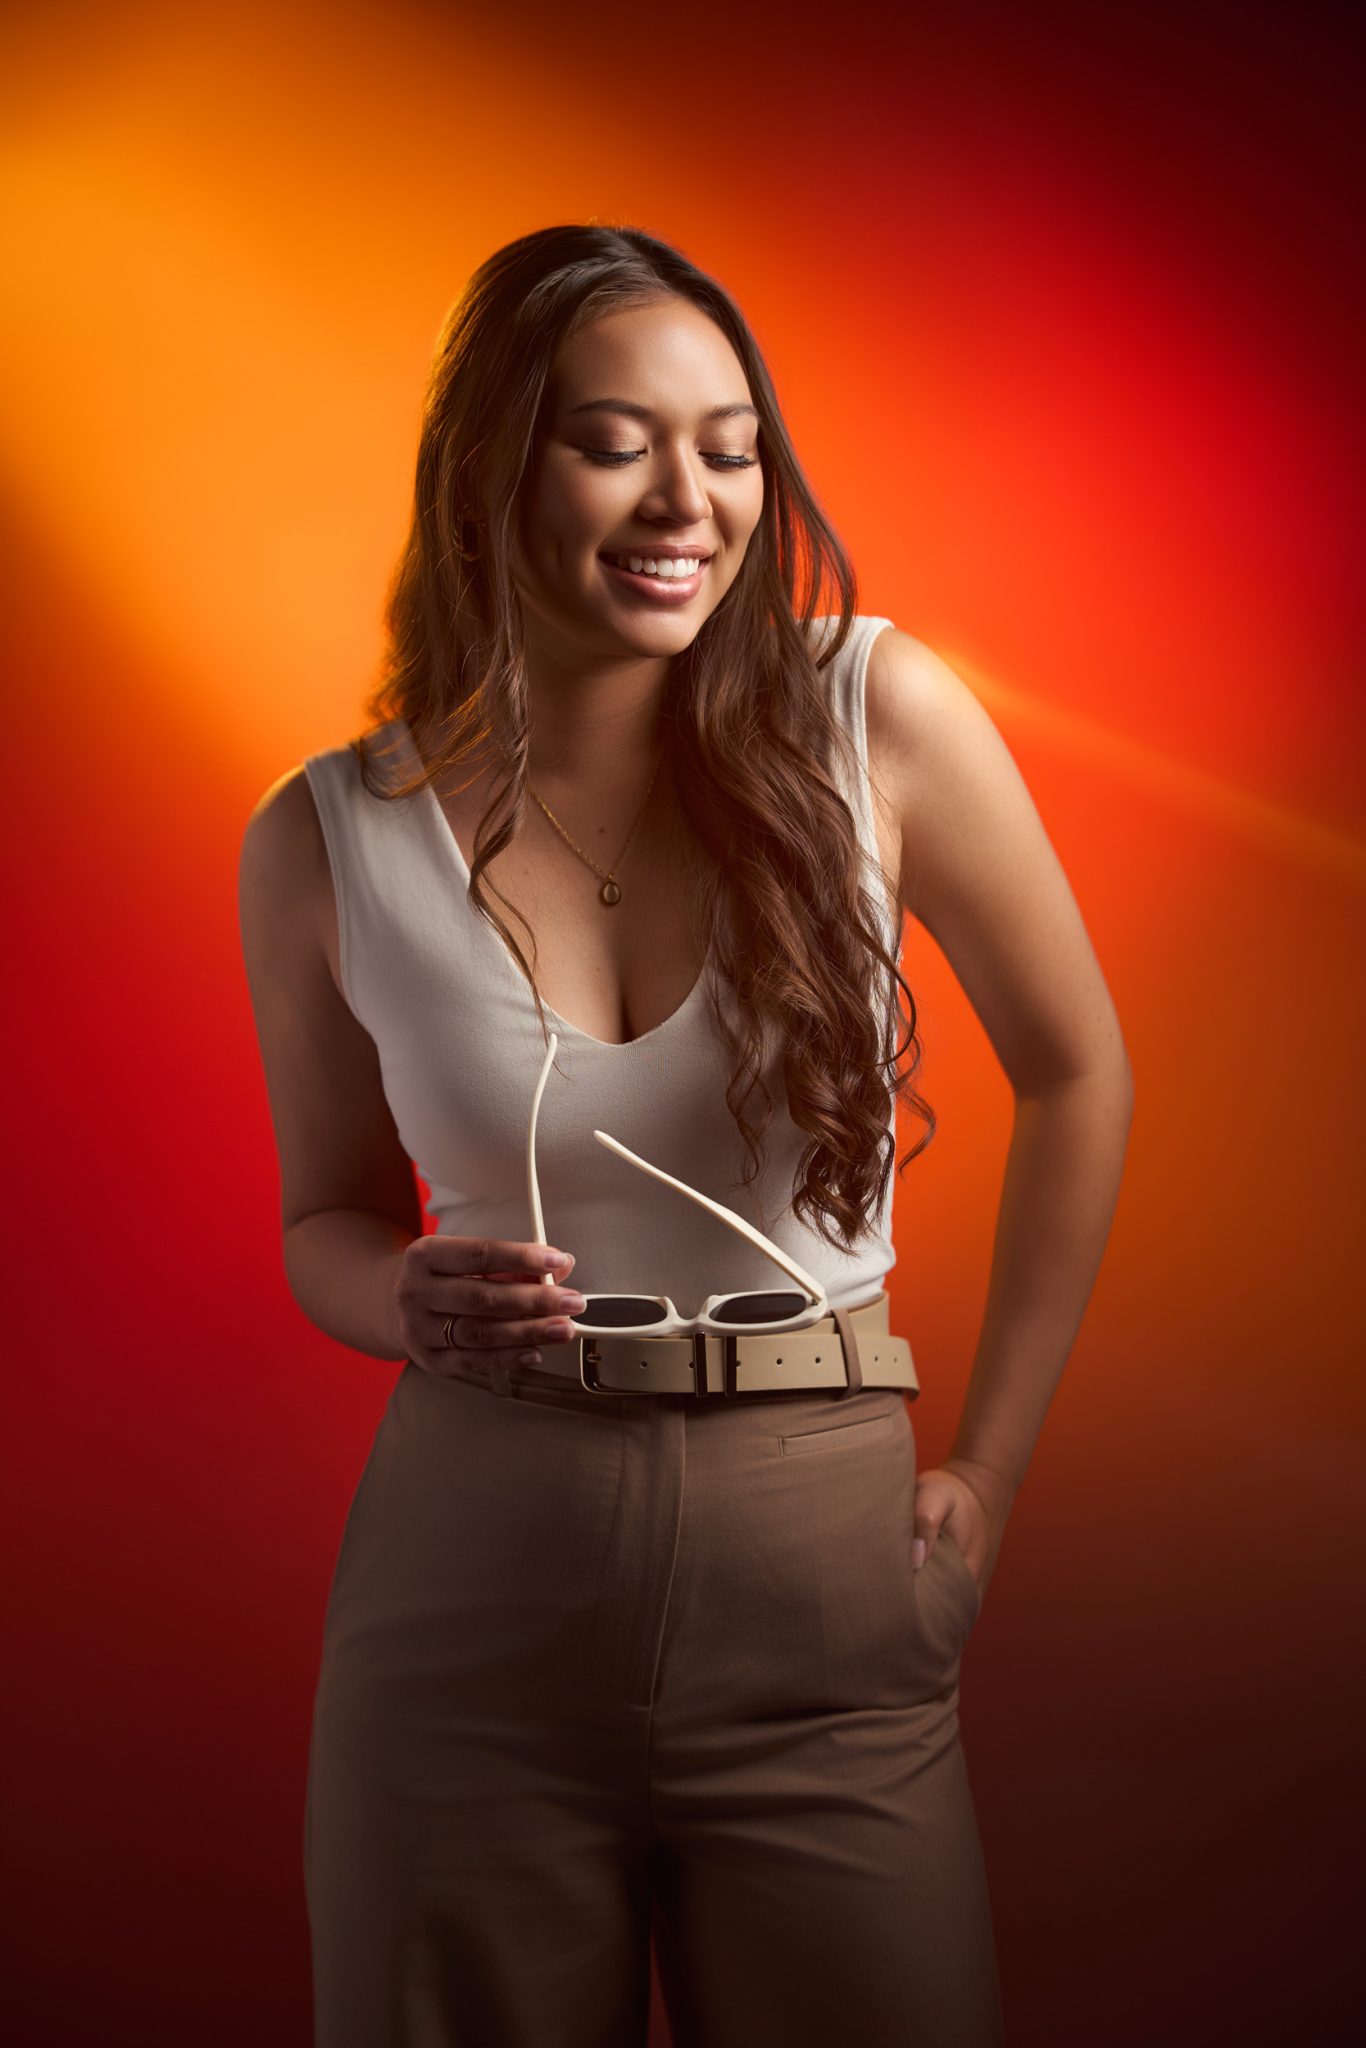
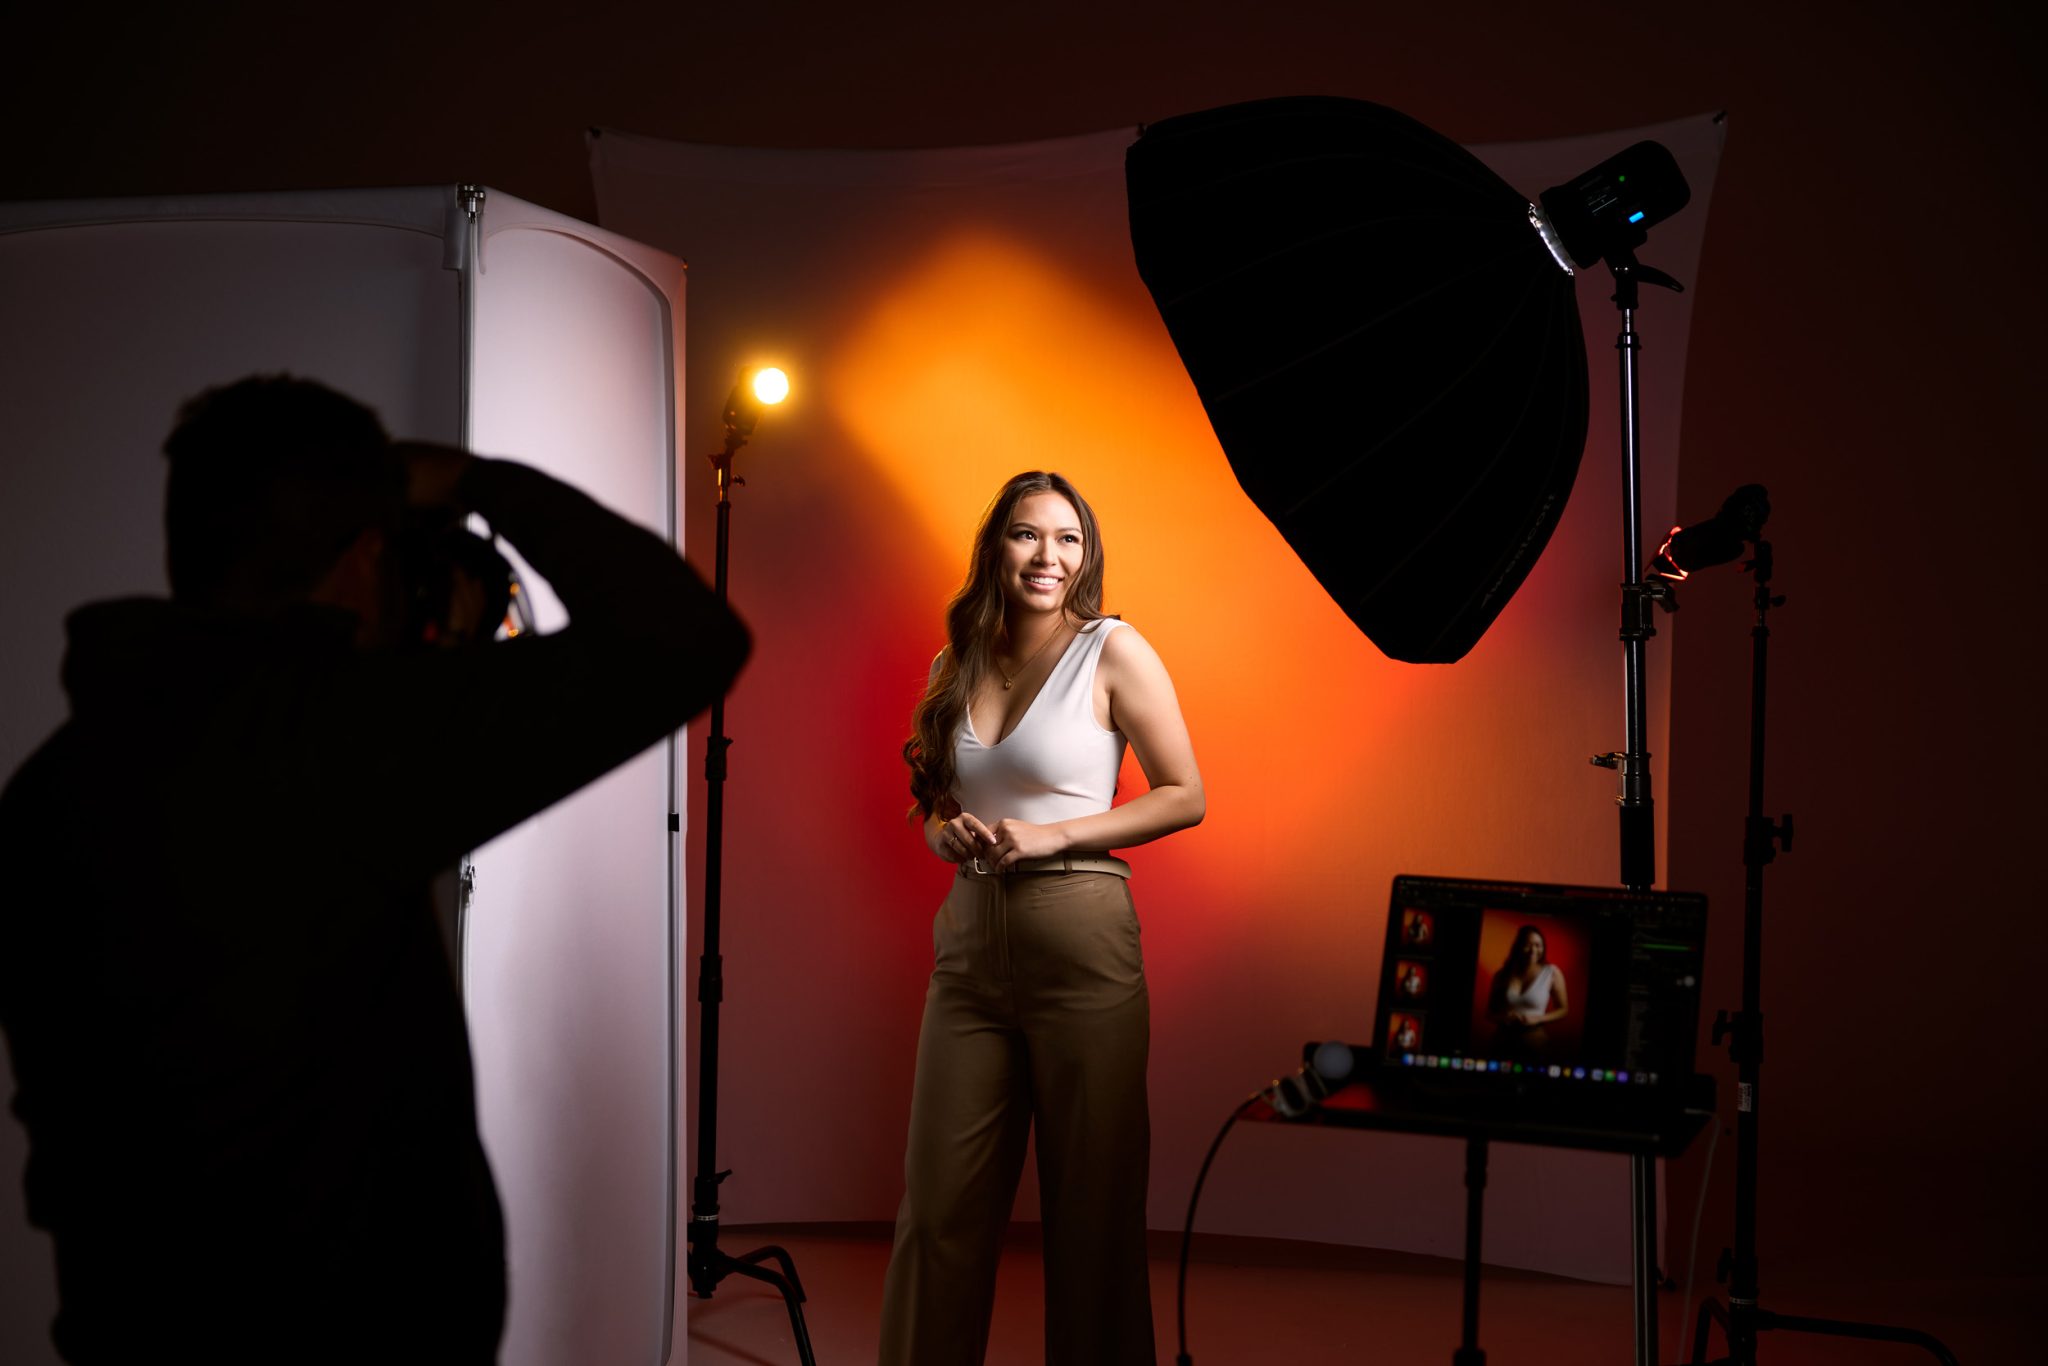
To easily switch up the mood without tearing down the set, dial the background Westcott Ice Light 3 units to a warm orange and red palette. Then, move the third Ice Light 3, previously used for front shadow fill, behind the subject to act as a rim light. Positioning this light behind your subject highlights their outline and hair, creating clear separation from the background while adding extra shape and dimension to the portrait.
Advantages of Portable Strobes & Color Gels For Creative Portraits
While continuous light is visual and easy to tweak on the fly, portable strobes bring unmatched power and speed to your shoot. Strobes deliver a massive burst of light in a fraction of a second, allowing you to shoot at your camera’s lowest native ISO (like ISO 100) for clean image quality with zero digital noise.
Flash power also gives you complete control over motion blur. While continuous lights require slower shutter speeds that can risk camera shake if you move too quickly, strobes freeze the action instantly through fast flash duration. This gives you total freedom to move around and capture dynamic poses without worrying about soft images.
Portable Strobe & Gel Lighting Setup
Step 1: Key Light
Swap the continuous key light for a Westcott FJ250 portable strobe attached to the same gridded 36-inch Beauty Dish Switch. Because the FJ250 uses a standard Bowens mount, switching modifiers between continuous and flash units is fast and seamless. Keep the grid in place so you don’t lose that rich background saturation.
Step 2: Shadow Fill
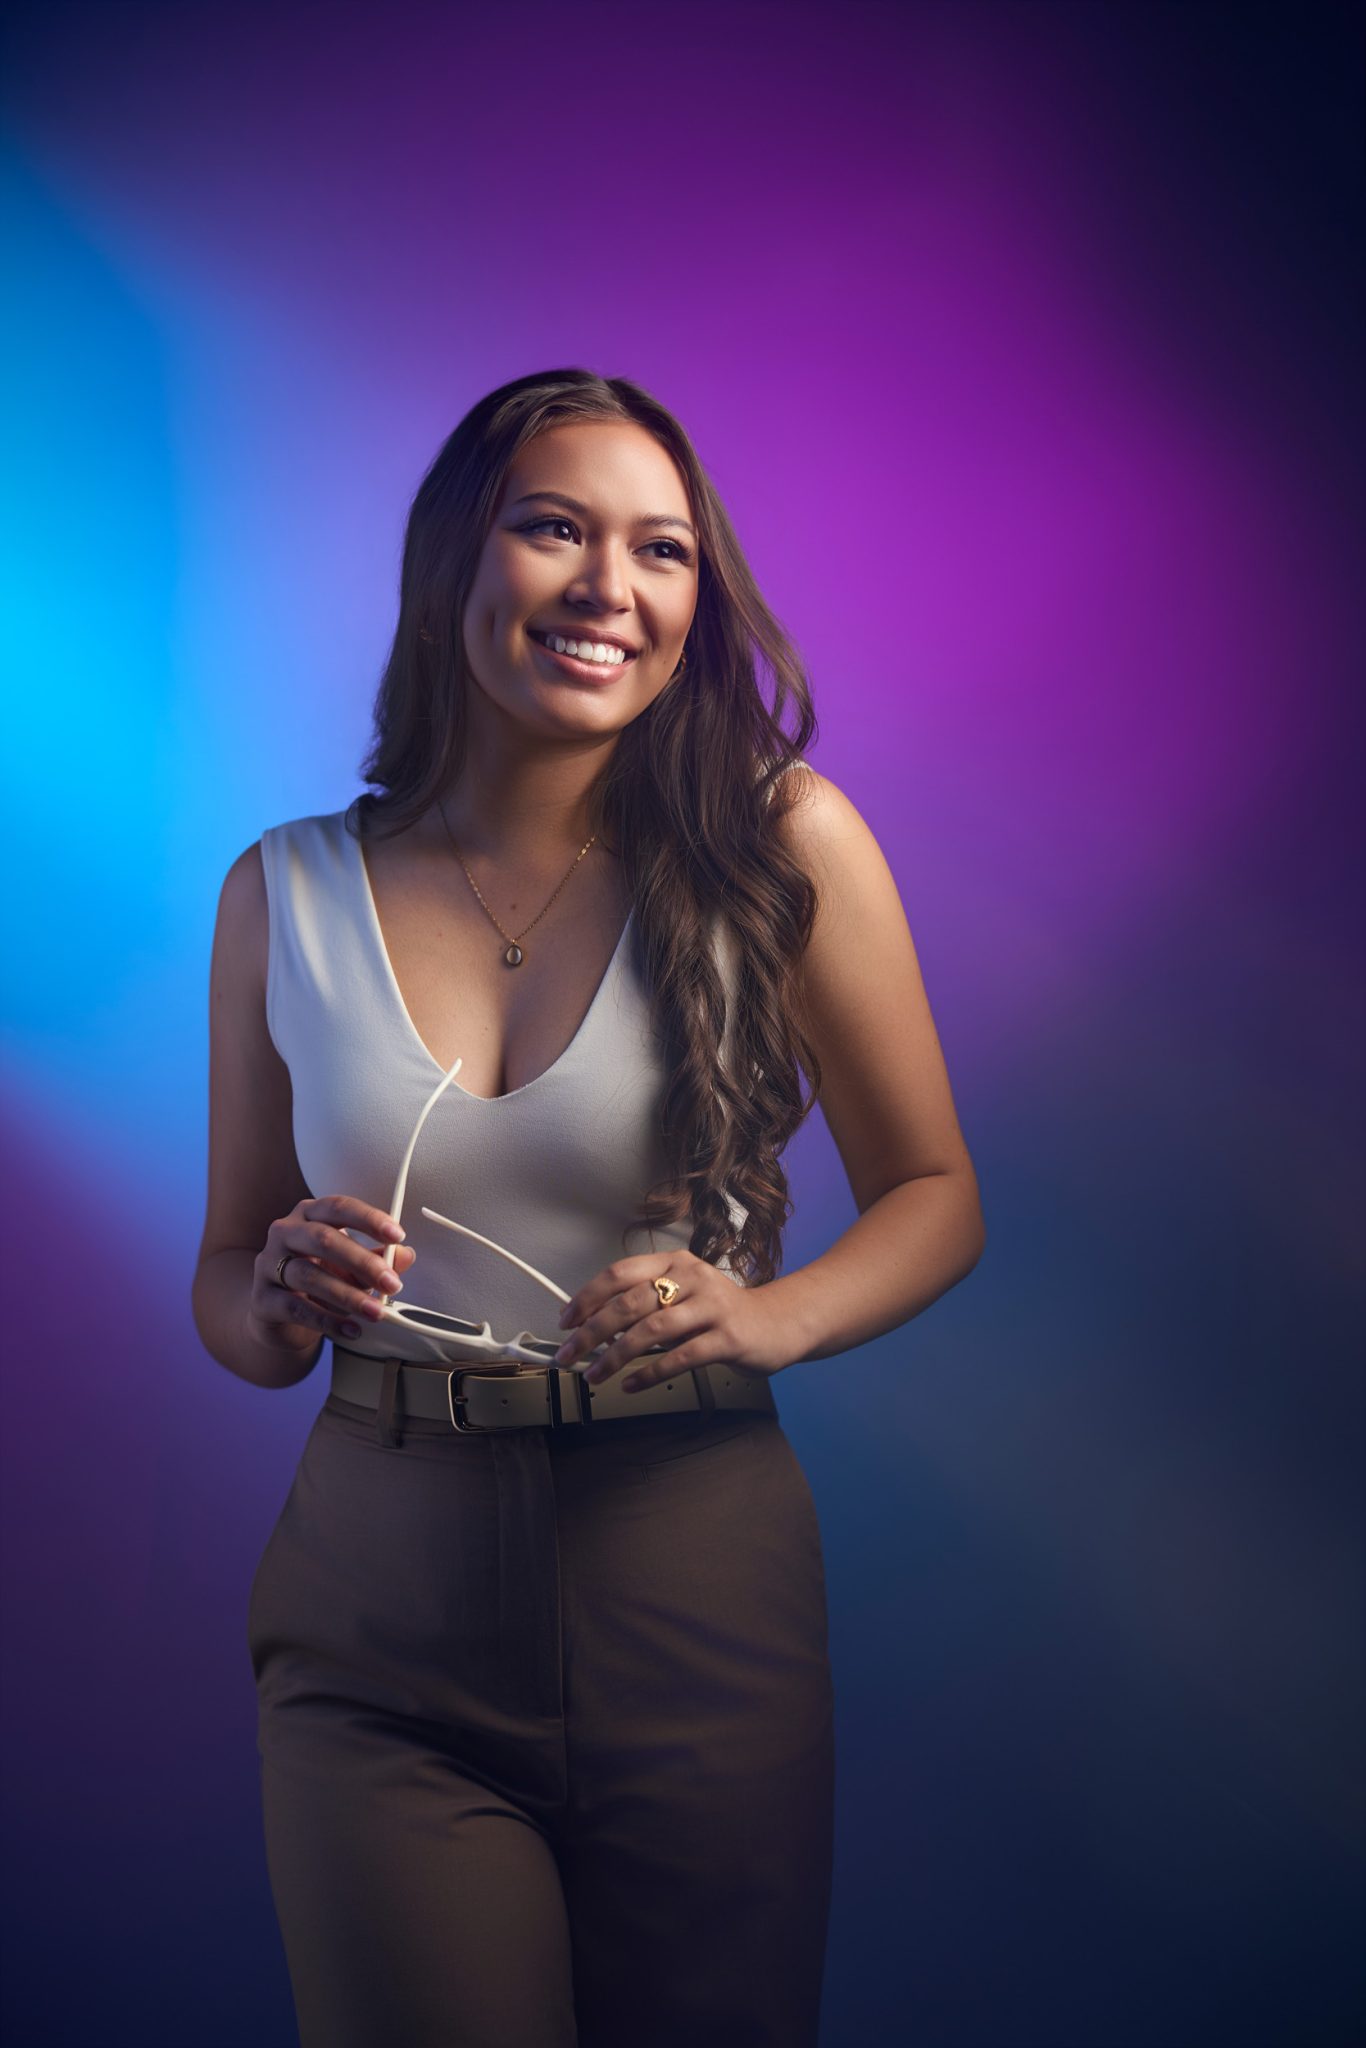
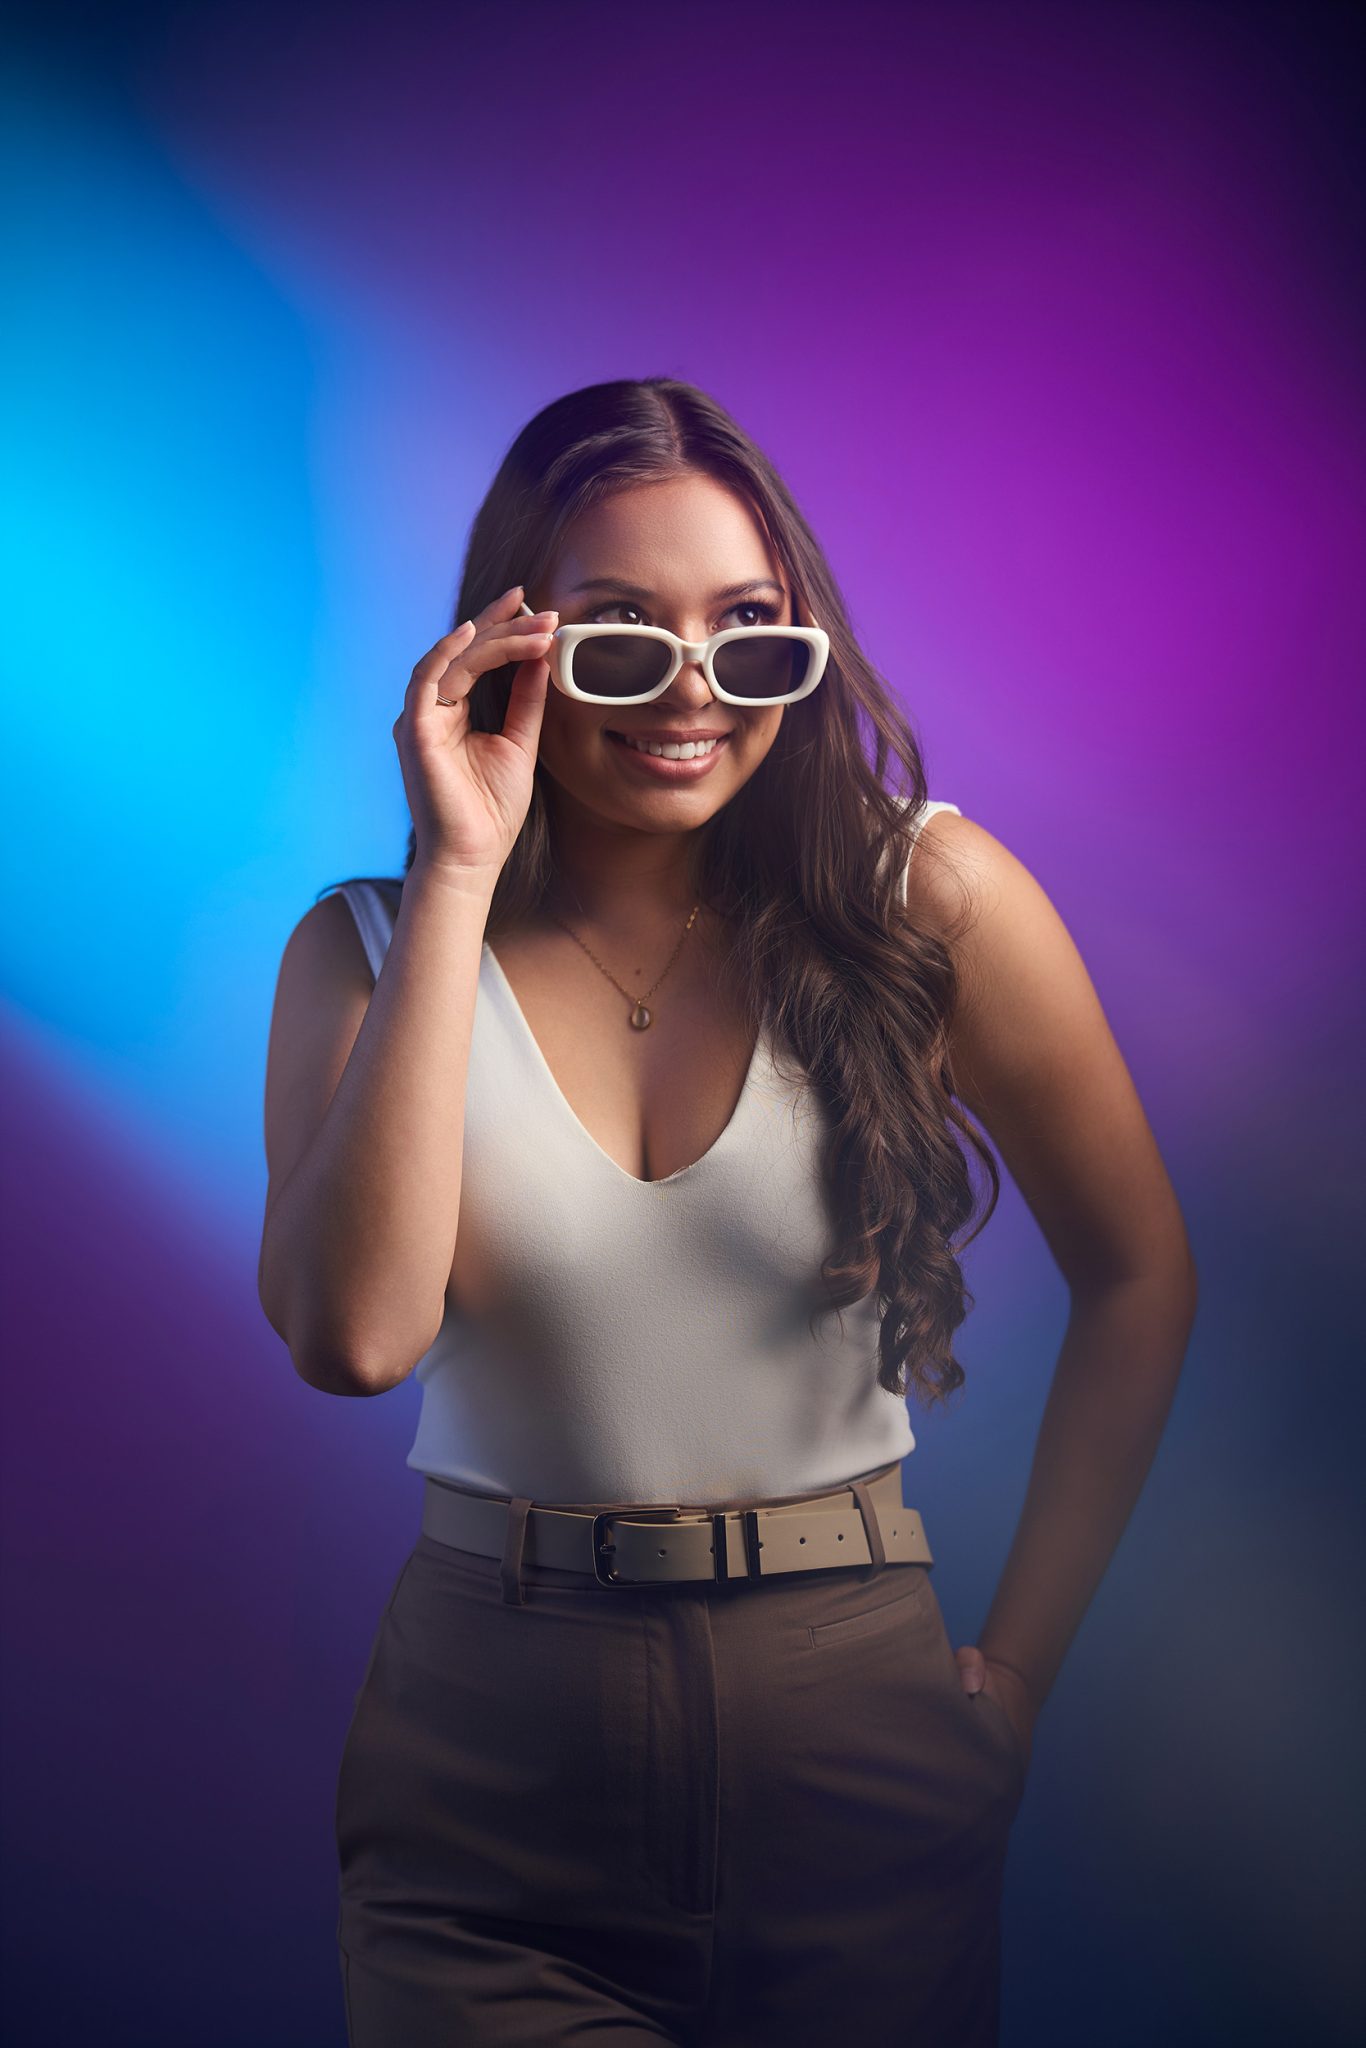
Keep the white Westcott V-Flat in place to soften facial contrast. Recreate the blue shadow fill without adding another light stand by firing a Westcott FJ80 II speedlight fitted with a blue gel directly into the white V-Flat, bouncing soft blue light onto the unlit side of the face.
Step 3: Background Accents
Replace the continuous lights with two Westcott FJ80 II speedlights fitted with barn doors and gel filters (teal and purple) from the Creative Pack. Point them at the Westcott 8x8 X-Drop white backdrop to recreate the abstract shapes.
Bonus Setup: Gridded Rim Light Transformation
For a dramatic variation using flash, swap the background gels on the FJ80 II speedlights to red and orange. Move the fourth FJ80 II speedlight from the V-Flat bounce position to behind the subject as a dedicated hair and rim light. Adding a grid to this rim light is crucial here: it tightly controls the beam so the flash accents the subject’s hair and shoulders for bold background separation without spilling into the lens.
RGB Continuous vs. Flash Strobes: Which Setup Is Best for You?
Both continuous RGBW lights and portable strobes are fully capable of producing rich, colorful portraits. Continuous lights give you instant visual feedback and effortlessly fast color changes, making them a stress-free option for precise setup building. Strobes offer raw light power, lower ISO flexibility, and the ability to freeze fast movement effortlessly.
Ultimately, there is no single right choice, only the tool that matches your personal photographic style. Whether you prefer the visual convenience of continuous LED lights or the power of portable flash, understanding how to build your setup step-by-step is the real key to mastering colorful portraiture.
Want to see more Creative Portrait Setups?
Check out 5 Creative Beauty Lighting Techniques, where photographer Ashley Boring shows you how to light everything from clean beauty setups to experimental creative lighting!


You must be logged in to post a comment.