
Photographing Single Light Portraits with the Eyelighter 3’s Three Reflective Surfaces
In this video, Ashley Boring walks you through a single-light portrait photography shoot using the Eyelighter 3. She demonstrates the unique benefits of the 3 included reflective surfaces when photographing beauty portraits.
The Benefits of the Eyelighter 3
When you’re looking to photograph effortless clamshell lighting and portrait catchlights, the Eyelighter 3 is a great tool to use. Designed to fill in shadows under your subject’s chin and nose, it also creates a stunning highlight in your subject’s eye.
This feature draws attention to your subject’s eyes and brightens their eyes. When using the Eyelighter 3, you have the option of three different fabric choices. This includes the silver, sunlight and white reflective surfaces that provide unique benefits for what you’re photographing.
One-Light Beauty Portrait Lighting Setup
In this one light setup, Ashley is aiming for a warm-toned portrait. Her model is wearing an orange colored dress with warm tones to her makeup. Ashley pairs this styling with Westcott’s X-Drop Pro 8’ x 8’ Warm Painterly Fabric Backdrop. The orange tones of the dress complement the background and help pull all the warm tones together.
To achieve soft beauty lighting with minimal shadows, Ashley is using a single FJ400 Strobe. She modifies her off-camera flash with the 53-inch Deep Umbrella white bounce interior and adds the diffusion cover to the umbrella to further soften the light.
Ashley finds that using a large light modifier can be key when photographing using the Westcott Eyelighter 3. A rule of thumb is to use a large light source to evenly fill the Eyelighter’s reflective surface. Ashley suggests photographing with a modifier between 36” and 53” to ensure light is spread evenly across the Eyelighter.
She places the FJ400 flash and deep umbrella on a boom arm. This allows her light to sit in the butterfly position while avoiding the light stand getting in the way of her shot. Placing your light in butterfly position means the light is raised above the subject and angled down. With her light in place, Ashley brings in the Eyelighter.
When placing your light and Eyelighter together, it is important to angle your light enough to illuminate both the Eyelighter and your subject. A trick to finding the right angle is to turn your modeling lamp on and adjust the angle of the Eyelighter until you see the reflection in your subject’s eyes.
You can also stand or sit where your model will be captured and adjust the Eyelighter until you see it reflect the light. This can help you get the best angle for your Eyelighter to capture pristine catchlights.
Benefits of the Eyelighter 3’s Reflective Surfaces
Now that Ashley has explained her artificial lighting setup for this shot, she explains the different benefits between the three fabrics included with the Eyelighter 3.
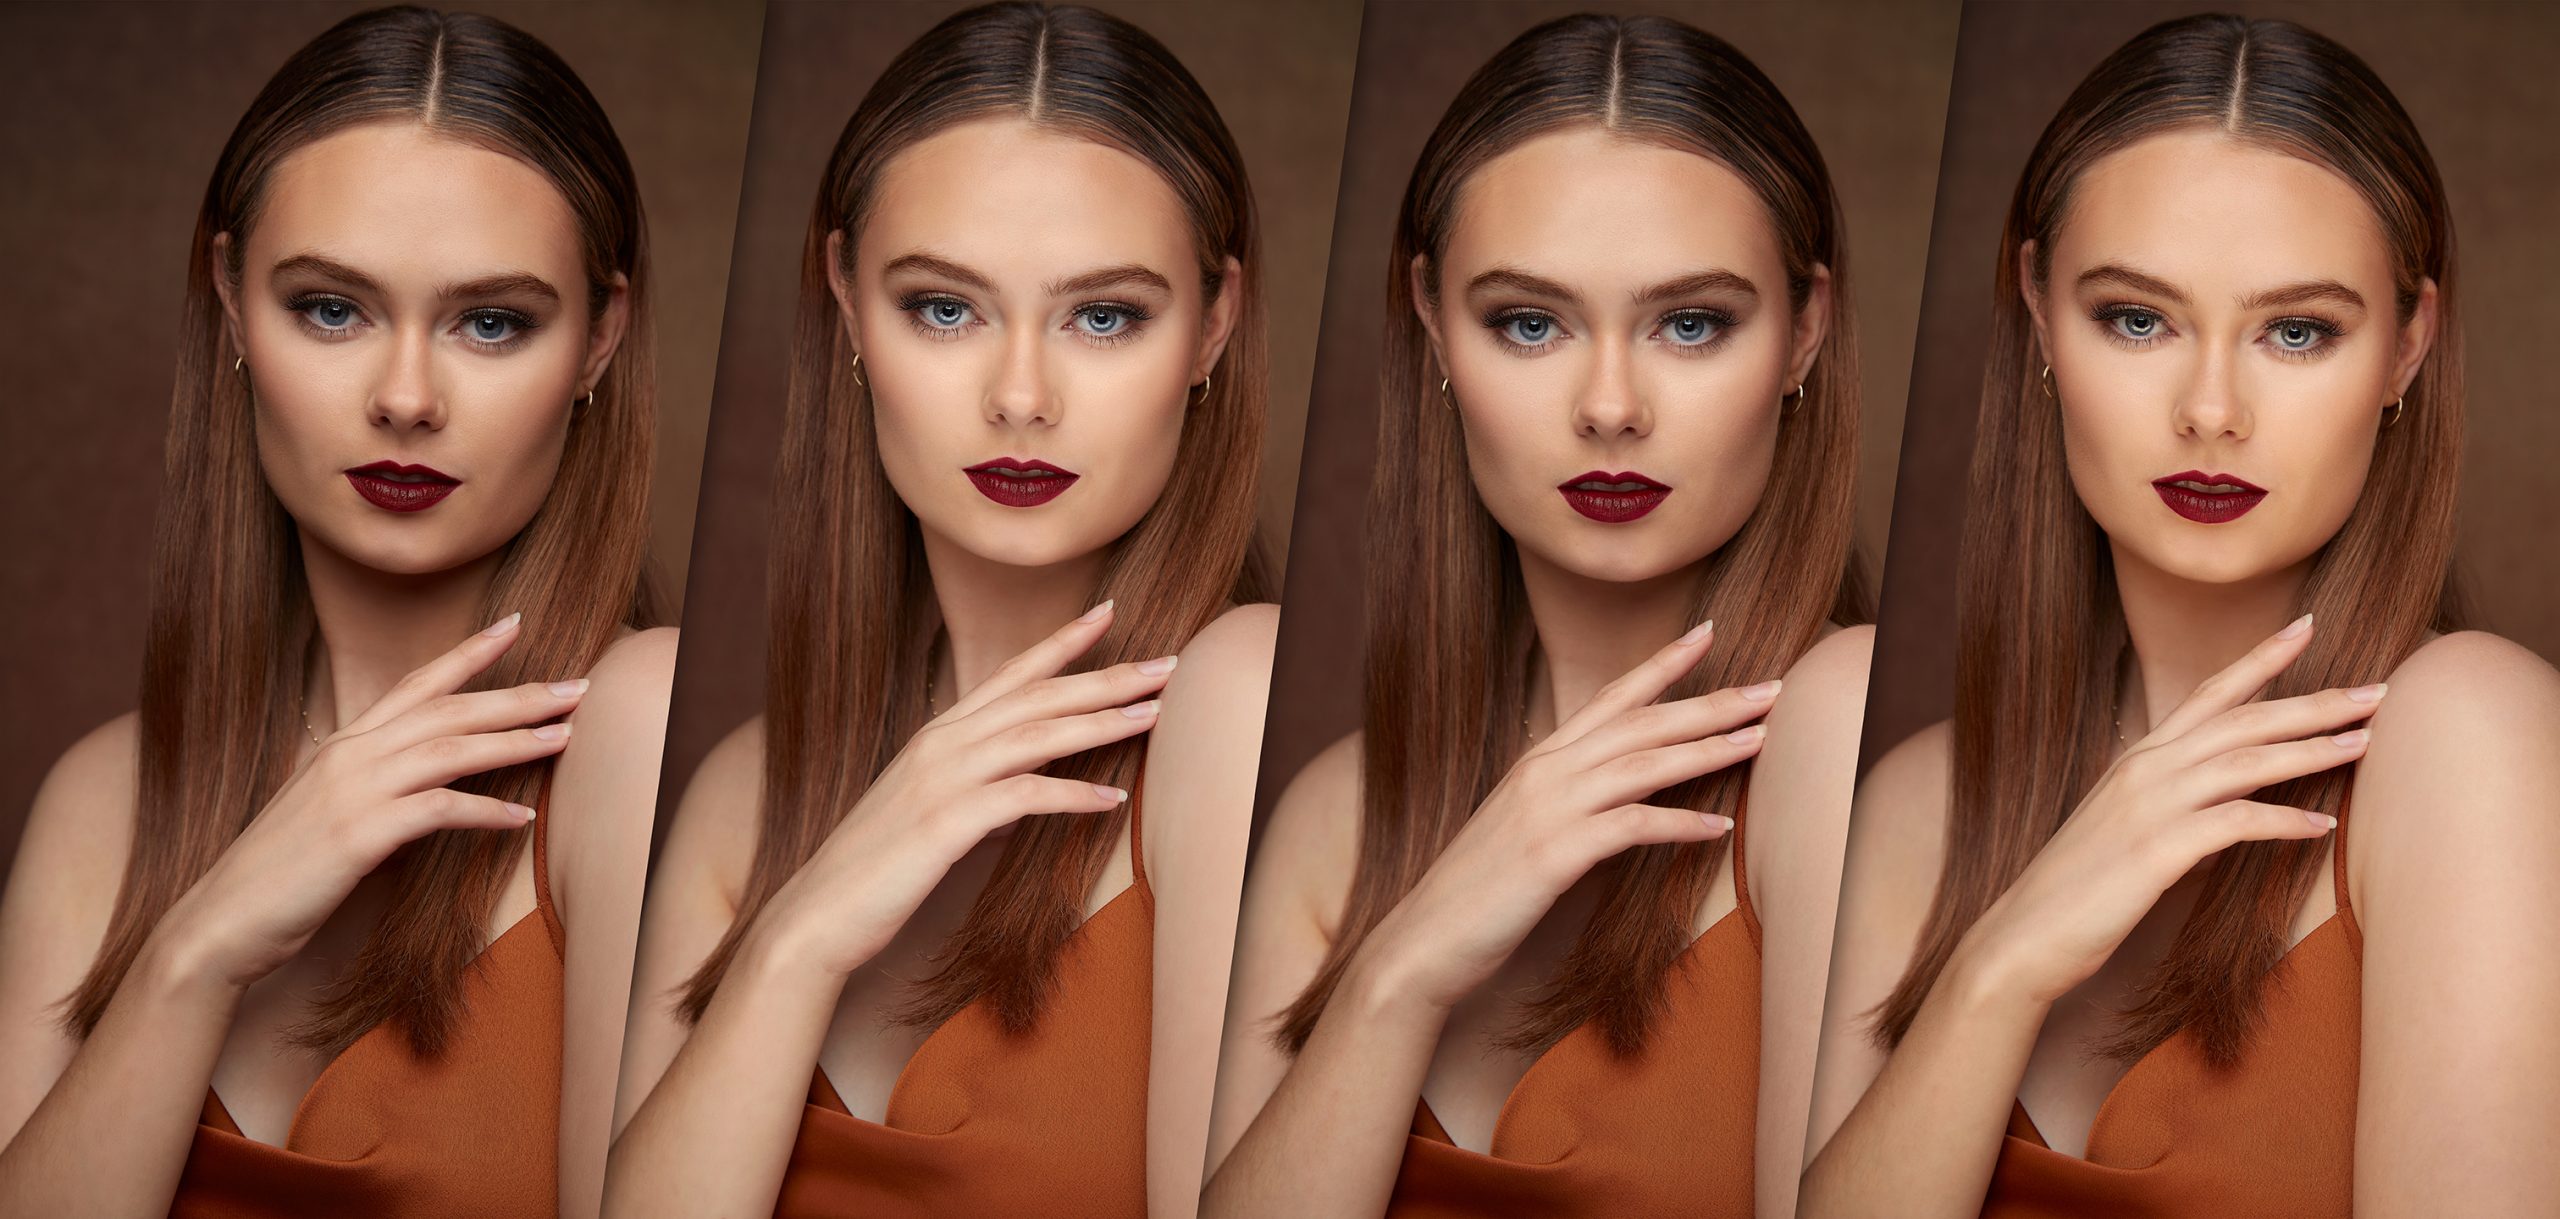
Silver Reflective Surface
Silver is the most popular Eyelighter fabric, due to the very strong and precise light it reflects. The silver surface on the Eyelighter 3 creates very specular light. It is going to fill in almost all shadows under your subject’s chin and nose. If you choose to work with the silver fabric, expect to produce a very defined highlight in the eye of your subject.
Ashley recommends testing your lighting with the silver surface, even if you are planning to use a different fabric. The specular highlight of the silver fabric makes it easy to see if the Eyelighter and your lights are placed in the correct position. It also helps you evaluate if you are getting the curved highlight in your subject’s eye. You can then quickly and easily add your desired fabric surface to your eyelighter once it is in the correct position.

White Reflective Surface
Another great option for Eyelighter fabric is the white reflective surface. The white is going to produce a soft, subtle fill. This will allow you to retain some shadows under your subject’s chin and nose to help add dimension to your subject’s face.
When working with the white fabric, you will notice that the highlight in the eye will be less dramatic and more natural looking. This is great if you are looking for a more subtle look, while still brightening up shadows and highlighting the eye.

Sunlight Reflective Surface
Finally, the third option is the sunlight reflective surface. This fabric is a mix of both a gold and silver material. When using the sunlight Eyelighter fabric, the light quality will be similar to that of the silver. our highlights will be more specular with slightly warmer tones.
This is helpful if you are looking to warm up someone’s skin tones, giving them a golden hour look. The highlight in the subject’s eyes will also have a warm look to it. This is great for brown and green eyes since it will complement their eye color.

Takeaways of using the Eyelighter for Beauty Photography
The Eyelighter 3 is a versatile tool for beauty photographs, headshots and small group portraits. With the easily interchangeable fabrics, it can provide you with a variety of different looks for any style of portrait photography.


You must be logged in to post a comment.