Portable flash systems are game-changers for photographers who want flexibility, control, and professional-quality lighting on location. Whether you’re shooting portraits, fashion, or creative setups, understanding how to adapt portable flashes to your environment can elevate your results. In this video, Will Cadena, a Westcott Top Pro, breaks down his essential portrait setups and shares how using portable flashes like the FJ80 II Touchscreen Speedlight, FJ80-SE Speedlight, and FJ200 Strobe can transform your location lighting.
Setup 1: Creating Separation with Off-Camera Lighting
One of the key techniques Will demonstrates in the first setup is how to create separation between the subject and the background. This is a fundamental aspect of portrait photography, especially when shooting outdoors or in locations where the background might be cluttered or distracting. By using off-camera flash, Will isolates the subject and ensures they stand out against the background.
Equipment Used:
- Main Light: FJ80-SE with a 43″ silver deep umbrella
- Rim Light: FJ80 II
- Trigger: FJ-X3m to fire both lights simultaneously
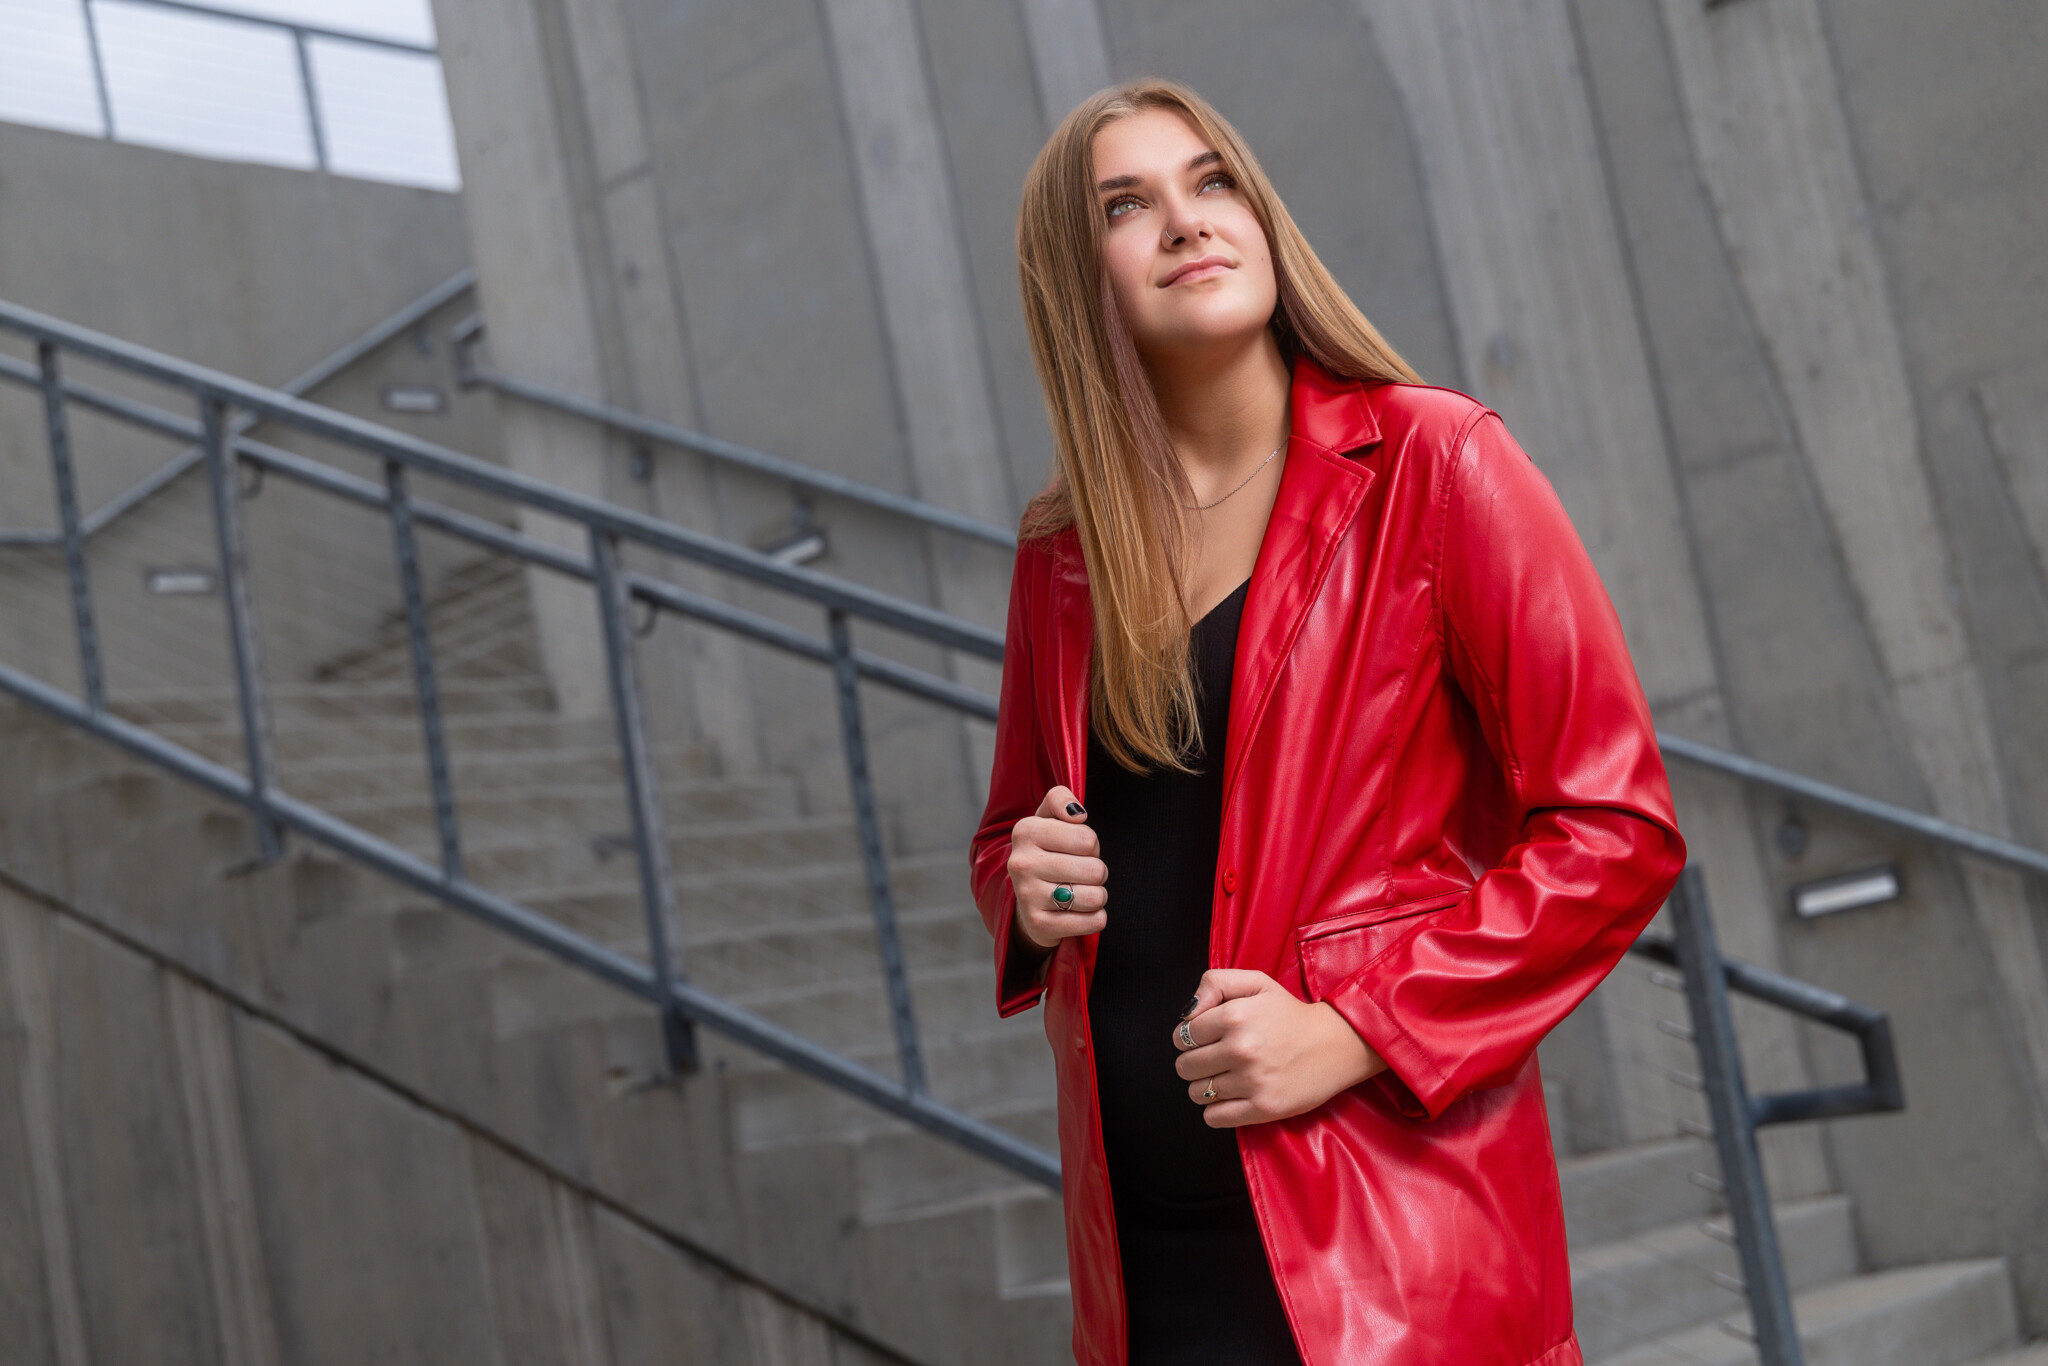
The 43-inch silver Deep Umbrella is a travel-friendly modifier that provides bright, specular highlights. The umbrella’s reflective surface enhances the light output, creating a more defined and punchier look—ideal for portraiture. However, Will notes that this type of modifier may not be suitable for every subject, particularly those with textured skin or more mature features, as it can emphasize skin imperfections. For a softer and more flattering look, Will recommends using a white umbrella or a silver umbrella with a diffuser. The diffusion softens the light, reducing hard highlights and making it more suitable for subjects with sensitive skin.
To further isolate the subject from the background, Will adds a rim light using an FJ80 II. Positioned slightly higher, this rim light creates a clean highlight around the subject, providing separation from the background and adding dimension to the shot. This technique, known as “backlighting” or “edge lighting,” dramatically enhances the depth of an image by adding a visual boundary between the subject and the surroundings.
Takeaway: The choice between a silver or white umbrella depends on the desired effect: the silver umbrella delivers a more dramatic look, while the white umbrella creates a gentler, more even light.
Setup 2: Modifying Light Direction and Intensity
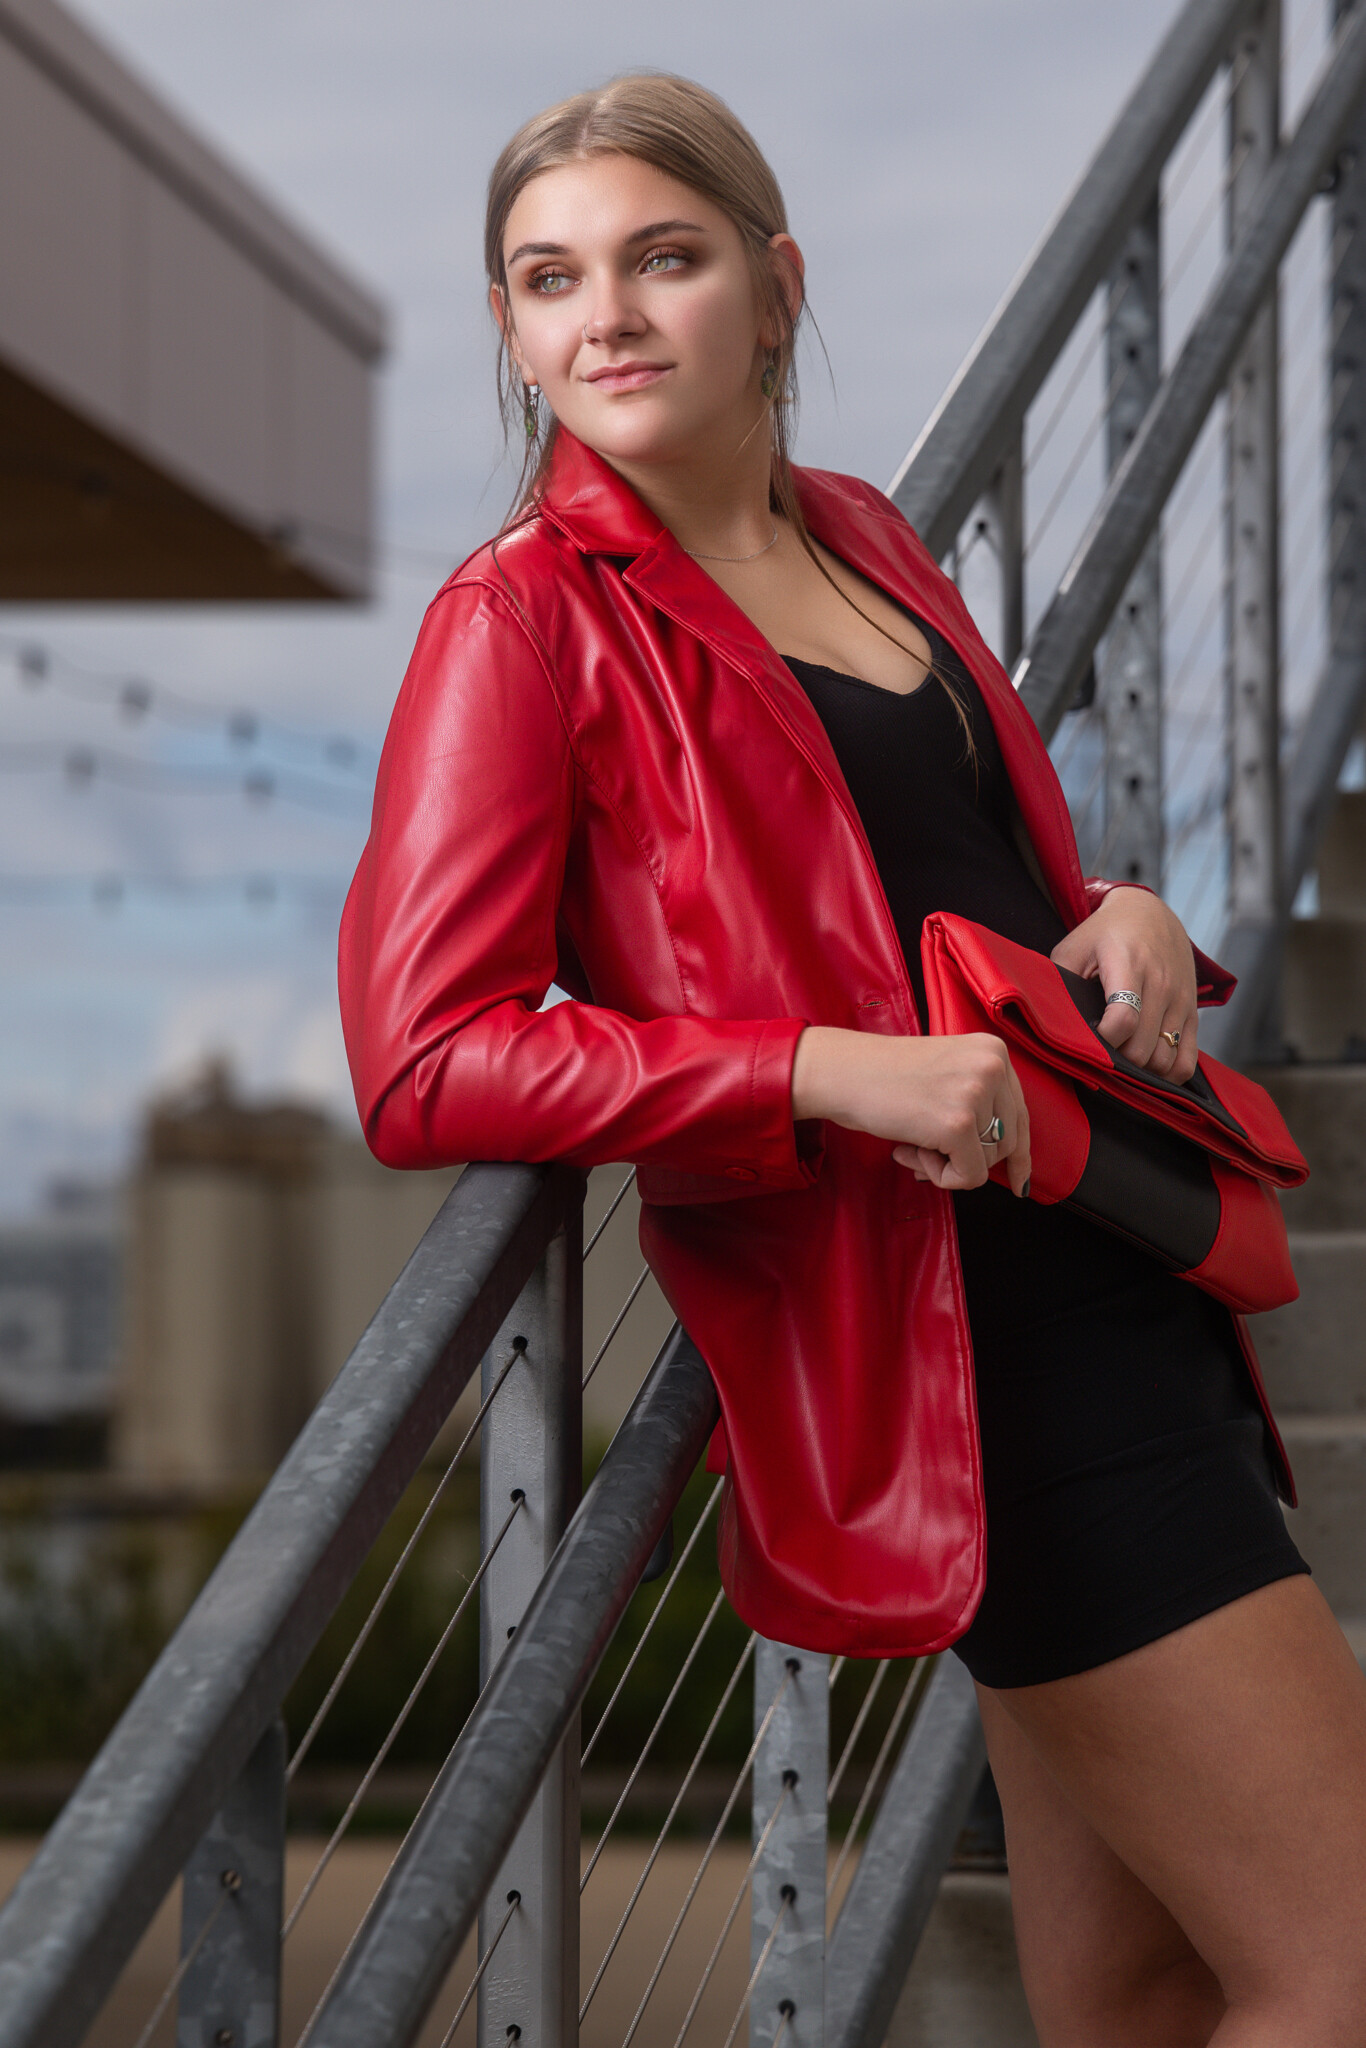
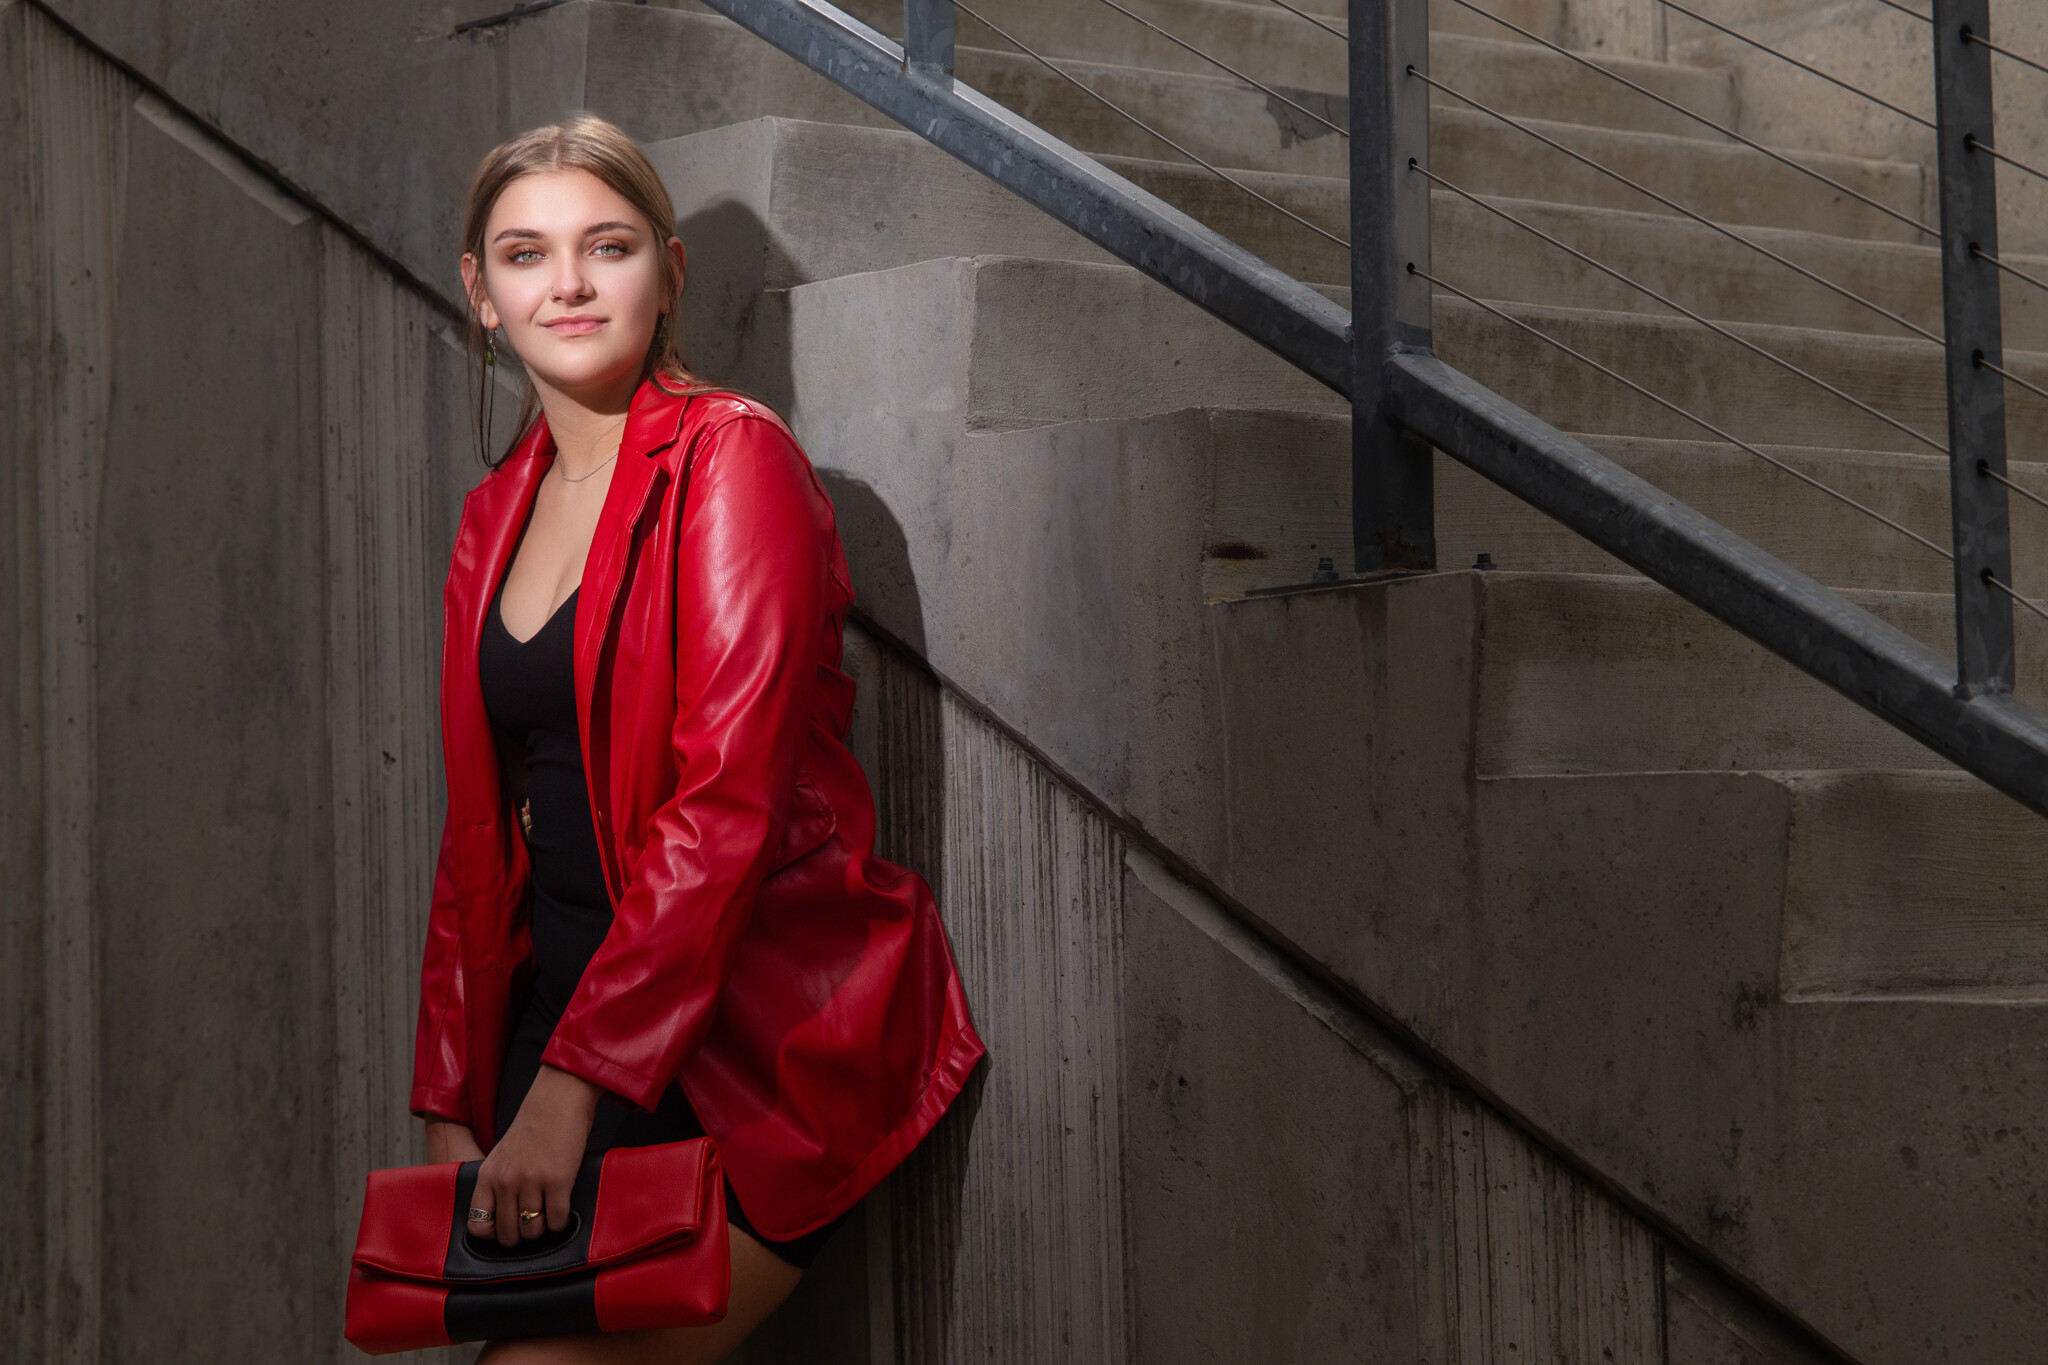
For the second setup, Will moves his subject, Kaylee, to a different location—a set of stairs where she leans against a railing. The goal for this shot is to focus the light on Kaylee’s face while minimizing light on the railing, creating a dramatic contrast in the image.
Equipment Used:
- Main Light: FJ80-SE speedlight with a white umbrella (diffuser placed only on the bottom half)
- Rim Light: FJ80 II speedlight mounted on the railing using an M6 compact mount
- Fill Light: FJ80 II speedlight bounced off a wall
In this setup, Will switches to a white umbrella on the FJ80-SE, softening the light significantly compared to the silver umbrella used previously. To further modify the light’s direction, Will adds a diffuser to only the bottom half of the umbrella. This technique is especially useful in situations where you want to direct light toward a specific area of the subject (in this case, Kaylee’s face) while leaving other areas, such as the railing, in shadow. The result is a high-contrast image with well-lit facial features and a darker, more subdued background.
For the second light, Will uses the M6 compact mount, a versatile tool that pairs perfectly with the FJ80 II. The M6 can be mounted on any traditional tripod, which is particularly useful for location shoots where light stands may not be practical. In this case, Will mounts the light on a railing above Kaylee, casting it downward to create natural-looking highlights. The M6 eliminates the need for heavy stands or sandbags, speeding up the setup process while enhancing safety.
To soften shadows in the lower part of the frame, Will adds a third FJ80 II, bouncing it off a nearby wall. This technique diffuses the light, creating a larger, softer light source that fills in harsh shadows. By bouncing light off a surface, the light becomes more diffuse and less direct—a valuable technique for tight spaces or locations with natural bounce sources like walls or ceilings.
Takeaway: Control where light falls by partially diffusing your modifier. Use compact mounts for secure, flexible placement in tricky environments.
Setup 3: Adding Depth with Creative Accessories
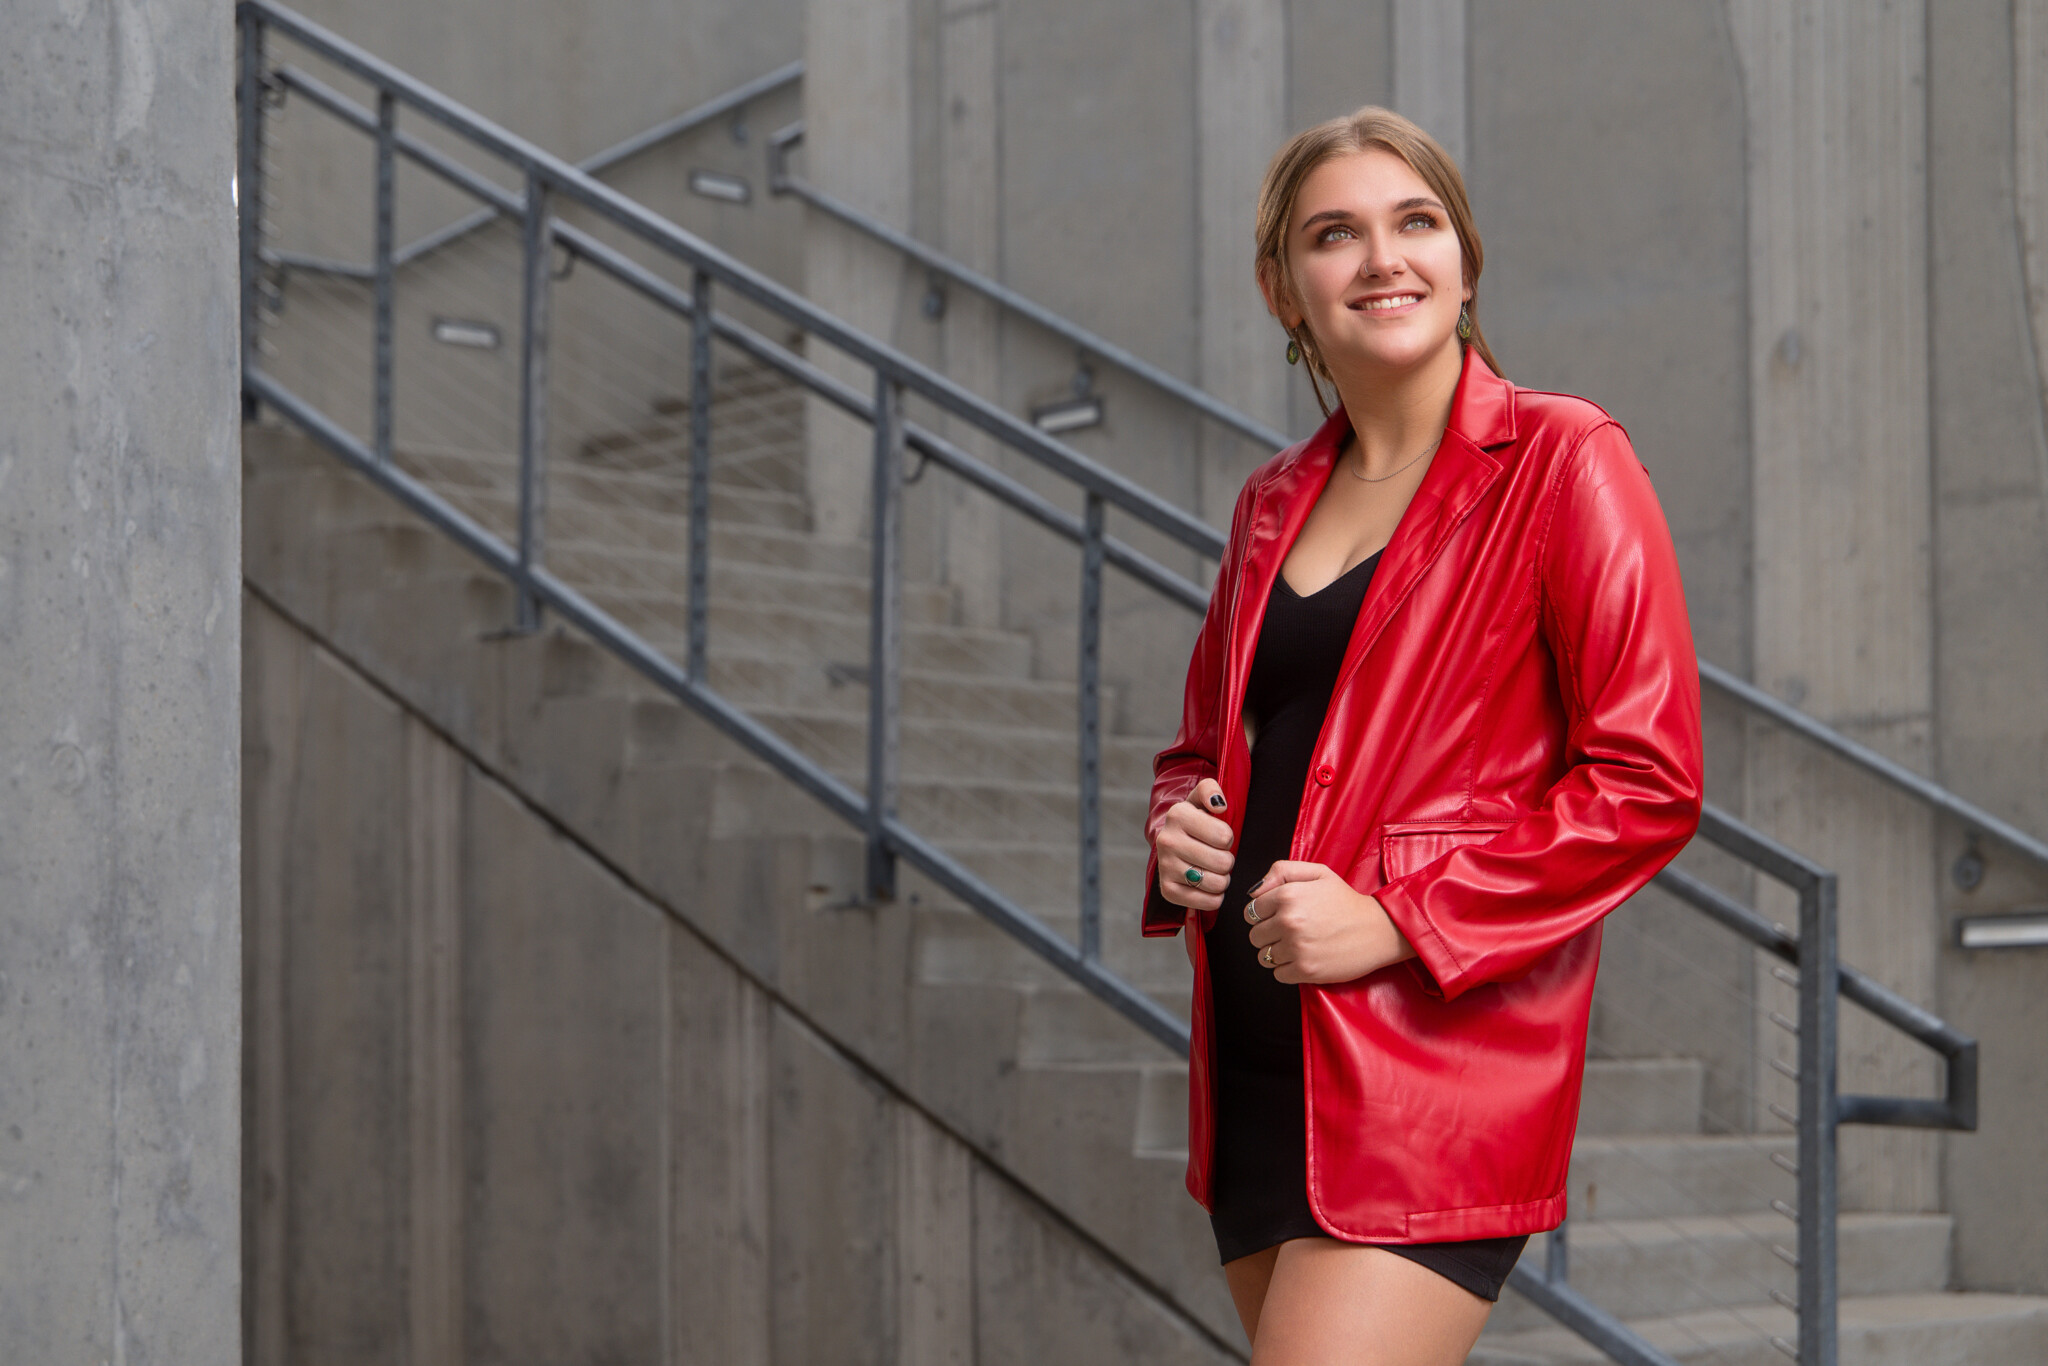
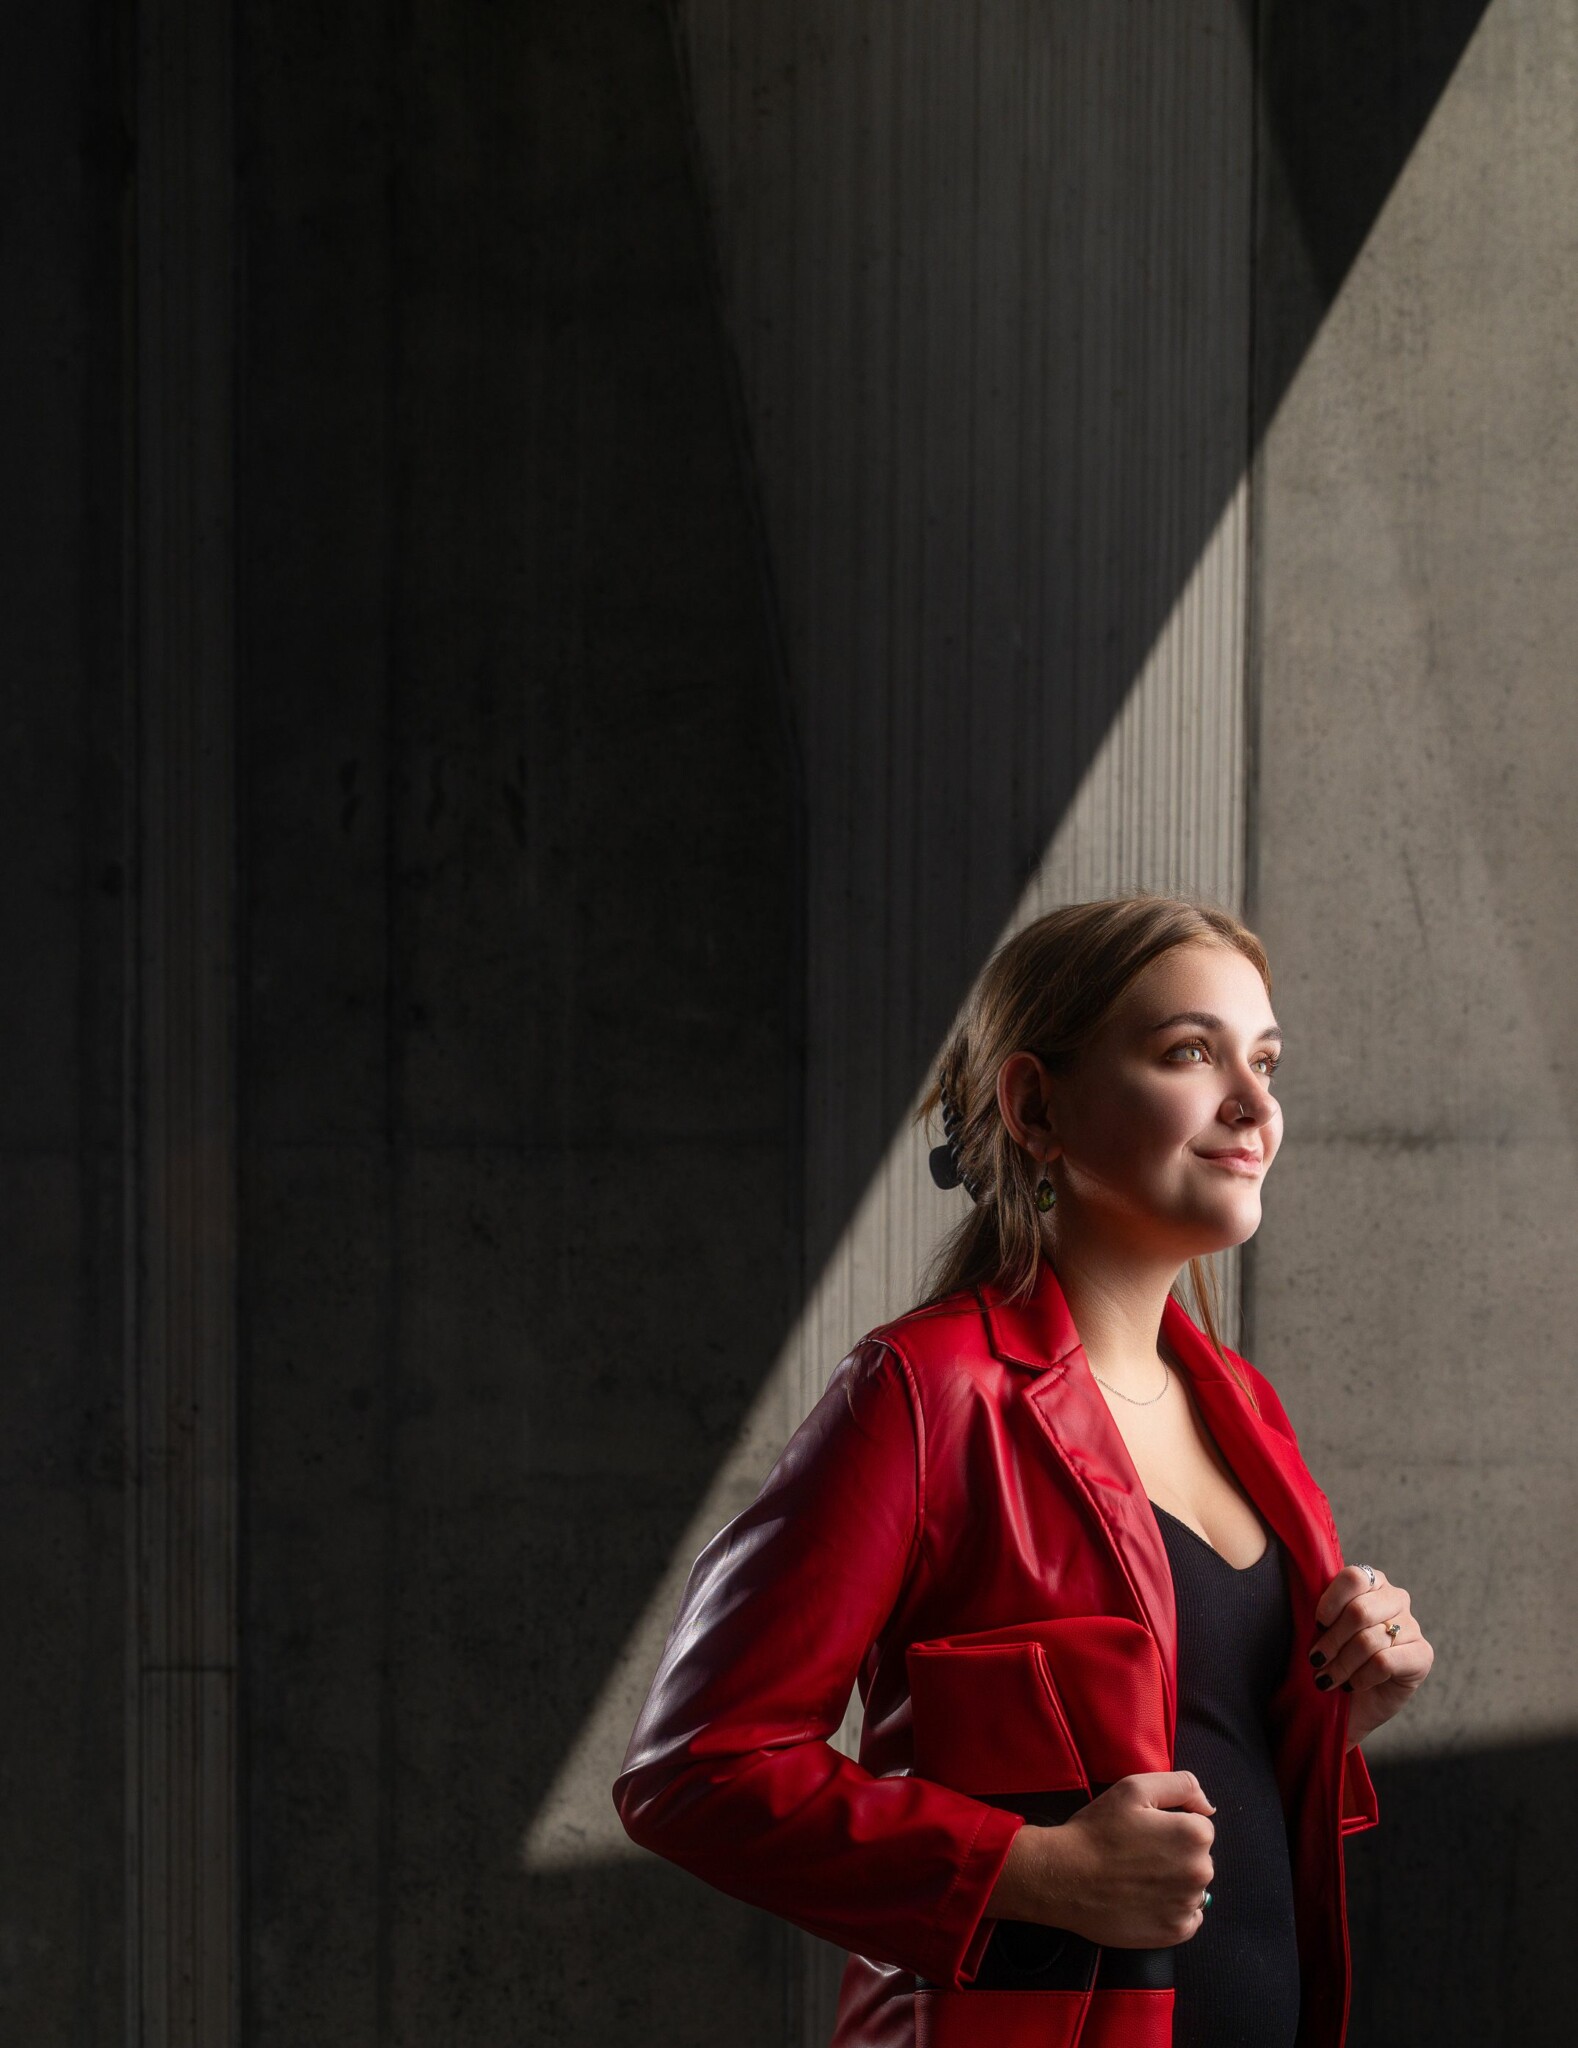
In the third setup, Will introduces more creative lighting with the FJ80 Creative Pack’s barn doors. Barn doors allow for precise control over the light’s direction, enabling photographers to narrow or widen the beam as needed. Will uses the barn doors to narrow the focus of the key light, concentrating it on specific parts of the subject and emphasizing shadows in the background. This is an excellent technique for creating a dramatic or cinematic look.
Equipment Used:
- Main Light: FJ80 II with barn doors from the Creative Pack
- Rim Lighting: FJ80-SE for background depth
- Fill Light: 40″ white reflector to fill shadows
The barn doors focus the light precisely on Will’s subject, while a rim light adds depth to the background shadows. To balance the image, Will uses a 40-inch white reflector to soften shadows around Kaylee’s jacket and face, subtly brightening those areas for a more polished result. Reflectors are a simple yet powerful tool for manipulating light without adding another light source.
Takeaway: Small modifiers like barn doors allow for precise lighting control, while reflectors subtly but effectively fill in shadows.
Setup 4: Balancing Natural Light with Flash
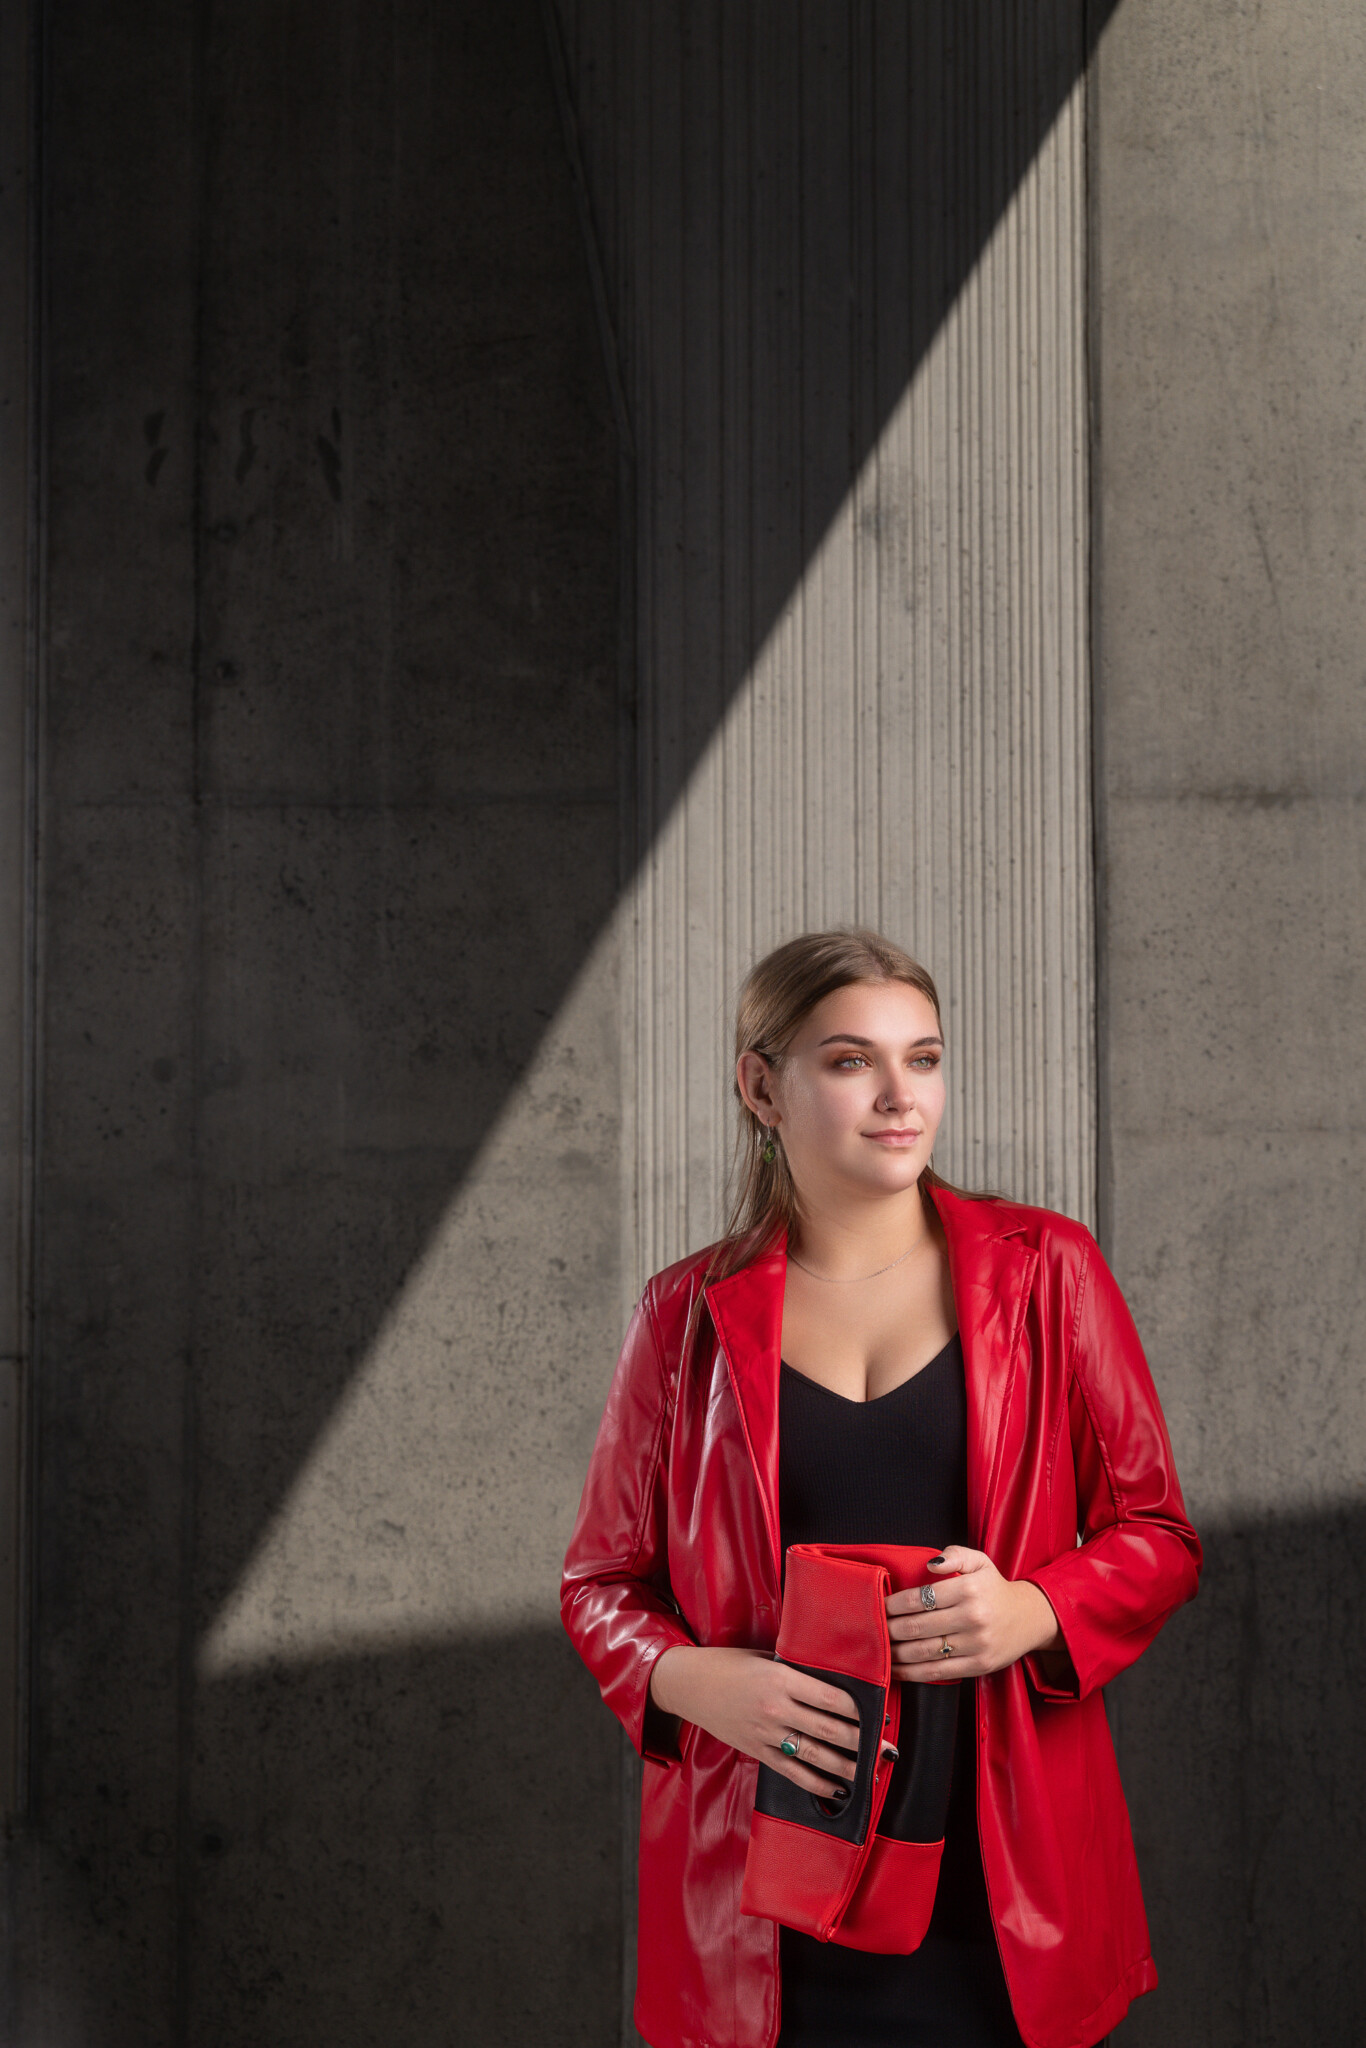
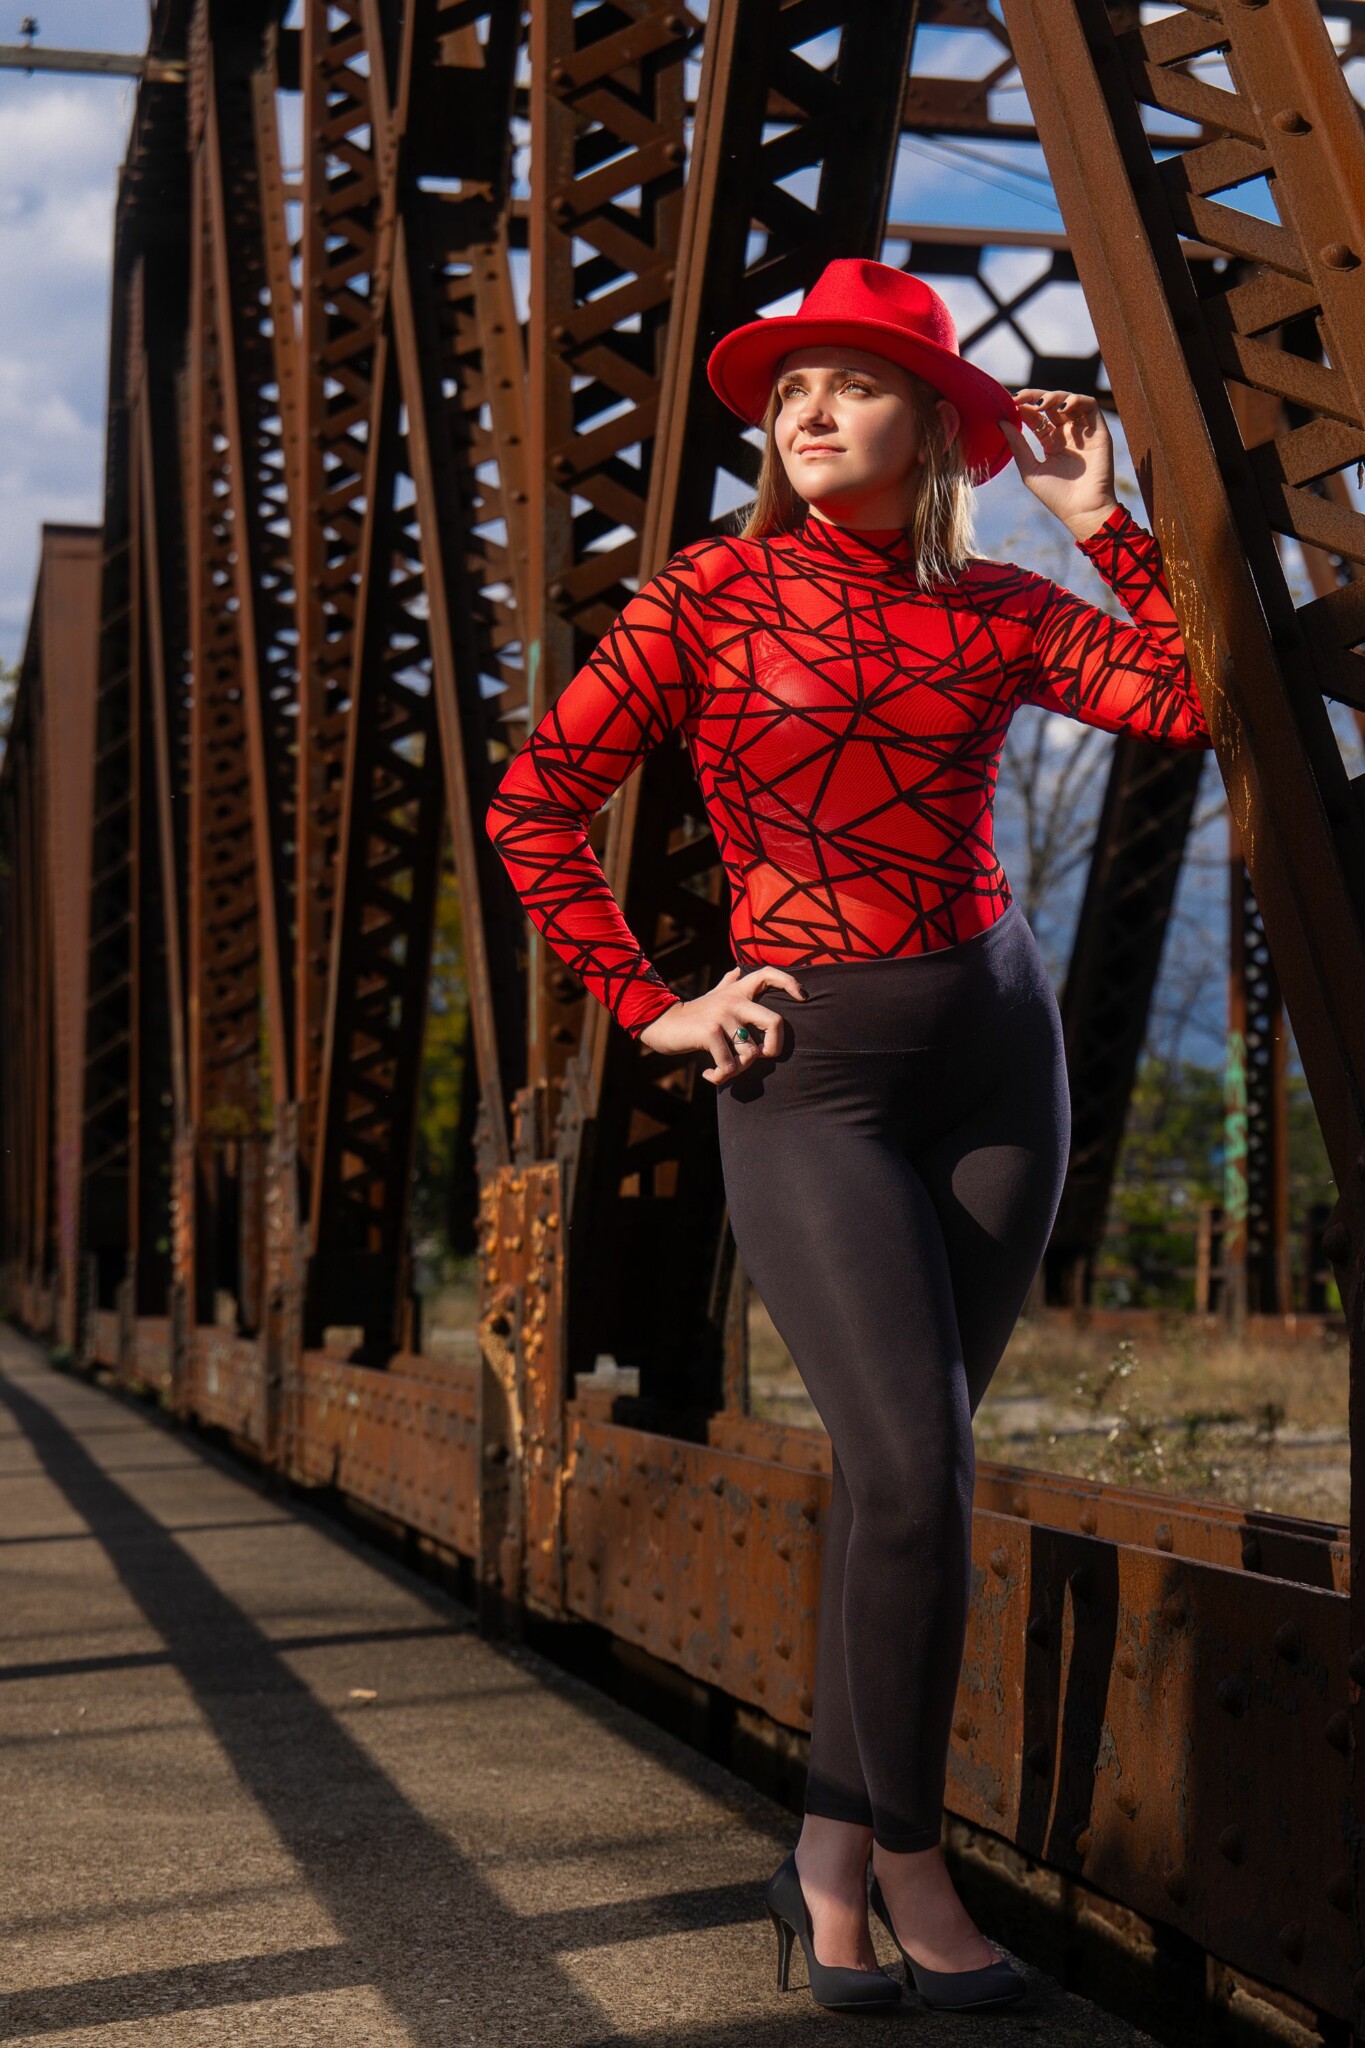
When the sun emerged mid-shoot, Will adapted quickly to incorporate natural light without overpowering his subject. Since Will was working in brighter natural lighting conditions, he decided to use a FJ200 instead of the FJ80 II. This will give him more power, while still being portable, to help balance the brighter ambient lighting conditions.
Equipment Used:
- Main Light: FJ200 with a 43″ white deep umbrella
- Reflector: Used to fill shadows and enhance shadow detail
The sun cast harsh highlights across the scene, so Will adjusted the subject’s position to keep her comfortable while refining the light. By using a soft fill light, Will ensures that Kaylee’s skin tone is consistent, and the harsh highlights from the sun do not overpower the shot. Additionally, using a reflector helps further fill in shadows, particularly around Kaylee’s eyes and the jacket’s fabric. This not only brightens the image but also adds a more polished look to the final shot.
After capturing safe shots, Will experimented with creative compositions. Will also emphasizes the importance of finding the right angle to ensure the subject’s eyes are vibrant and engaged. In portrait photography, the eyes are often considered the most important part of the image, and positioning the subject correctly relative to the light is key to achieving this. By refining his angle and adjusting the light, Will is able to create a striking image with both natural and artificial light sources working in harmony.
Takeaway: Use soft flash fill to balance natural light, and don’t overlook a reflector for shadow control—it’s small but mighty.
Setup 5: Quick Adaptation with Changing Weather
In fast-changing weather conditions, adaptability is key. For this setup, Will only had about a minute to get the shot, using natural light as his main source and supplementing it with flash for balance and detail, allowed him to work quickly and efficiently.
Equipment Used:
- Main Light: Natural light
- Back Light: FJ200
- Kicker Light: FJ80 II aimed at a silver reflector
The FJ200 provided strong backlight to separate Kaylee from the background, while a silver reflector added punch to the shadows. However, as natural light changed, the silver reflector alone wasn’t sufficient. Will quickly added a FJ80 II near the ground, directing it at the reflector to ensure shadow detail was preserved—essential for print work where losing detail in blacks can be problematic.
Takeaway: Hard light can add drama and separation. Use reflectors strategically to maintain shadow details.
Setup 6: Working Quickly Before Rain
As rain approached, Will wrapped up efficiently while maintaining creativity.
Equipment Used:
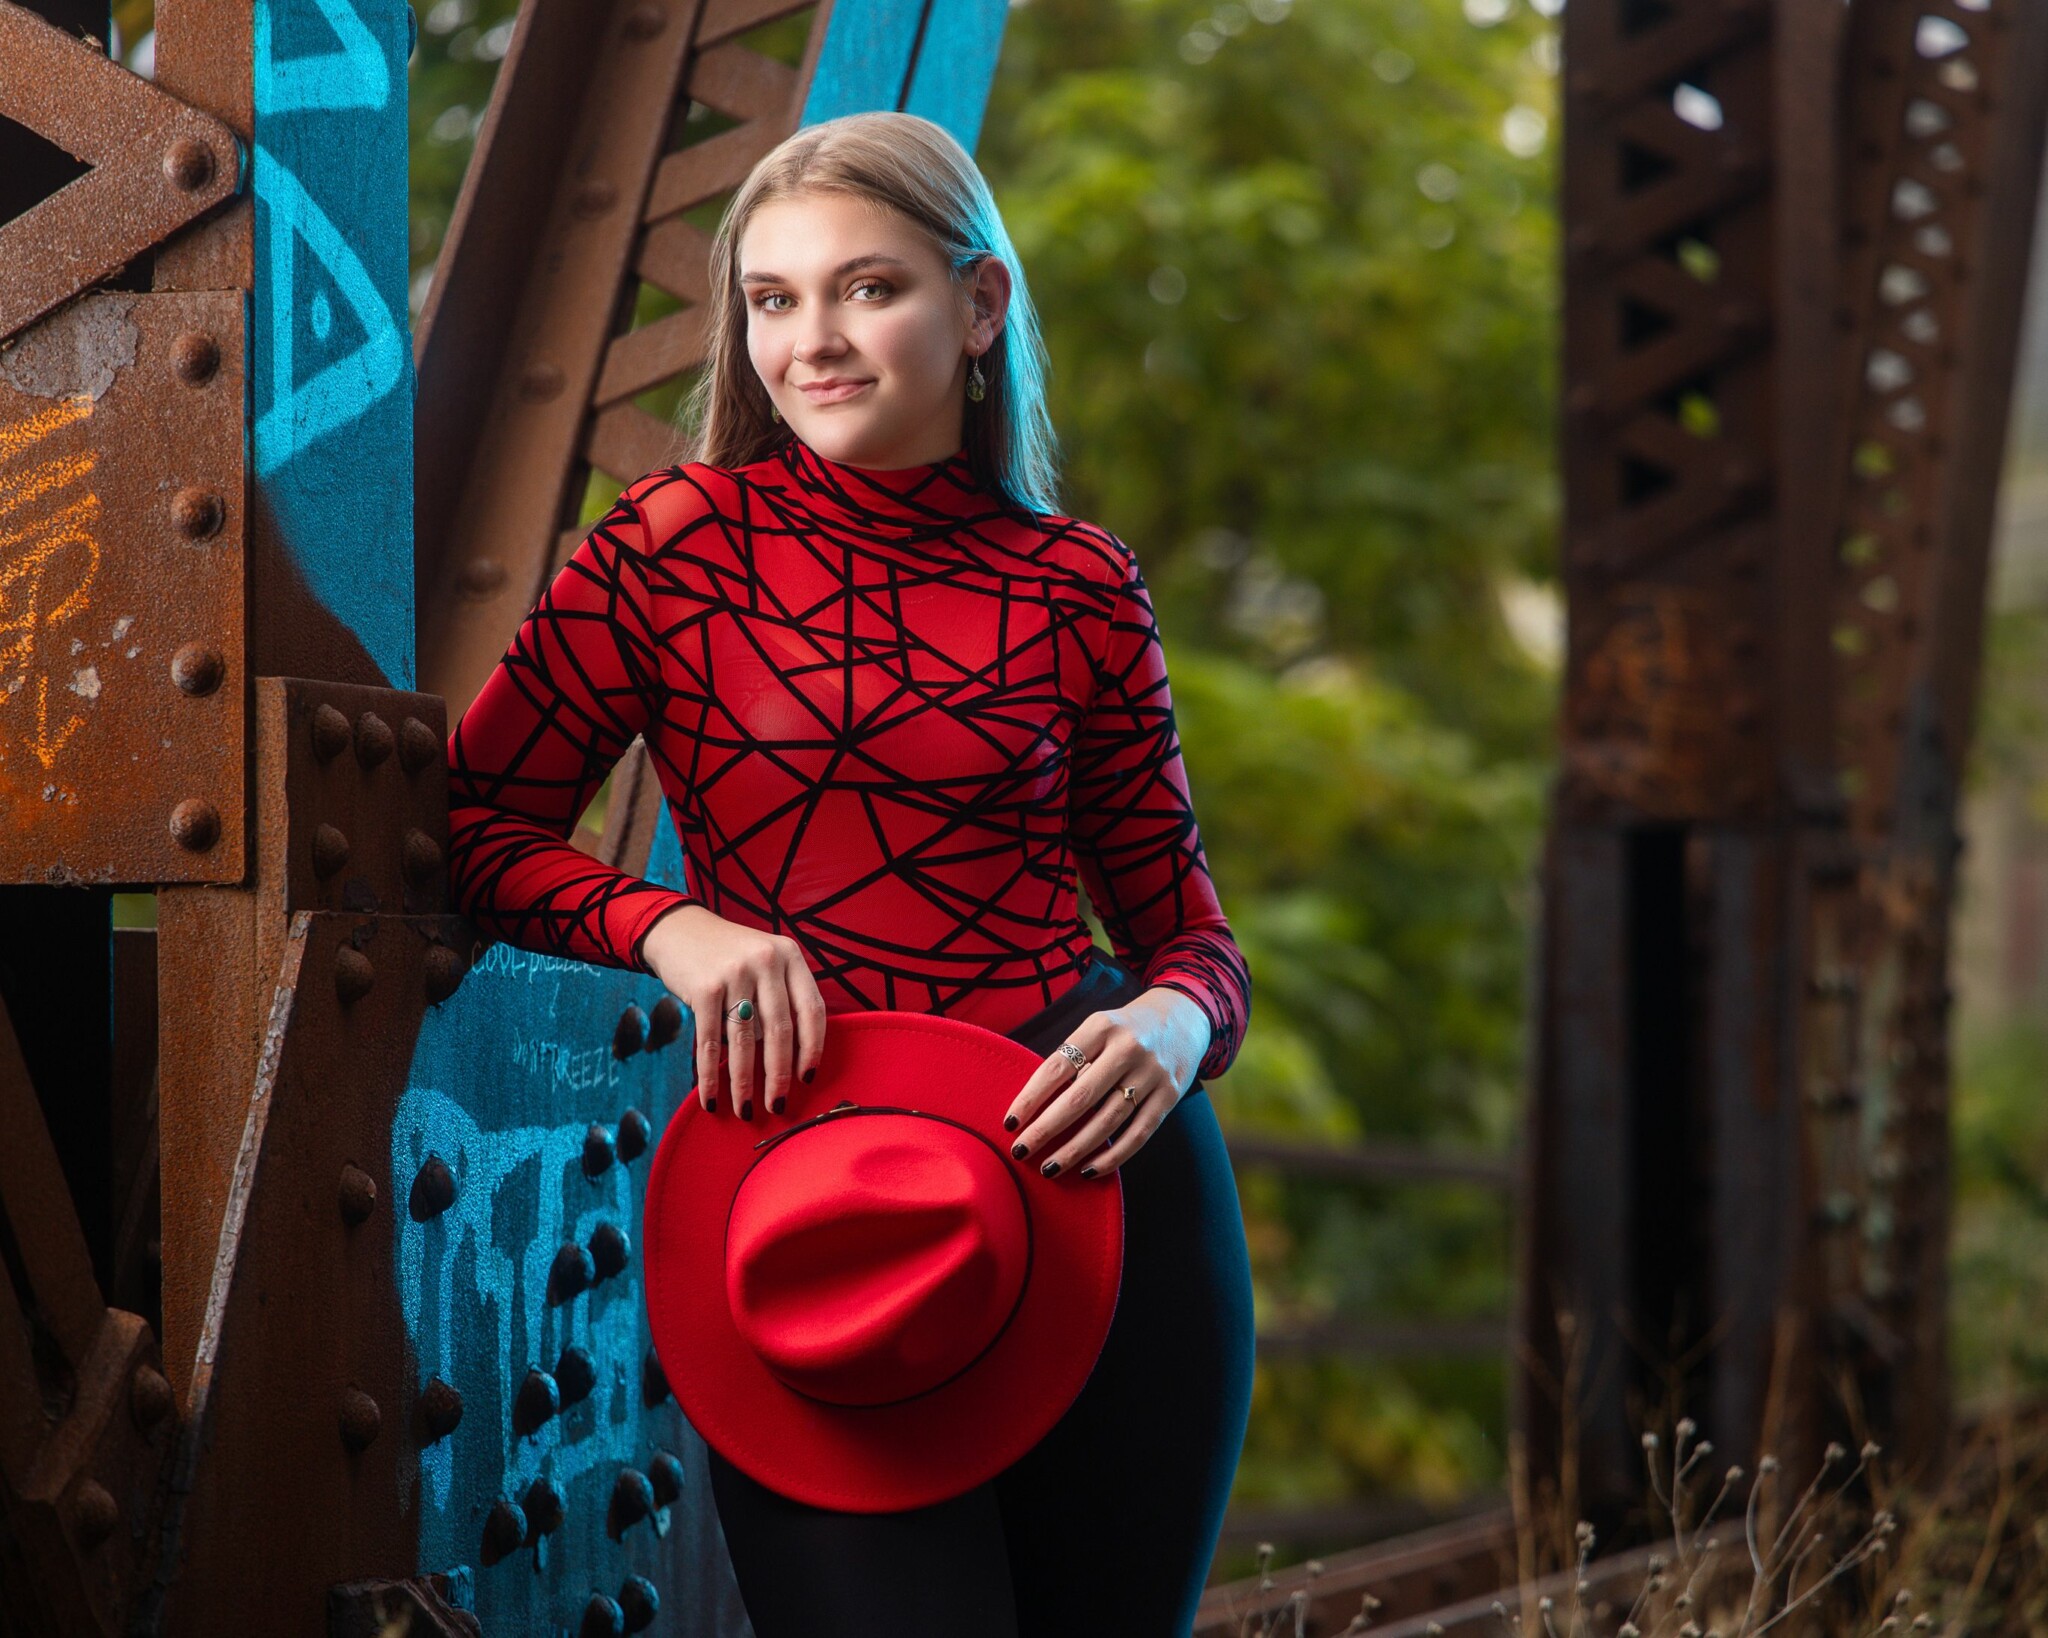
- Main Light: FJ200 with a 43″white umbrella
- Rim Light: FJ80 II with a teal gel
- Reflector: Boosted light output and control
To wrap up the shoot, Will uses the FJ200, paired with a 43-inch white umbrella for the main light. The addition of a teal gel on the FJ80 II for rim lighting adds a creative touch, giving the image a unique color contrast. The twist lock system allowed Will to attach both a colored gel and a small metal reflector to the FJ80 II. The teal gel created a stylish rim light that added color contrast and depth. The reflector boosted output and ensured precise control over the lighting.
Takeaway: Gels add creative flair, and a metal reflector paired with flash can maximize light output in changing conditions.
Why the FJ Wireless System Stands Out
Throughout these lighting setups, the FJ Wireless System demonstrated its versatility and ease of use. Whether using the FJ80-SE, FJ80 II, or the powerful FJ200, all components communicated seamlessly, allowing Will to switch between lights effortlessly.
- Lightweight Design: Easy to pack and carry
- Powerful Output: Suitable for a range of lighting conditions
- Flexibility: Compatible with various modifiers
- Ease of Use: Seamless wireless communication for quick adjustments
Final Thoughts
Mastering portable flashes on location requires preparation, adaptability, and creative problem-solving. Whether you’re working with natural light, artificial light, or a combination of both, the techniques shared in this video can help elevate your photography. With a versatile system like the FJ Wireless line, you can tackle any location, lighting challenge, or creative idea with confidence.
Lighting Gear in Action



You must be logged in to post a comment.