

Seattle-based food photographer Steve Hansen shows photographers how to use creative lighting for professional food photography in this video tutorial.
Creating an interesting image can be difficult when shooting overhead and on a flat surface. A majority of food photography shots are photographed from overhead on a flat surface. To add dimension and interest to food photographs, precise lighting and styling is key.
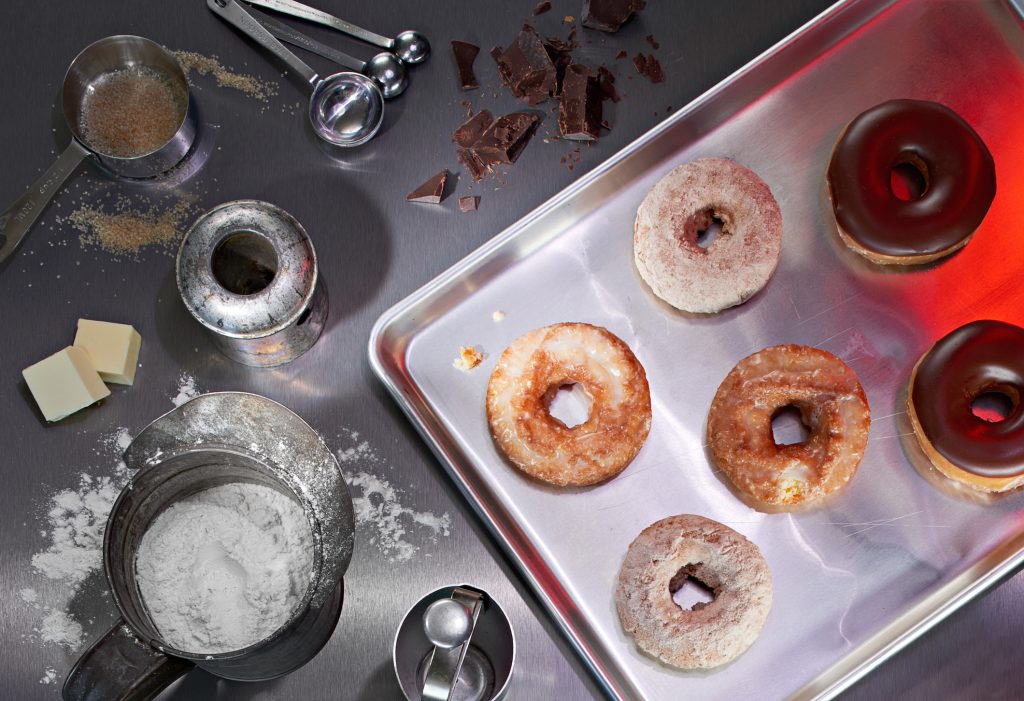
For this donut shot, Steve begins by styling his set with a variety of props that relate to his subject (donuts). These props include a pitcher of flour, crushed chocolate, sugar, butter, and measuring tools. These simple ingredients add interest to the image and make the setting more realistic.
Steve then arranges his subject (the donuts) on an aluminum pan, leaving the impression that the donuts just came out of a fryer.
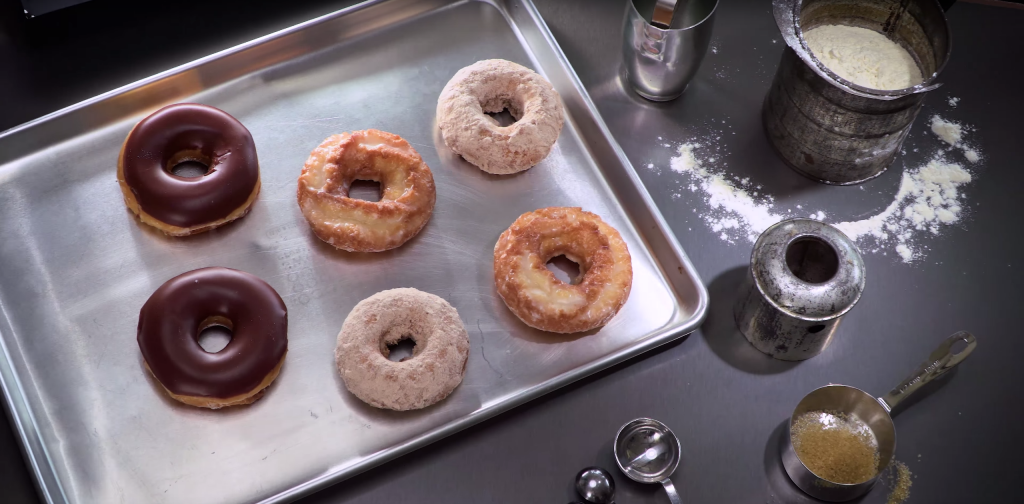
Before Lighting
Now, Steve needs to add dimension to his image. He brings in his preferred LED lights and a variety of modifiers to start adding highlights, shadows, and color.
It is important to note that no matter how many lights you choose to use, it is important that every light has a purpose. Every light should add something necessary to the shot.
Steve’s first light is a mounted overhead. This is his fill light which is intended to add highlights throughout the scene. To expand and soften the Skylux’s output, Steve modifies this light with a Rapid Box Beauty Dish. He then adds a purple gel over half of the beauty dish.
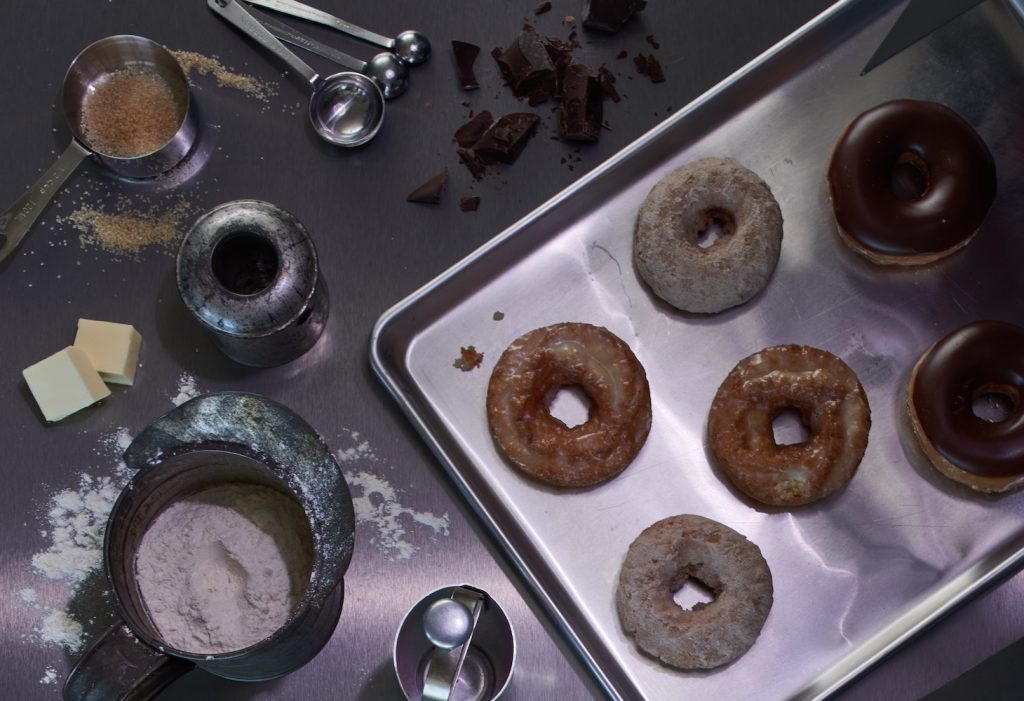
Overhead Skylux Modified with a Rapid Box Beauty Dish and a Purple Gel
Steve then decides that he wants to make a specific donut to make it the focal point of the image (the “hero”). He does this by illuminating that one donut by placing a snoot on a 2nd overhead.
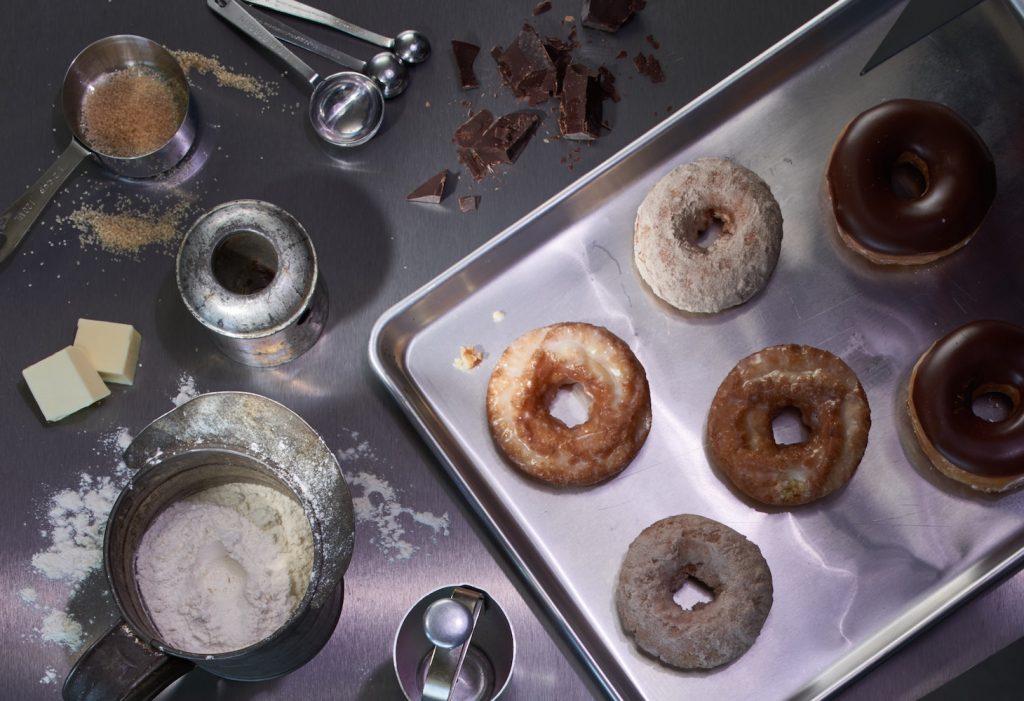
Overhead Skylux Spotlight Modified with Snoot
To ensure that the texture of the donuts stands out, Steve then adds a Ice Light 2 Daylight LED nearly parallel to the scene. He modifies this light with barn doors to eliminate any light hitting the table.
Ice Light Modified with Barndoors
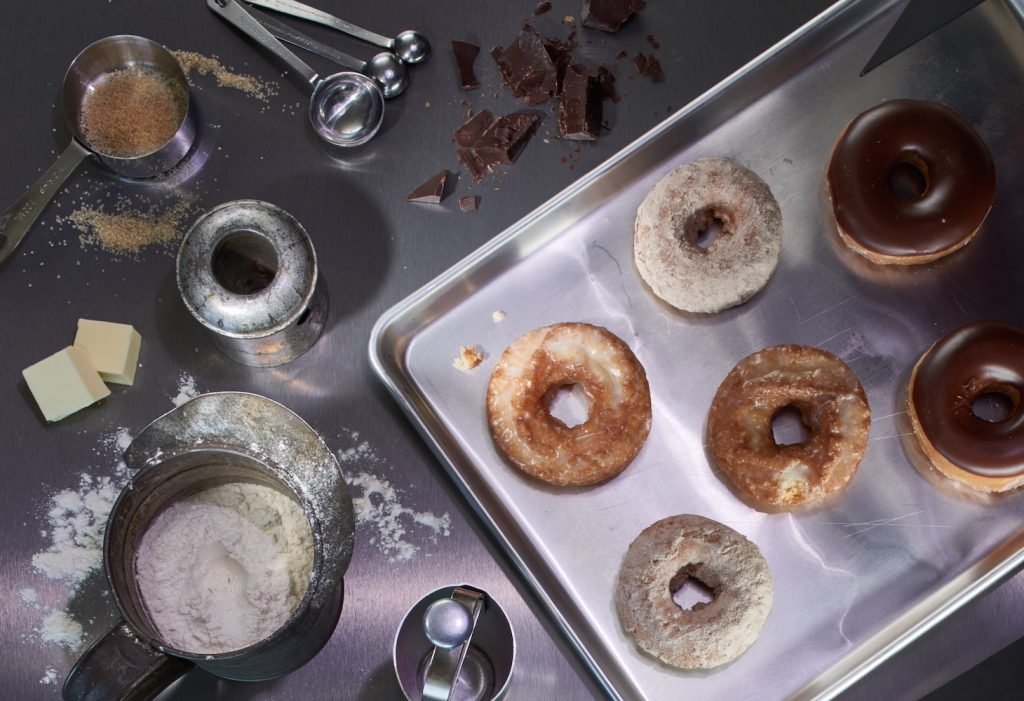
Steve’s final light, another , is placed to the far right of the tray. He modifies this light with a red gel to mimic the appearance of a heat lamp. This light adds both color and realism to the shot.

Ice Light Modified with a Red Gel
The harshness of this red gel is significantly cooled down by the coolness of the purple gel overhead.
It is easy to see in the final image that each of these lights plays a significant part in creating this dimensional and interesting image. By getting creative and experimenting with lights, you can create work that stands out.
Final Shot
Lighting Gear in Action

Collapsible Beauty Dish with Built-in Speedring (24")1450
Snoot with Grid & Gels for Skylux & Strobelite202
Ice Light 2 Daylight LED5900
Ice Light Barndoors5561
One Response

Collapsible Beauty Dish with Built-in Speedring (24")1450
Snoot with Grid & Gels for Skylux & Strobelite202
Ice Light 2 Daylight LED5900
Ice Light Barndoors5561
One Response

Snoot with Grid & Gels for Skylux & Strobelite202
Ice Light 2 Daylight LED5900
Ice Light Barndoors5561
One Response

Ice Light 2 Daylight LED5900
Ice Light Barndoors5561

Ice Light Barndoors5561
[…] artificial lighting sources can create unique and captivating effects. Understanding how different lighting techniques influence your donuts’ colors and details will enhance your photos’ visual […]