
This article is courtesy of English photographer and designer Rick Nunn.

When you are shooting with the sun, the time of day, location & your positioning are very important. Believe it or not THE SUN IS BRIGHTER THAN YOUR FLASH which can make it very hard to balance, especially since you can only use a limited range of shutter speeds due to the flash sync speed. Shooting a bit later in the day can make your life a lot easier, especially if you’re wanting to shoot with a wider aperture. I did this shoot at around 5pm when the sun was just starting to fall out of the sky. If you are shooting with the sun behind you, lighting the background & subject, it would be fairly pointless adding a flash you either want to be shooting into the sun, almost creating a silhouette of your subject, or shooting from a location that’s shaded, or both. I went for both on this shoot — I found a nice spot in the woods facing the right way for the sun set, under the cover of a lot of trees.
After I’ve got my location right, what I like to do is get my basic framing; nothing set in stone (it can be tweaked later). I just need the general idea so I can start getting the available light just how I like it. I use a tripod for quite a lot of my shoots so I get it setup, camera locked into place & then wander round till I’m relatively happy with it. Whenever I am doing a strobist shot I ALWAYS get my available light, in this case daylight, exposed correctly before I add in any flashes. It will make subsequent steps so much easier to get right & help you get to a better end result in less time. With this shot I wanted to get the nice orange tones out of the sunset & leave my subject quite under exposed, almost silhouetted, while staying within a useable range.
Usable Range — When you are setting up your camera for a strobist portrait remember you only have a certain usable range with some of your settings. As we are shooting a person we want our shutter speed at at least 1/50th & we are using strobes so no faster than 1/250th. We’ve got to consider aperture here too — if we are shooting very wide, e.g. F/1.4, it’s easy to over expose the daylight; if we are shooting very narrow, e.g. F/16, we could soon be in a position where the flash just isn’t bright enough.
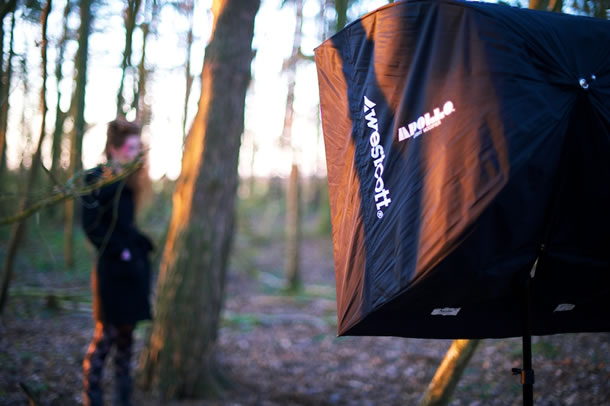
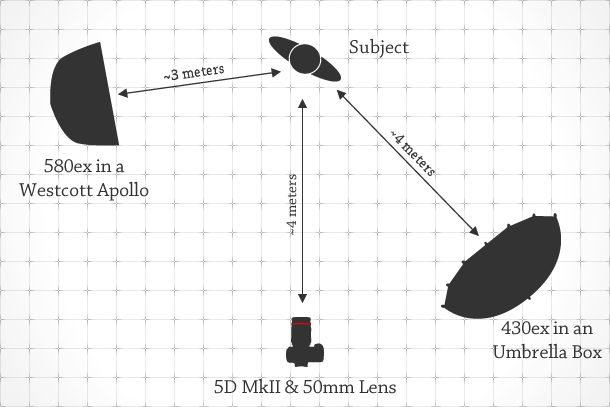
Because I was in such a dark shaded environment, I wanted to use two strobes in this shot. The first as key light to expose the subject nicely & then a second fill light reducing the contrast of the scene & illuminating the area around the subject a little giving us a little context. The fill light isn’t essential, you could happily shoot without it, but I thought it really added to the shot & would save me time trying to rescue some of the details on the ground & trees in post production. I always start by getting my key light right first; I wanted to get a really nice soft light & cast a gentle shadow onto the tree from the subject. The process of getting the exposure for the flash right is very similar to exposing the ambient light, except this time we are changing the settings & position of the flash.
To read the full article and check out more of Rick Nunn’s fantastic photography, please visit: http://ricknunn.com/
Equipment
- Canon 5D MkII
- Canon Lens 50mm F/1.4
- Canon Flashes 580ex & 430ex
- 2 light stands
- 2 light brackets
- 1 Westcott Apollo Softbox
- 1 umbrella
- 1 tripod
- the SUN!

You must be logged in to post a comment.