As a portrait photographer, it can often be difficult to keep things interesting in the studio. Adding a unique element to your images can help them stand out while also allowing you to have little fun. The unique element that I added for my most recent shoot was just a simple piece of plexiglass. Here are three ways you can use a sheet of plexiglass and some simple household supplies to unleash your inner creative.
Foreground Bokeh
Materials
- plexiglass
- spray bottle
- water
- glycerin
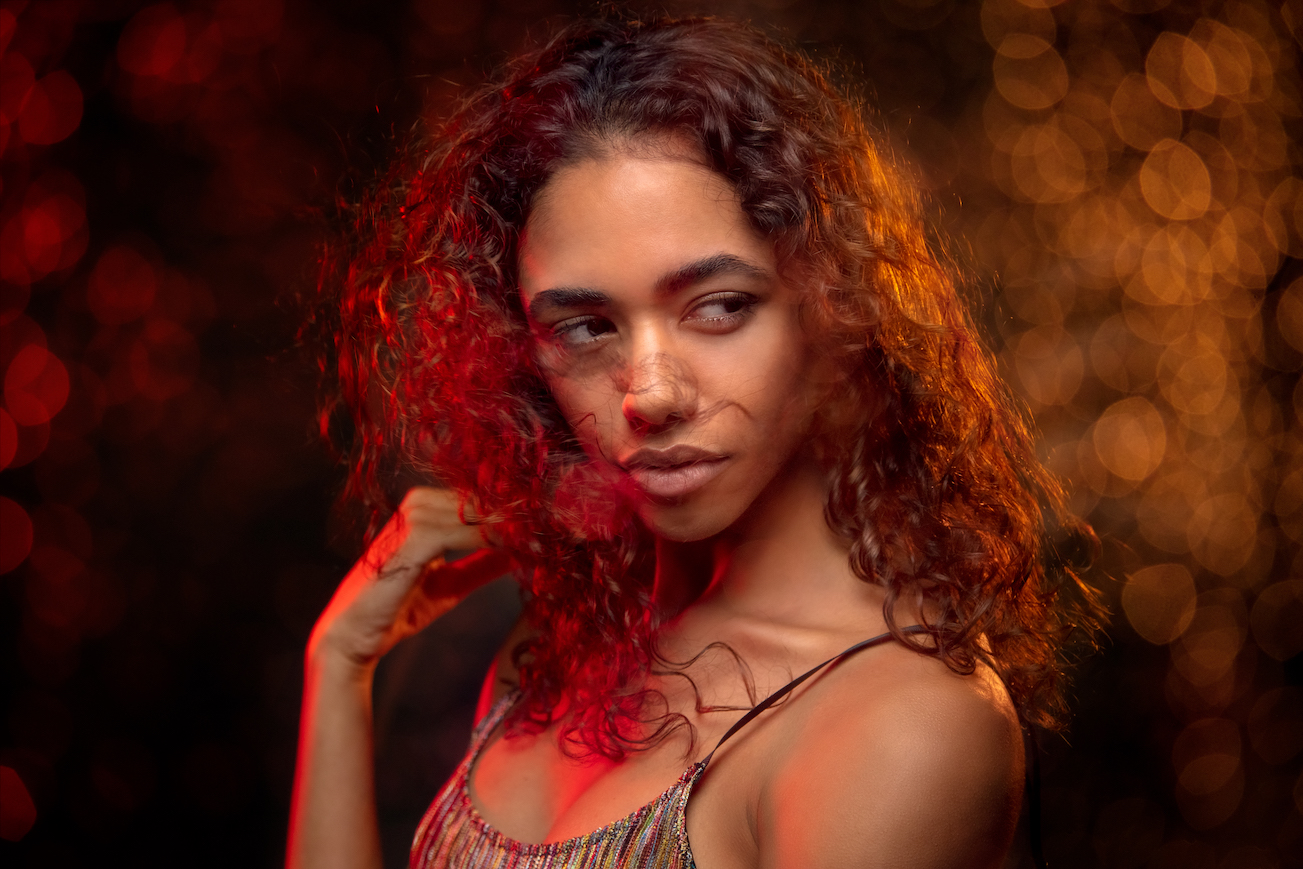
This technique is an easy way to create foreground bokeh. First, mount your plexiglass in front of your lens. I used the Illuminator Arm Extreme reflector holder. Next, mix together glycerin (which you can find at a local craft store) and water in a spray bottle. I recommend starting out with a 50/50 mixture. On a test sheet of plexiglass, spray the mixture to test the consistency. If there is too much glycerin in the mixture you will have trouble misting, and the mixture will shoot out from the spray bottle. If there is too much water, the drops will either not stick or they will bead up and drip off the plexiglass. Wait until you are ready to shoot before spraying the plexiglass, since the mixture will eventually slide off, even with the glycerin in it.
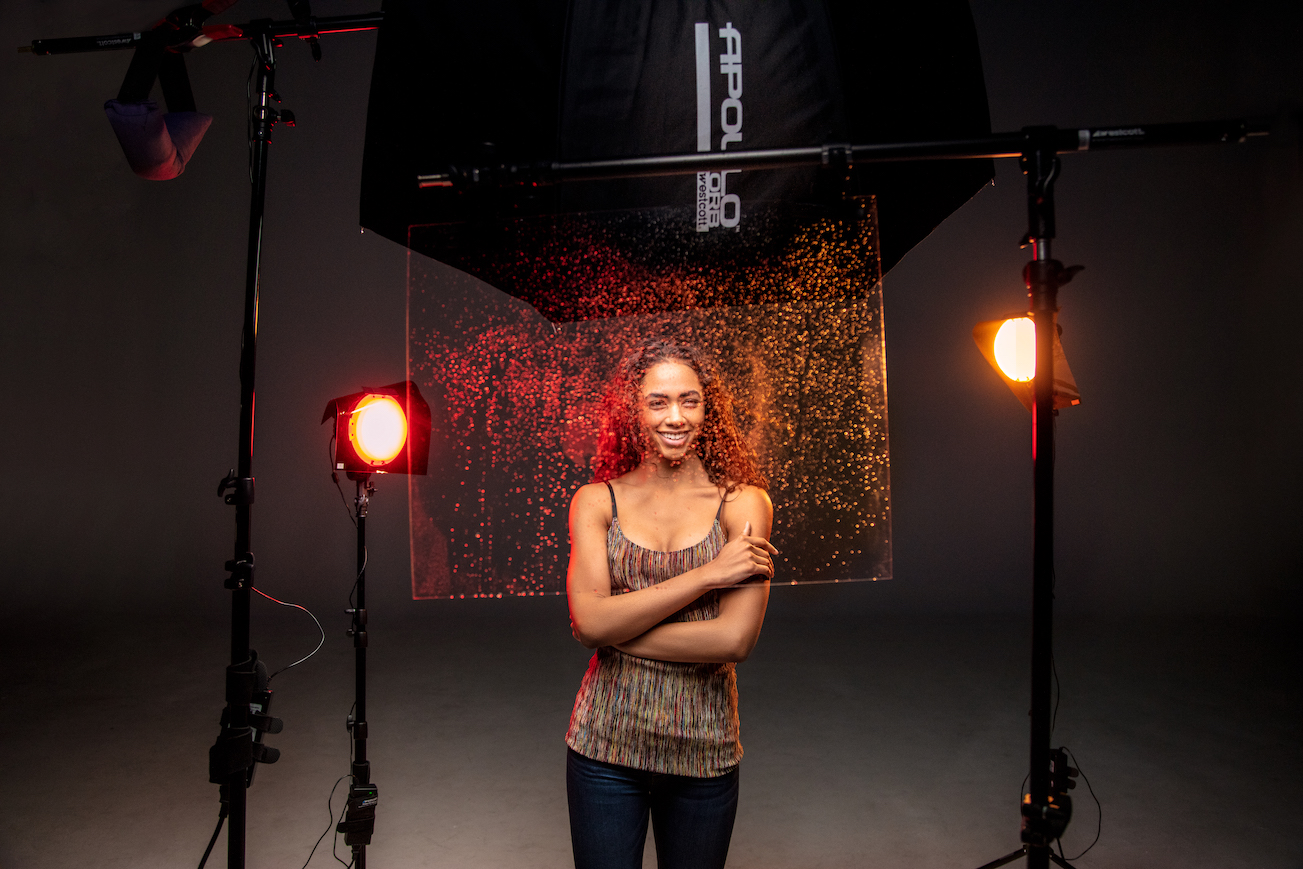
For this shot, I used a three light Solix LED setup. The main light was modified by a 43-inch Apollo Orb and centered with the model, angled downward. The two remaining Solix LED were placed behind my subject just out of frame, acting as rim lights to light up the glycerin-water mixture. When positioned correctly, the model will cast a shadow on the plexiglass and eliminate any of the drops in front of her face from picking up any of the rim light. This is important because it allows the model’s face to be clear of any bokeh. I added a red gel to one rim light and an orange to the other to get even more creative with the shot.
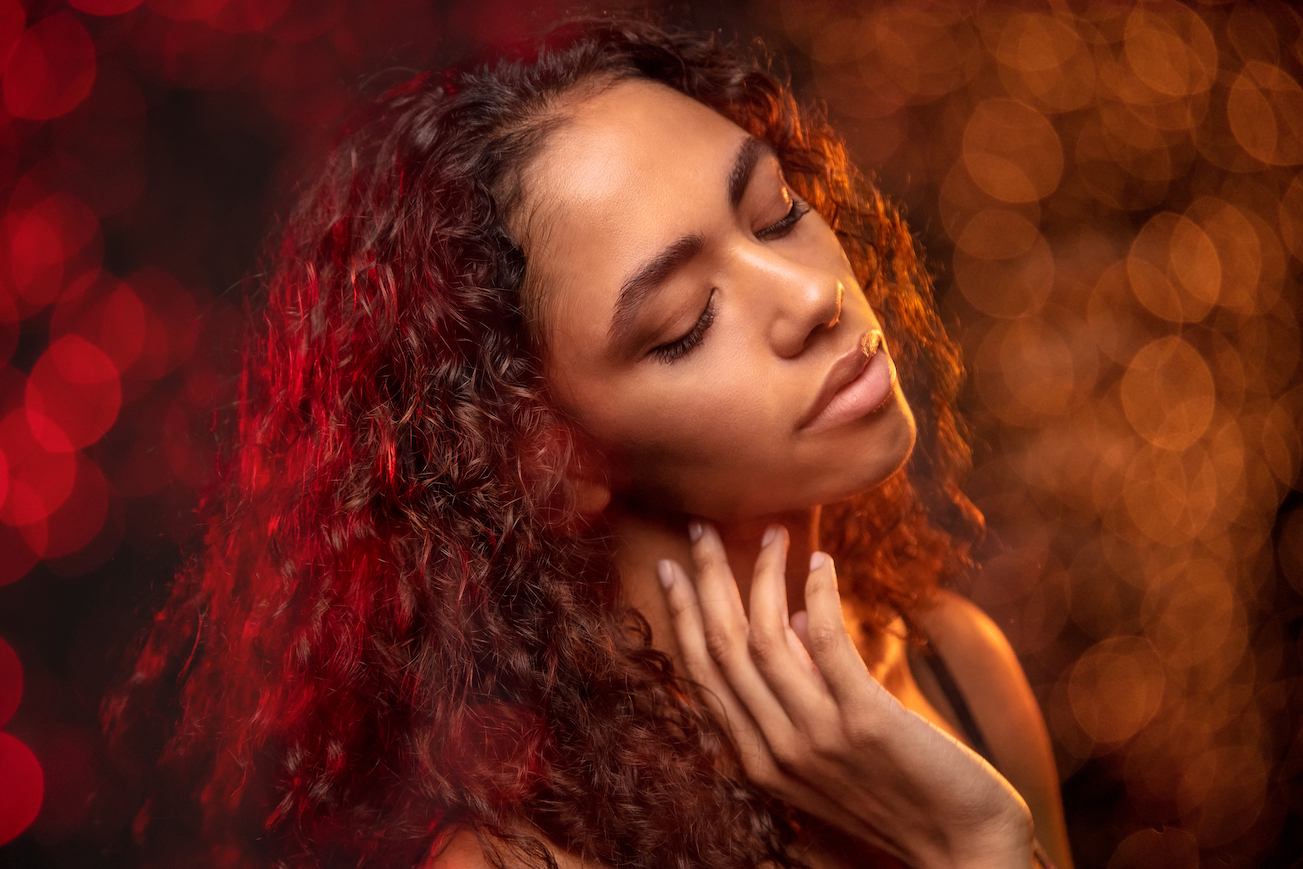
Cracks and Distortion
Materials
- plexiglass
- alcohol-based cleaner
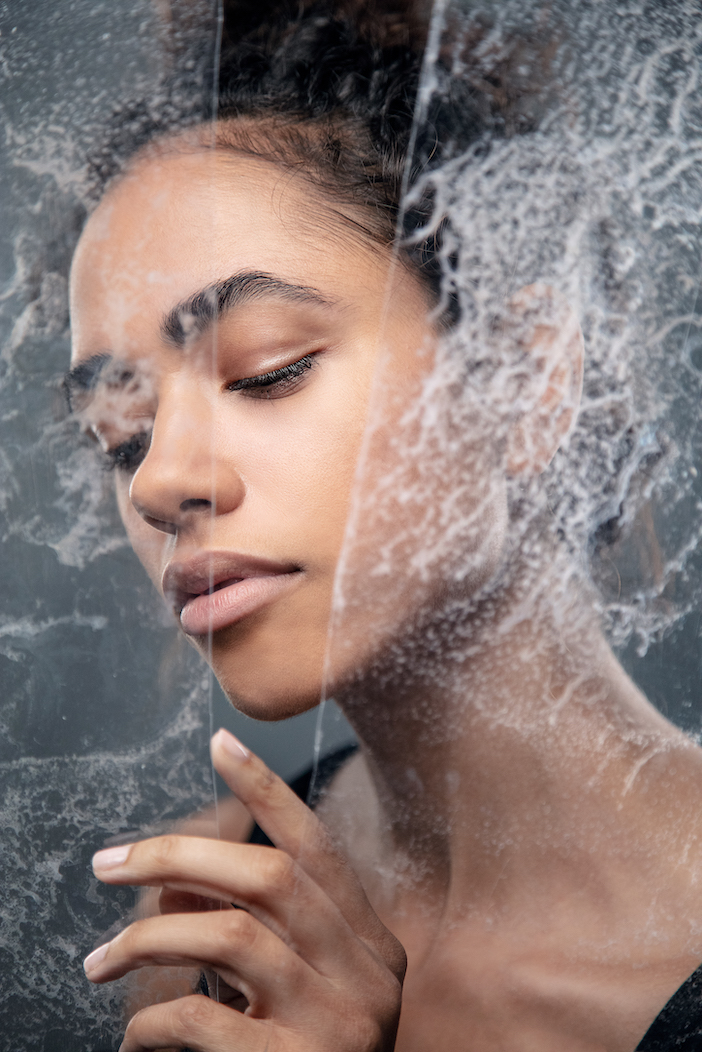
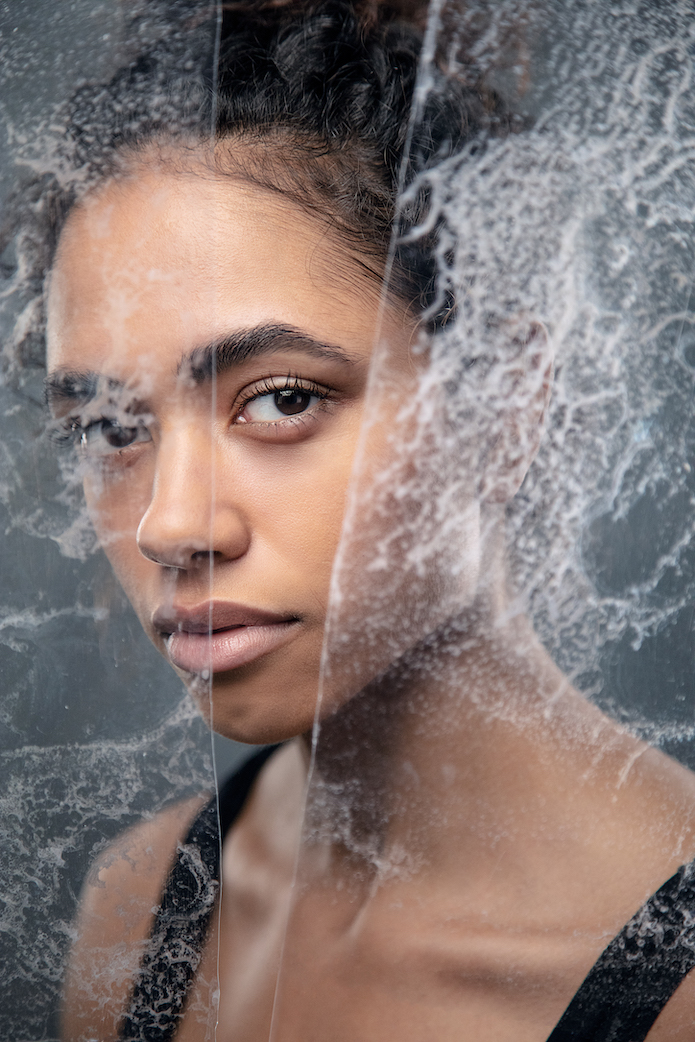
This technique was lots of fun to experiment with! I wanted to emulate a broken glass look, but have it still be safe to handle. After a bit of research, I found out that alcohol breaks down plexiglass and can causes microfractures when bent. This is also known as crazing. I started off with some pieces of plexiglass (the same kind as I was planning on shooting with) and tested different types of alcohol-based cleaners. I noticed that each one had a slightly different look. I ended up using Pec 12 since it created an almost marble-like distortion and cracking.
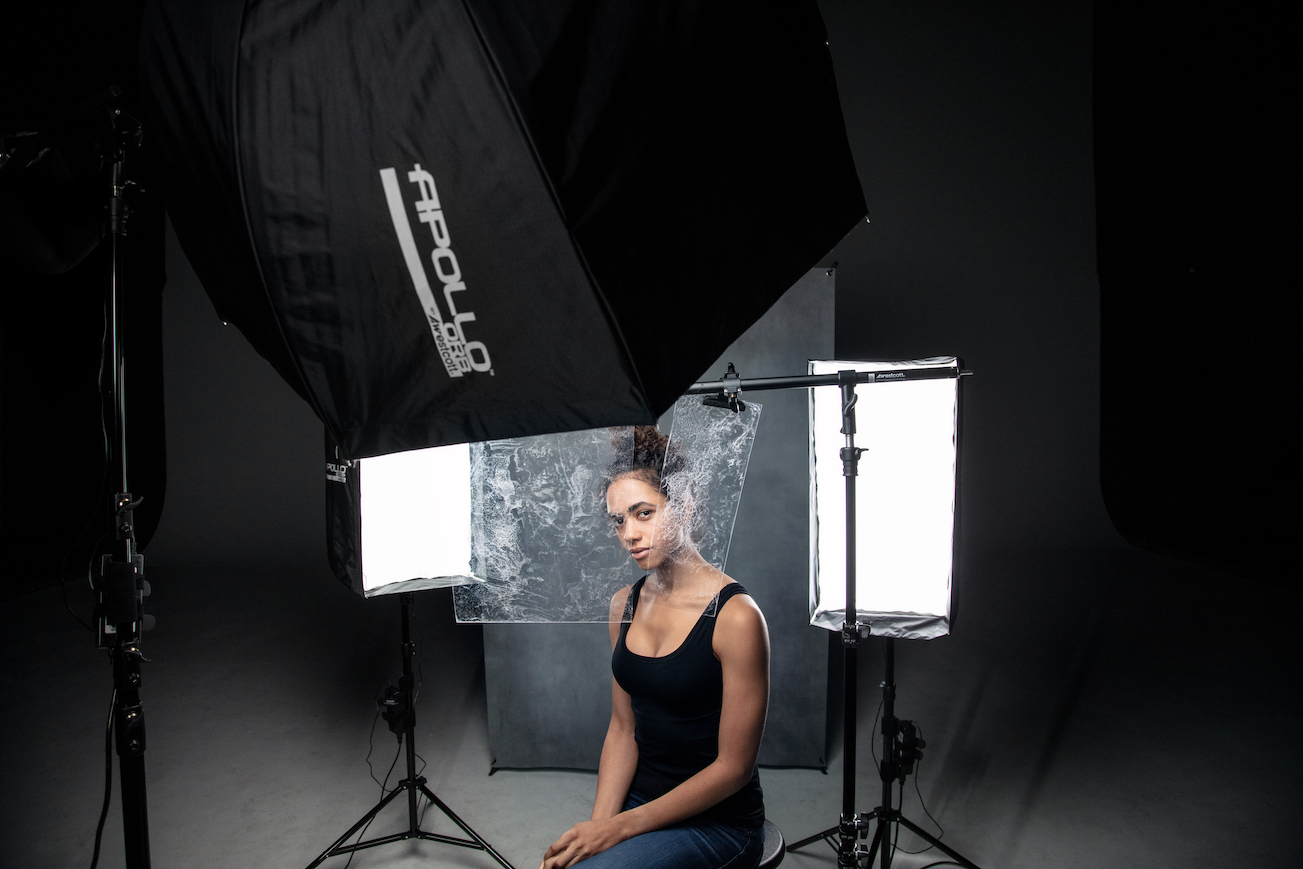
For the final piece of plexiglass that I shot with I used a rag to apply the cleaner to both sides, and let it sit for a minute or two before cracking. To crack the plexiglass, I used a rocking motion back and forth, being careful not to break it in half (unless desired).
I used a similar set-up as the bokeh shoot above, except I modified the two Solix rim lights with Apollo Strip softboxes. These rim lights backlit the cracks and created separation from the background.
Smudges and Smears
Materials
- plexiglass
- clear gel
- lipstick (optional)
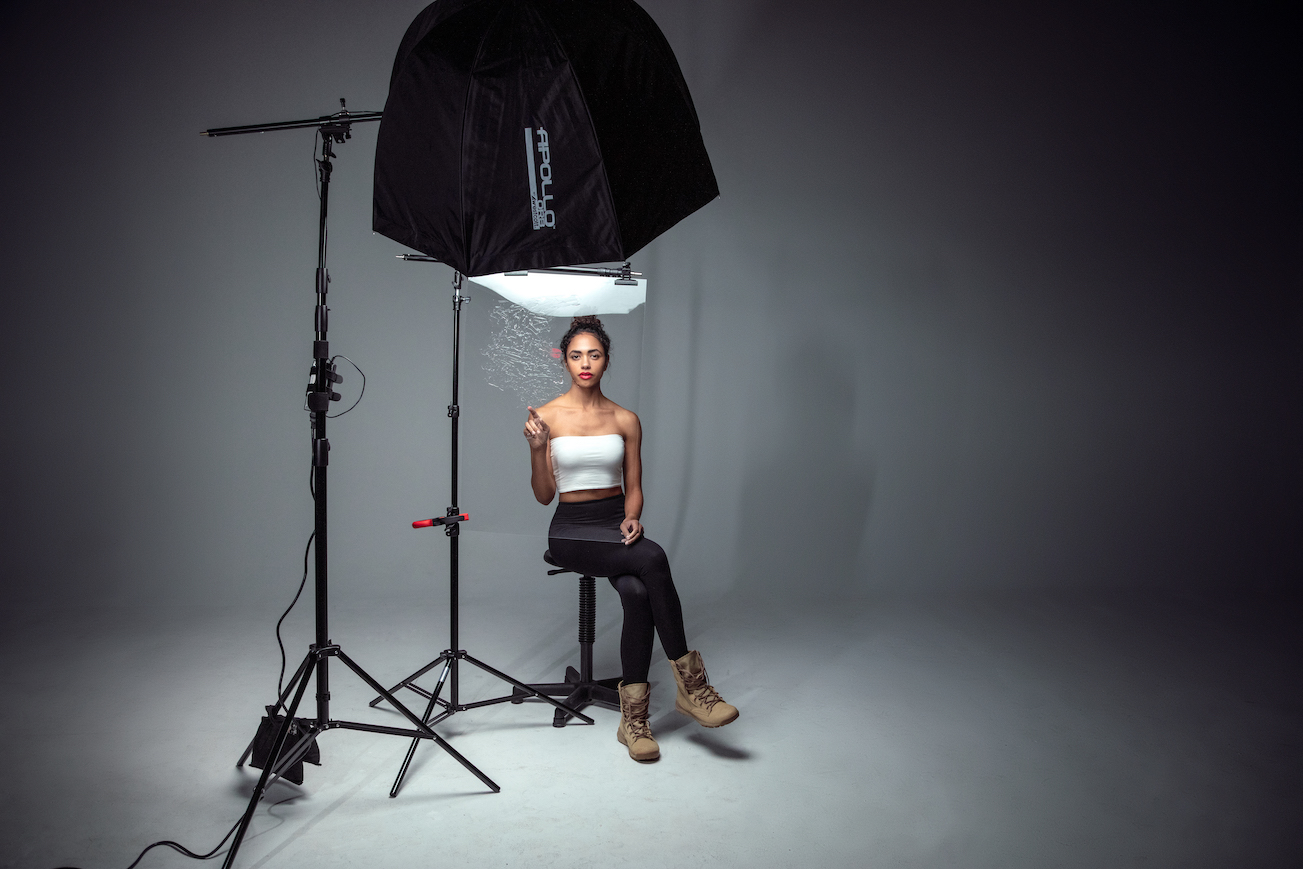
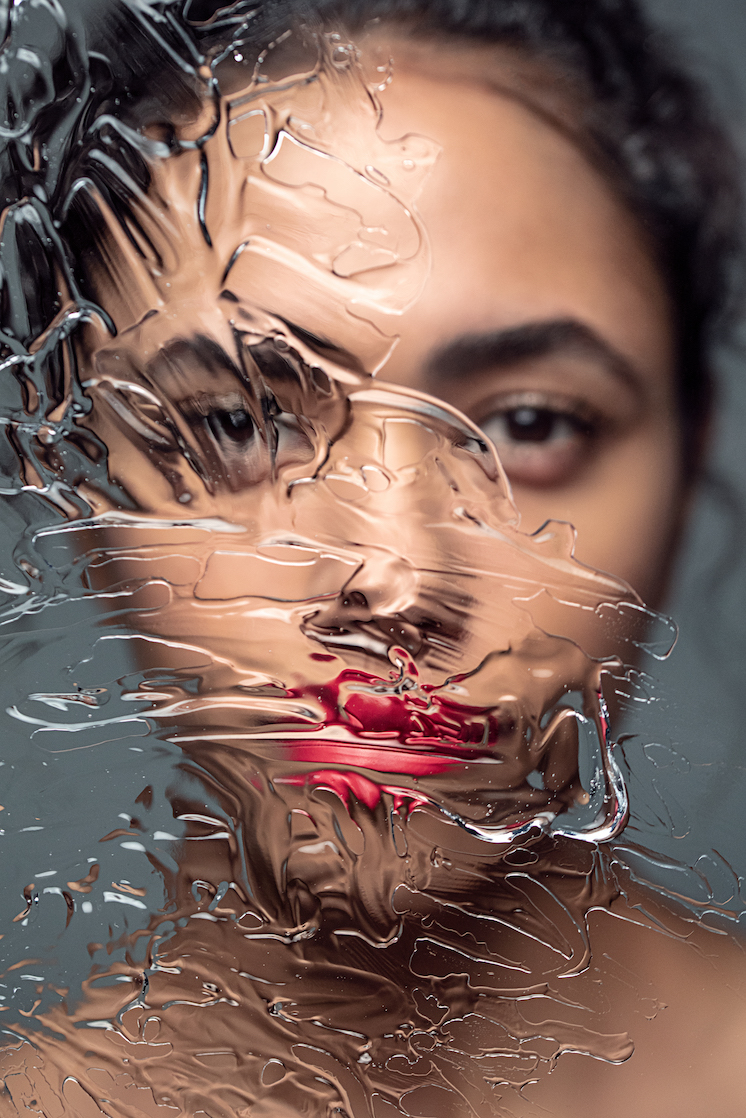
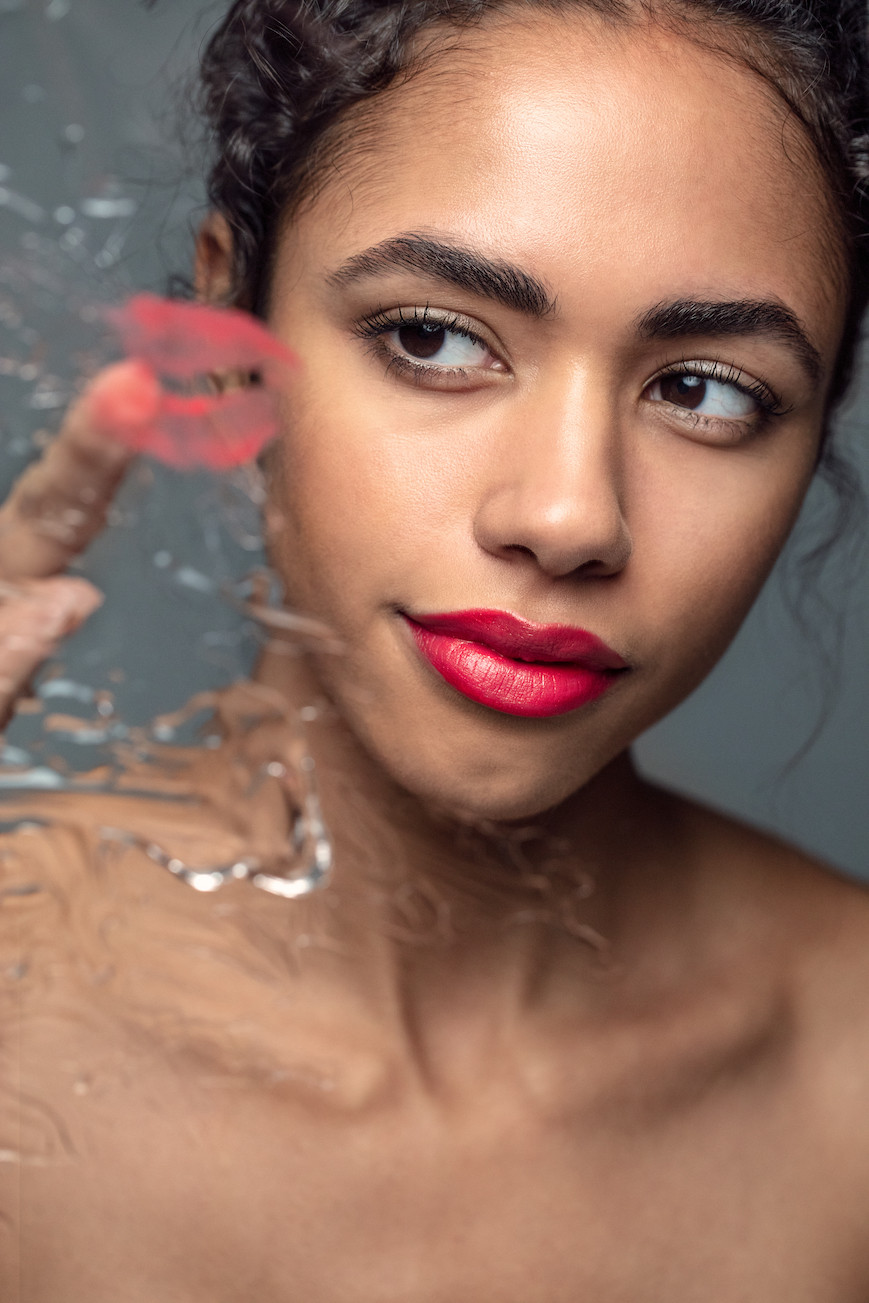
For this last look, I simply had the model smear aloe on the sheet of plexiglass. You can use any clear gel you have around the house, like hand sanitizer, soap, petroleum jelly, or aloe vera gel (used here). The aloe was ideal as it is thick enough that it won’t run. Aloe was also a great option since I knew I wanted the model to kiss the plexiglass and needed something safe to apply to the lips.
I decided to go with a simple gray-colored background to show off the texture, highlights, and shadows of the aloe. For the lighting, I kept it simple with just the key Solix overhead in front of the model.
Lighting Gear in Action

Solix Bi-Color 1-Light Kit with Apollo Orb and Stand6351
Solix Bi-Color 1-Light Compact Kit6350
Apollo Strip Softbox with 40-Degree Grid (16" x 30")2337

Solix Bi-Color 1-Light Kit with Apollo Orb and Stand6351

Solix Bi-Color 1-Light Compact Kit6350
Apollo Strip Softbox with 40-Degree Grid (16" x 30")2337

Solix Bi-Color 1-Light Compact Kit6350

Apollo Strip Softbox with 40-Degree Grid (16" x 30")2337

Apollo Strip Softbox with 40-Degree Grid (16" x 30")2337


You must be logged in to post a comment.