When it comes to studio photography, one of the most powerful tools you have is the ability to create a scene, even in a blank studio space. In this video, photographer Ashley Boring shares how she transformed a simple studio into a warm, moody, painterly environment using just a few props, carefully selected backdrops, and of course, creative lighting.
This is a technique Ashley often uses in her work, layering texture, color, and light to shape the mood and tell a story through her images. Let’s break down this lighting setup and explore a few tips you can use to build your own scenes in the studio.
Building the Scene with Backdrops, Wardrobe, and Props
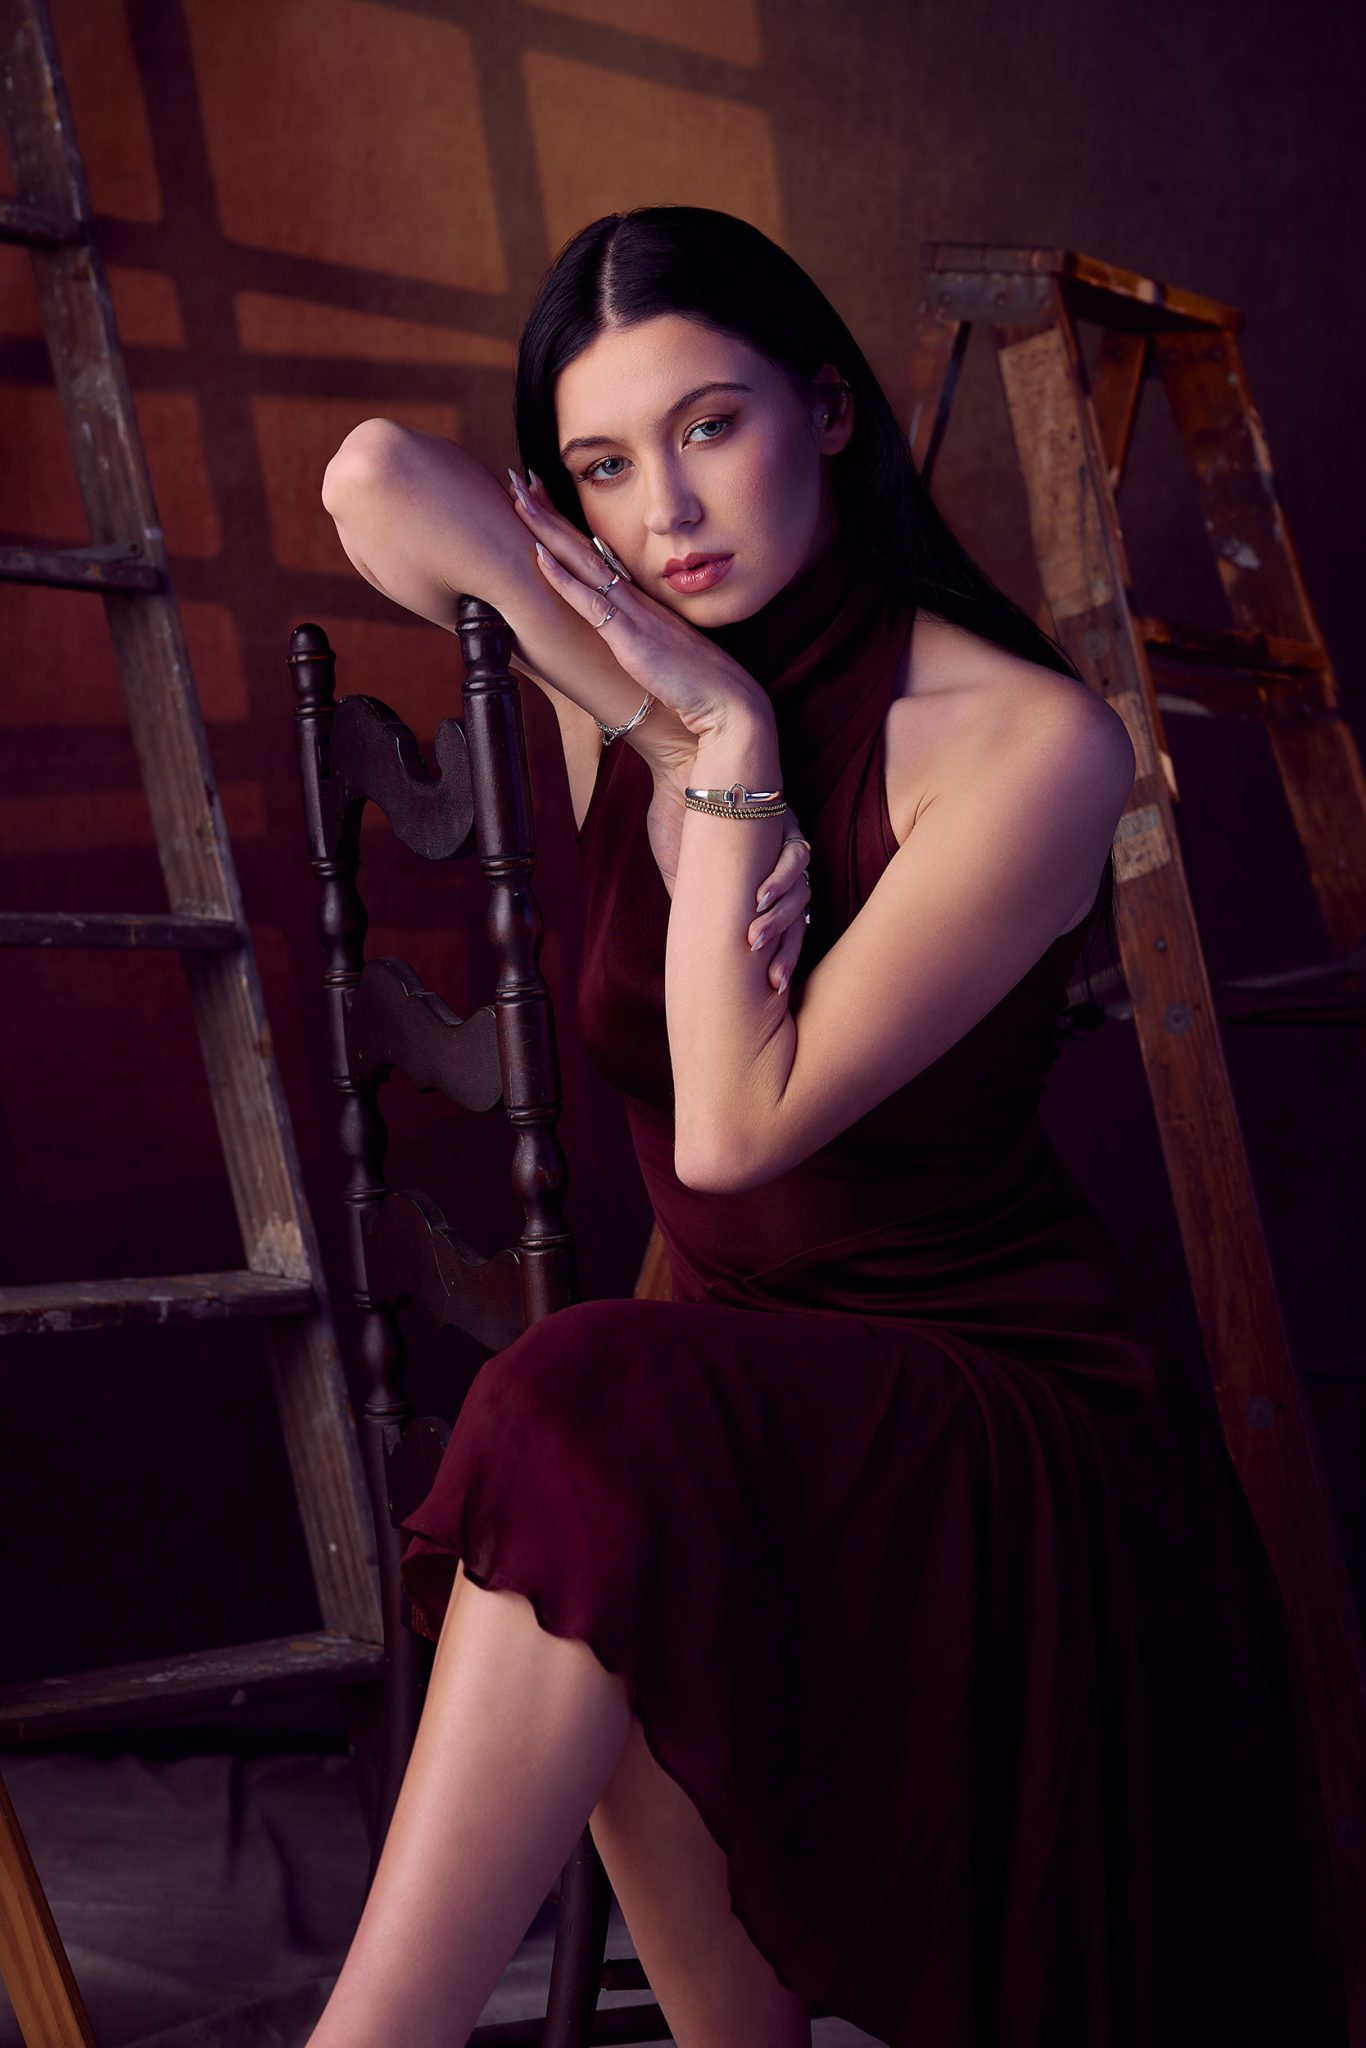
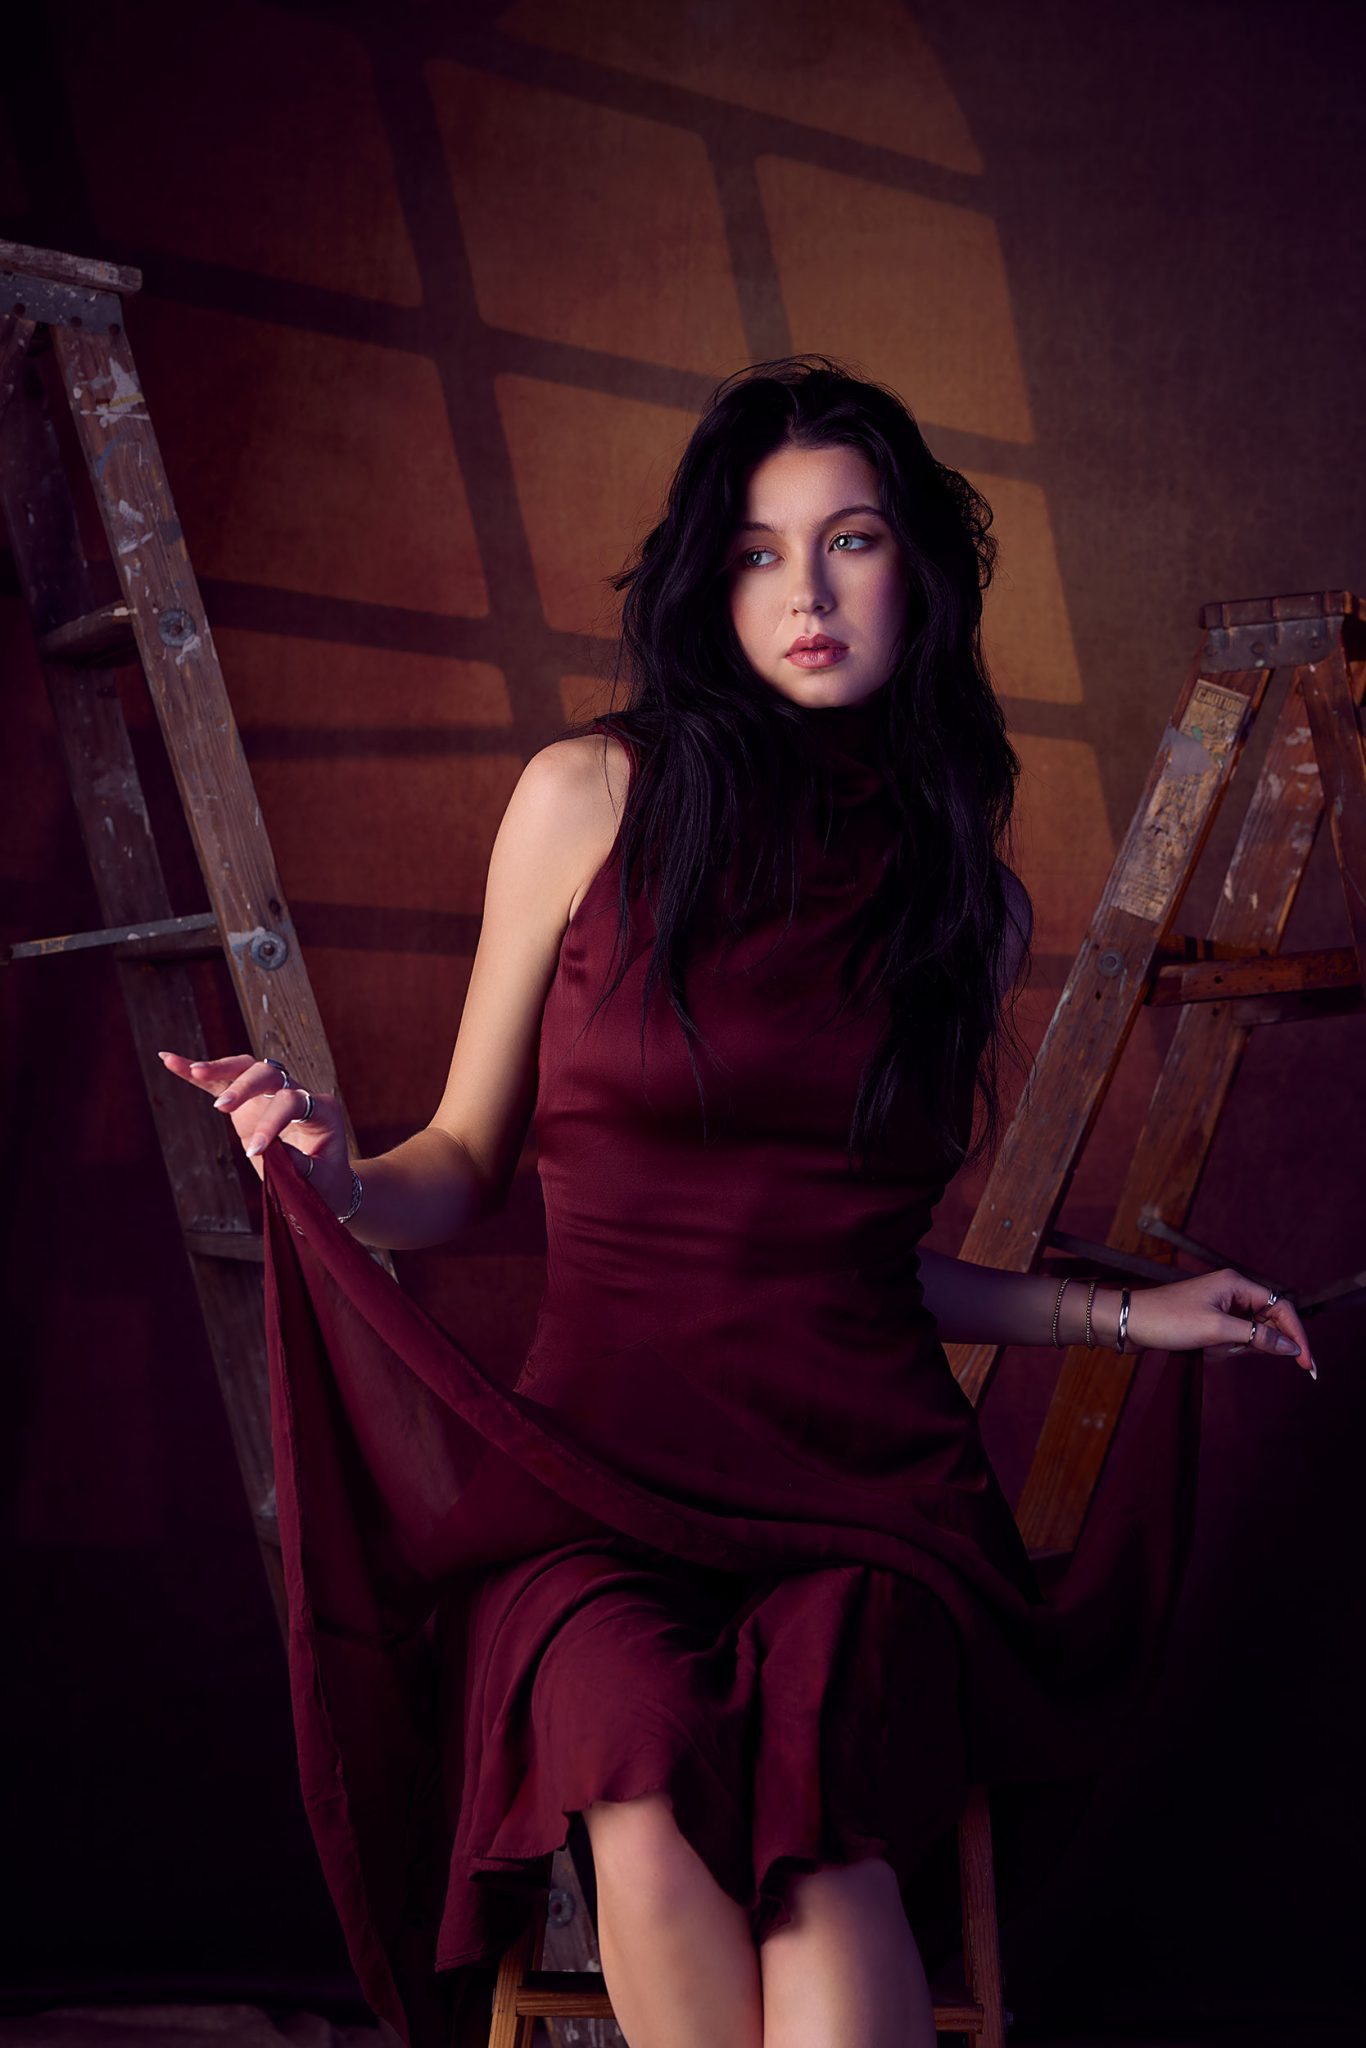
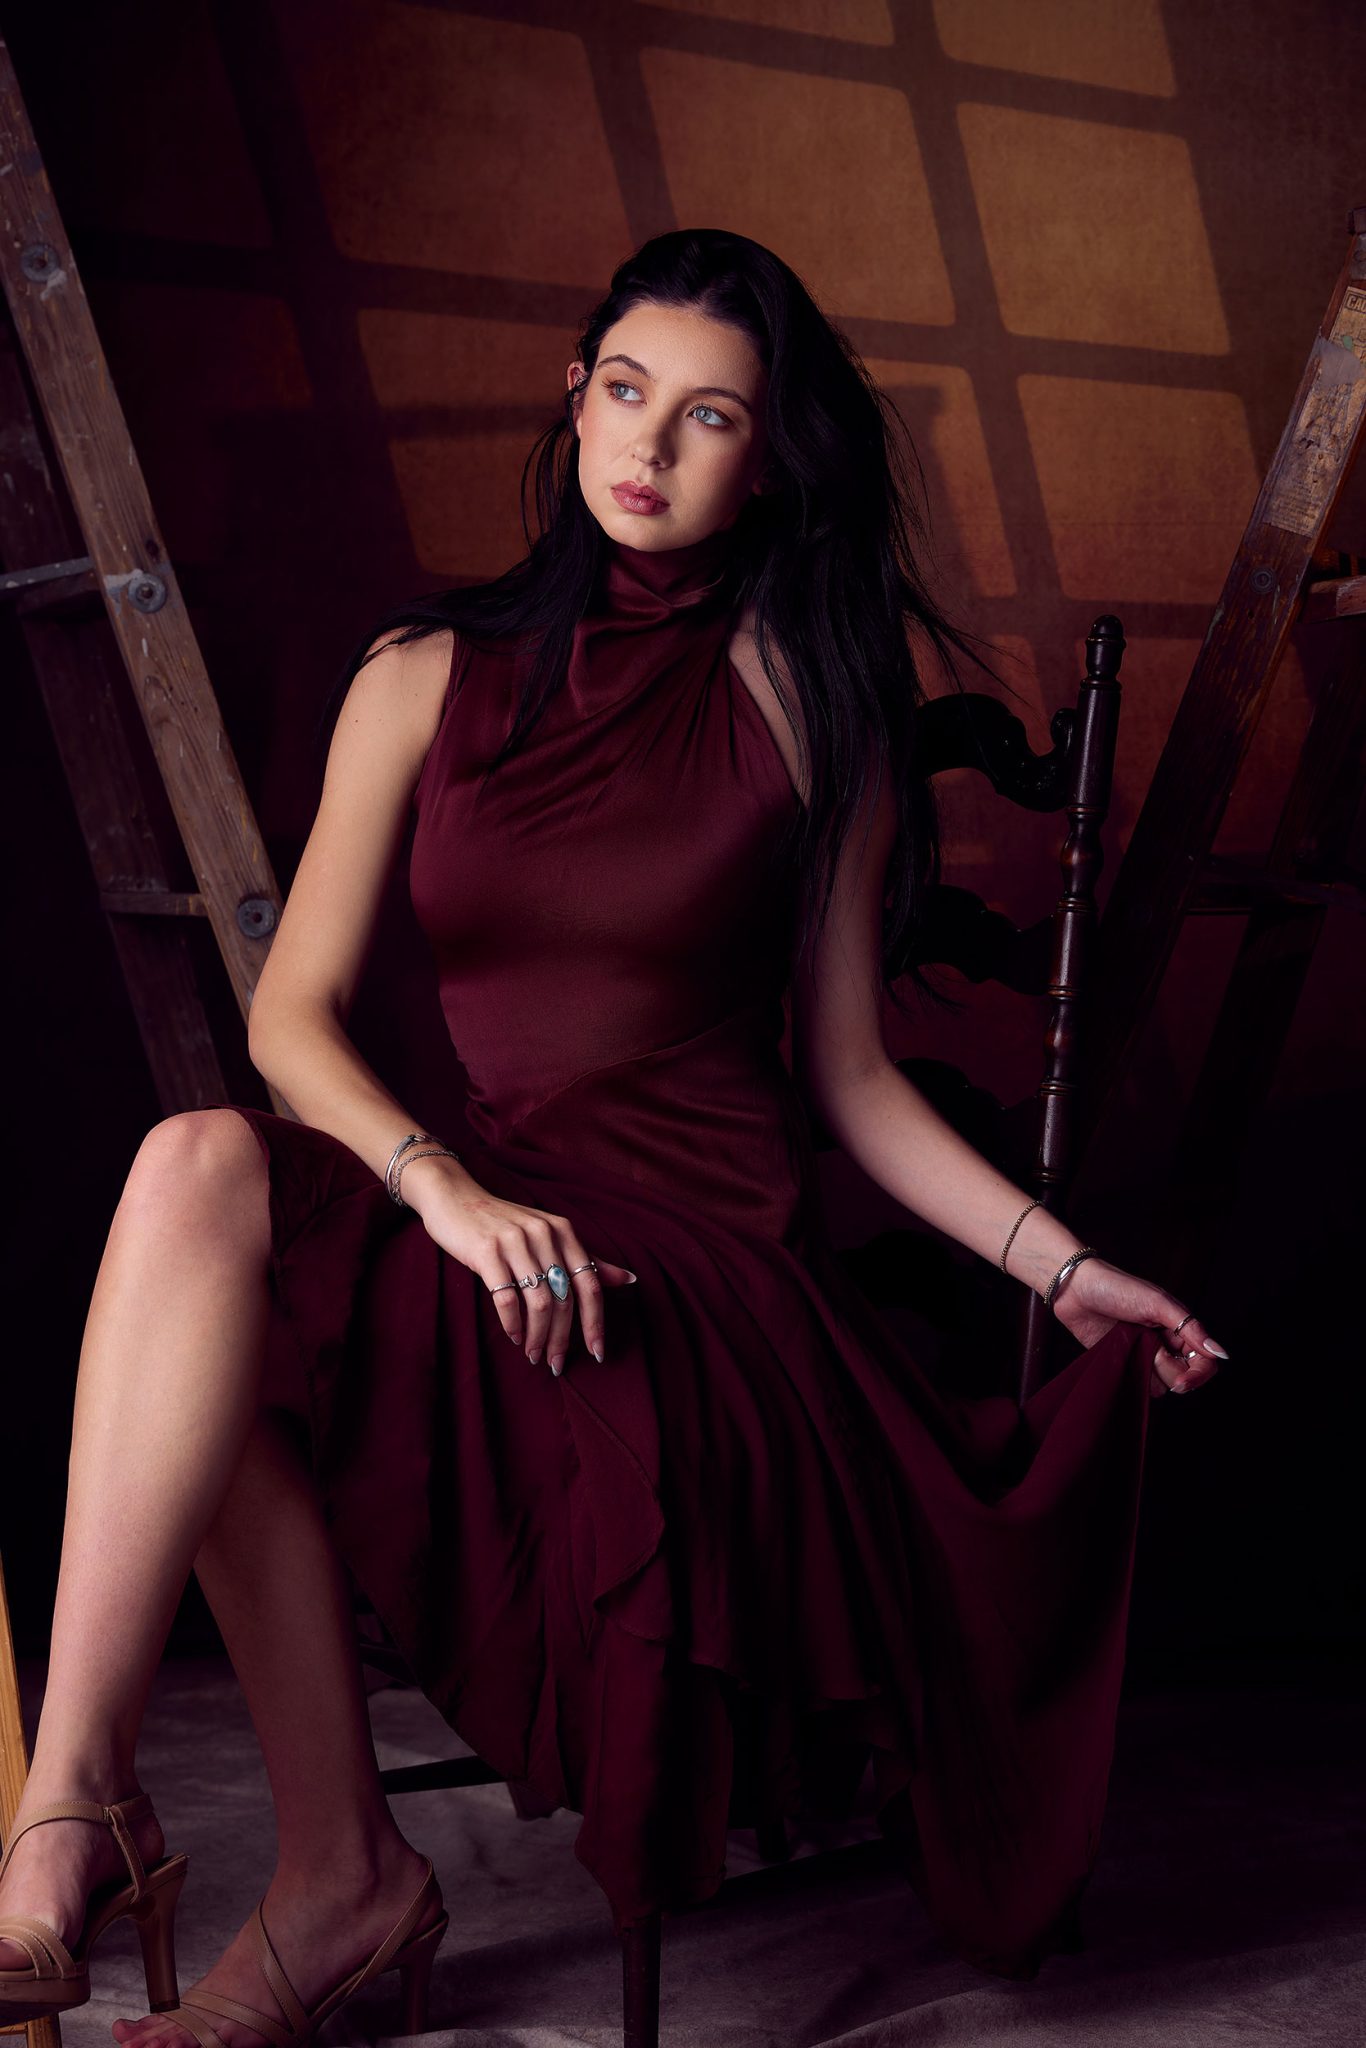
Ashley’s inspiration for this shoot came from a couple of ladders she wanted to repurpose from another shoot. Rather than simply stacking them in the background, she decided to build an entire scene around them, aiming for a look that felt like an old painter’s studio or attic, cozy, warm, and dramatic.
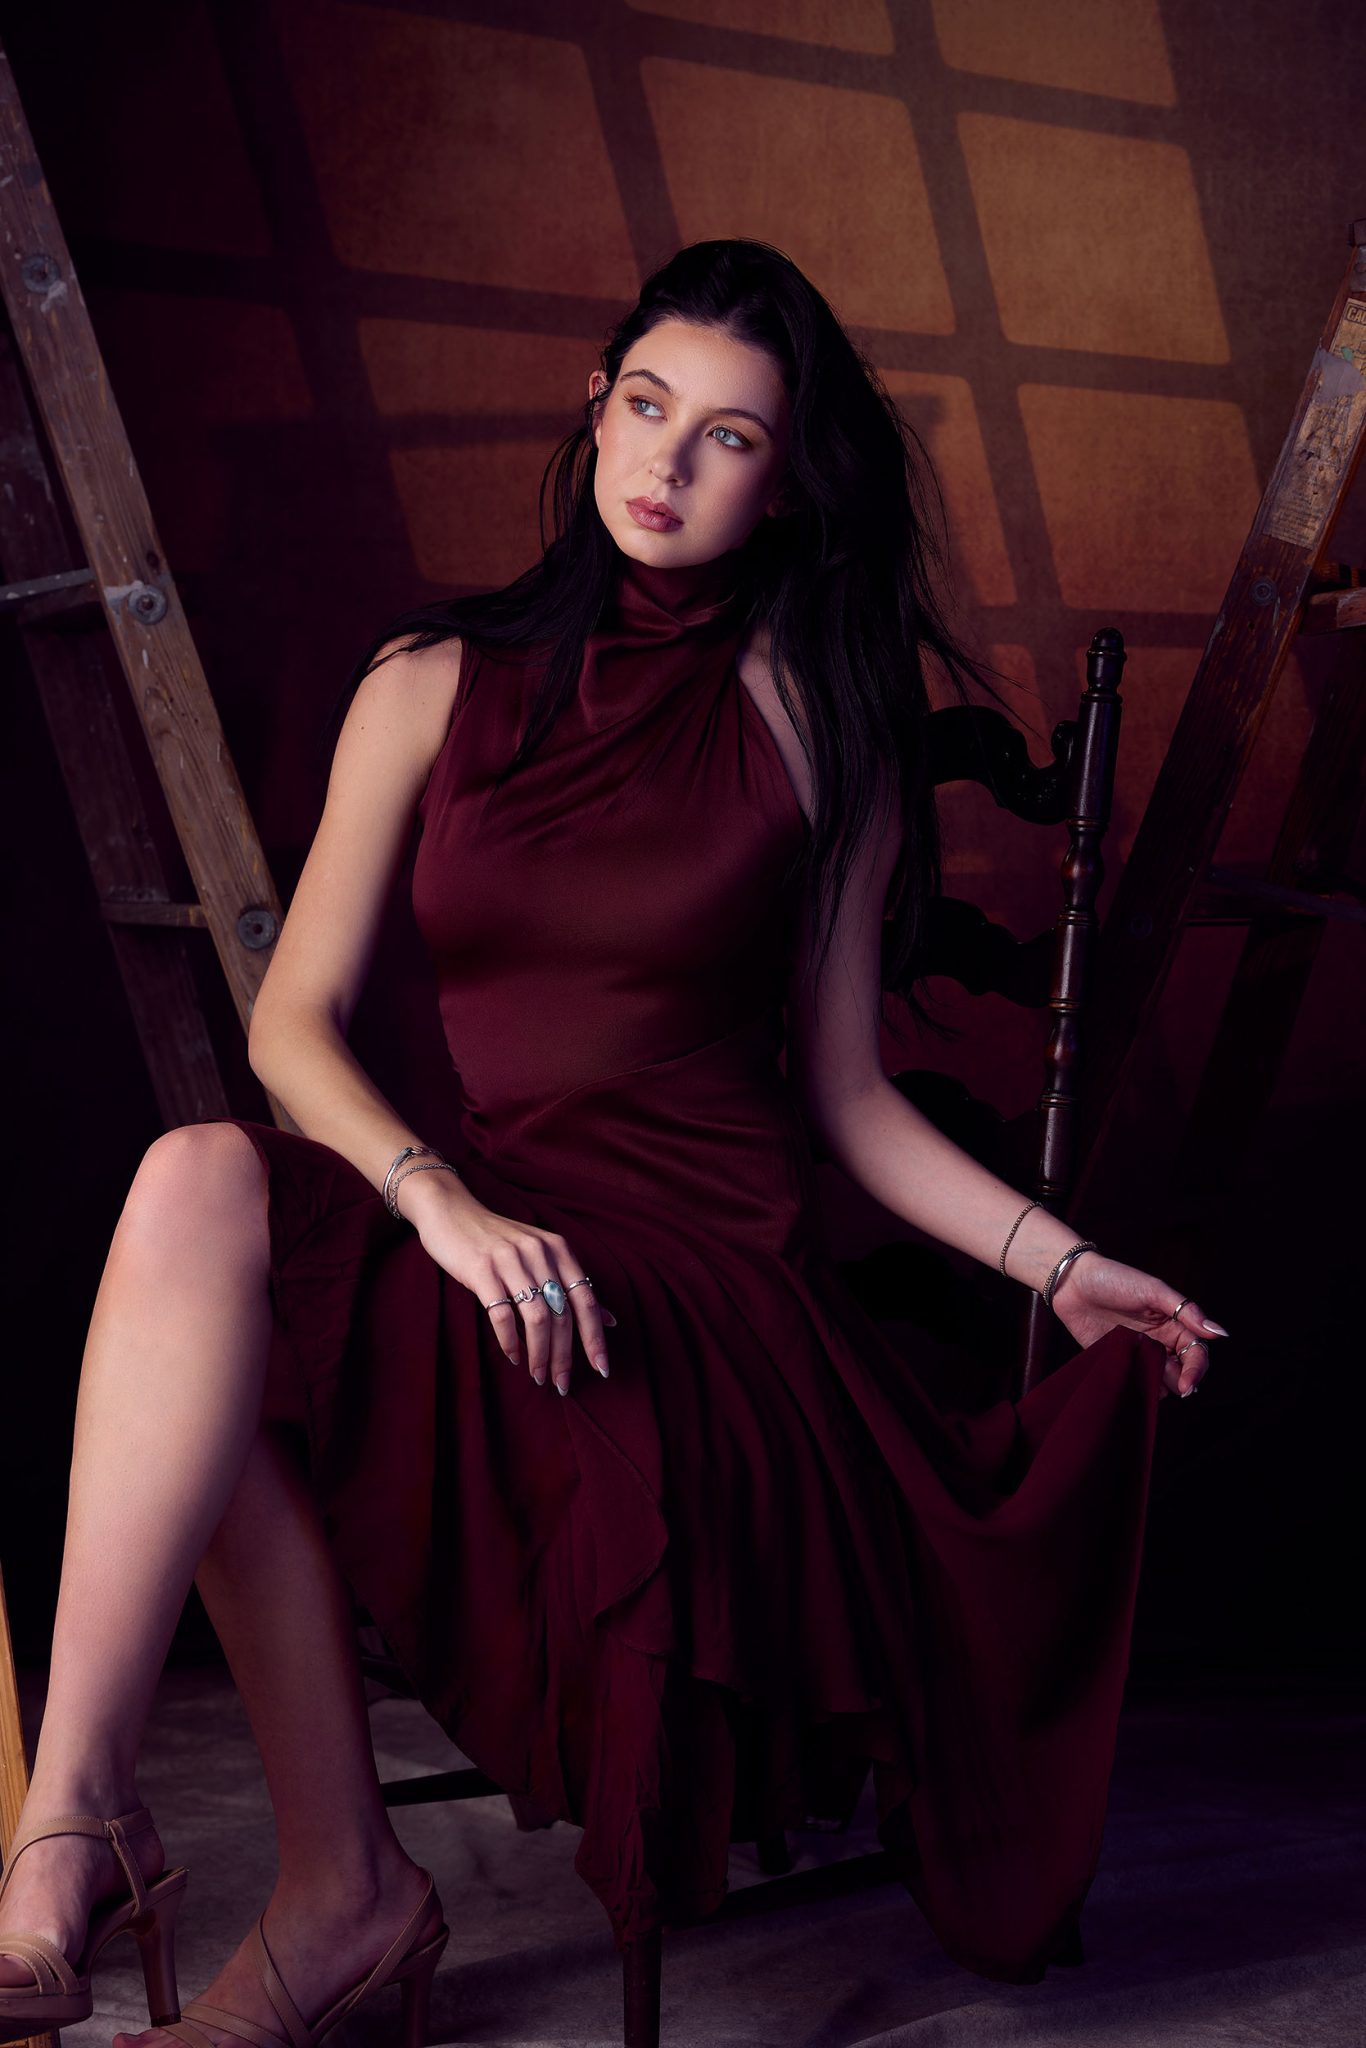
The scene started with Westcott’s 8x8 Warm Painterly backdrop, mounted on the X-Drop Pro frame. The rich, warm tones of the backdrop paired perfectly with the deep maroon dress worn by the model, immediately creating a cohesive color palette that tied the entire scene together.
To add even more depth and texture, Ashley laid down a second backdrop, an 8x8 Parchment Paper backdrop, across the studio floor. While it was not always visible in frame, it added a consistent tone and texture beneath the model and props. The natural wrinkles that formed as the model moved actually enhanced the look, giving the scene a more authentic, lived-in feel, like a real artist’s working space.
Tip: If you want to minimize wrinkles on a floor backdrop, simply sandbag or tape down the corners to help keep it stretched and flat.
Light Modifier Choices and Placement
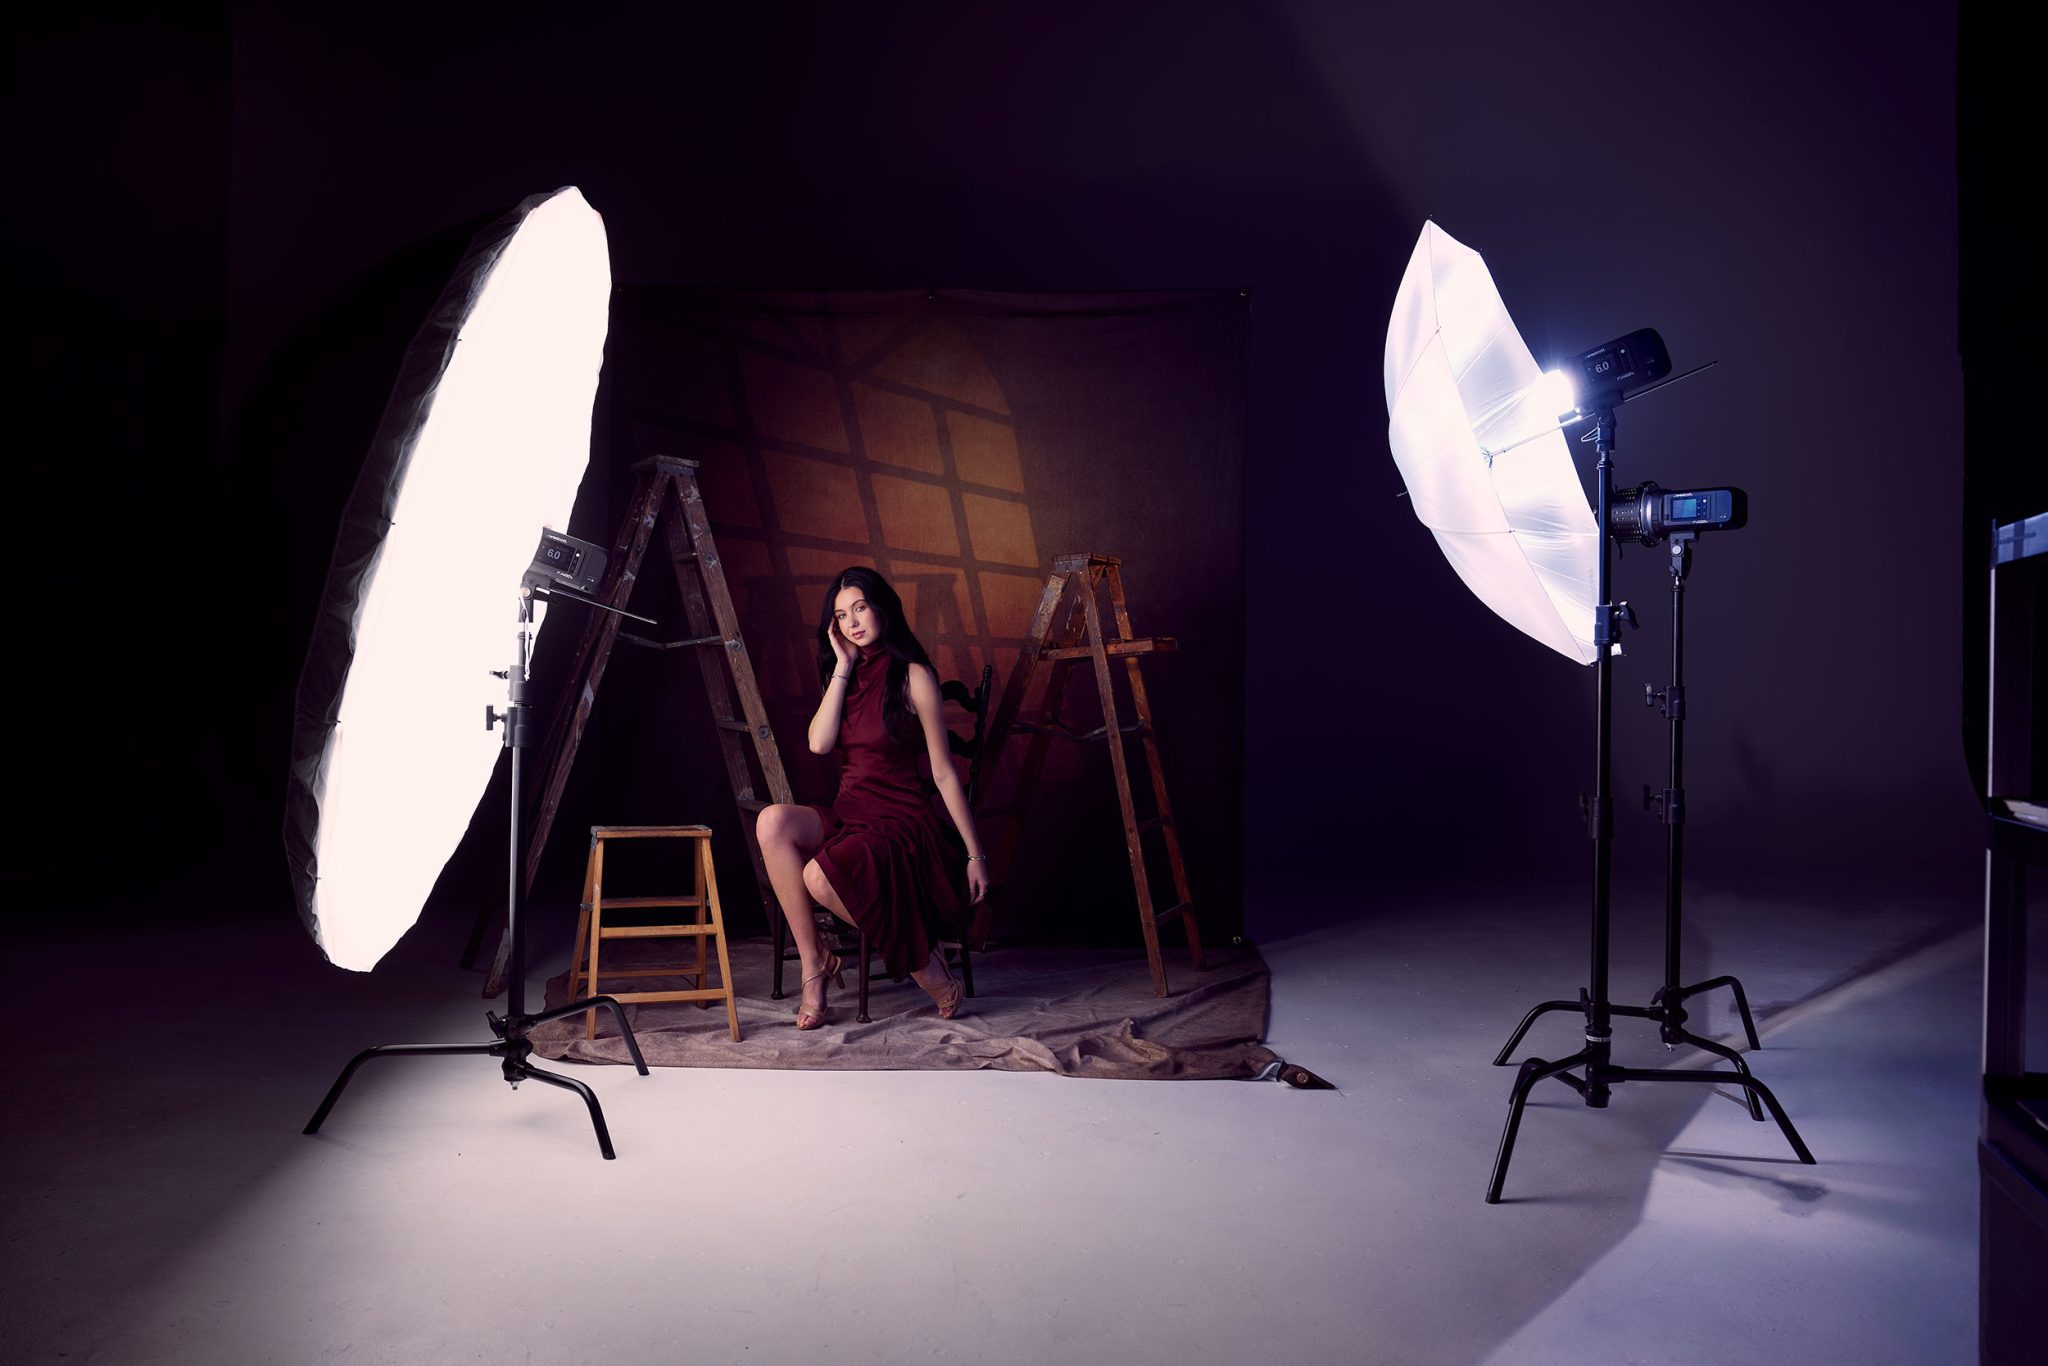
With the scene built, it was time to light it. Ashley’s lighting setup used three lights, each one carefully placed to serve a specific purpose.
Main Light: FJ400 II Strobe with 7’ Umbrella and Diffusion
For the key light, Ashley used a Westcott FJ400 II paired with a 7-foot umbrella with diffusion. This massive modifier provided a soft, broad light source that wrapped beautifully around the model. By feathering the light across the scene from the side, she was able to mimic the feeling of natural window light while maintaining soft, natural looking shadows.
Importantly, Ashley kept this light at a fairly low height. Lowering the key light ensured that the model was evenly lit from head to toe, which allowed her to move freely around the set without falling out of the light. It also kept the shadows flattering, avoiding any harsh, overhead shadows that could feel too dramatic.
As the model changed positions, sitting on a stool, standing on the ladders, or leaning into different poses, Ashley would adjust the height of the light to maintain the right angle and keep the light falling naturally across her face.
Background Light: FJ400 II with Optical Spot
To add more depth and texture to the background, Ashley brought in a second FJ400 II with an Optical Spot modifier and a 50mm lens. Using the Prairie Window gobo, she projected a sharp window pattern onto the backdrop, simulating the look of actual window light spilling into the room.
To enhance the realism, Ashley even let the ladders cast partial shadows into the projected window light, breaking it up slightly and giving the scene more texture and dimension.
Fill Light: FJ400 II with Vivid Blue FlexiGel and 45-inch Shoot Through Umbrella
For the final touch, Ashley introduced color contrast for a creative element. She placed a third FJ400 II opposite the main light, fitted with a Vivid Blue FlexiGel from Westcott’s FlexiGel Vivid Pack. By modifying it with a 45” shoot-through umbrella, she was able to create a broad, diffused fill light that softly filled the shadows with a cool blue tone.
The goal here was not to overpower the warm tones but to introduce just enough cool color to create visual contrast. Since blue and orange sit opposite each other on the color wheel, this subtle mix of warm and cool tones made the image feel rich and balanced while keeping the mood consistent. Use gels to introduce subtle contrast into your lighting. Even small amounts of color can help separate your subject and add depth to your images.
Staying Flexible on Set
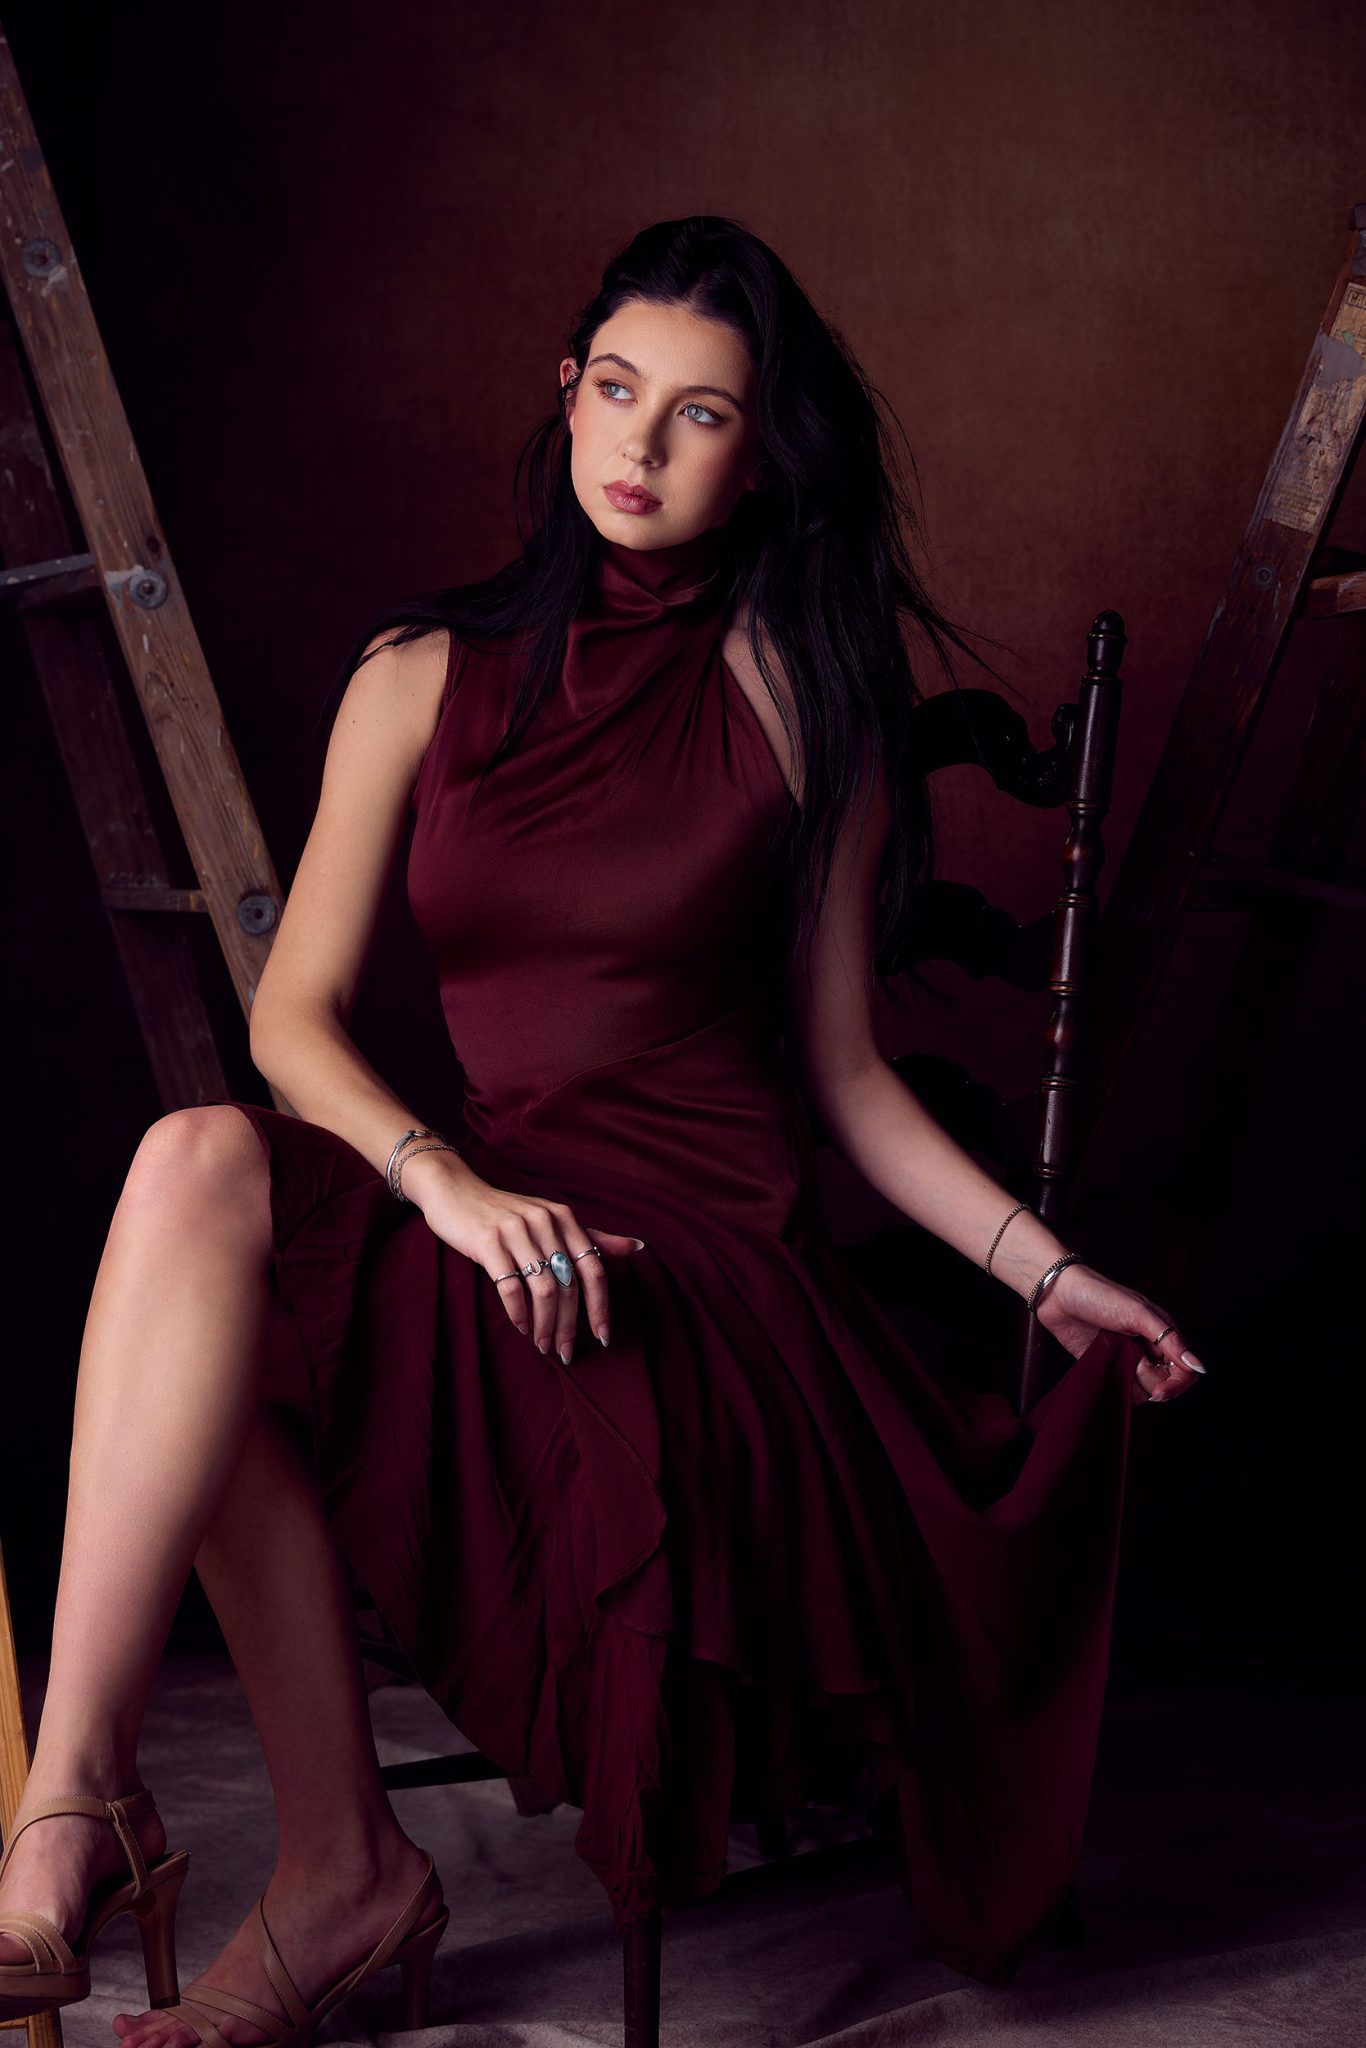
One of the key takeaways from Ashley’s shoot is how much flexibility matters. Throughout the session, she made quick adjustments, swapping key and fill lights as needed, raising and lowering light stands, and slightly shifting modifiers, all to keep up with her model’s movement.
Because the FJ400 II strobes are battery powered, making these changes was easy and did not slow down the flow of the shoot. This kind of flexibility is what allows you to stay creative without getting bogged down in technical challenges.
Lighting Transforms the Studio
At the end of the day, this shoot was a perfect example of how a little bit of creativity, thoughtful prop selection, and intentional lighting can completely transform a simple studio space into a fully built scene.
With just a few lights, a couple of backdrops, and some props, Ashley was able to craft a mood, tell a story, and create a warm, painterly image that feels like it was shot in a completely different location, all without ever leaving the studio.
Whether you are working in a large professional studio or setting up in a spare room at home, the principles remain the same. Control your light, build your scene, and let your creativity take the lead.
Want to see more of Ashley Boring’s work?
Check out 3 Techniques to Control Natural Light for Better Portraits, where she shares easy tips for using natural light to capture beautiful portraits.


You must be logged in to post a comment.