If you’ve ever felt unsure where to begin with studio lighting, you’re not alone. In fact, one of the most common questions Westcott photographer Ashley Boring hears is, “How do I start using flash?” In this behind-the-scenes video, Ashley walks you through her full process, from evaluating ambient light and dialing in camera settings to building out a clean, intentional lighting setup. New to studio photography or aiming to refine your lighting workflow, this guide is designed to help you build confidence and take control of your lighting.
Understanding Ambient Light
Before touching her camera or setting up any lights, Ashley always starts by evaluating the ambient light in the space. This includes everything from window light and overheads to string lights or decorative background glows.
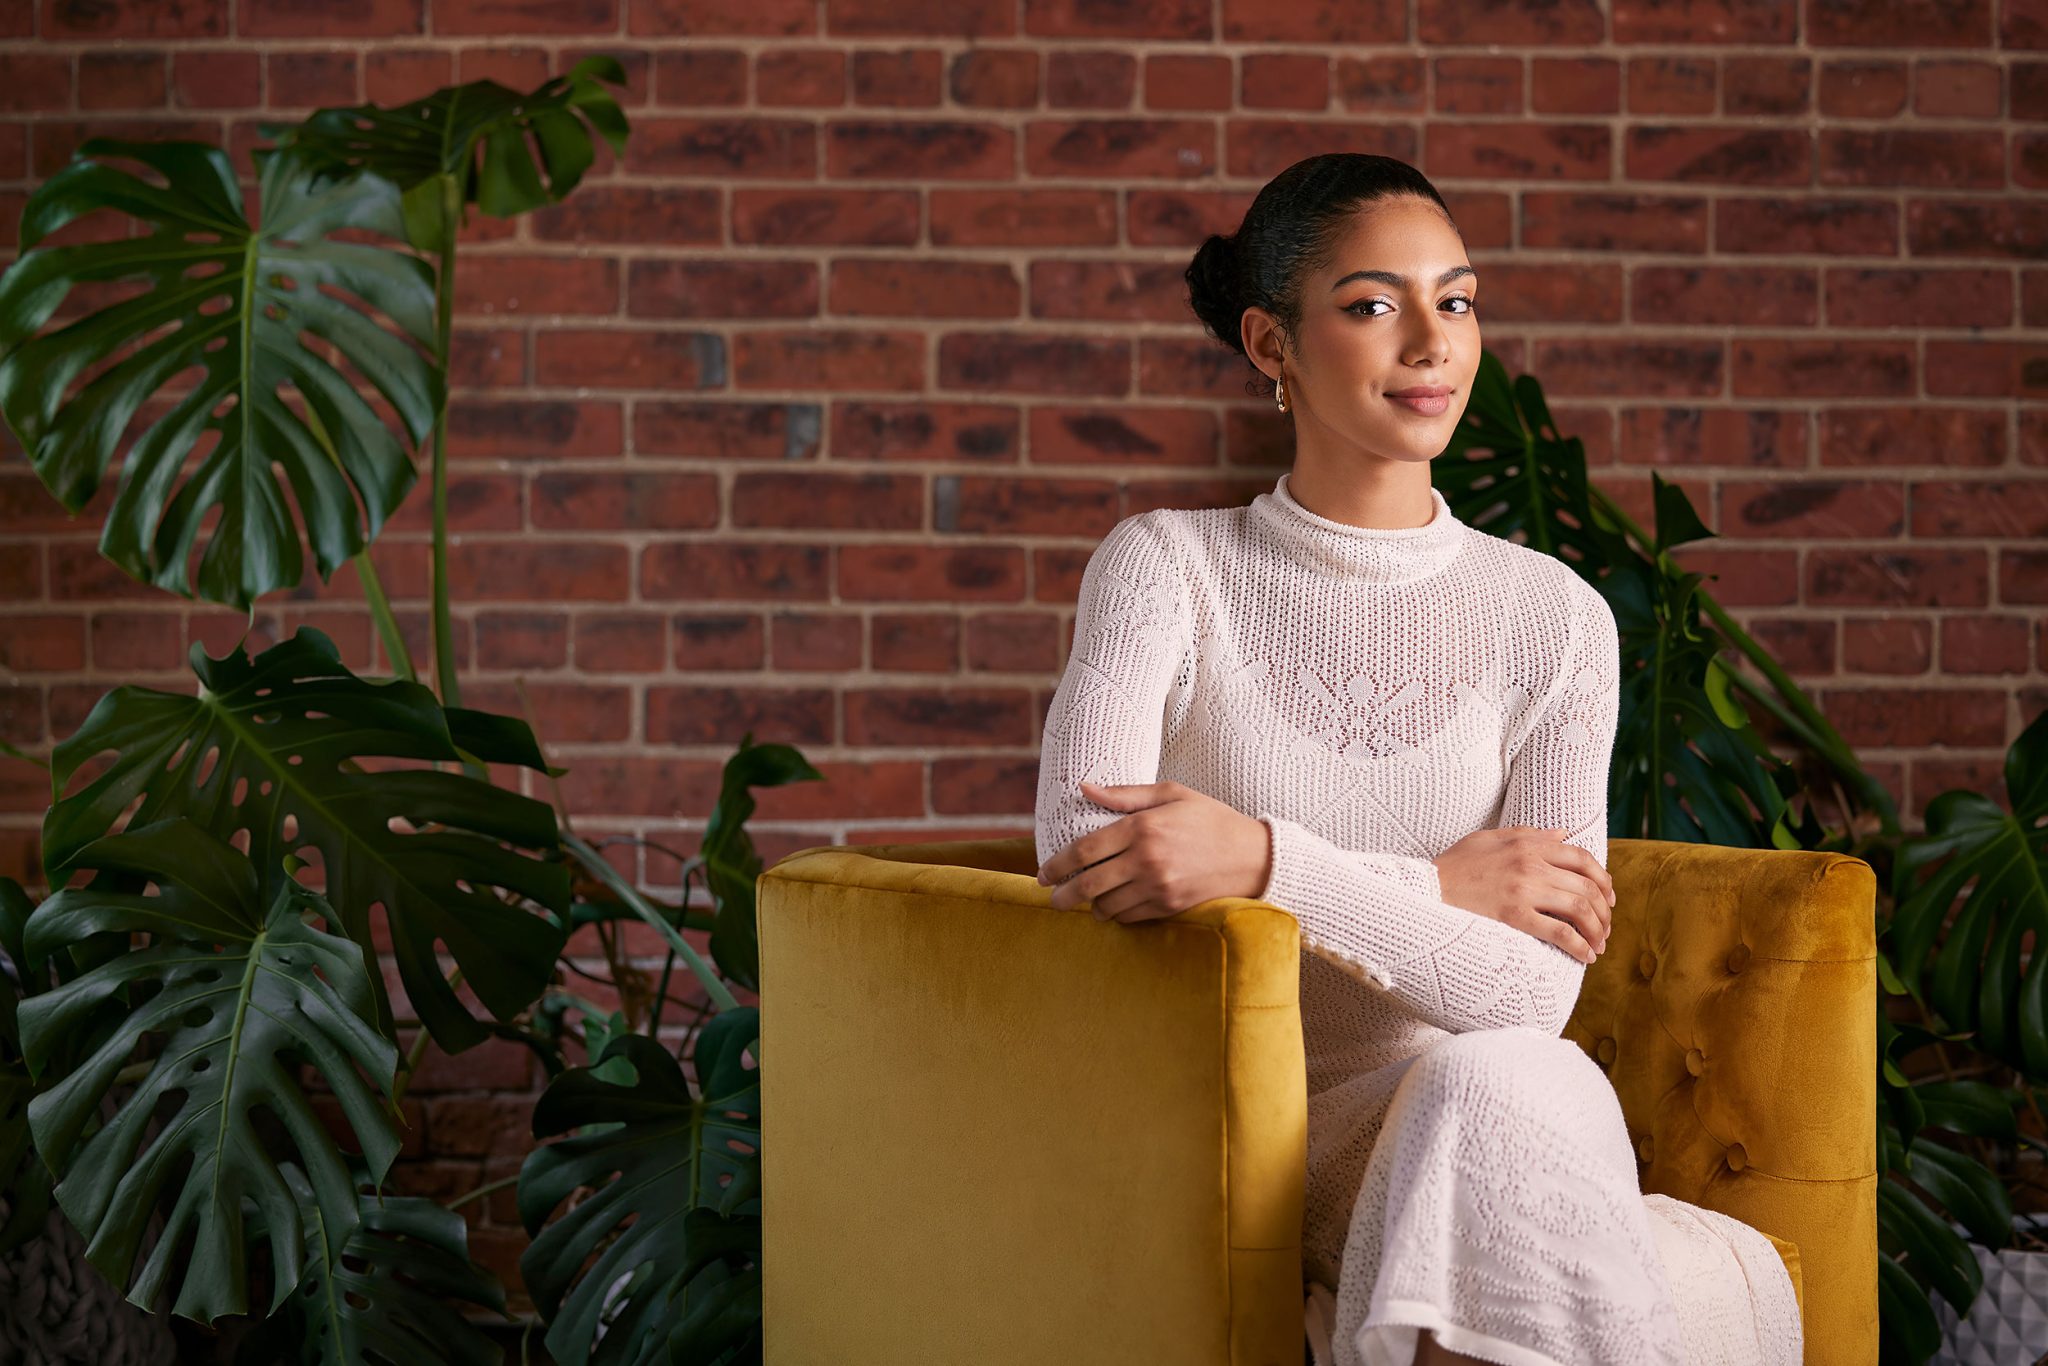
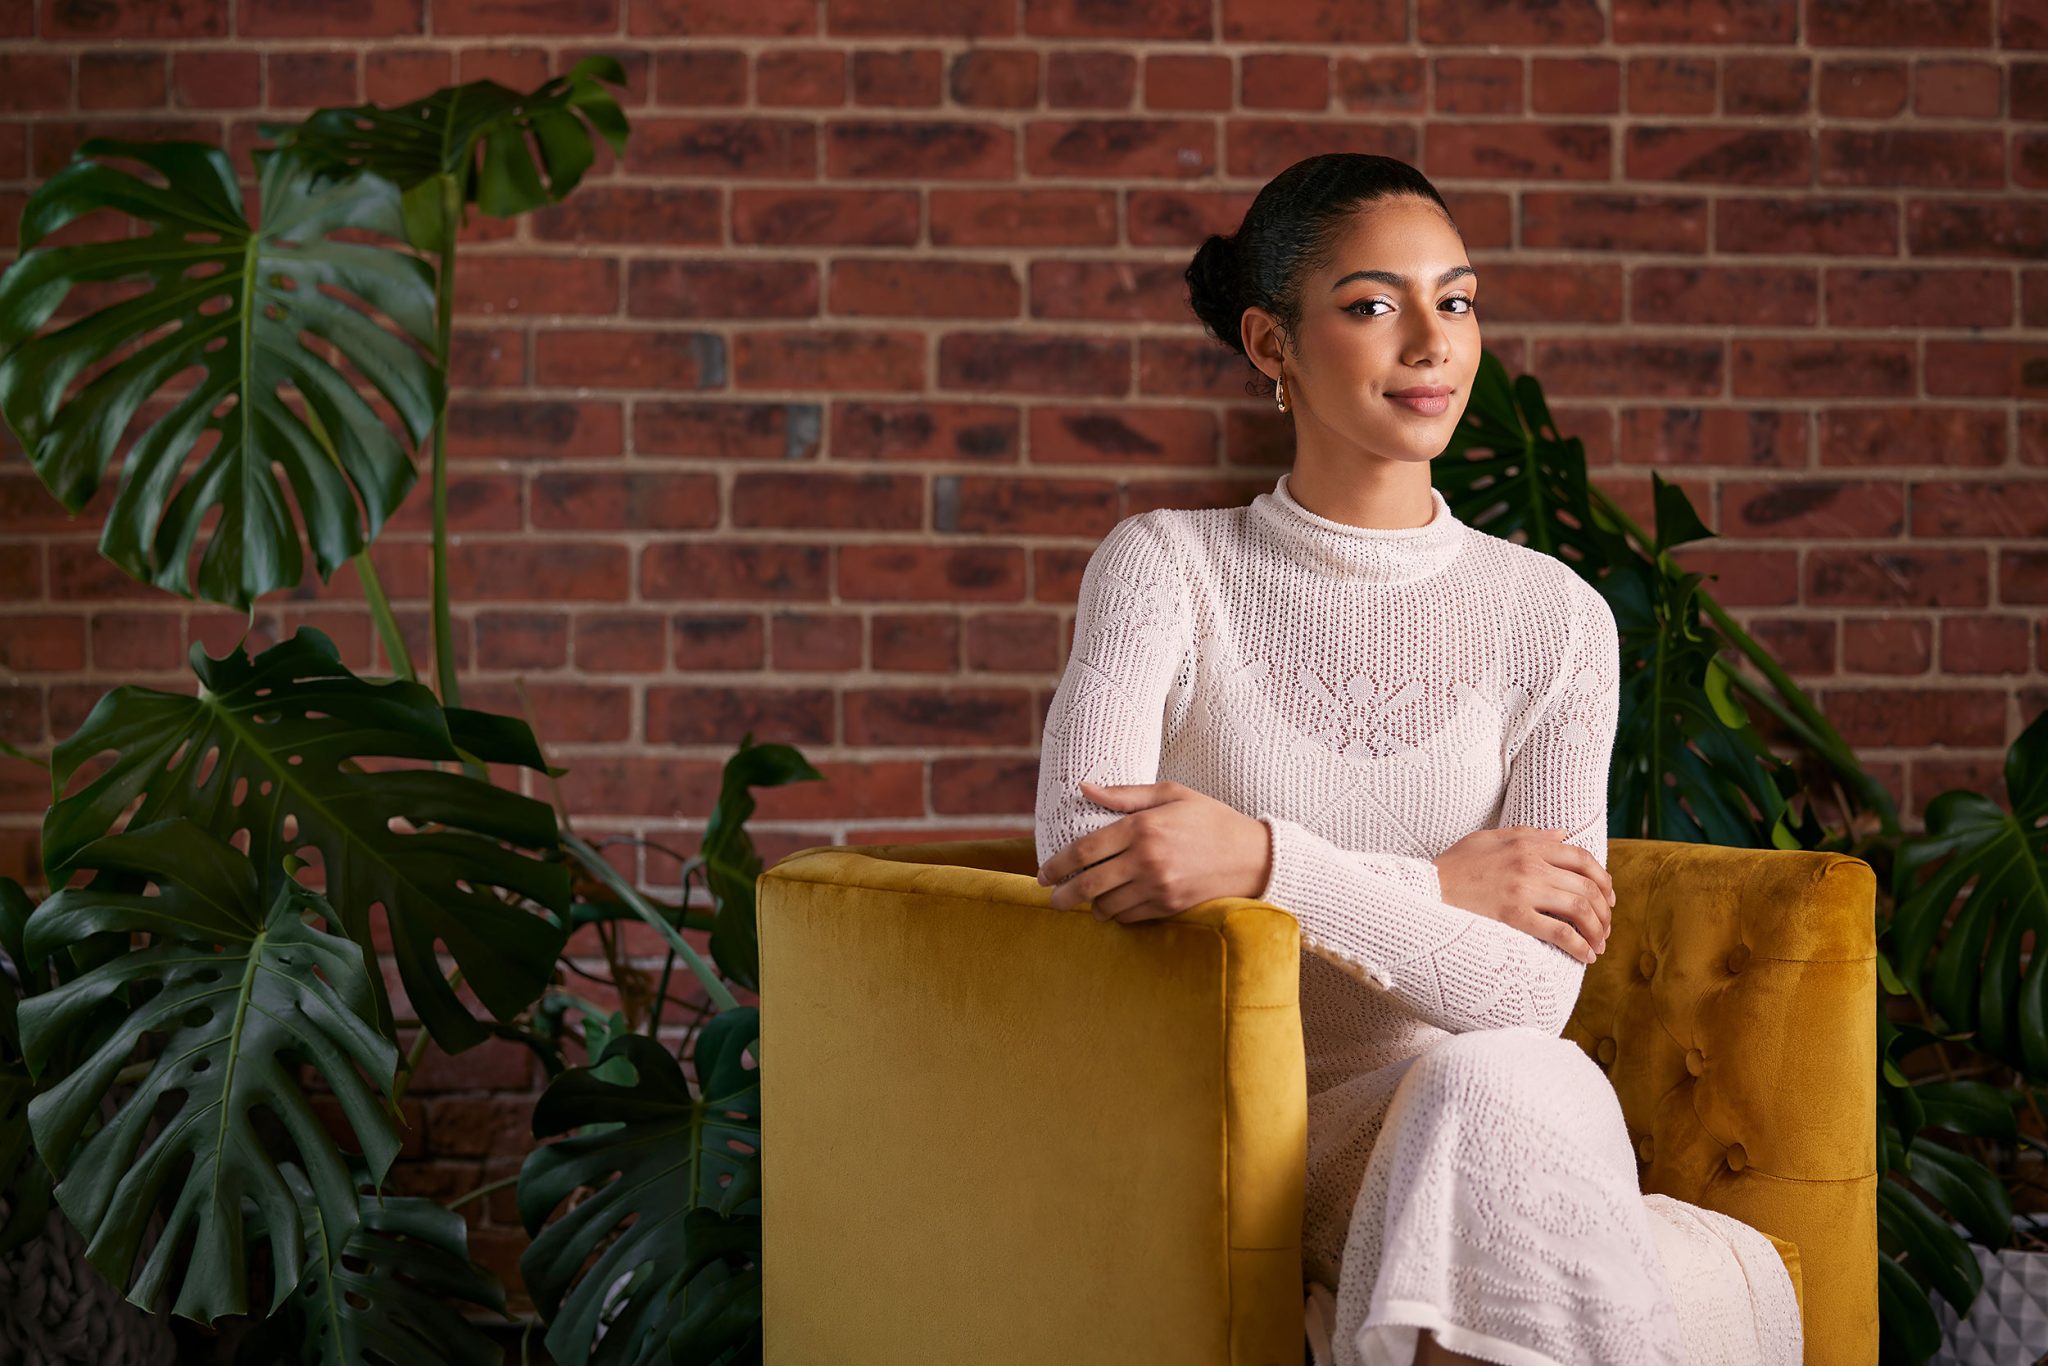
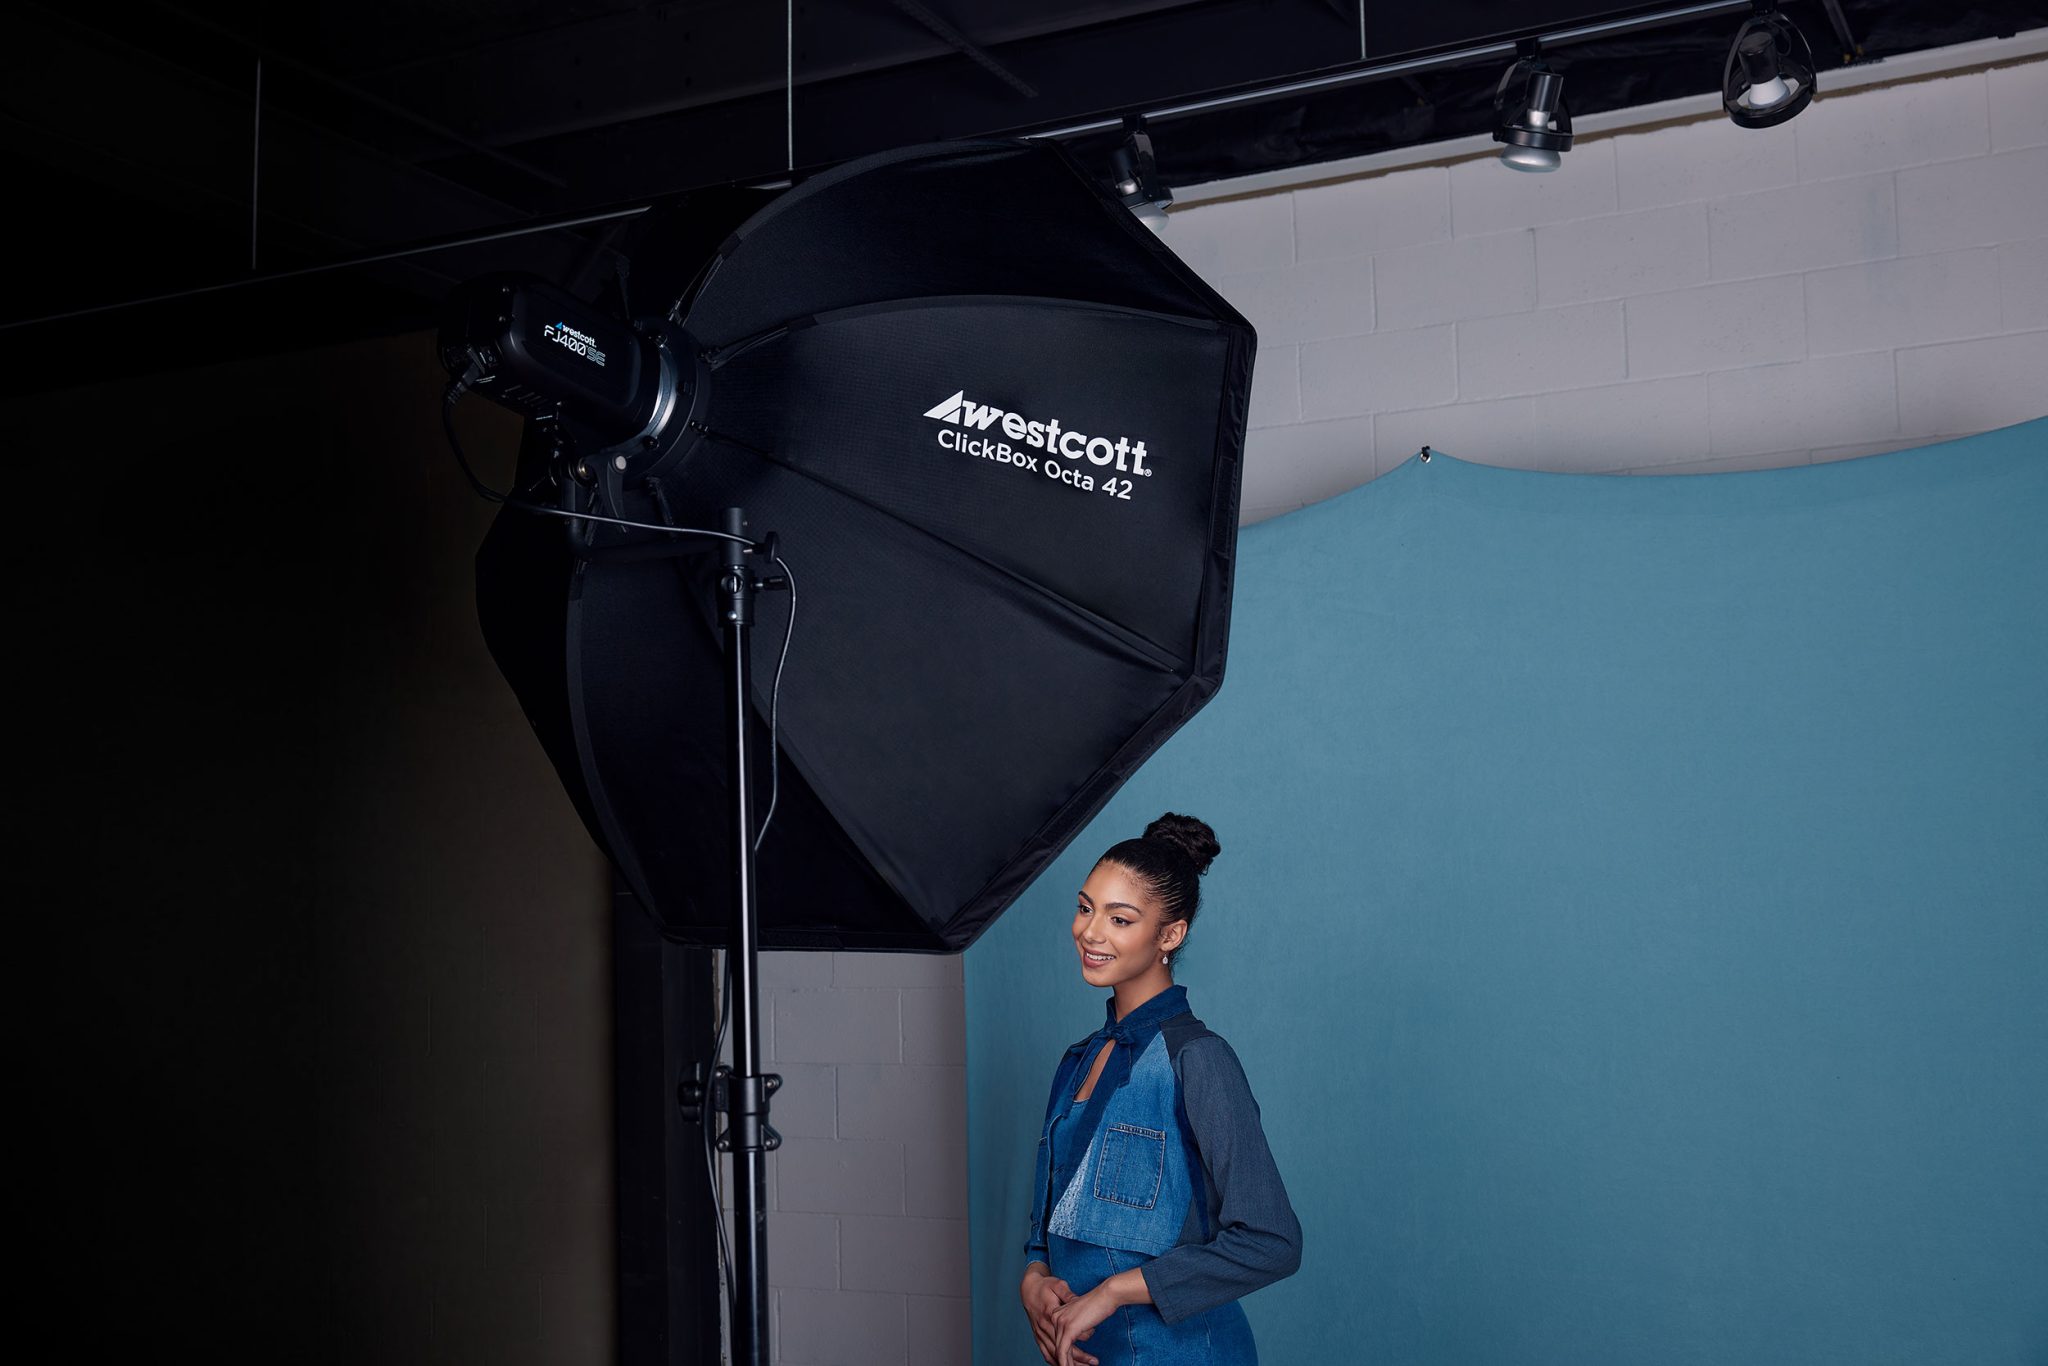
For the first look in this shoot, Ashley decided to work with the ambient light. There was beautiful soft window light coming in from one side of the studio, and instead of fighting it, she used it as a natural fill. This added a touch of brightness to the shadows without needing a second light or reflector.
She turned off the overhead lights (which had mixed color temperatures that would not mix with the flash) but left the string lights in the background on. Those little details helped add atmosphere and depth to the image.
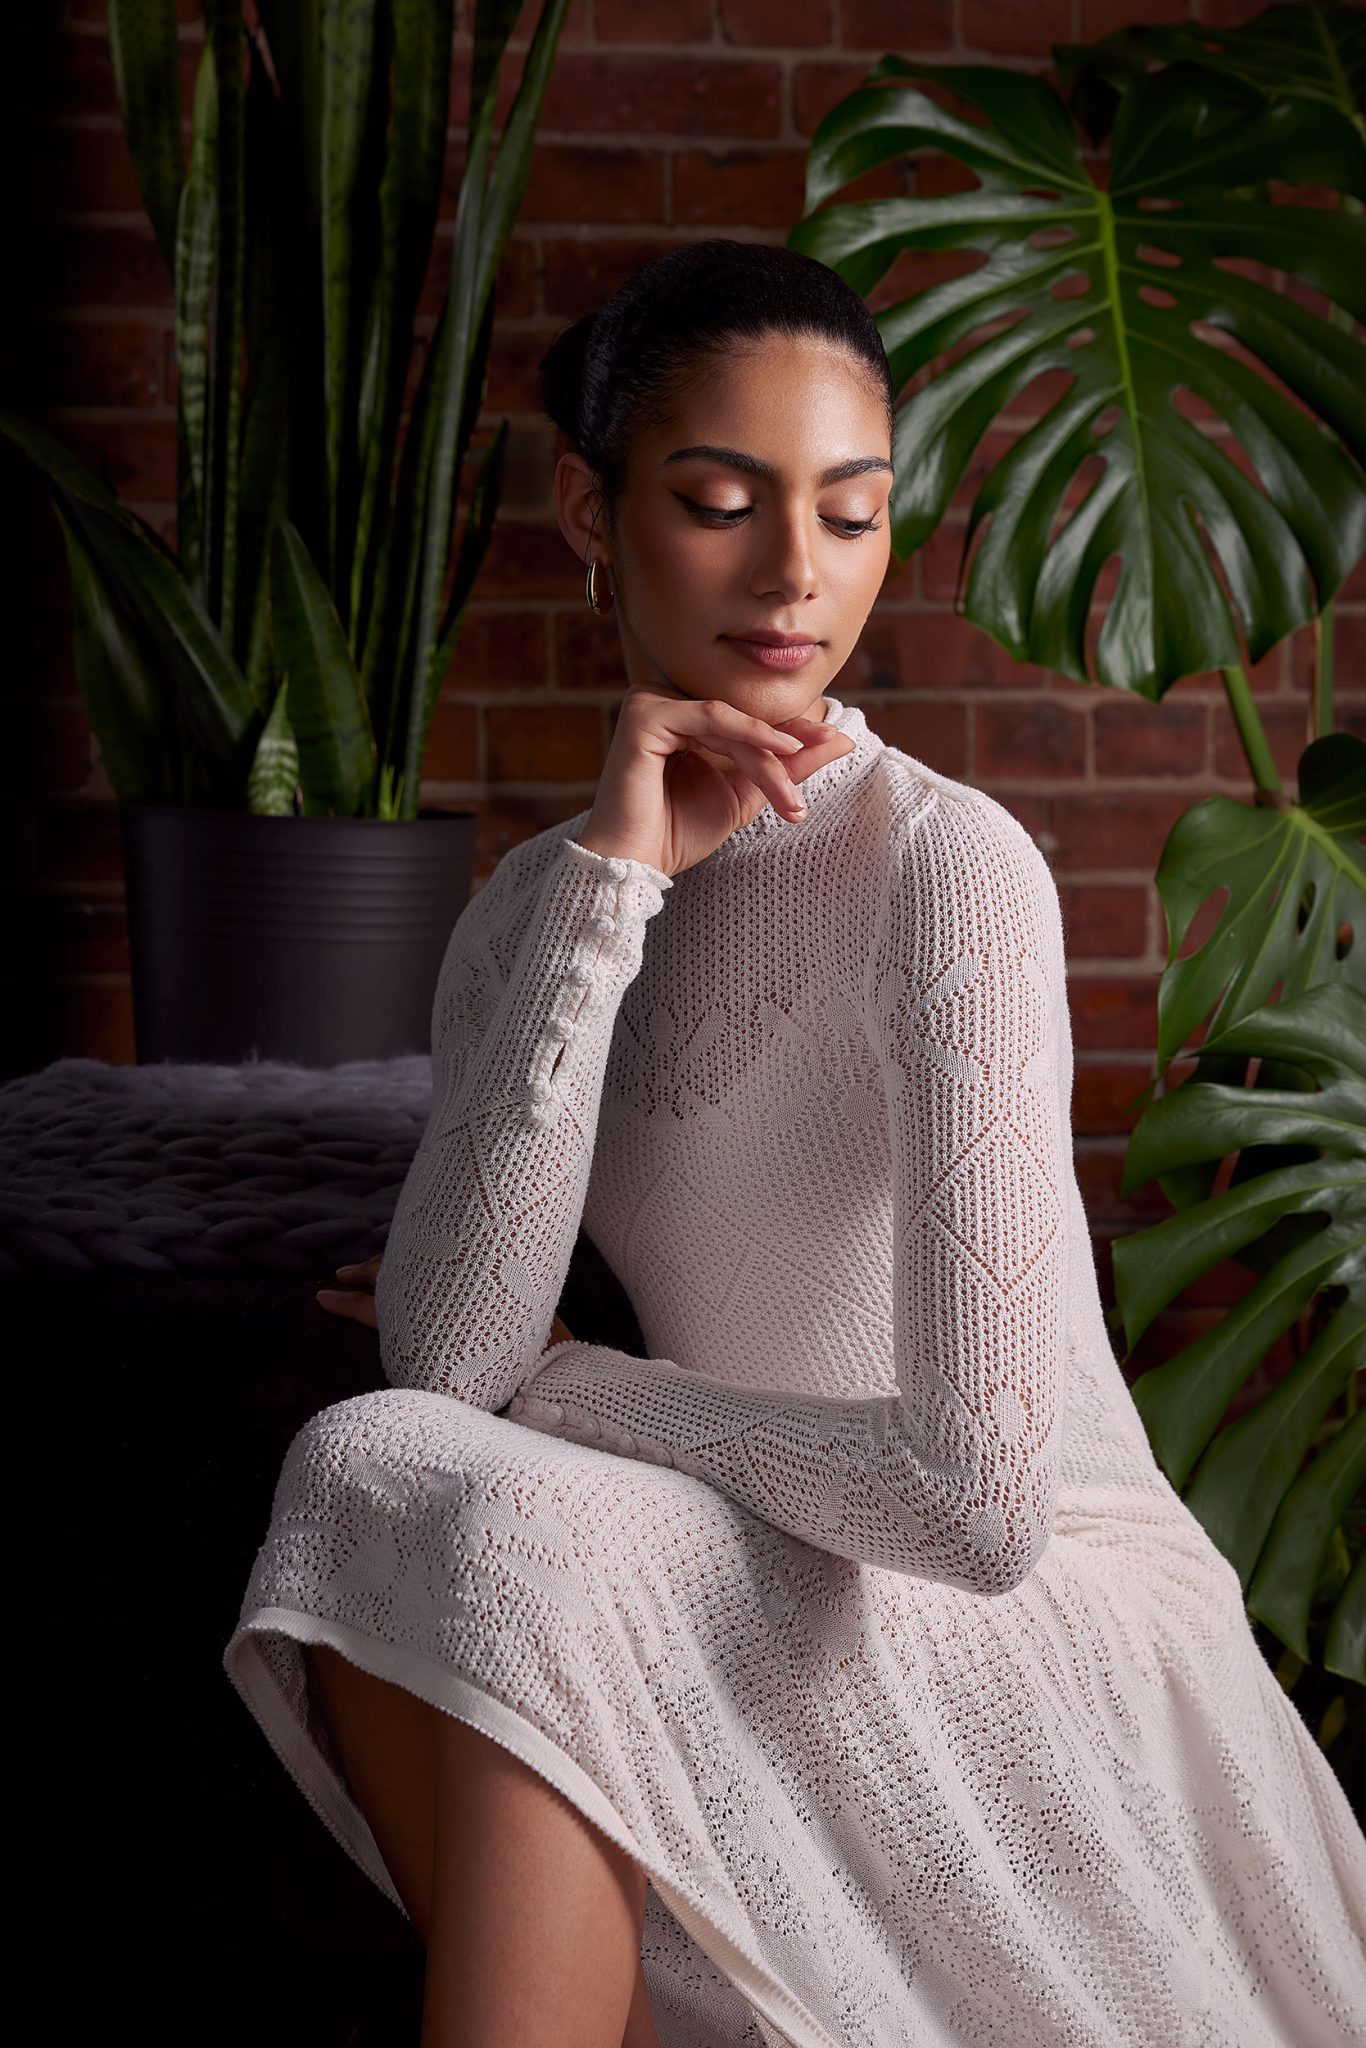
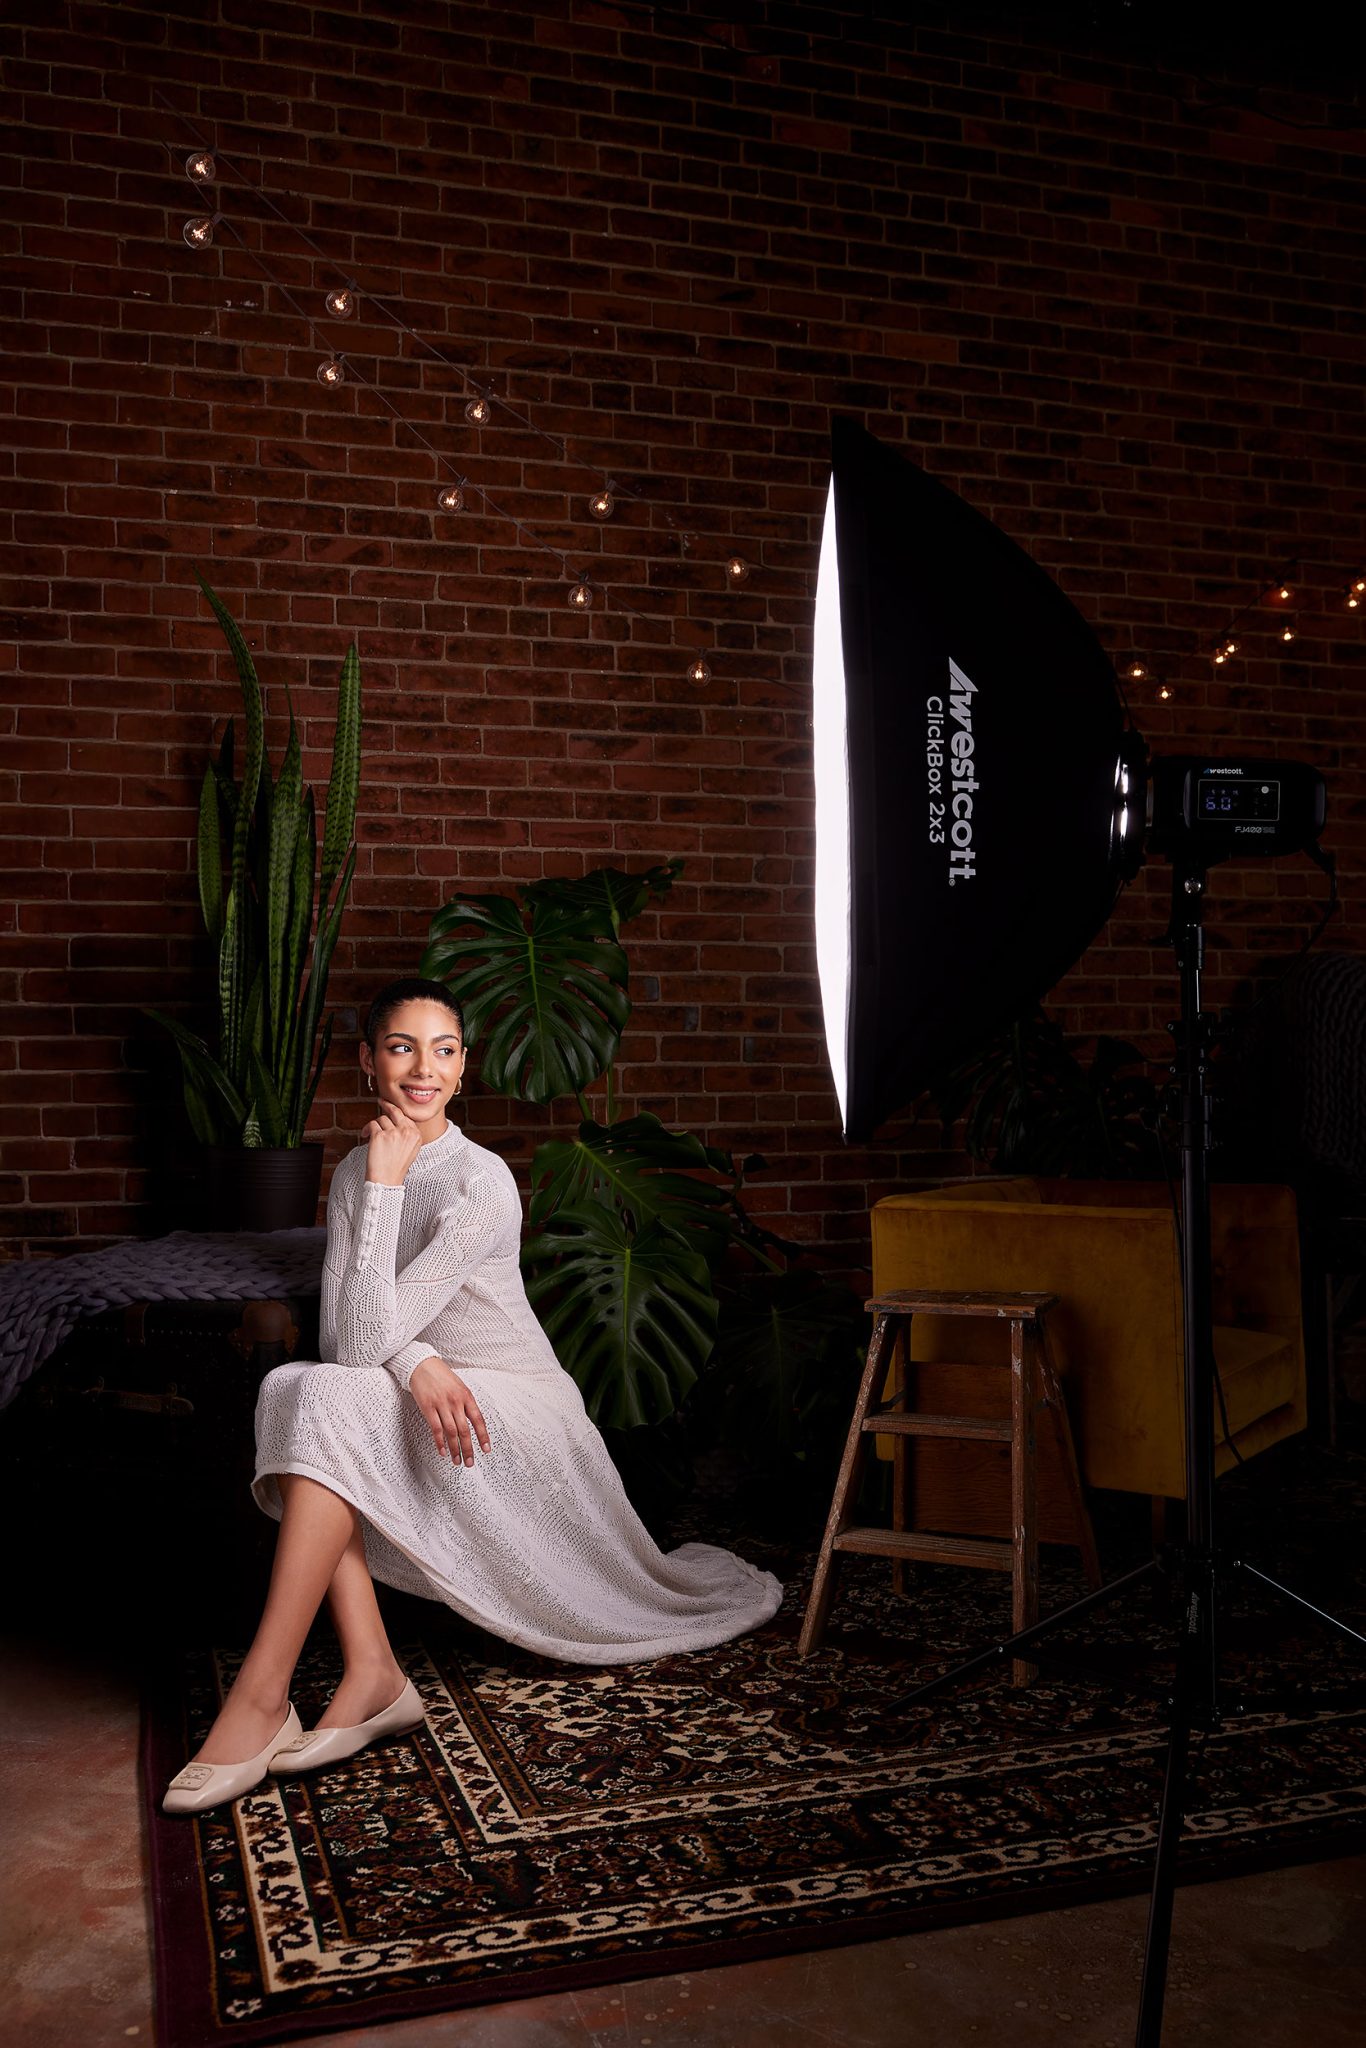
Working with ambient light like this can create a more natural and soft-looking portrait. On the flip side, when she wanted a more dramatic, controlled look later in the shoot, she closed the window coverings, increased her shutter speed, and used only flash. The result? A clean, bold portrait where every aspect of the light was intentional.
Dialing In Camera Settings
Once the ambient light is evaluated, camera settings come next. These play a huge role in how your flash and natural light blend together.
For a softer, more natural image, Ashley chose an aperture of f/2.8. This gave her a shallow depth of field and helped blur out a busy brick background. It also let in more of that window light to gently fill the shadows.
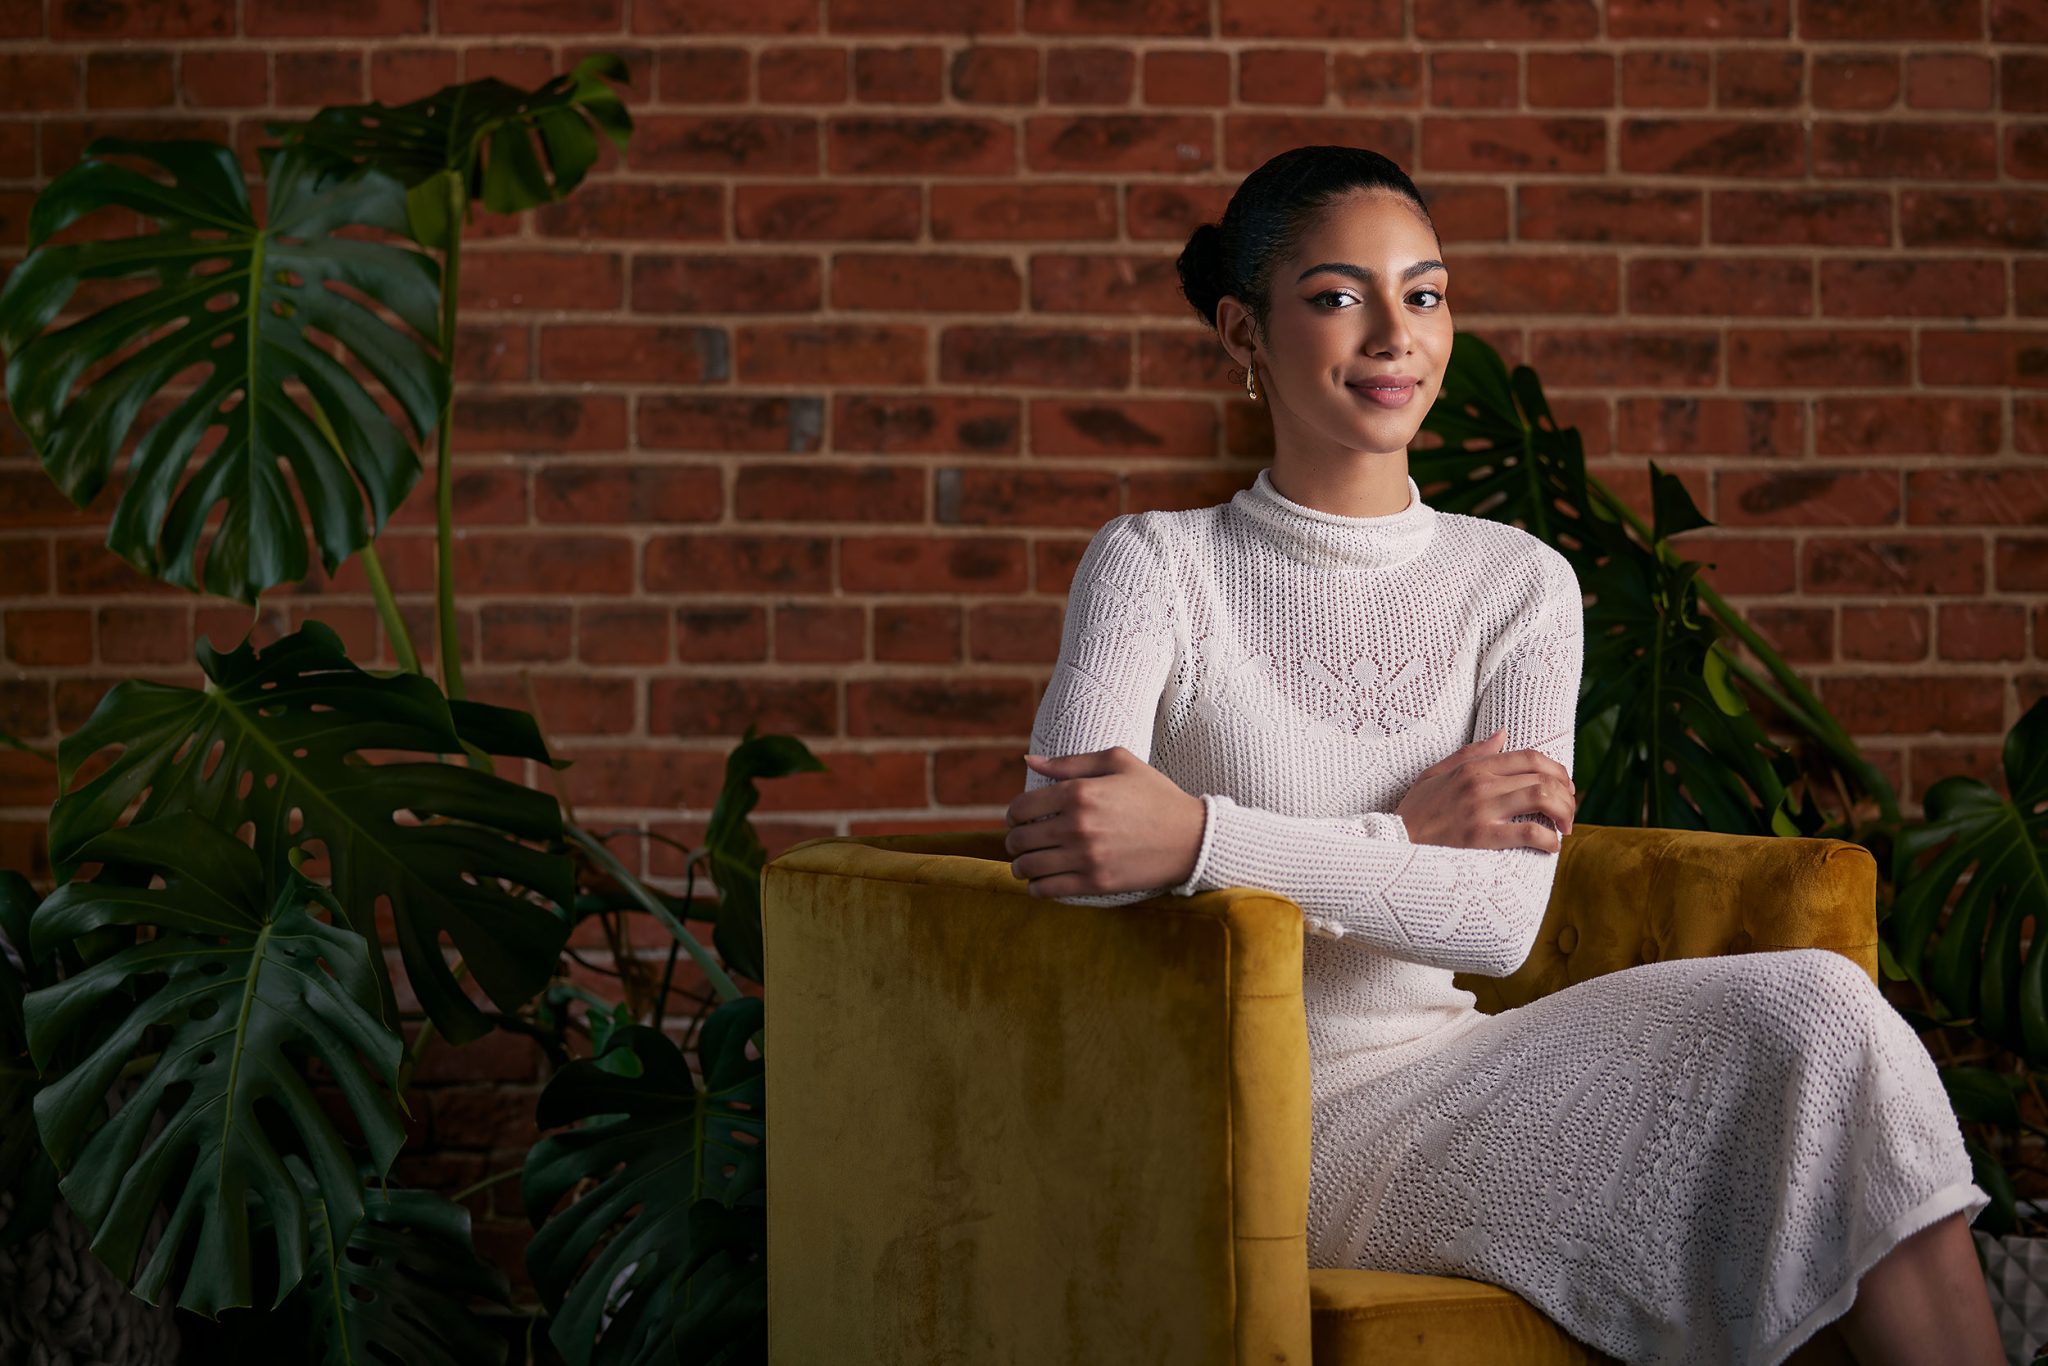
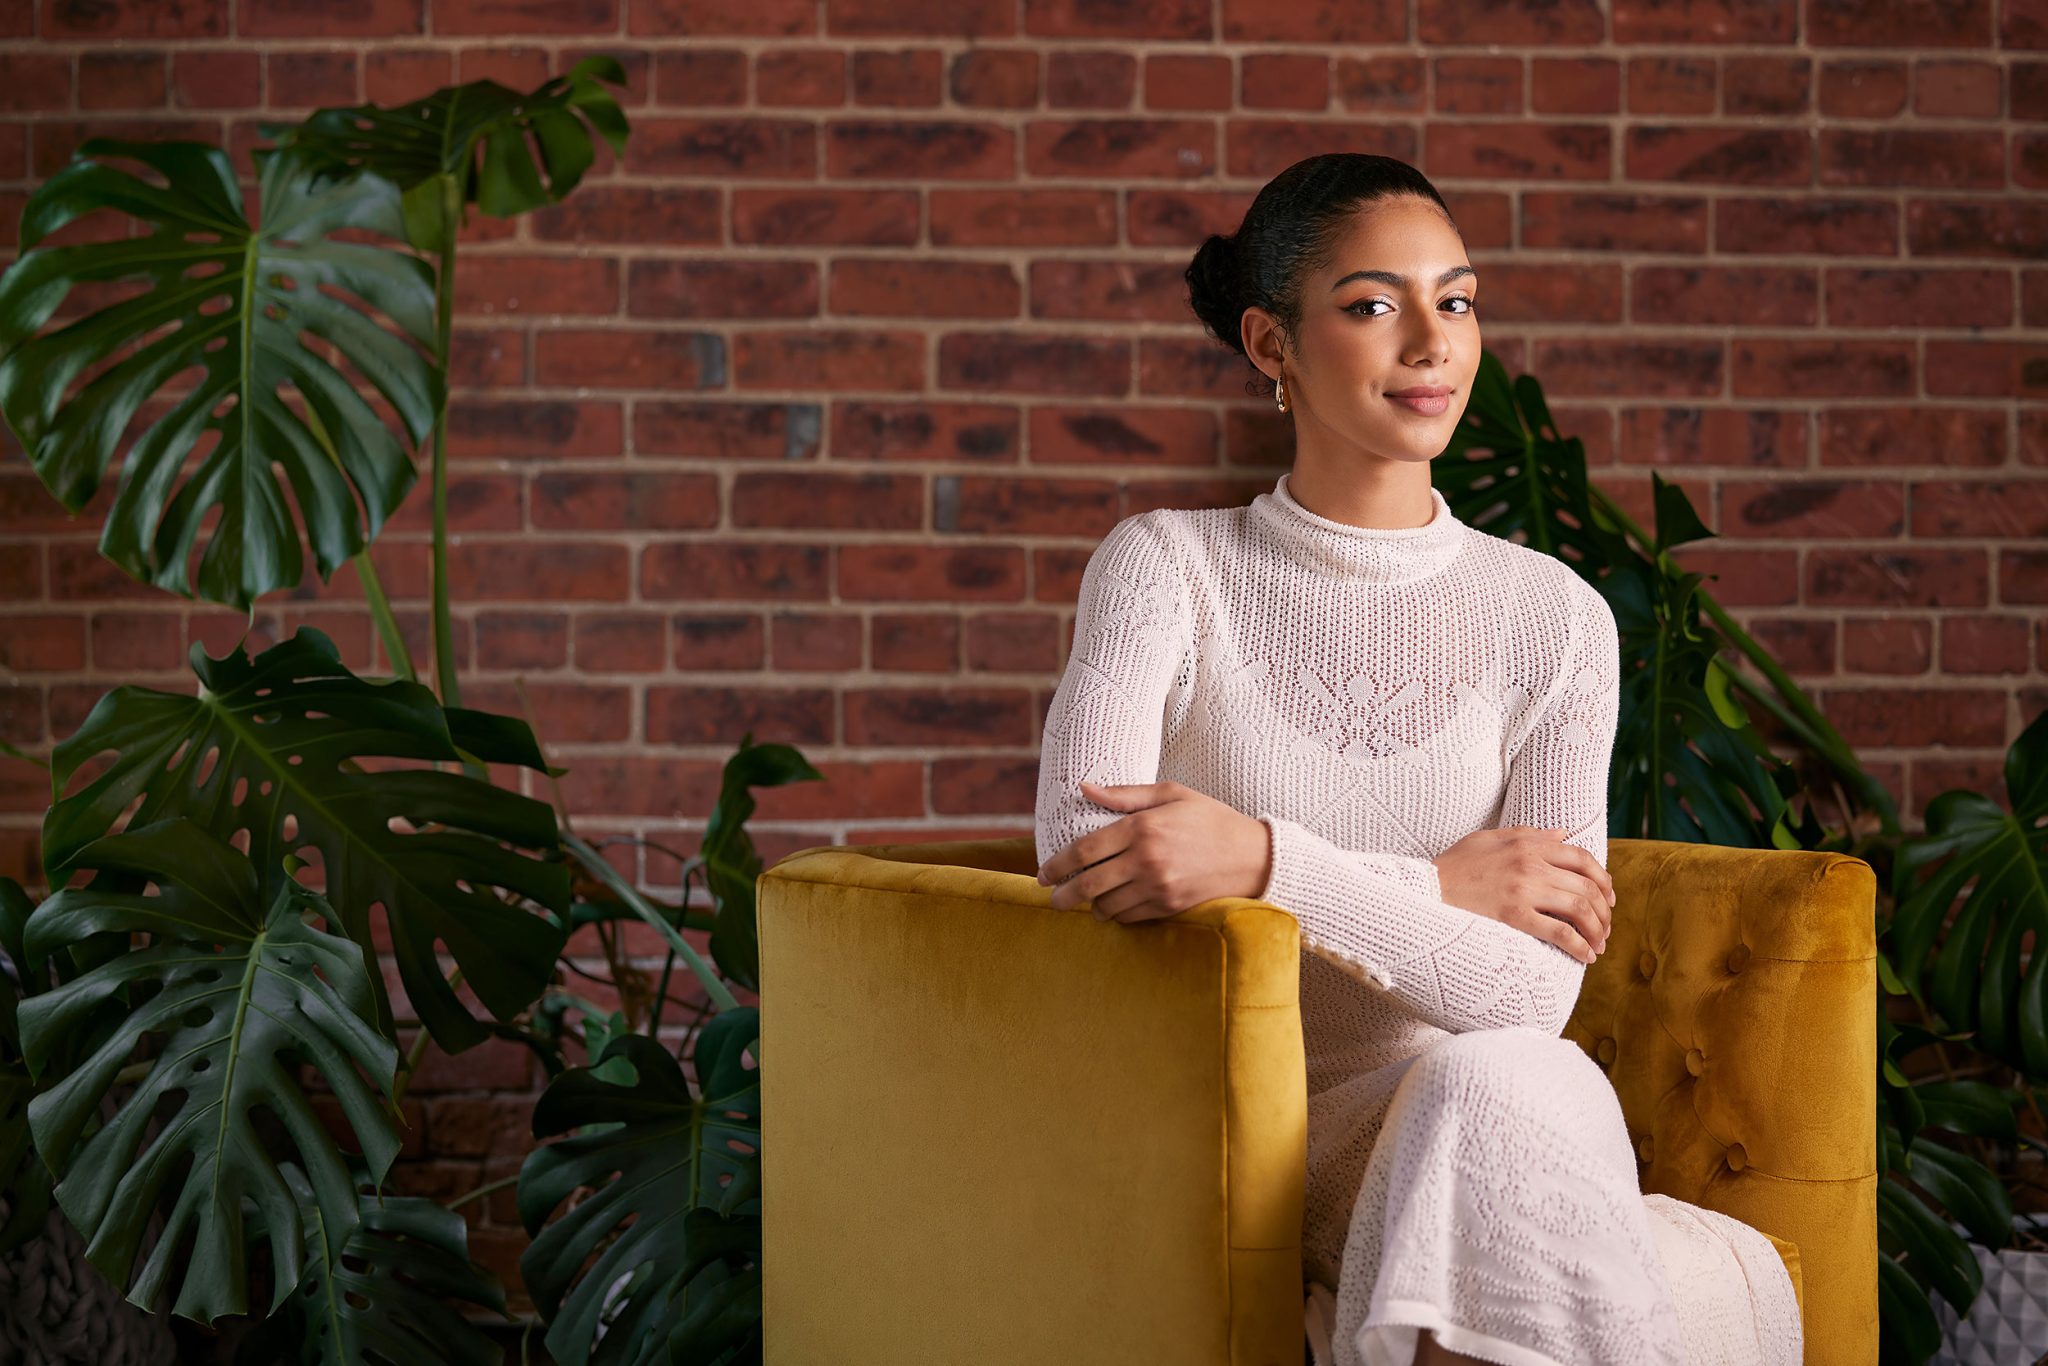
She kept her ISO at 100 to keep the image as clean as possible, especially important when using flash.
Shutter speed is what controls how much ambient light shows up in the shot. For the bright natural look, Ashley slowed her shutter down to 1/80 of a second. But when she wanted to block out the ambient light completely, she went up to her camera’s sync speed of 1/200. That made sure the flash was doing all the work, with no interference from other light sources.
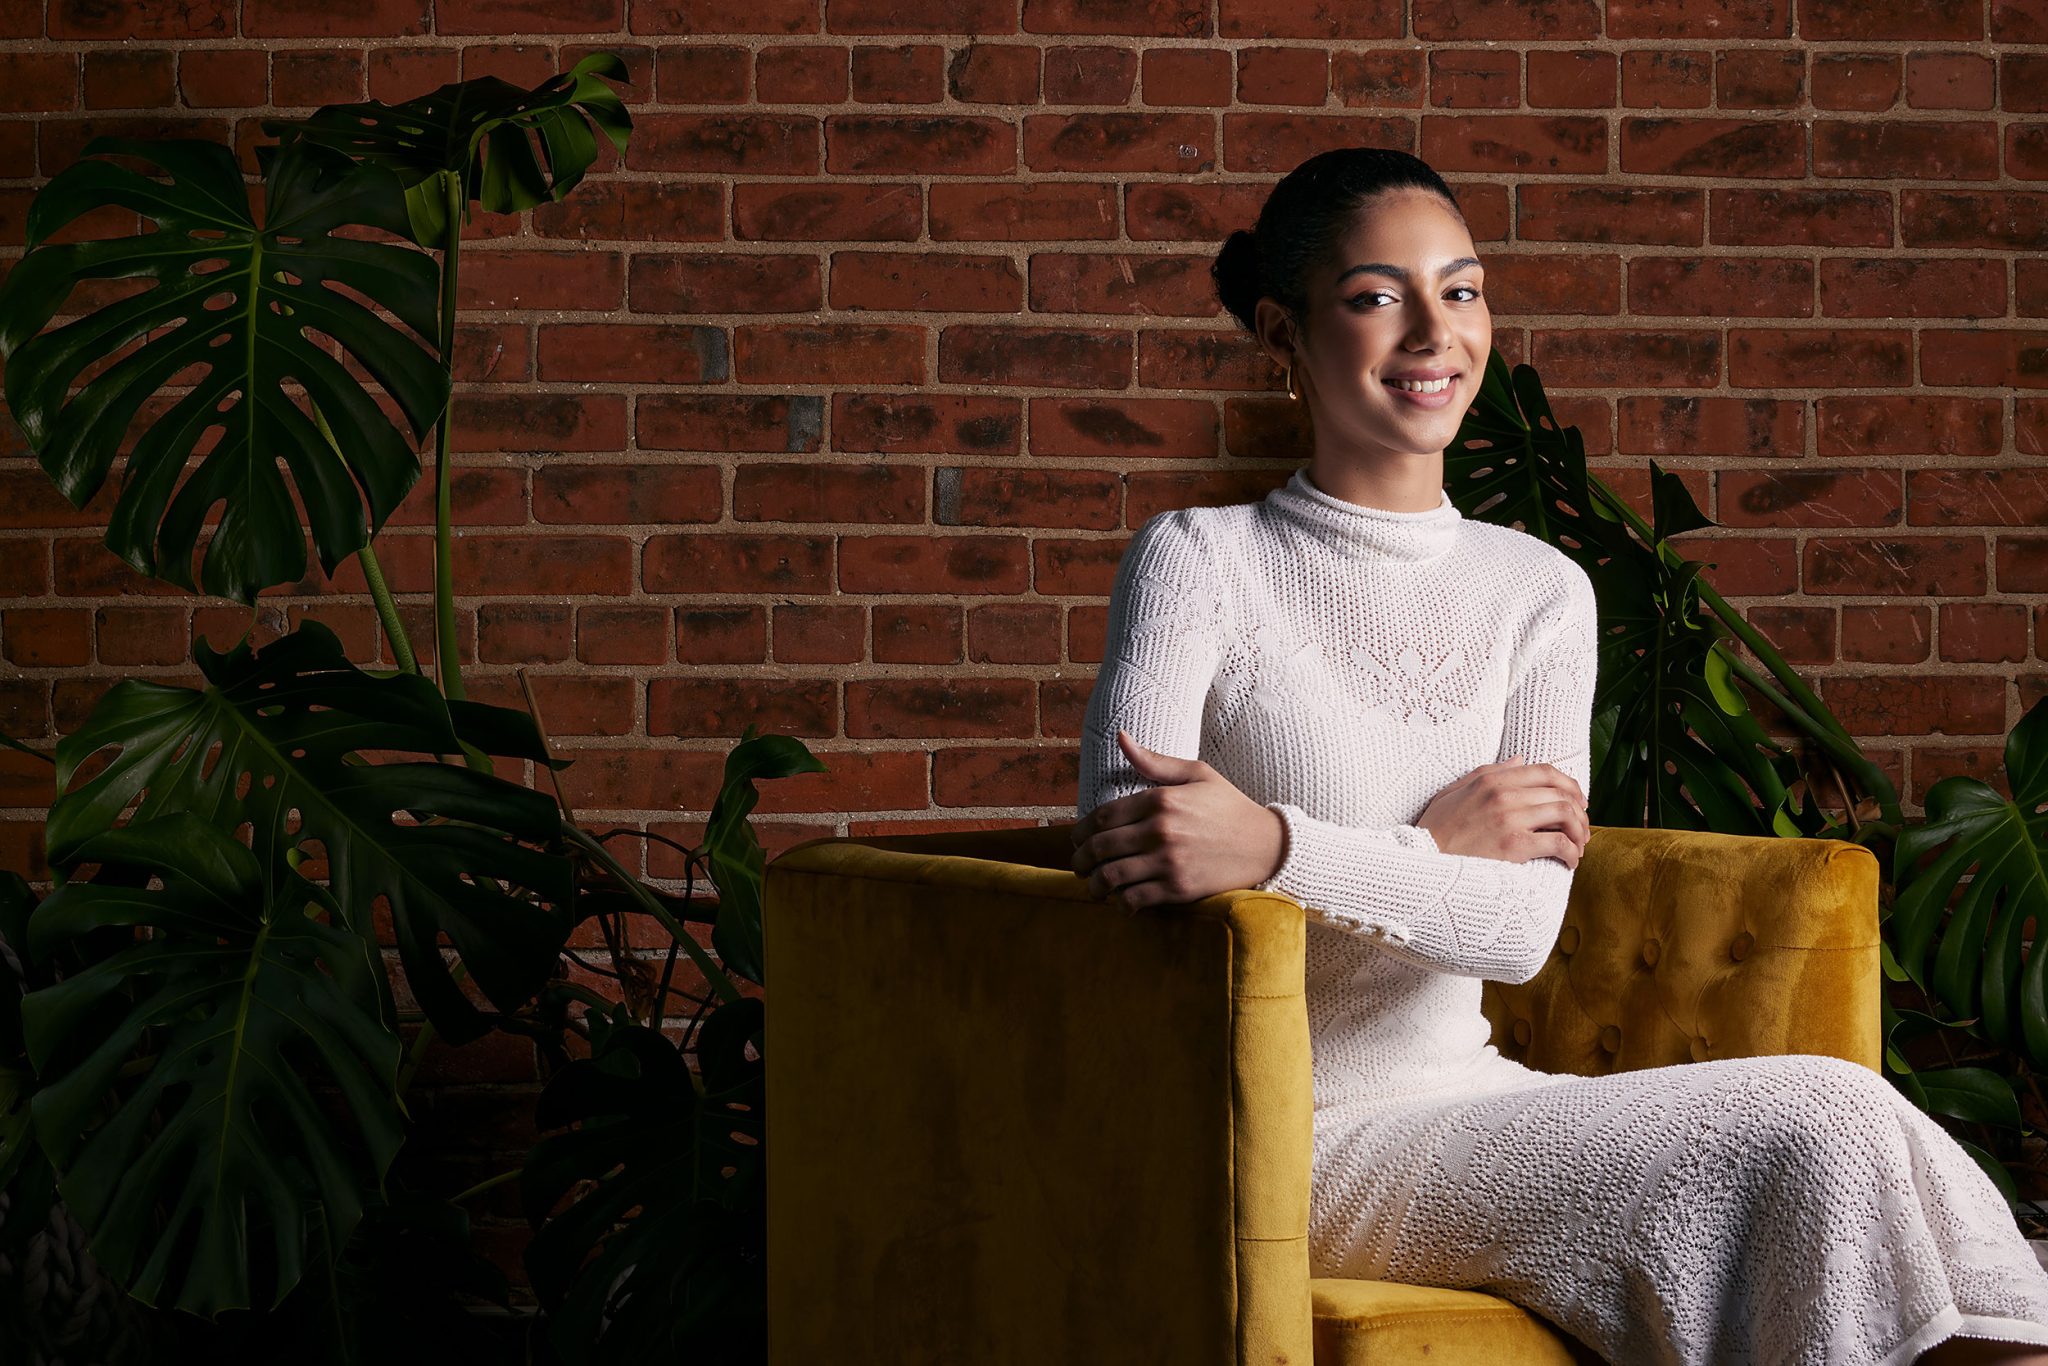
Quick Tip: Want to check how much ambient light your camera is picking up? Turn off your flash and take a test shot. If the image is dark or completely black, you’re in full control.
Light Modifiers & Light Placement
Once your camera settings are in place, the next step is shaping your light, and that starts with two key decisions: your modifier and your light placement.
Choosing a Light Modifier
Modifiers like softboxes and umbrellas attach to your light to control how it spreads. In general, the larger the modifier, the softer the light. Soft light creates smooth, flattering shadows and is ideal for beauty and portrait work. Smaller modifiers or bare bulbs create hard light with more contrast and defined edges, great for stylized or dramatic looks.
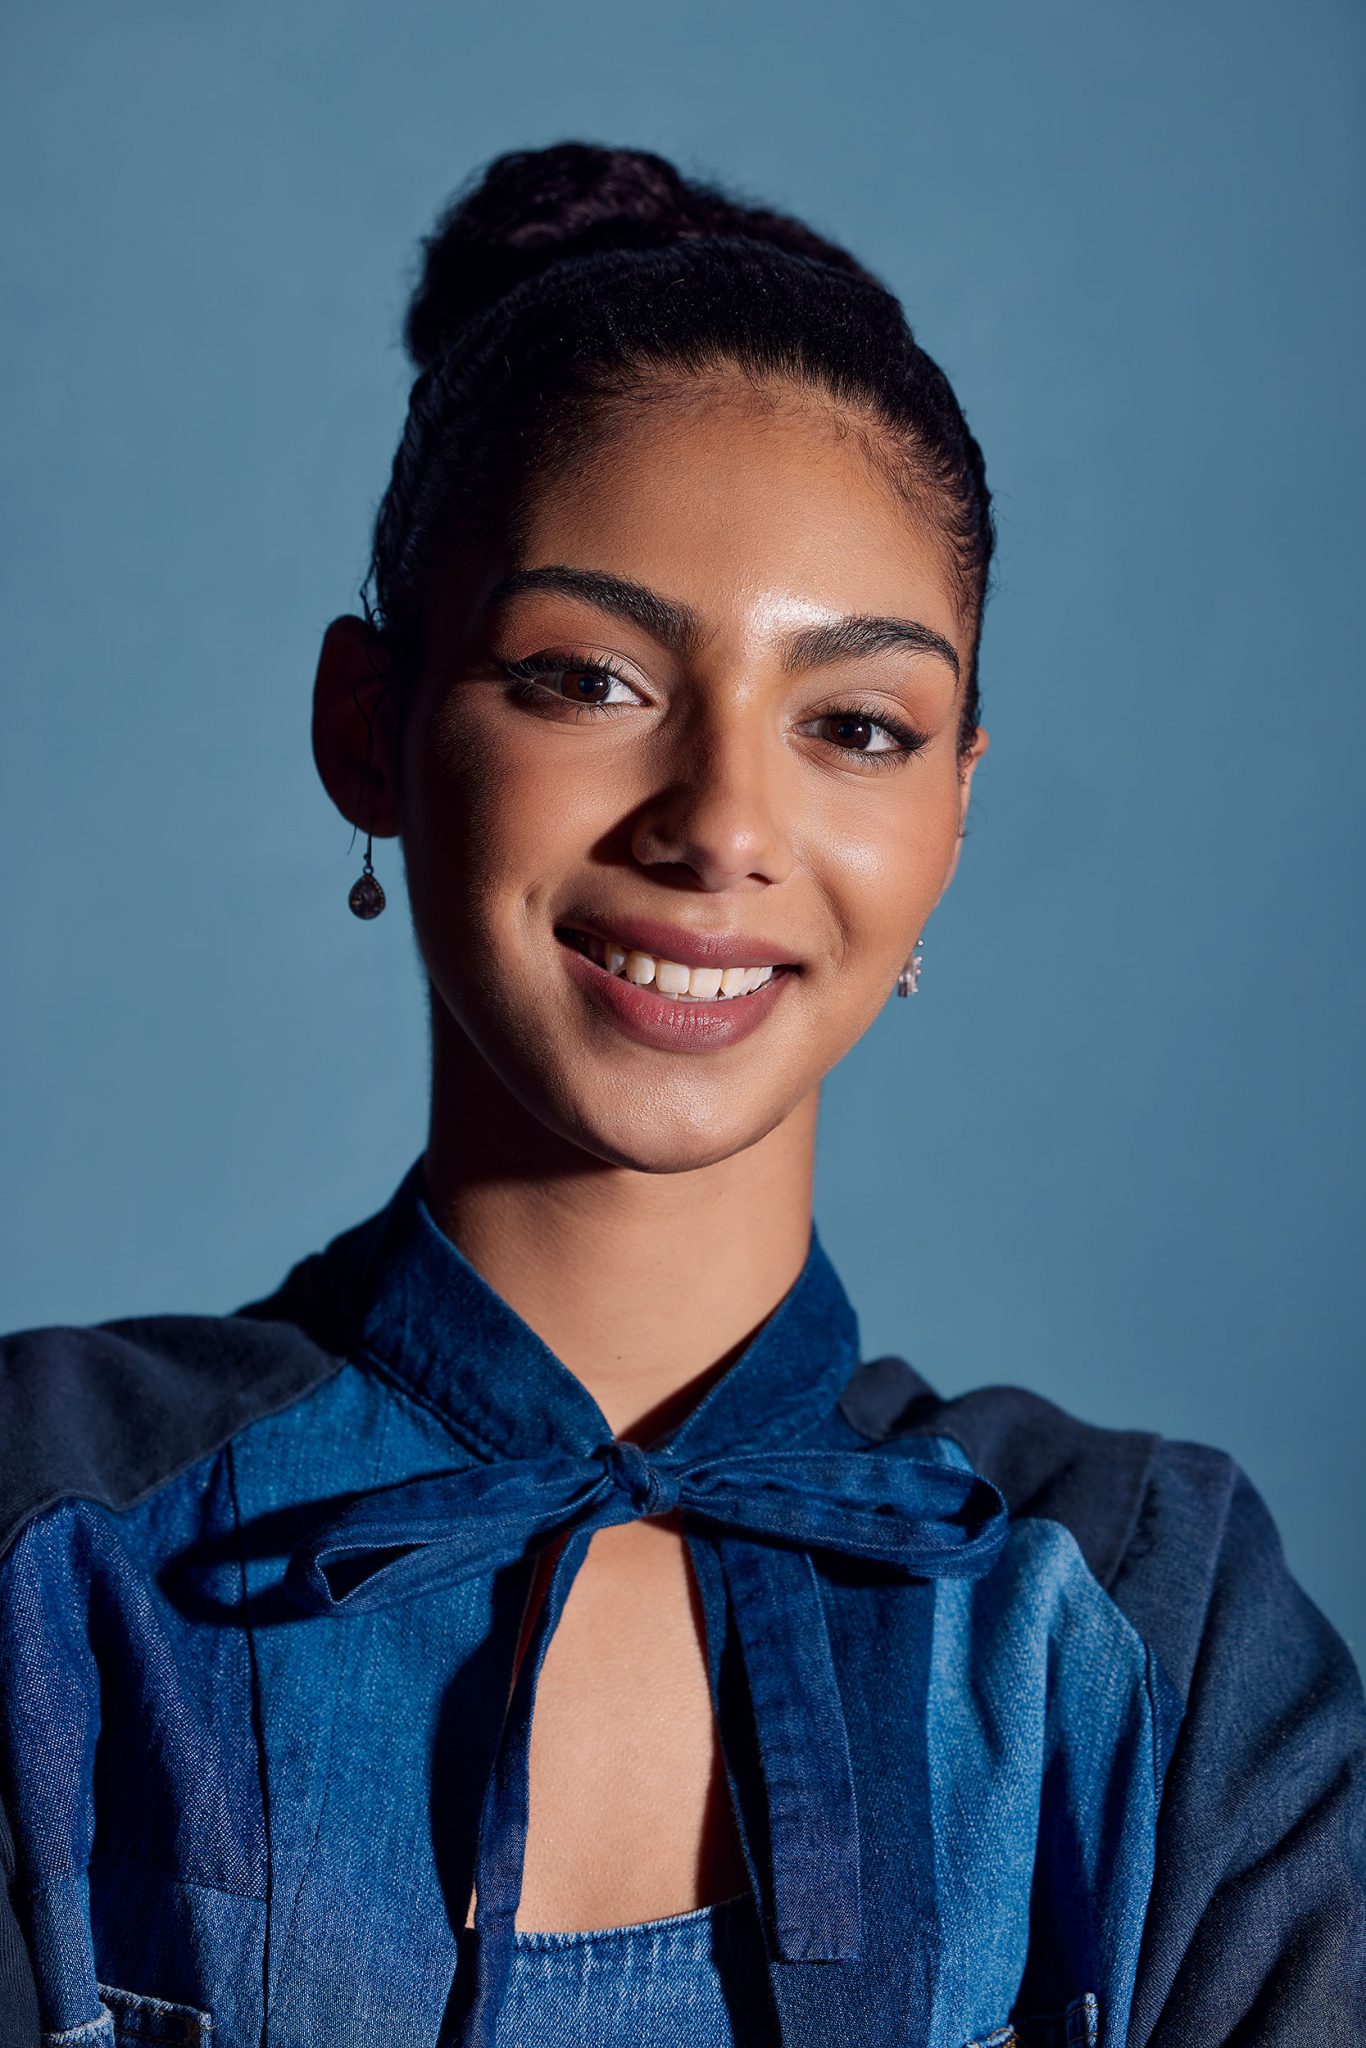
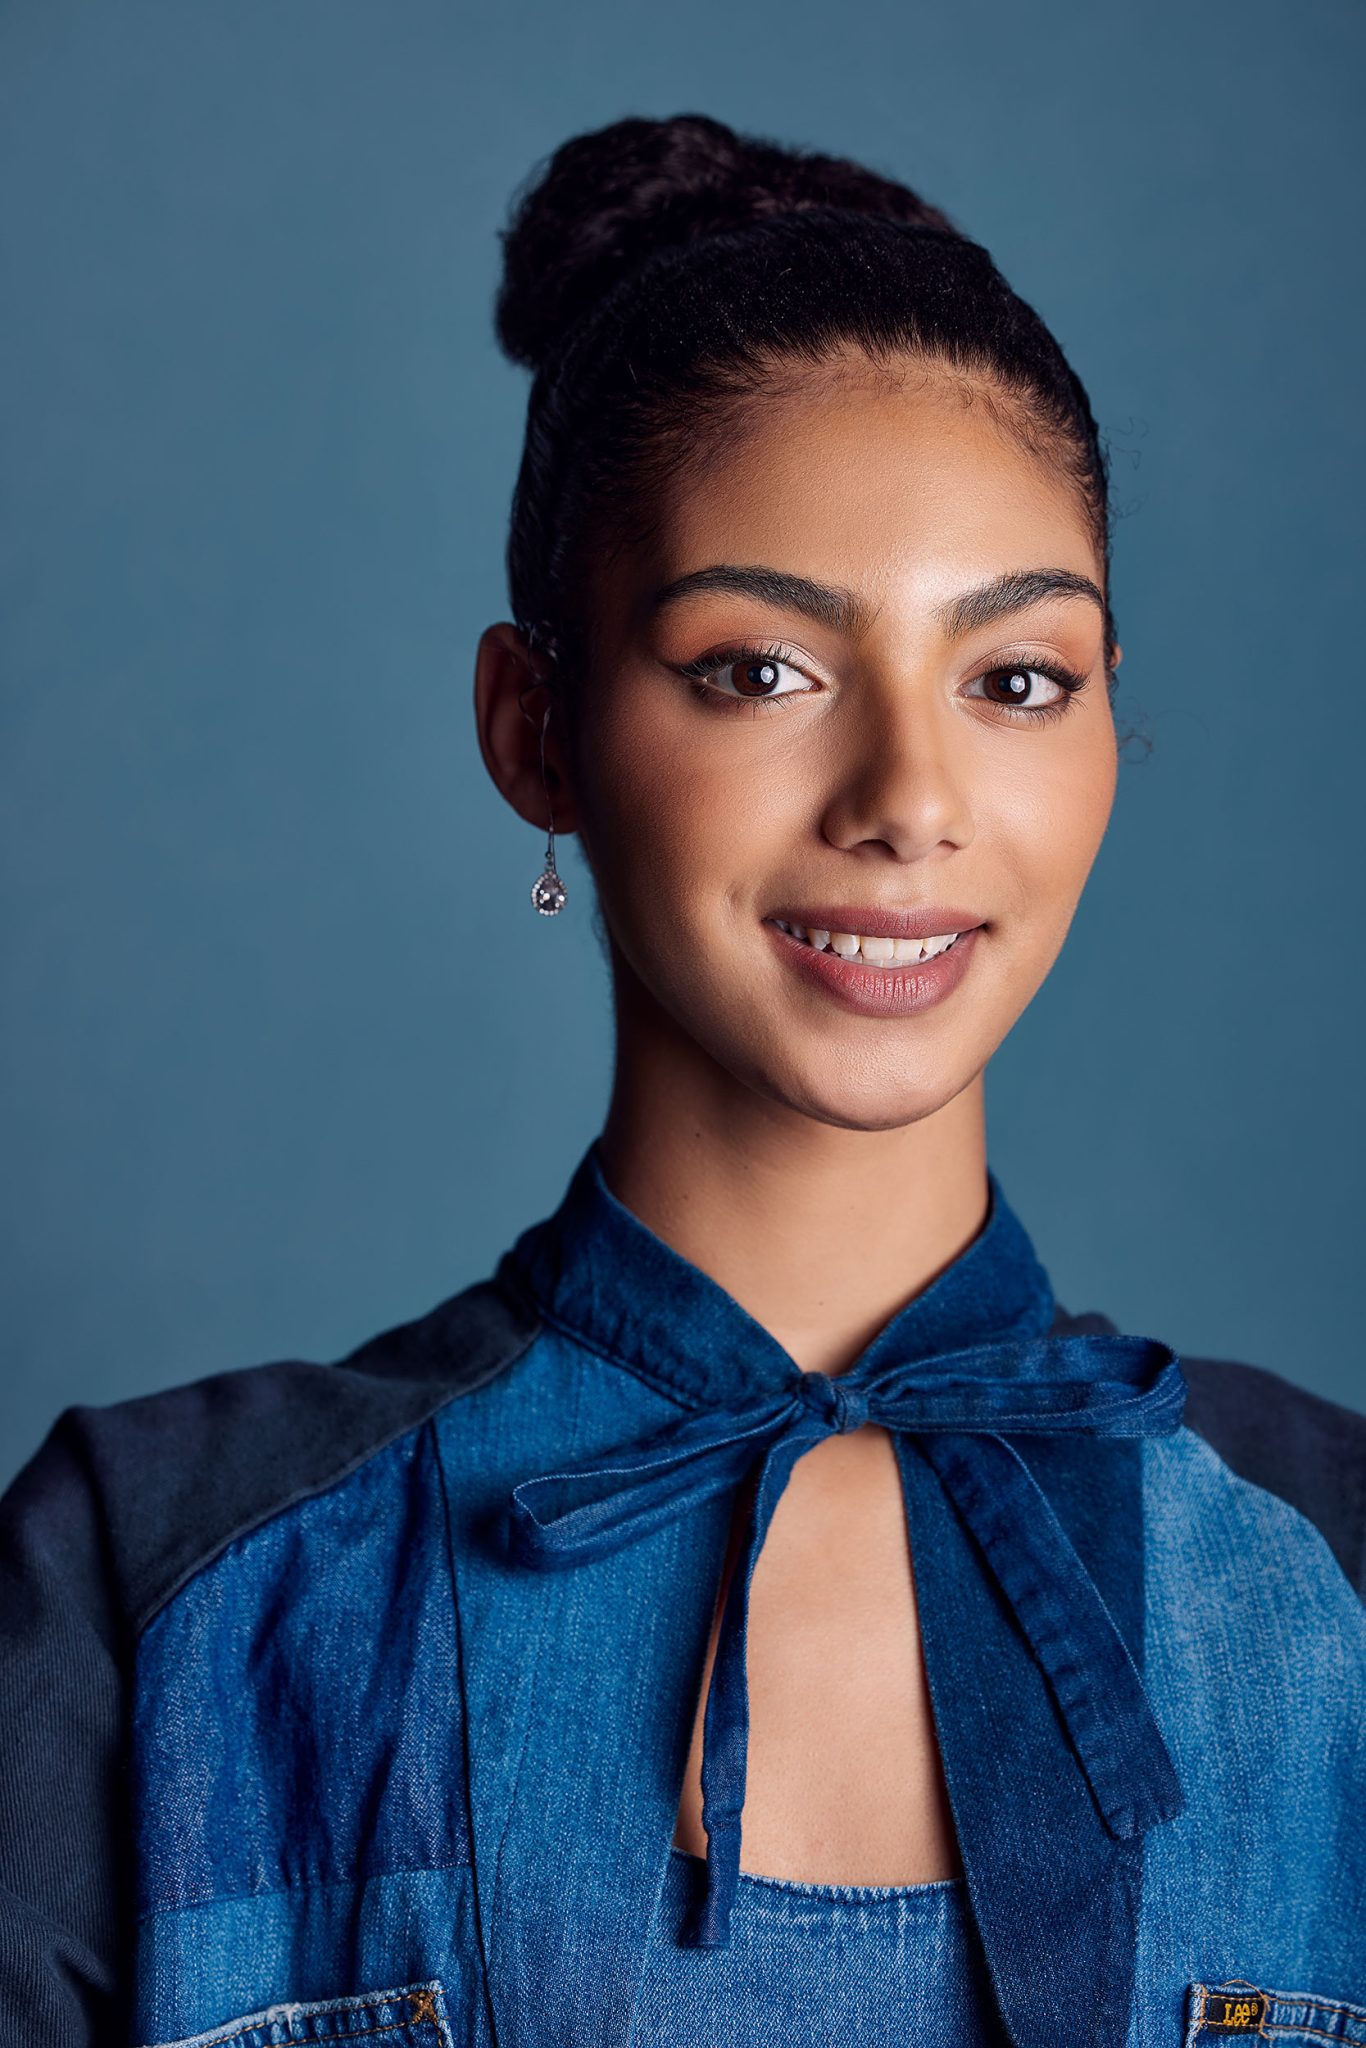
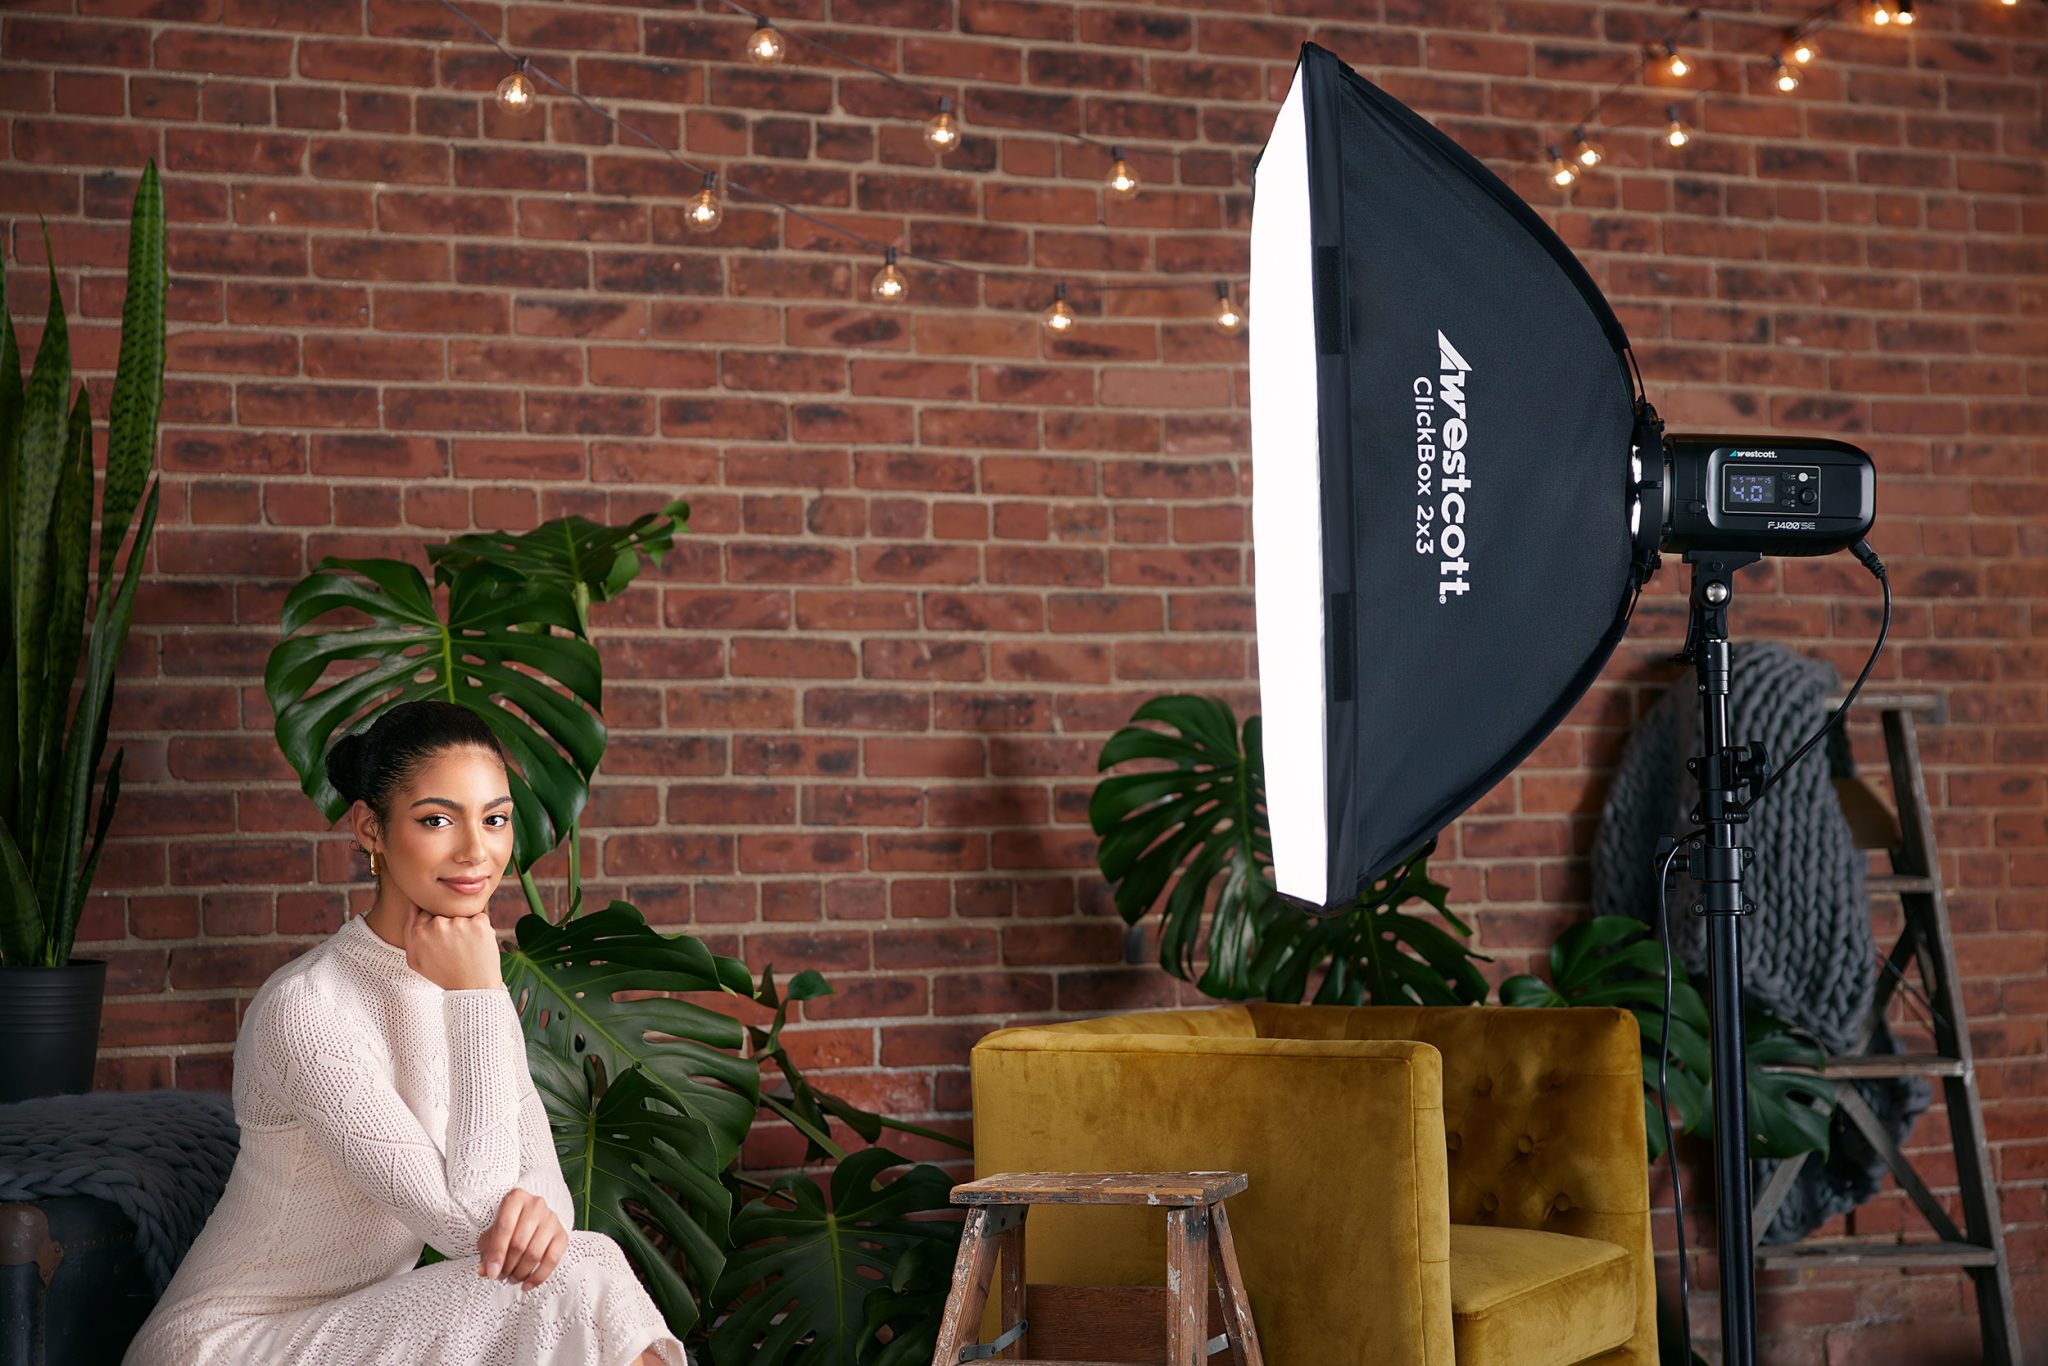
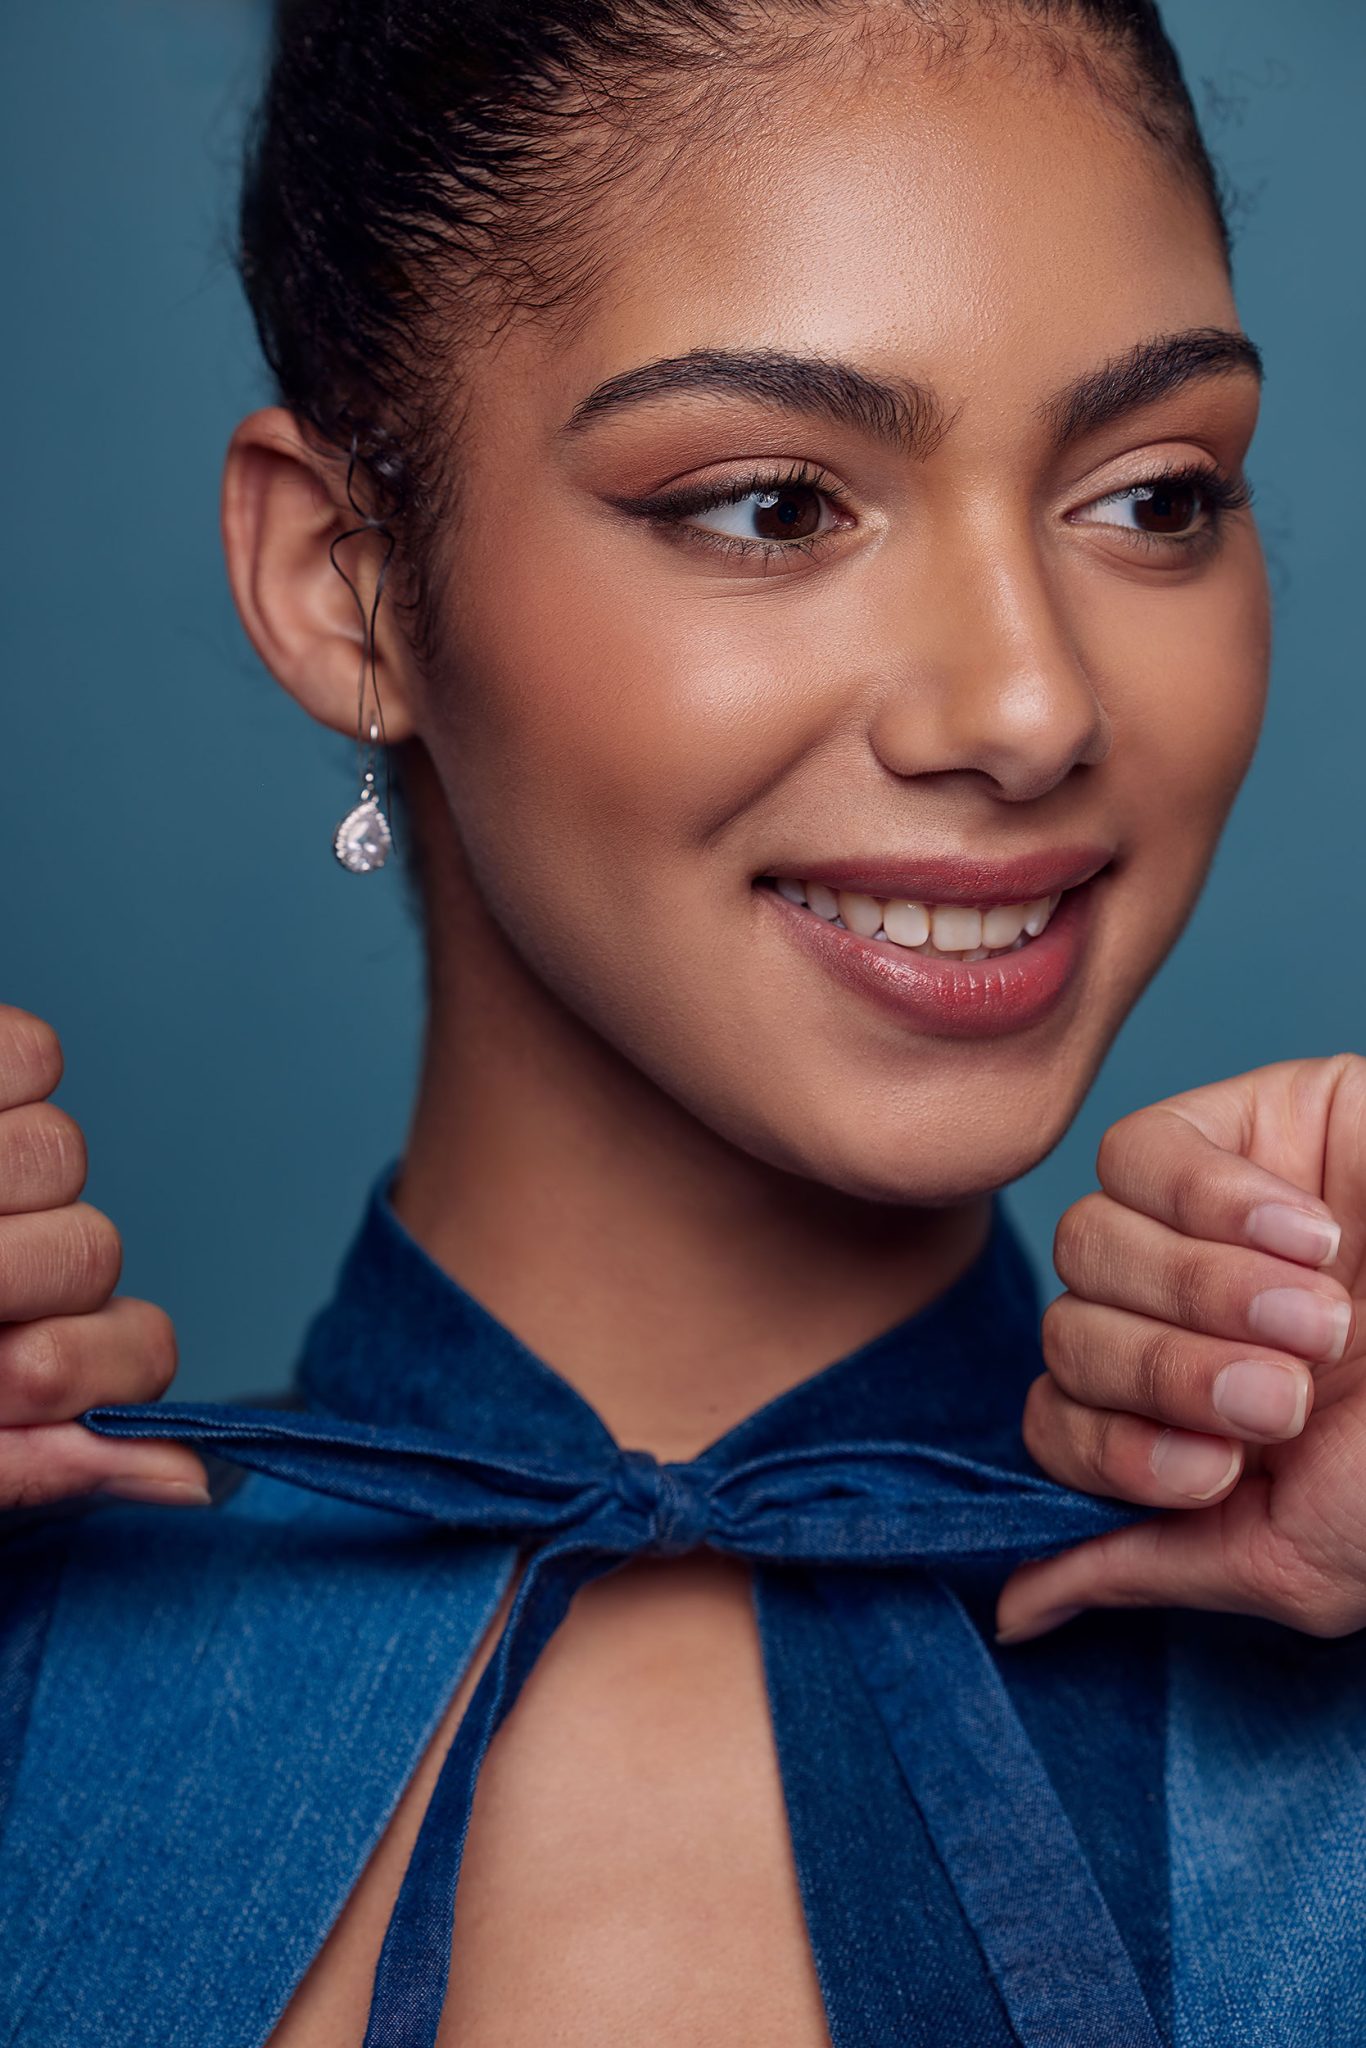
For this shoot, Ashley used a ClickBox Octa 42 Softbox. Its round shape creates natural catchlights in the eyes, while its size helps produce soft, even light with gentle falloff.
Tip: Want to test a modifier? Aim it at a blank wall. A quick shot will show how soft or hard the light is and how it fades at the edges.
Placing Your Light
Where you position your light has a huge impact on the final image.
Distance
The closer the light is to your subject, the softer and brighter it appears, with stronger falloff that adds depth. Farther away creates more even lighting, but less softness and dimension.
Height
Start just above your subject’s eye level and angle slightly down. This mimics natural window light and creates flattering shadows under the cheekbones and jaw. Too low creates unflattering upward shadows; too high can cause dark eyes.
Angle
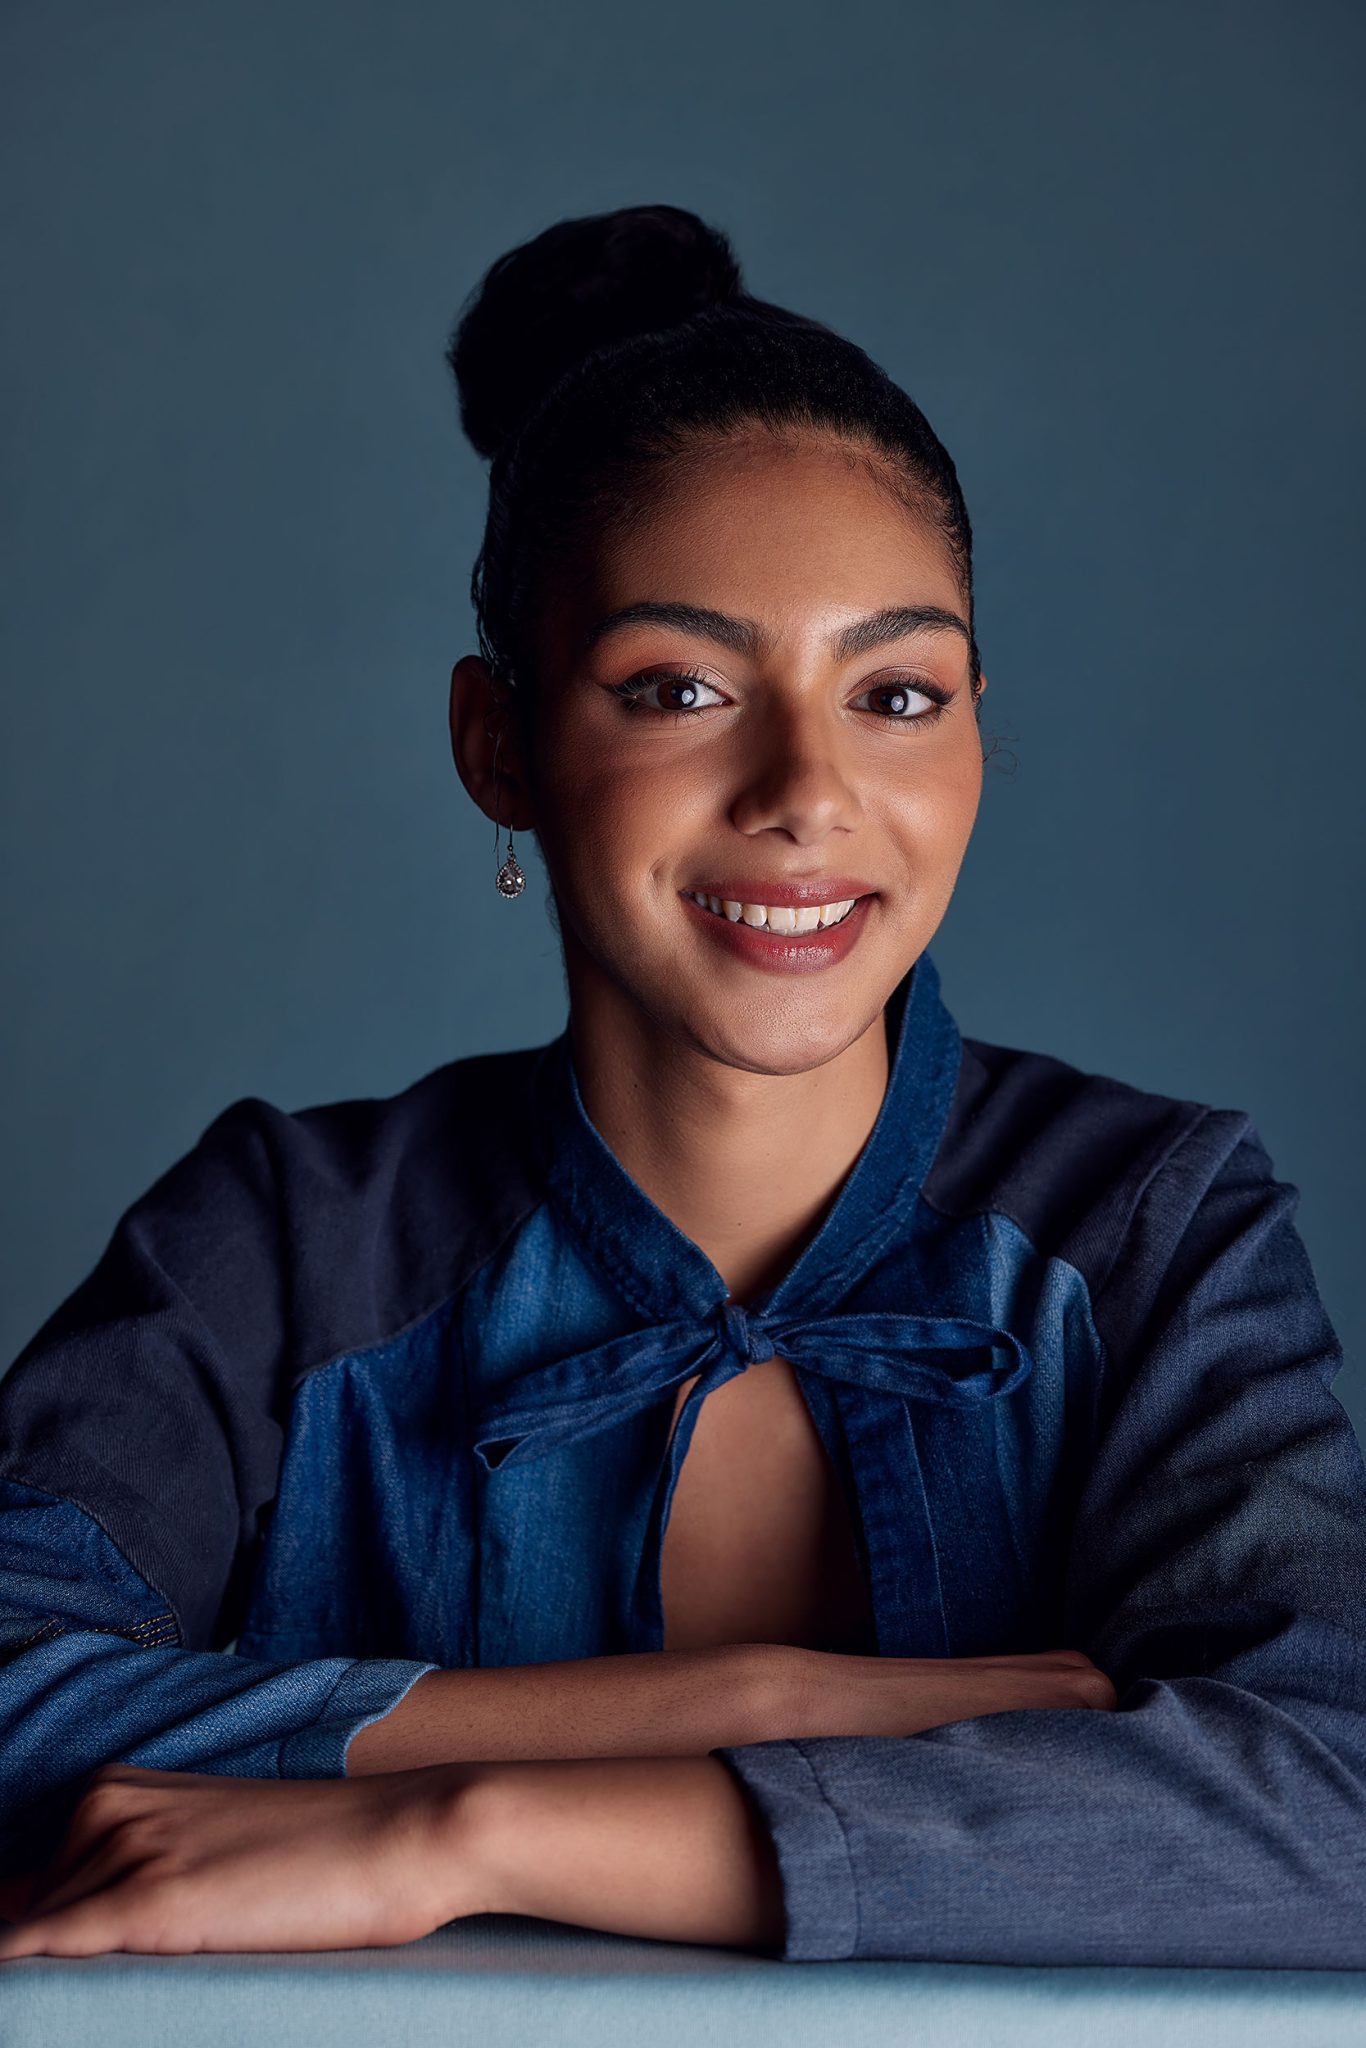
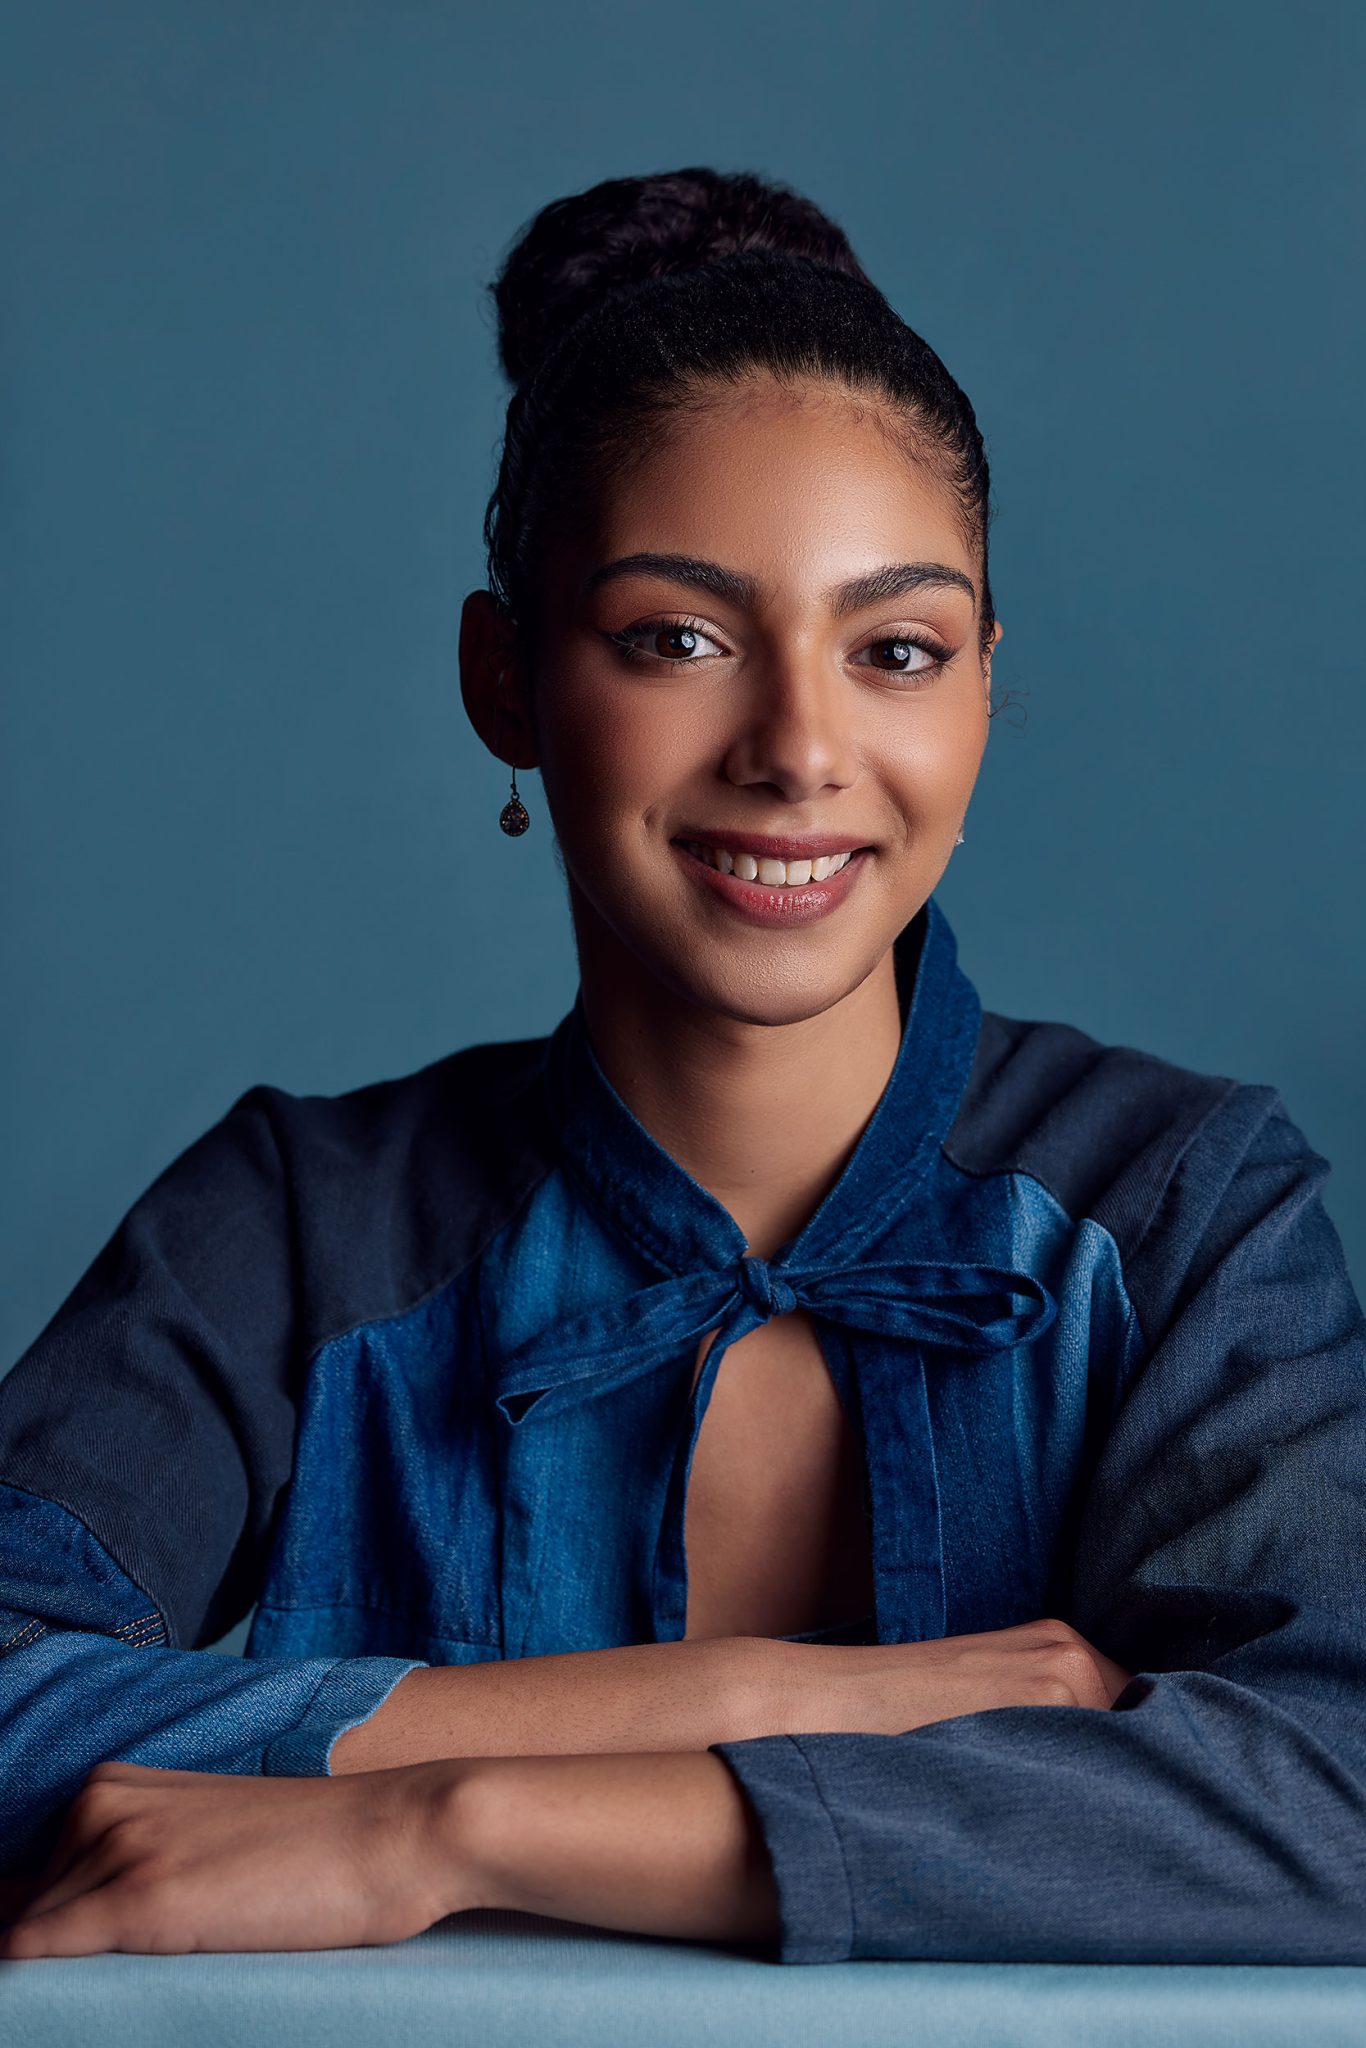
Placing the light directly in front of your subject creates even flat lighting, perfect for beauty and product work where minimal shadows are ideal. As you move the light off to the side, you start to introduce shadows that sculpt the face and add depth. Ashley often visualizes her subject at the center of a circle, moving the light around to see how the shadows shift, and the mood evolves.
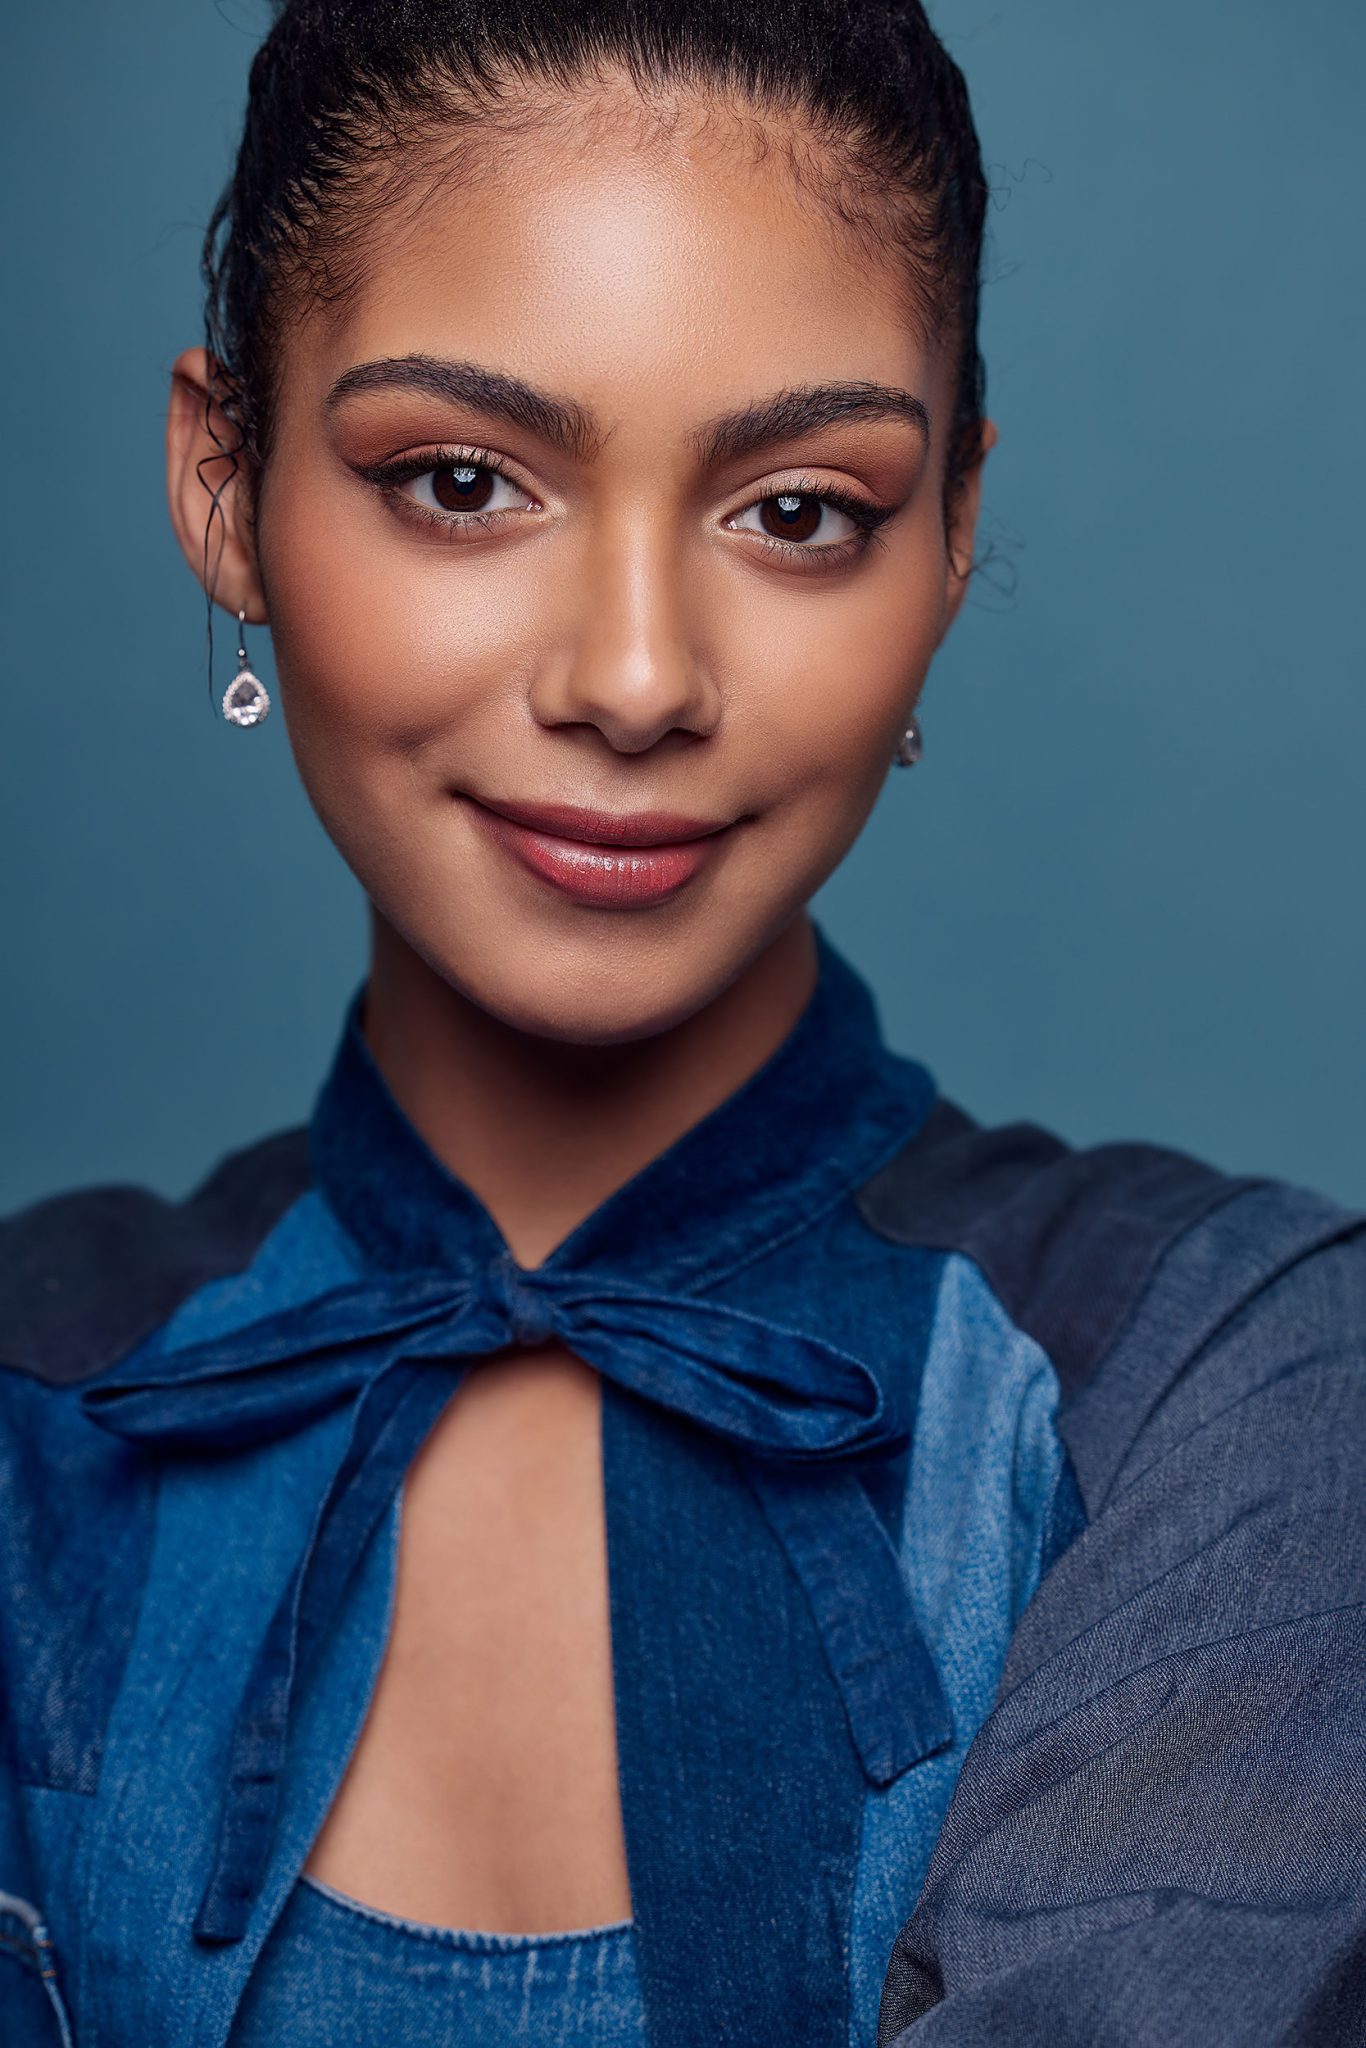
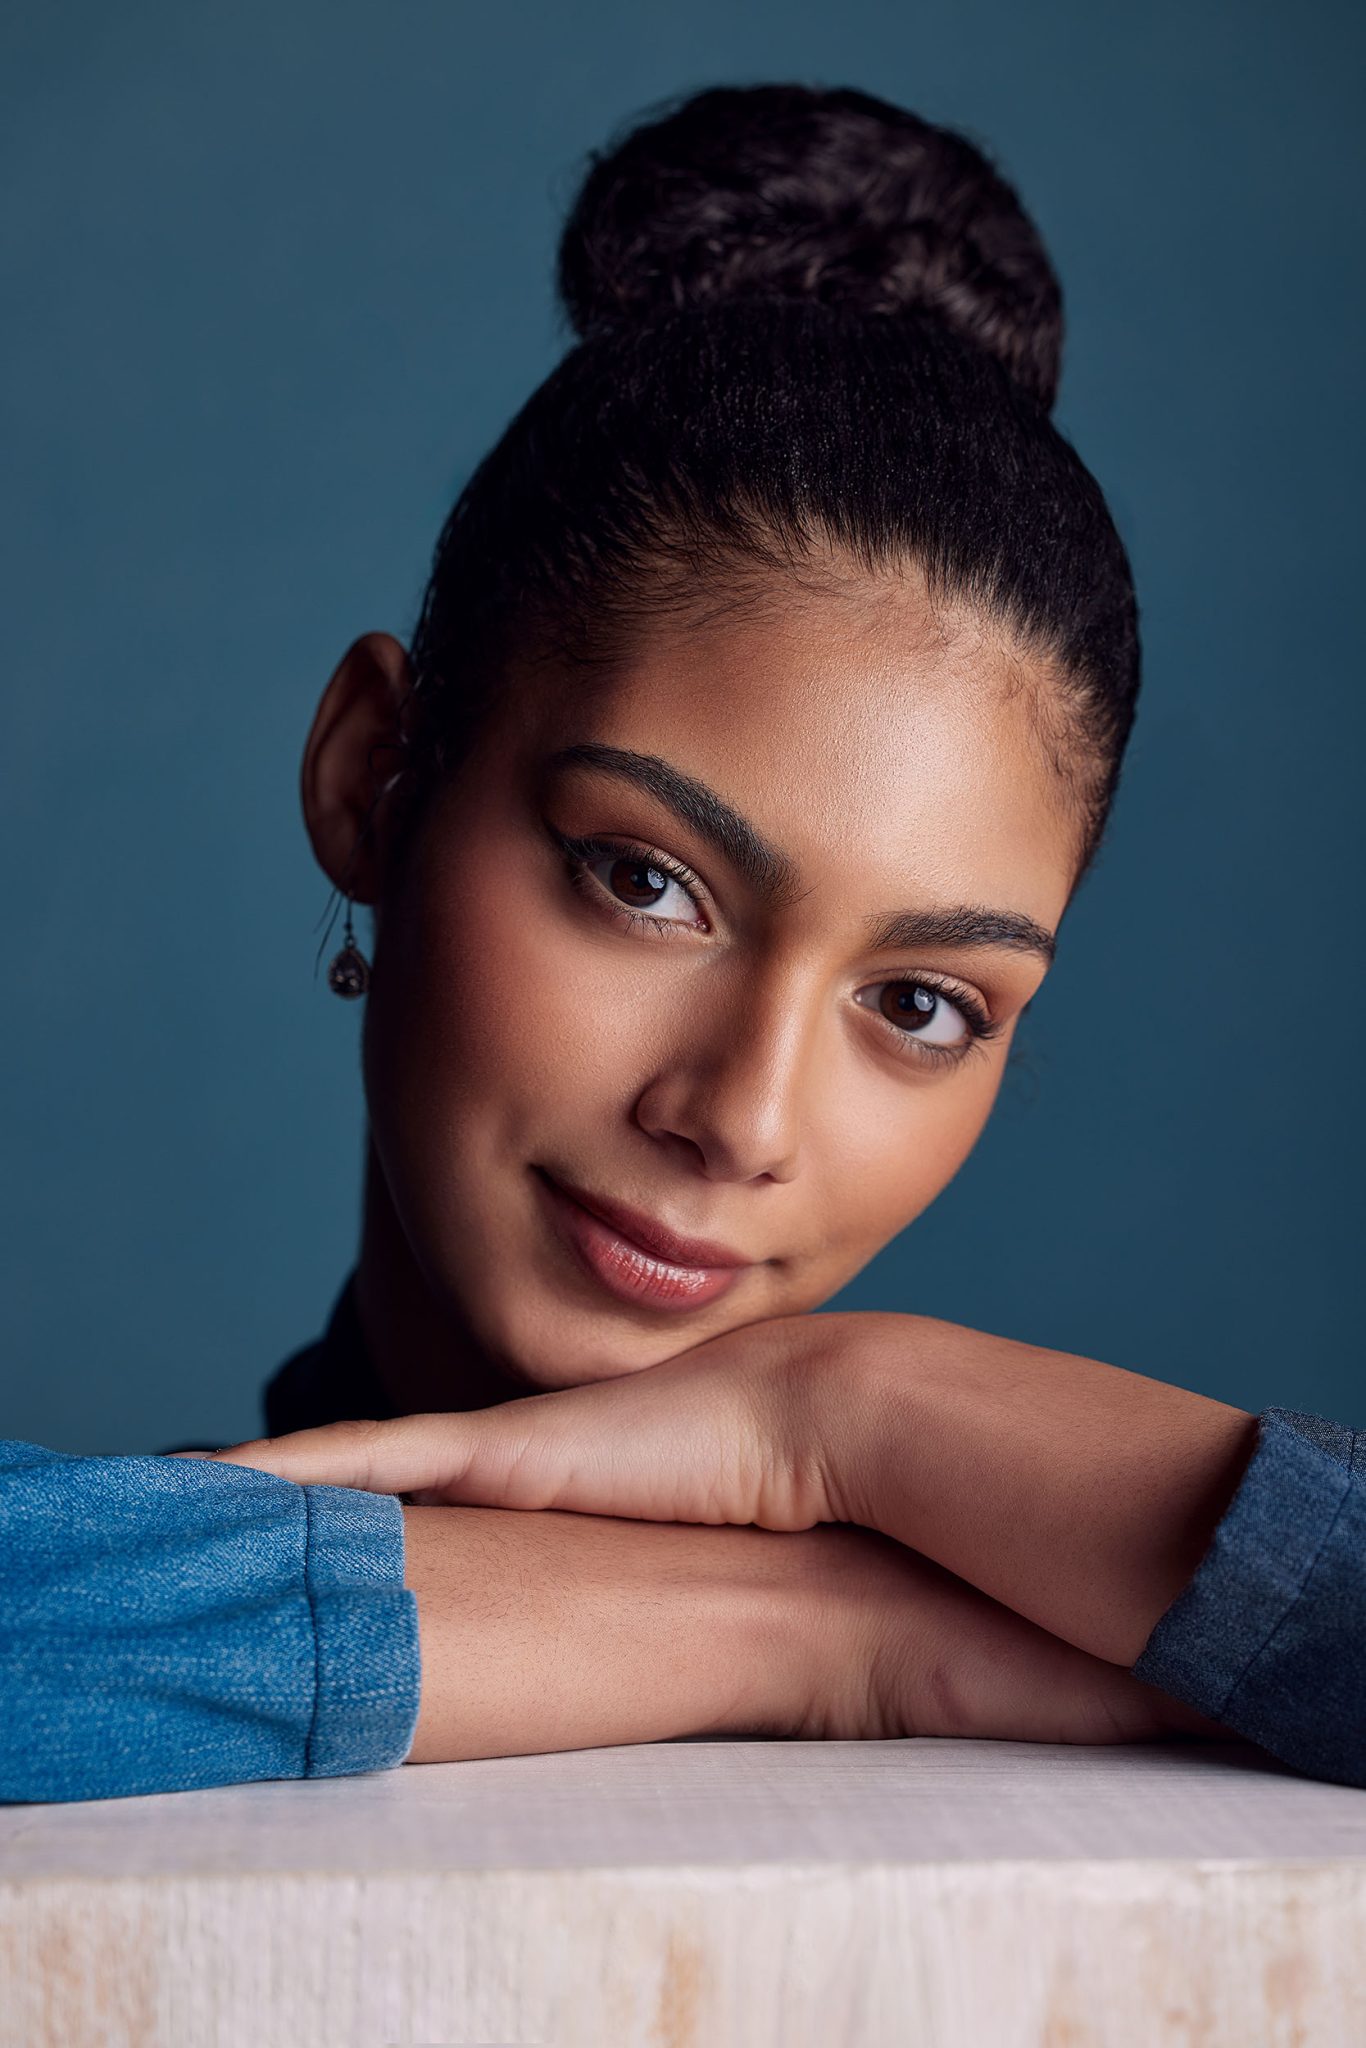
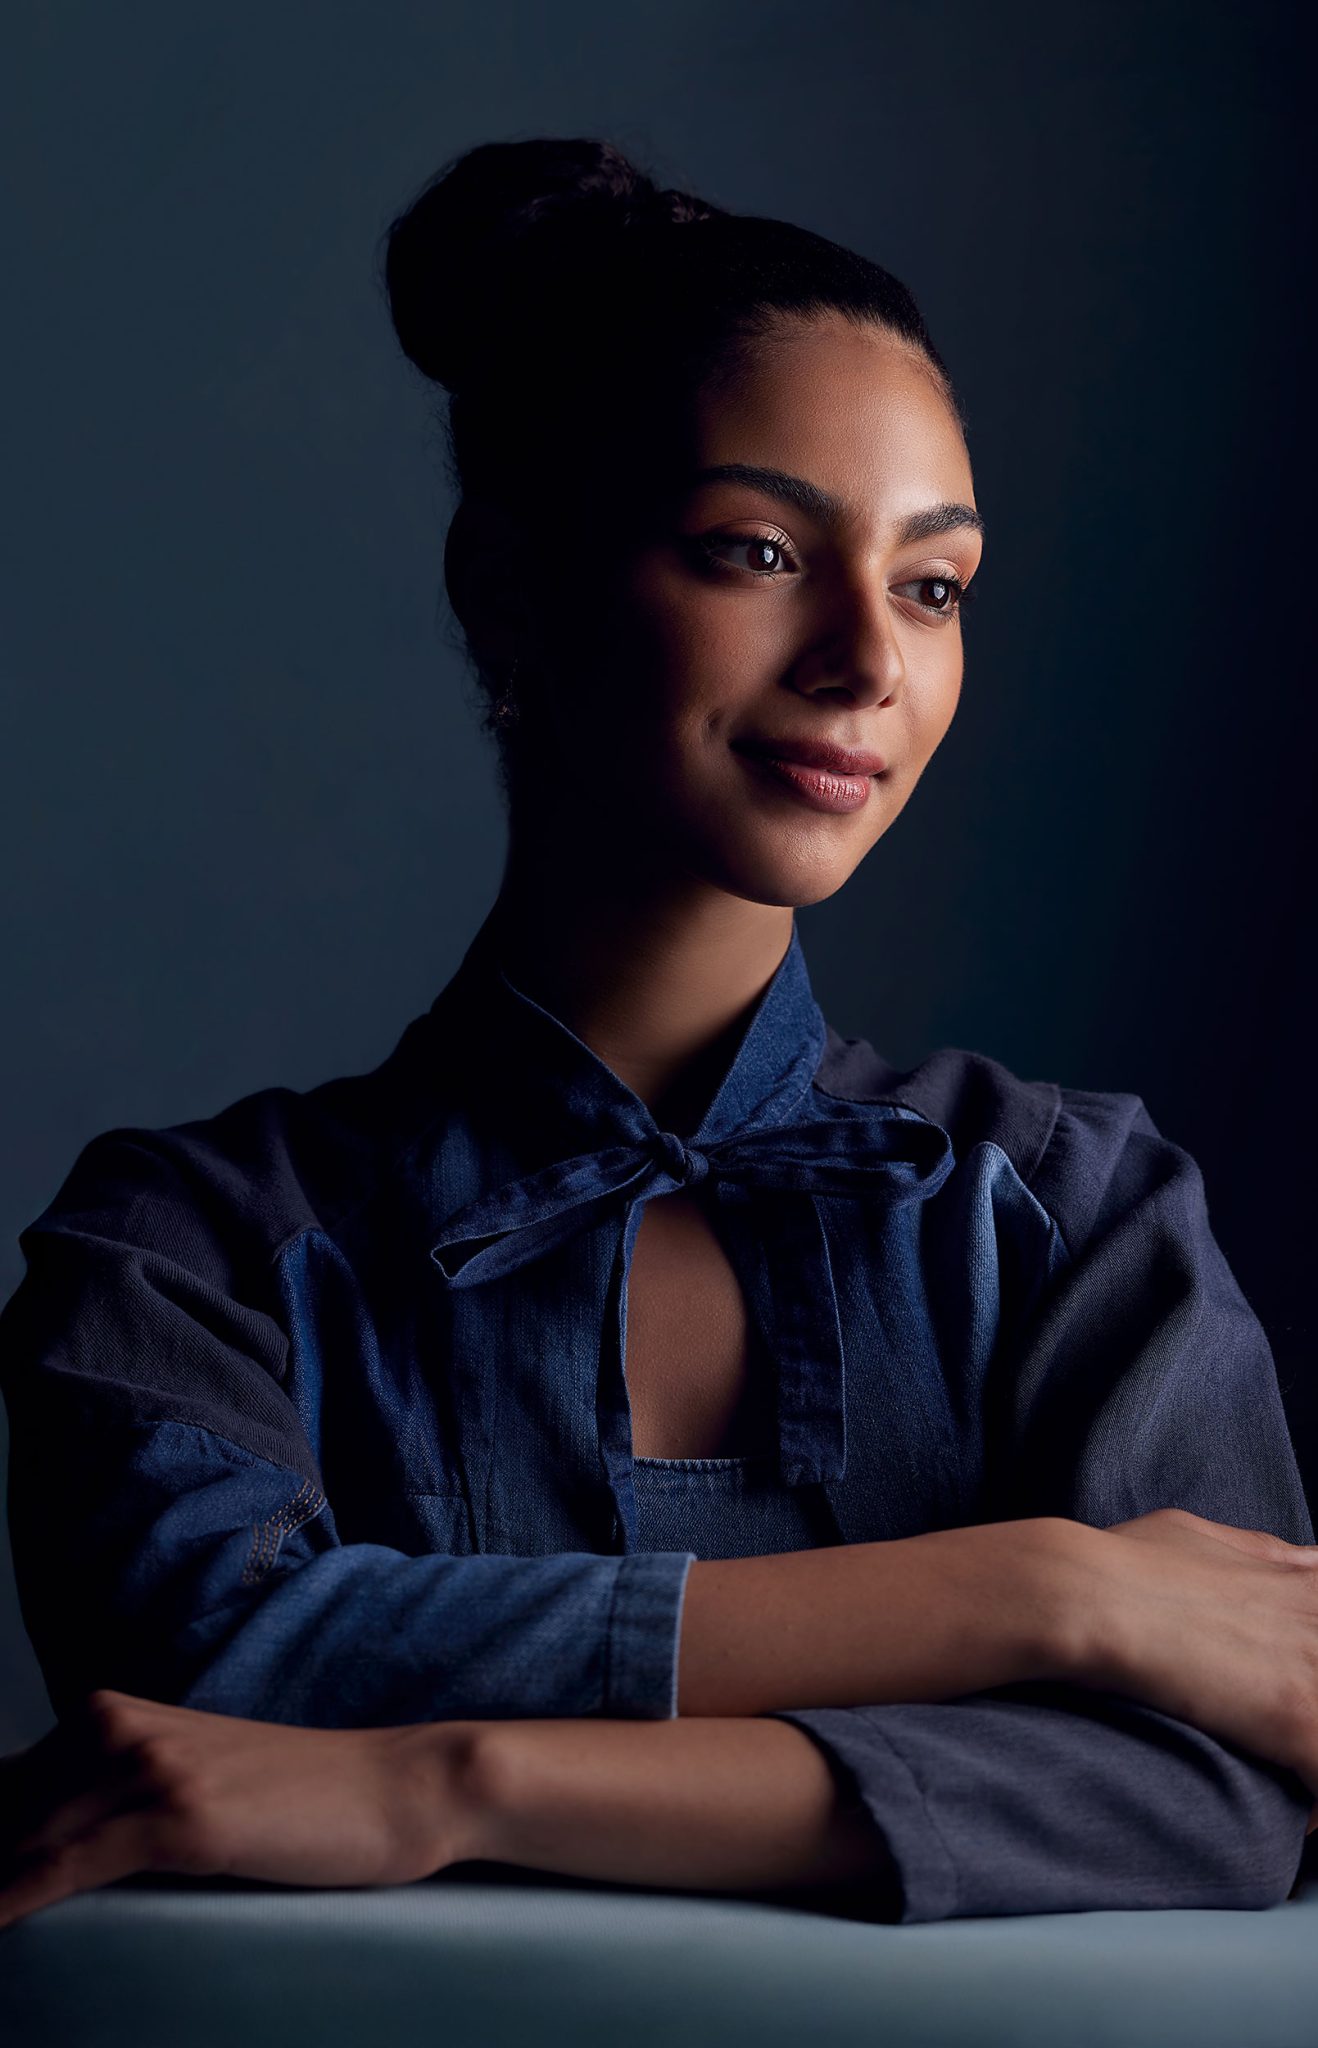
Ashley says, “I still think about this with every setup. If I want more drama and shadow, I move the light farther around the subject. If I’m getting too many shadows, I bring it back toward the front. It’s a simple concept, but it’s a powerful way to control the mood of your portraits.”
Changing the angle of your light, even just slightly, is one of the fastest ways to transform the look and feel of your image.
Ashley’s Lighting Setup
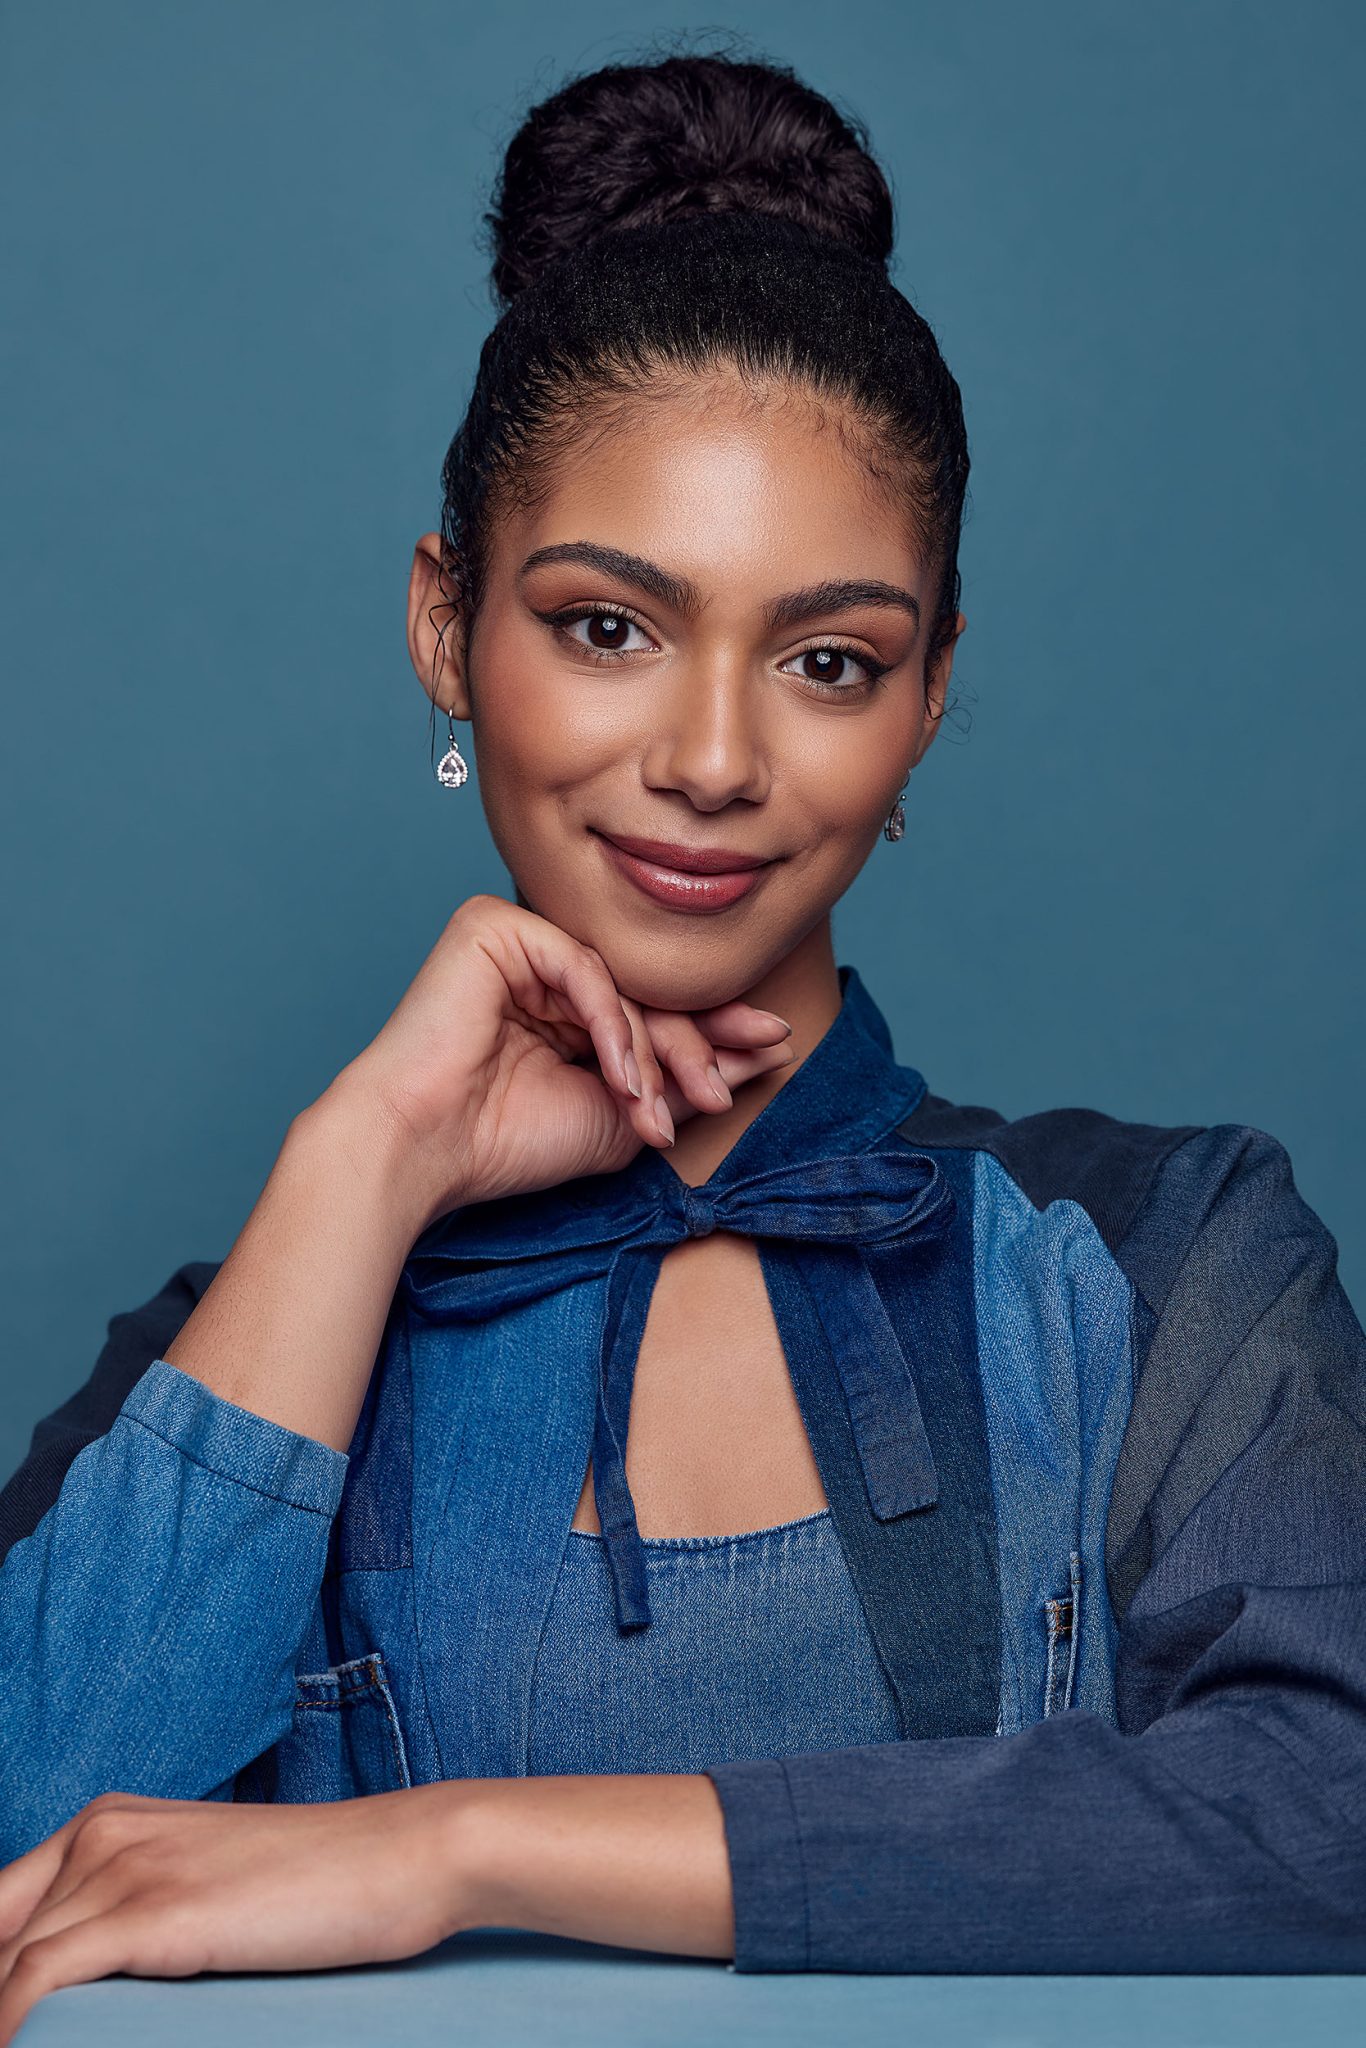
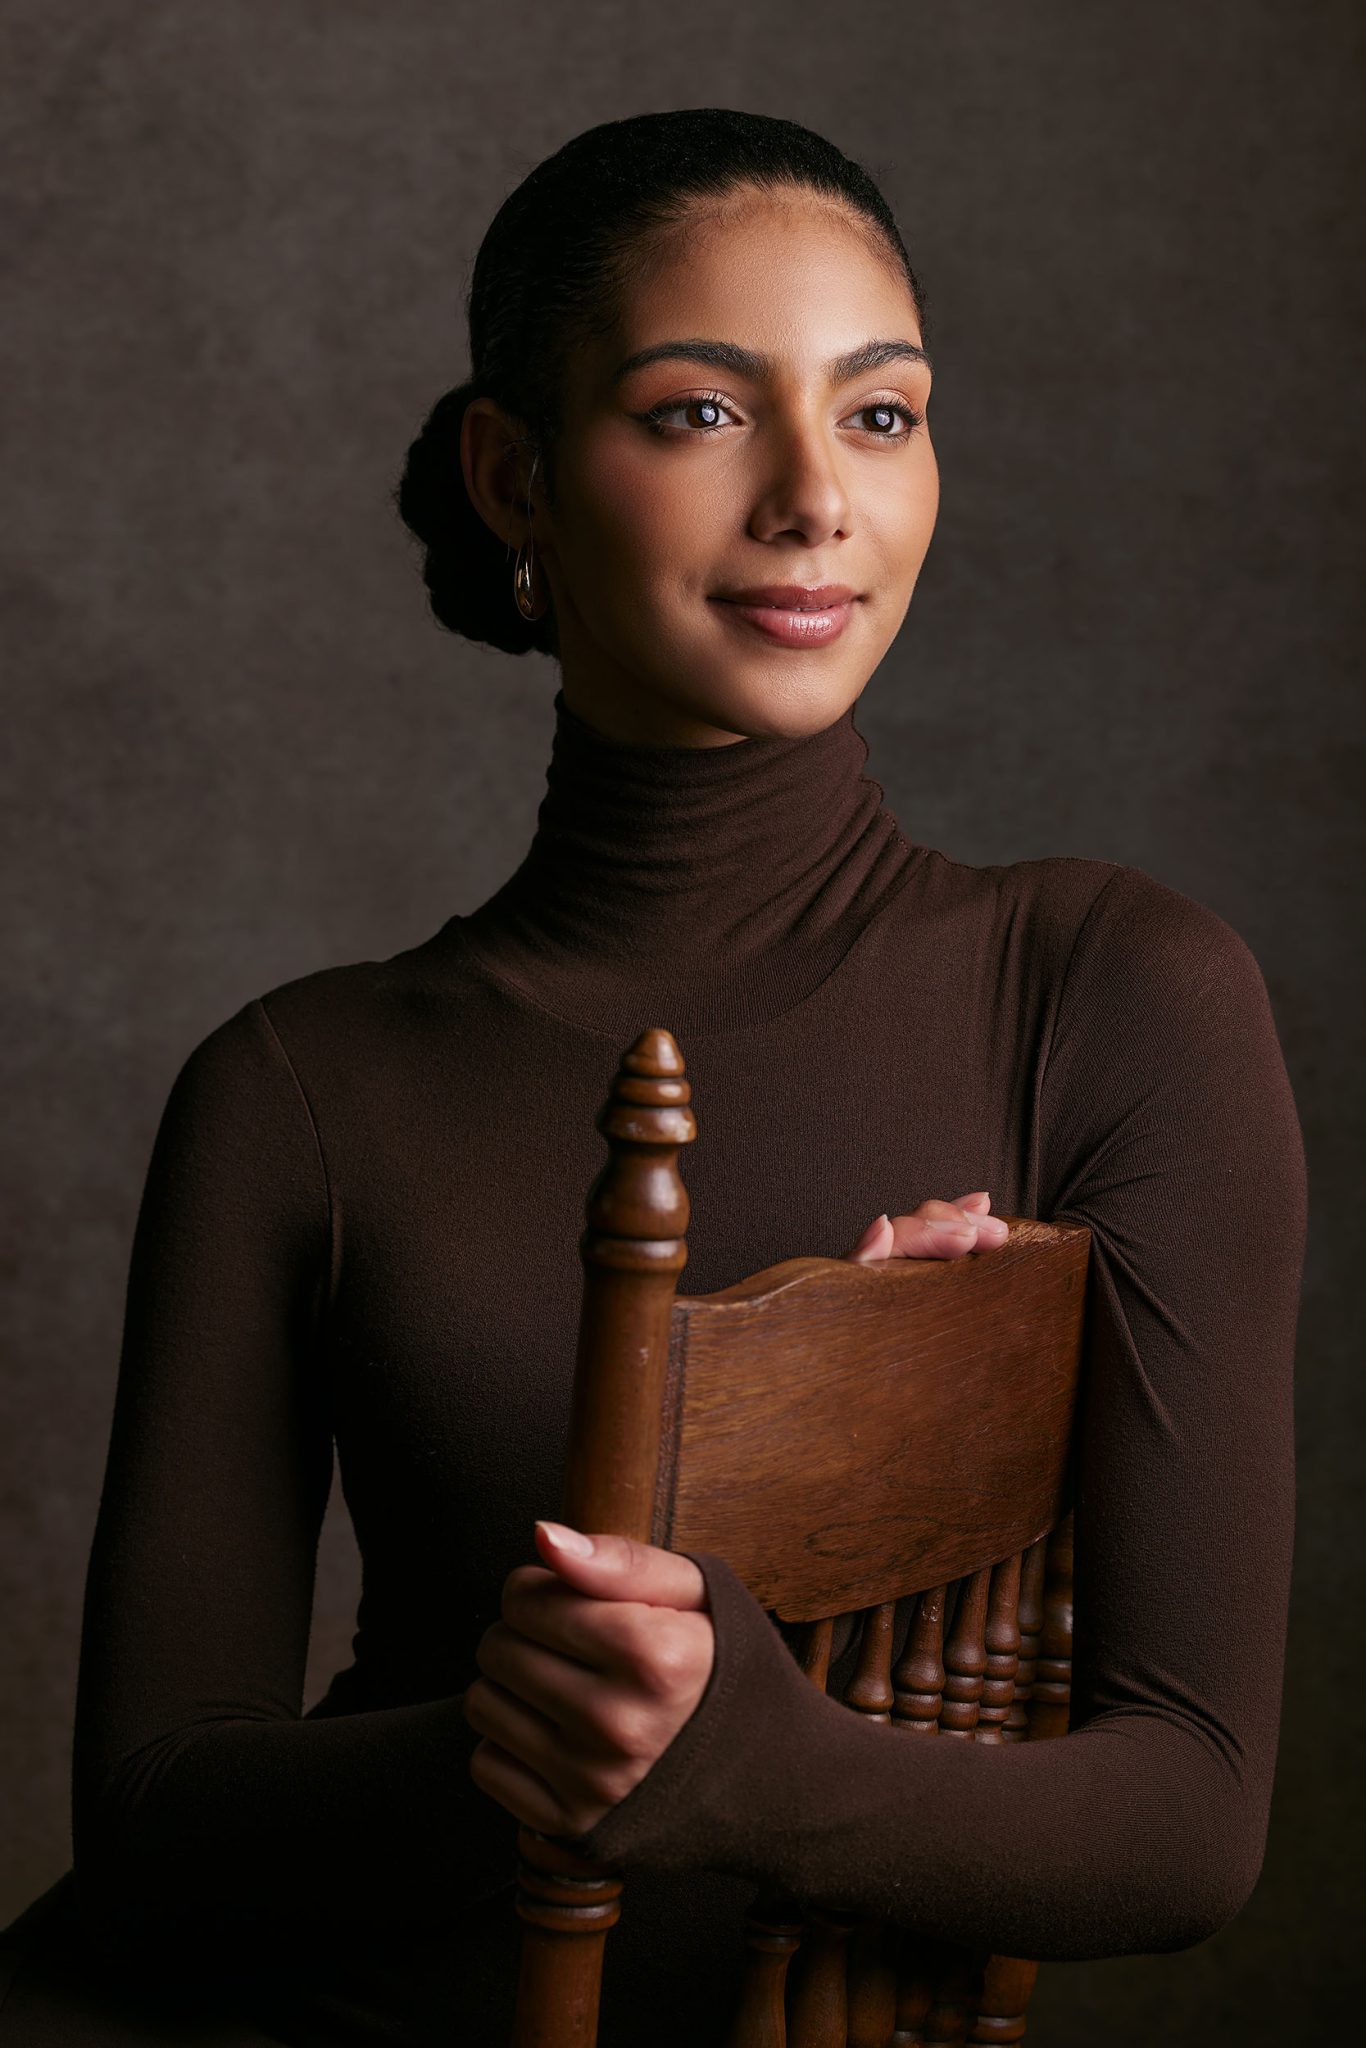
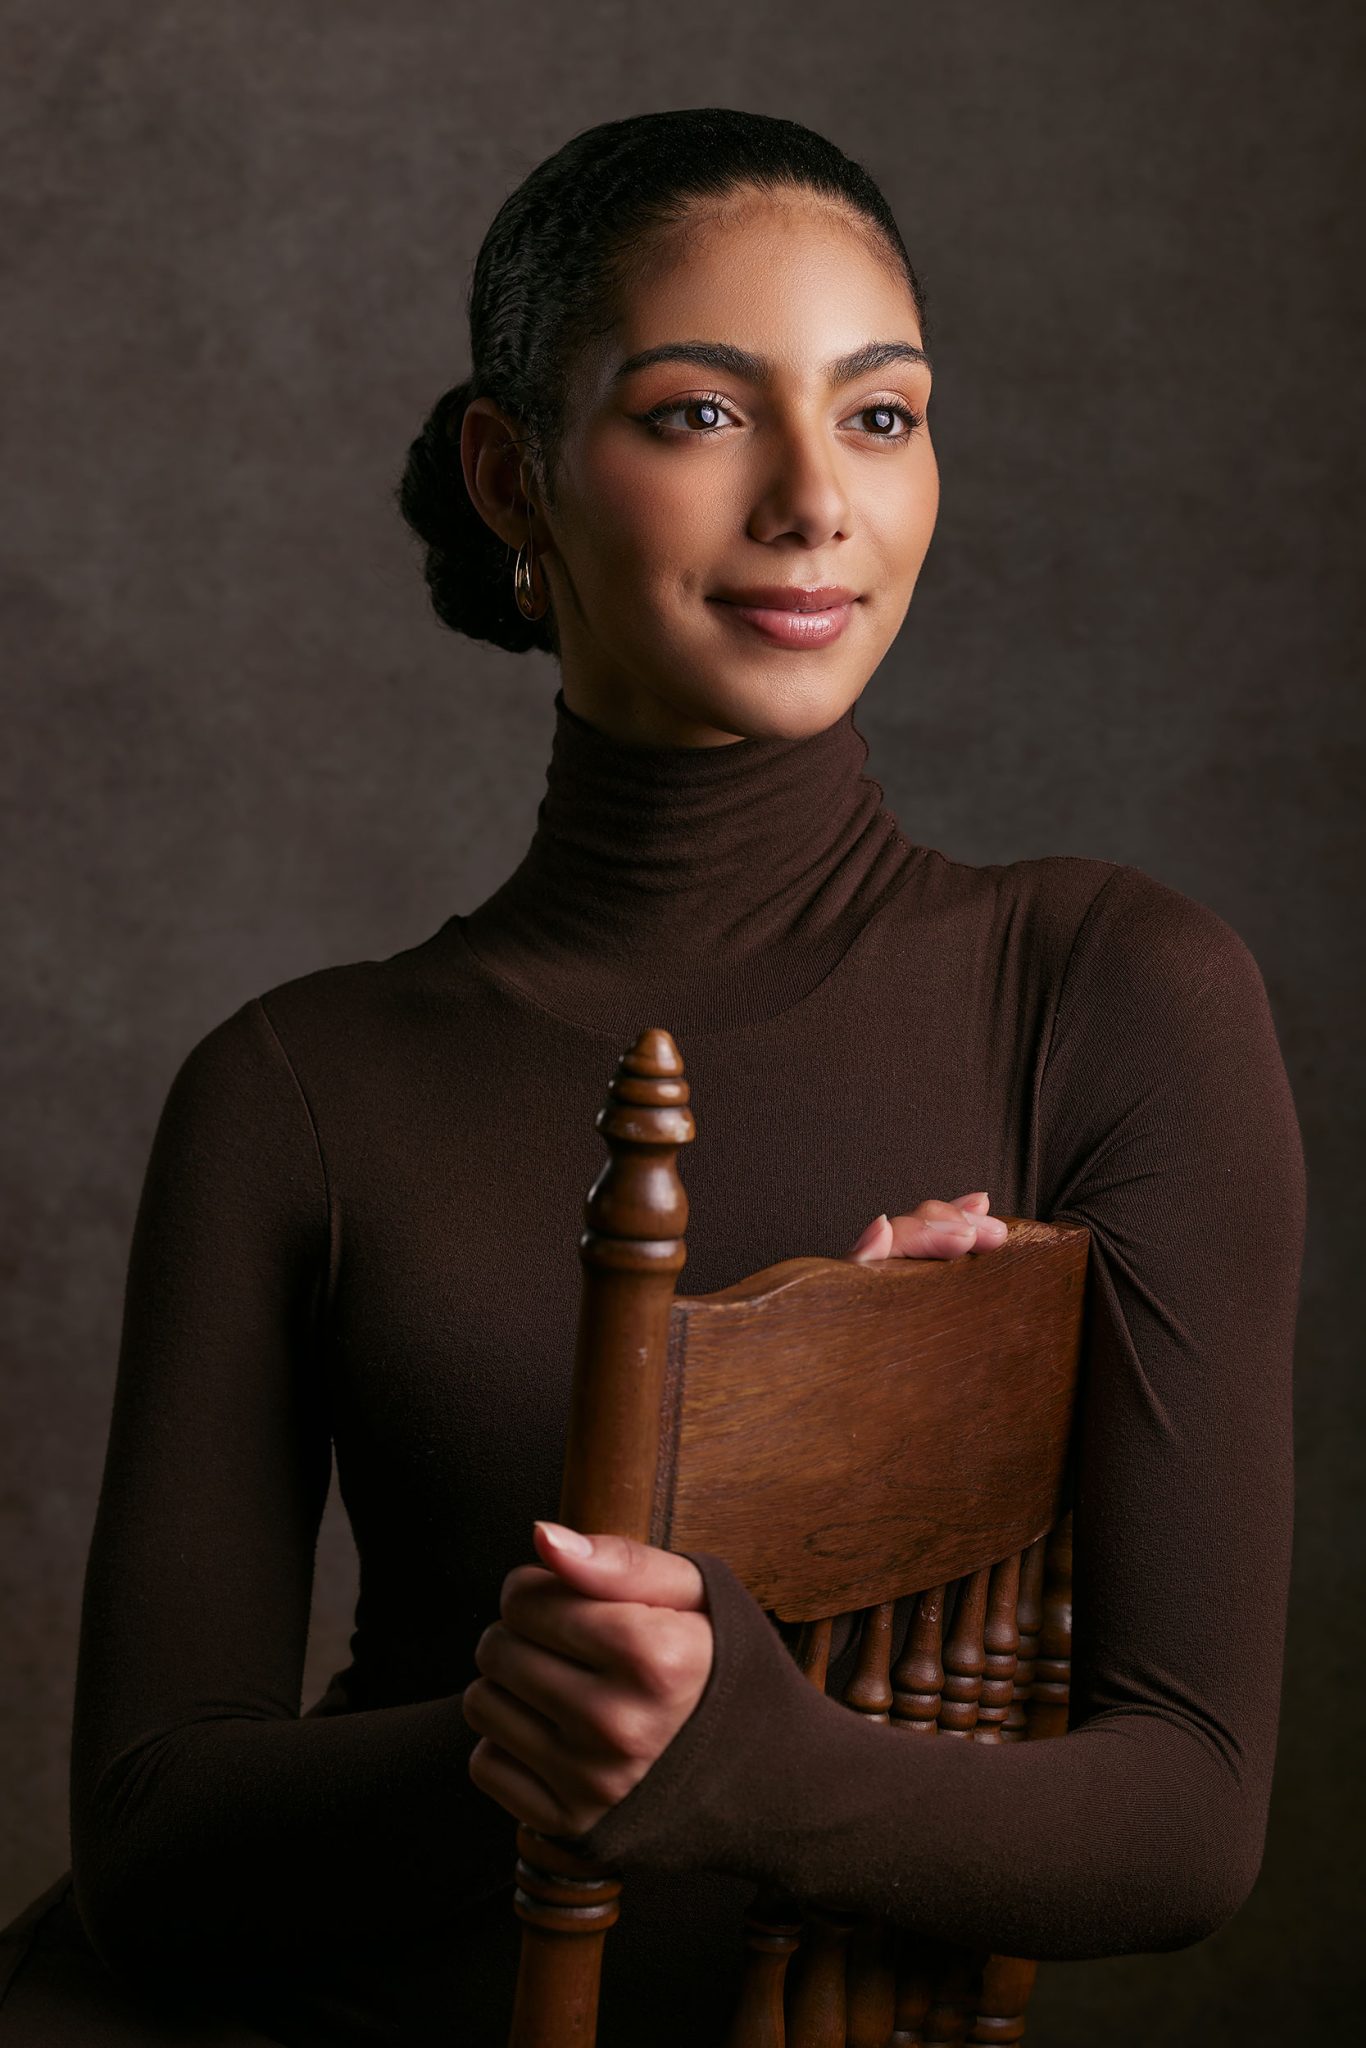
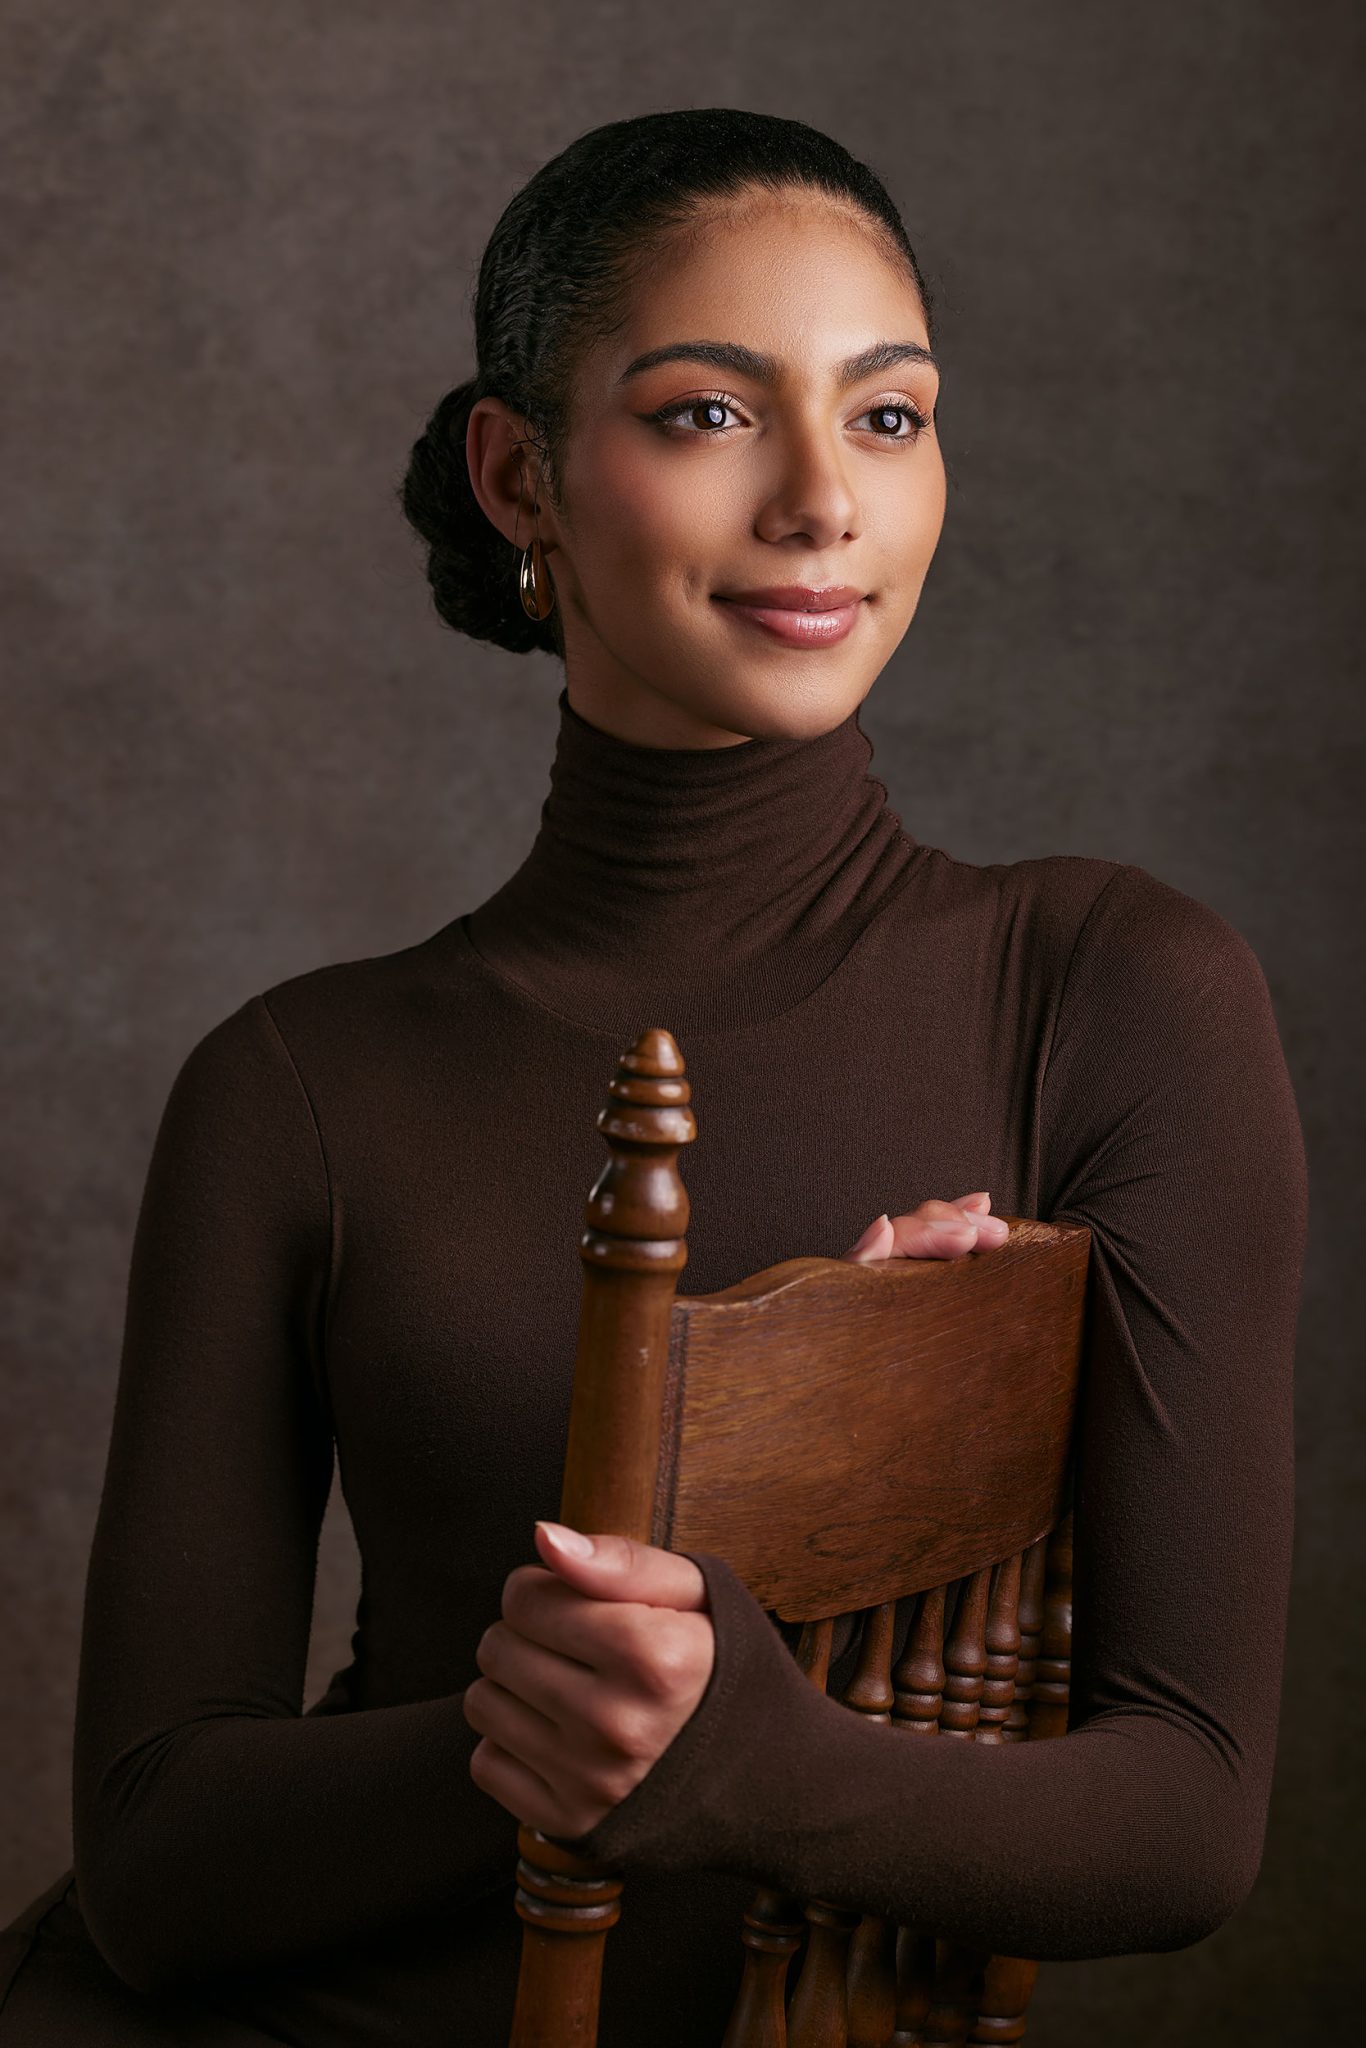
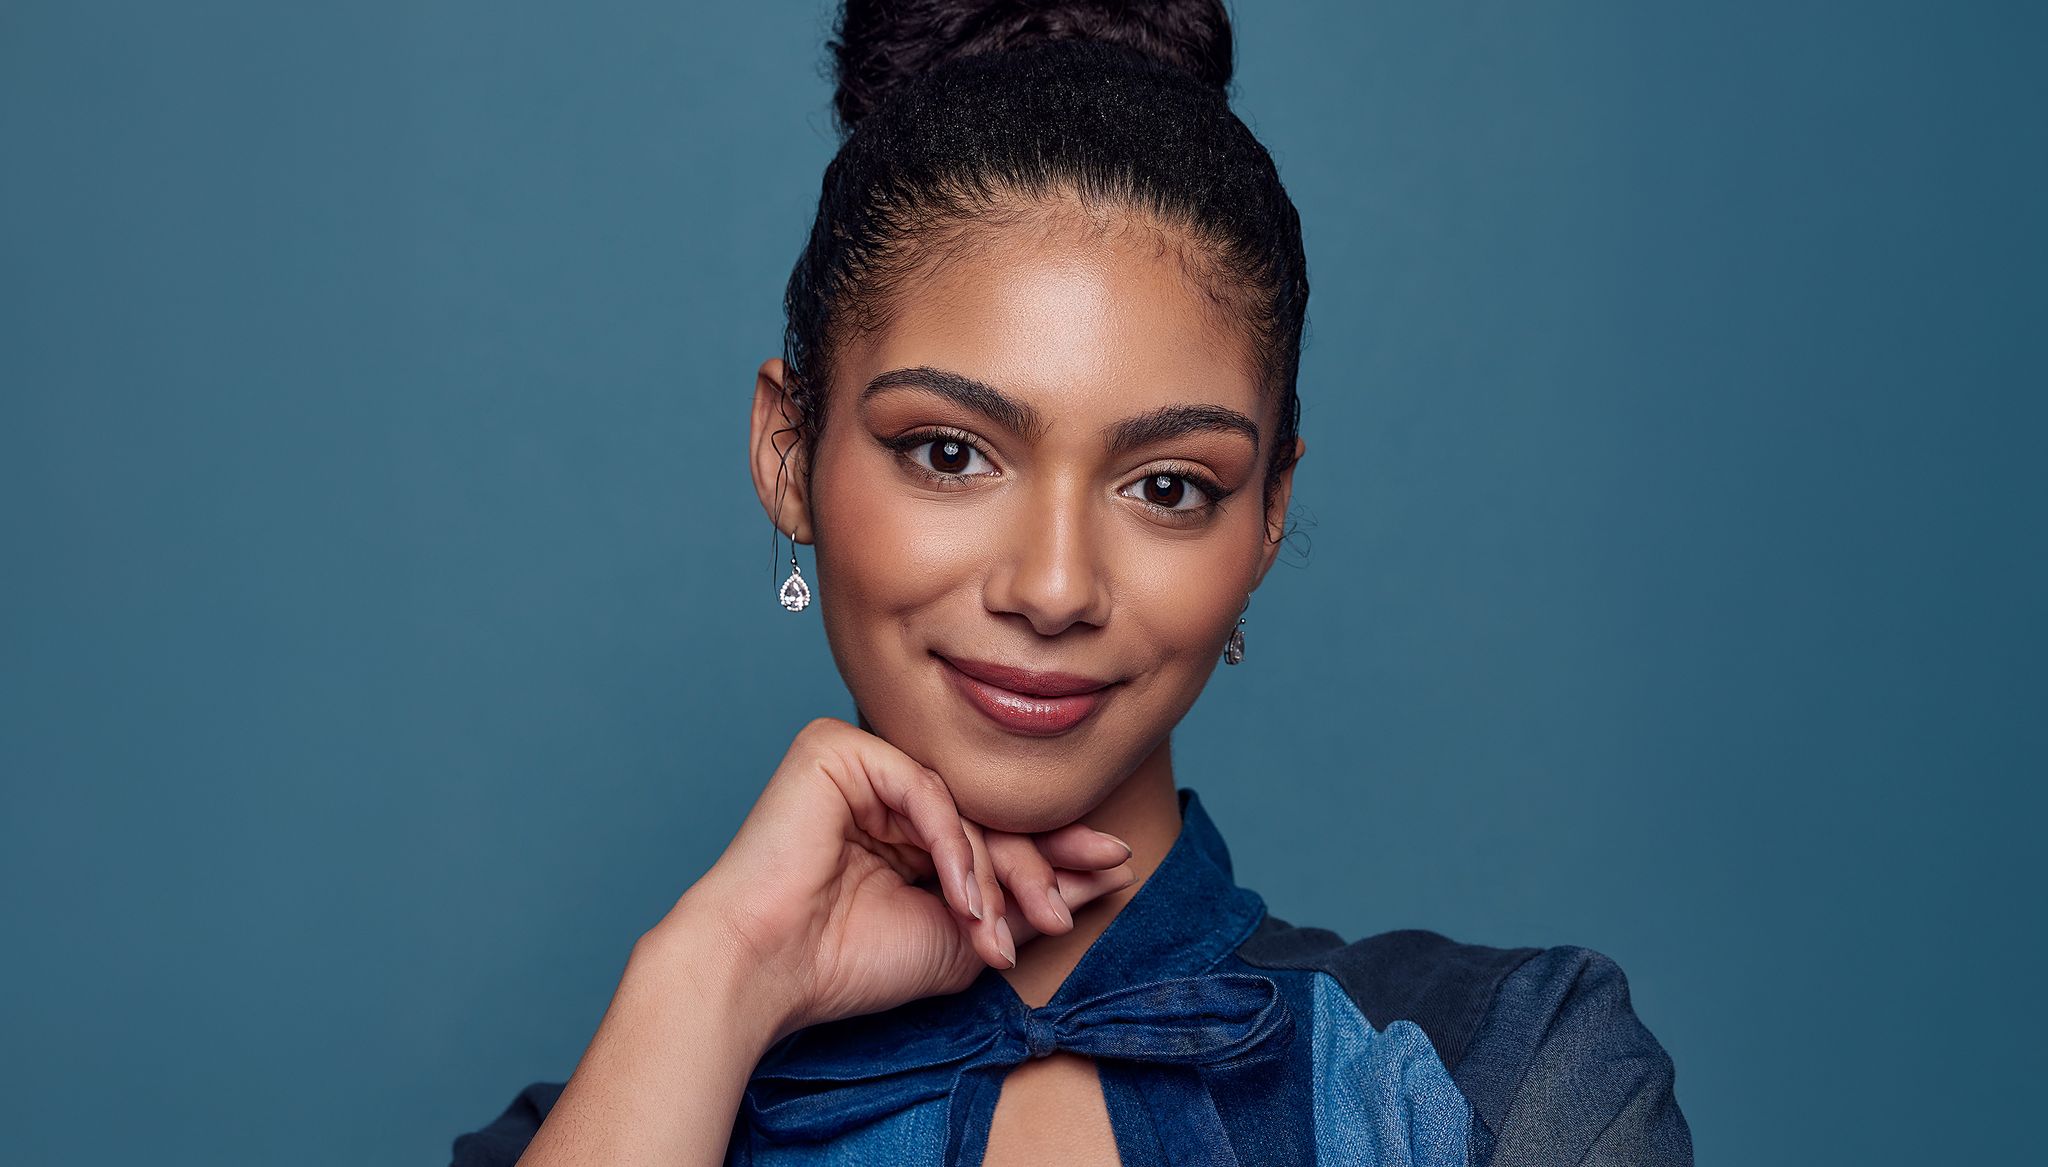
For a clean beauty shot, Ashley placed her octa softbox centered just above her camera lens. This gave her soft, even light across the face, while still adding subtle shadows for depth. It also allowed the model to move naturally without falling out of the light.
Quick Fixes
- Is the lighting too flat? Move the light slightly to the side or raise it.
- Harsh shadows? Add a reflector or fill light.
- Dull eyes? Adjust for catchlights by tweaking light height or chin position.
With just one well-placed light and the right modifier, you can create polished, professional-looking portraits. It all comes down to understanding how light behaves and learning to place it with purpose.
Adding In More Lights
Once you’ve mastered working with a single light, you can start layering in additional lights to build more dynamic portraits. Ashley recommends starting simple for a reason: learning to control and shape your key light is the foundation of great lighting. It teaches you how shadows behave, how light wraps around the face, and how to adjust for different moods or styles.
One of the easiest ways to expand beyond a one-light setup is by adding a reflector. It’s an affordable, beginner-friendly tool that gently lifts shadows and balances contrast without adding extra complexity.
For the final look in this shoot, Ashley created a clean, professional three-light setup. The key light was a ClickBox Octa 42 softbox, positioned off to the side to sculpt the subject’s face and add shape. To control contrast and keep details in the shadows, she added a second FJ400-SE Studio Strobe with a ClickBox 2×3 softbox, acting as a soft fill on the opposite side. This gave her flexibility in balancing light without flattening the image.
To finish the setup, she added a rim light using a ClickBox 1×3 strip softbox. This light was placed behind the subject to create separation from the background and add a subtle edge highlight. The softbox kept the light controlled and directional, avoiding spill across the scene.
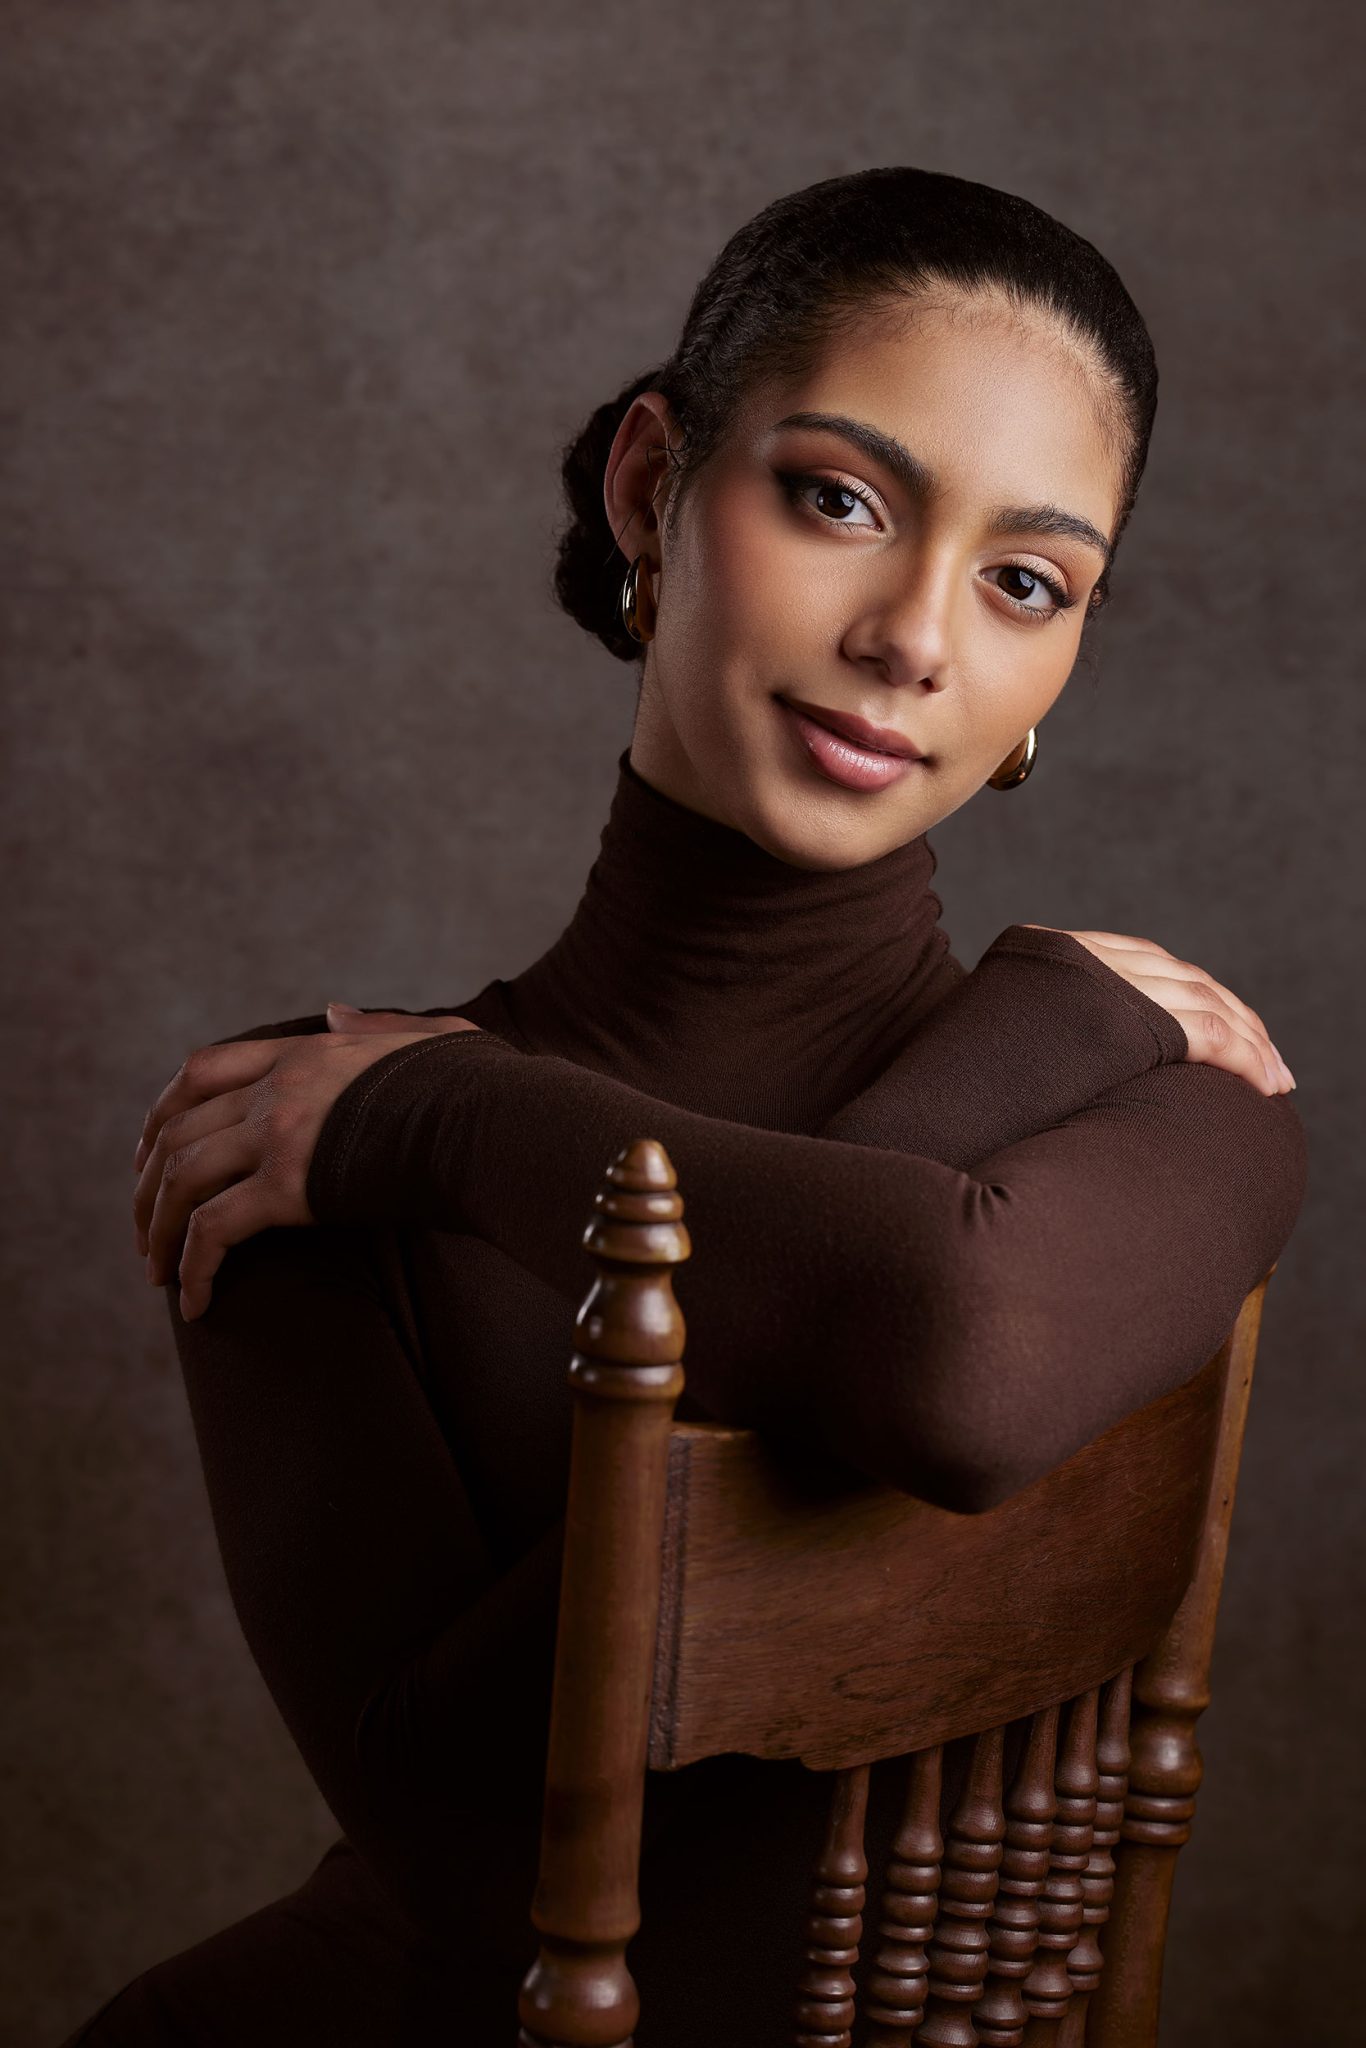
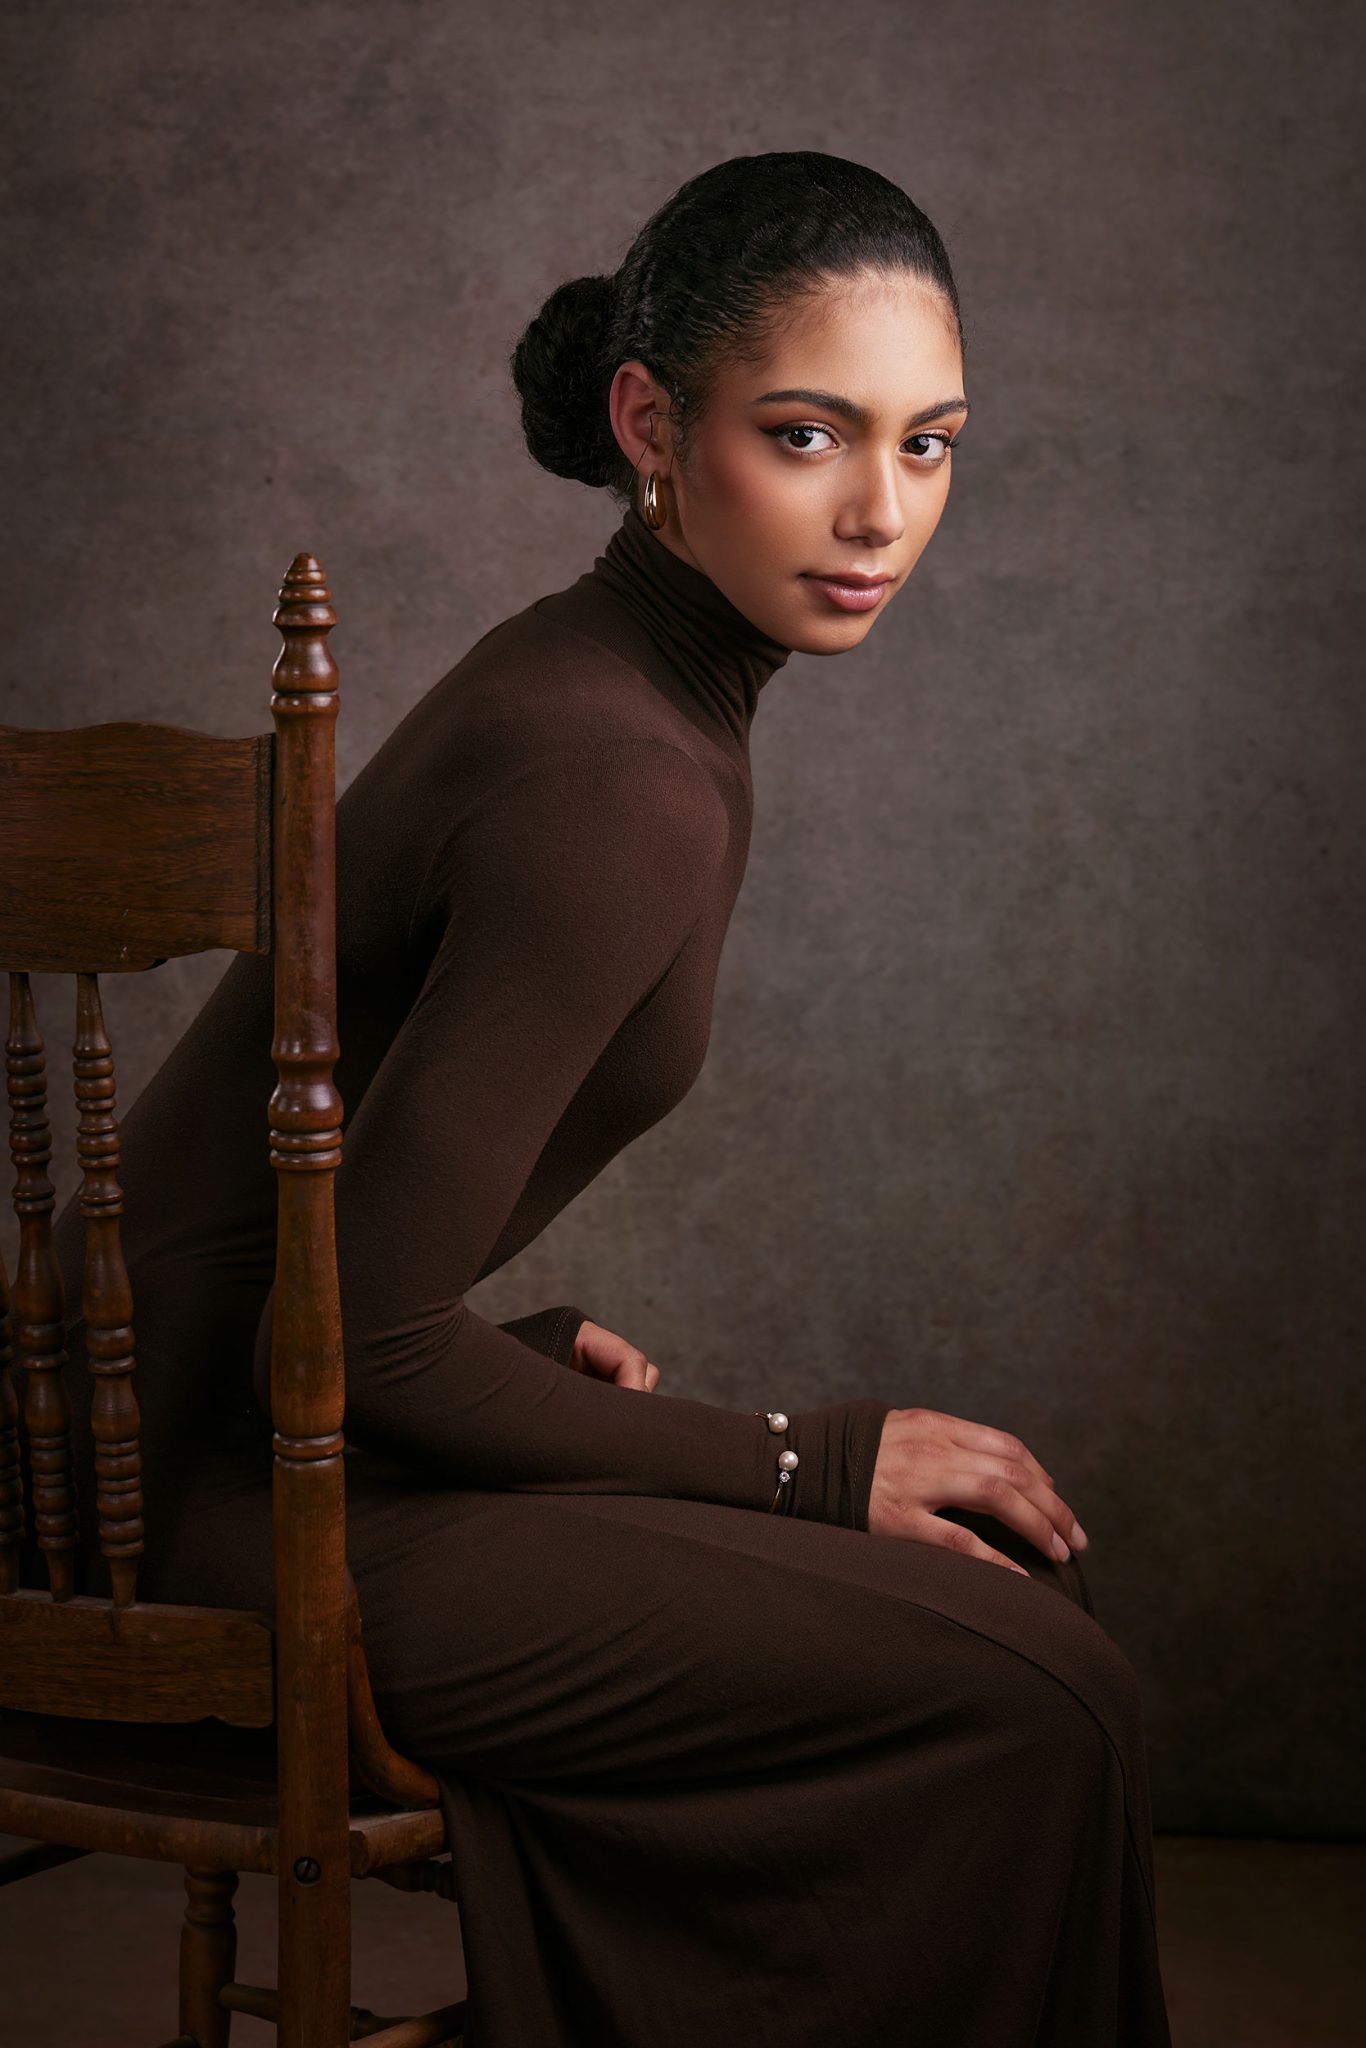
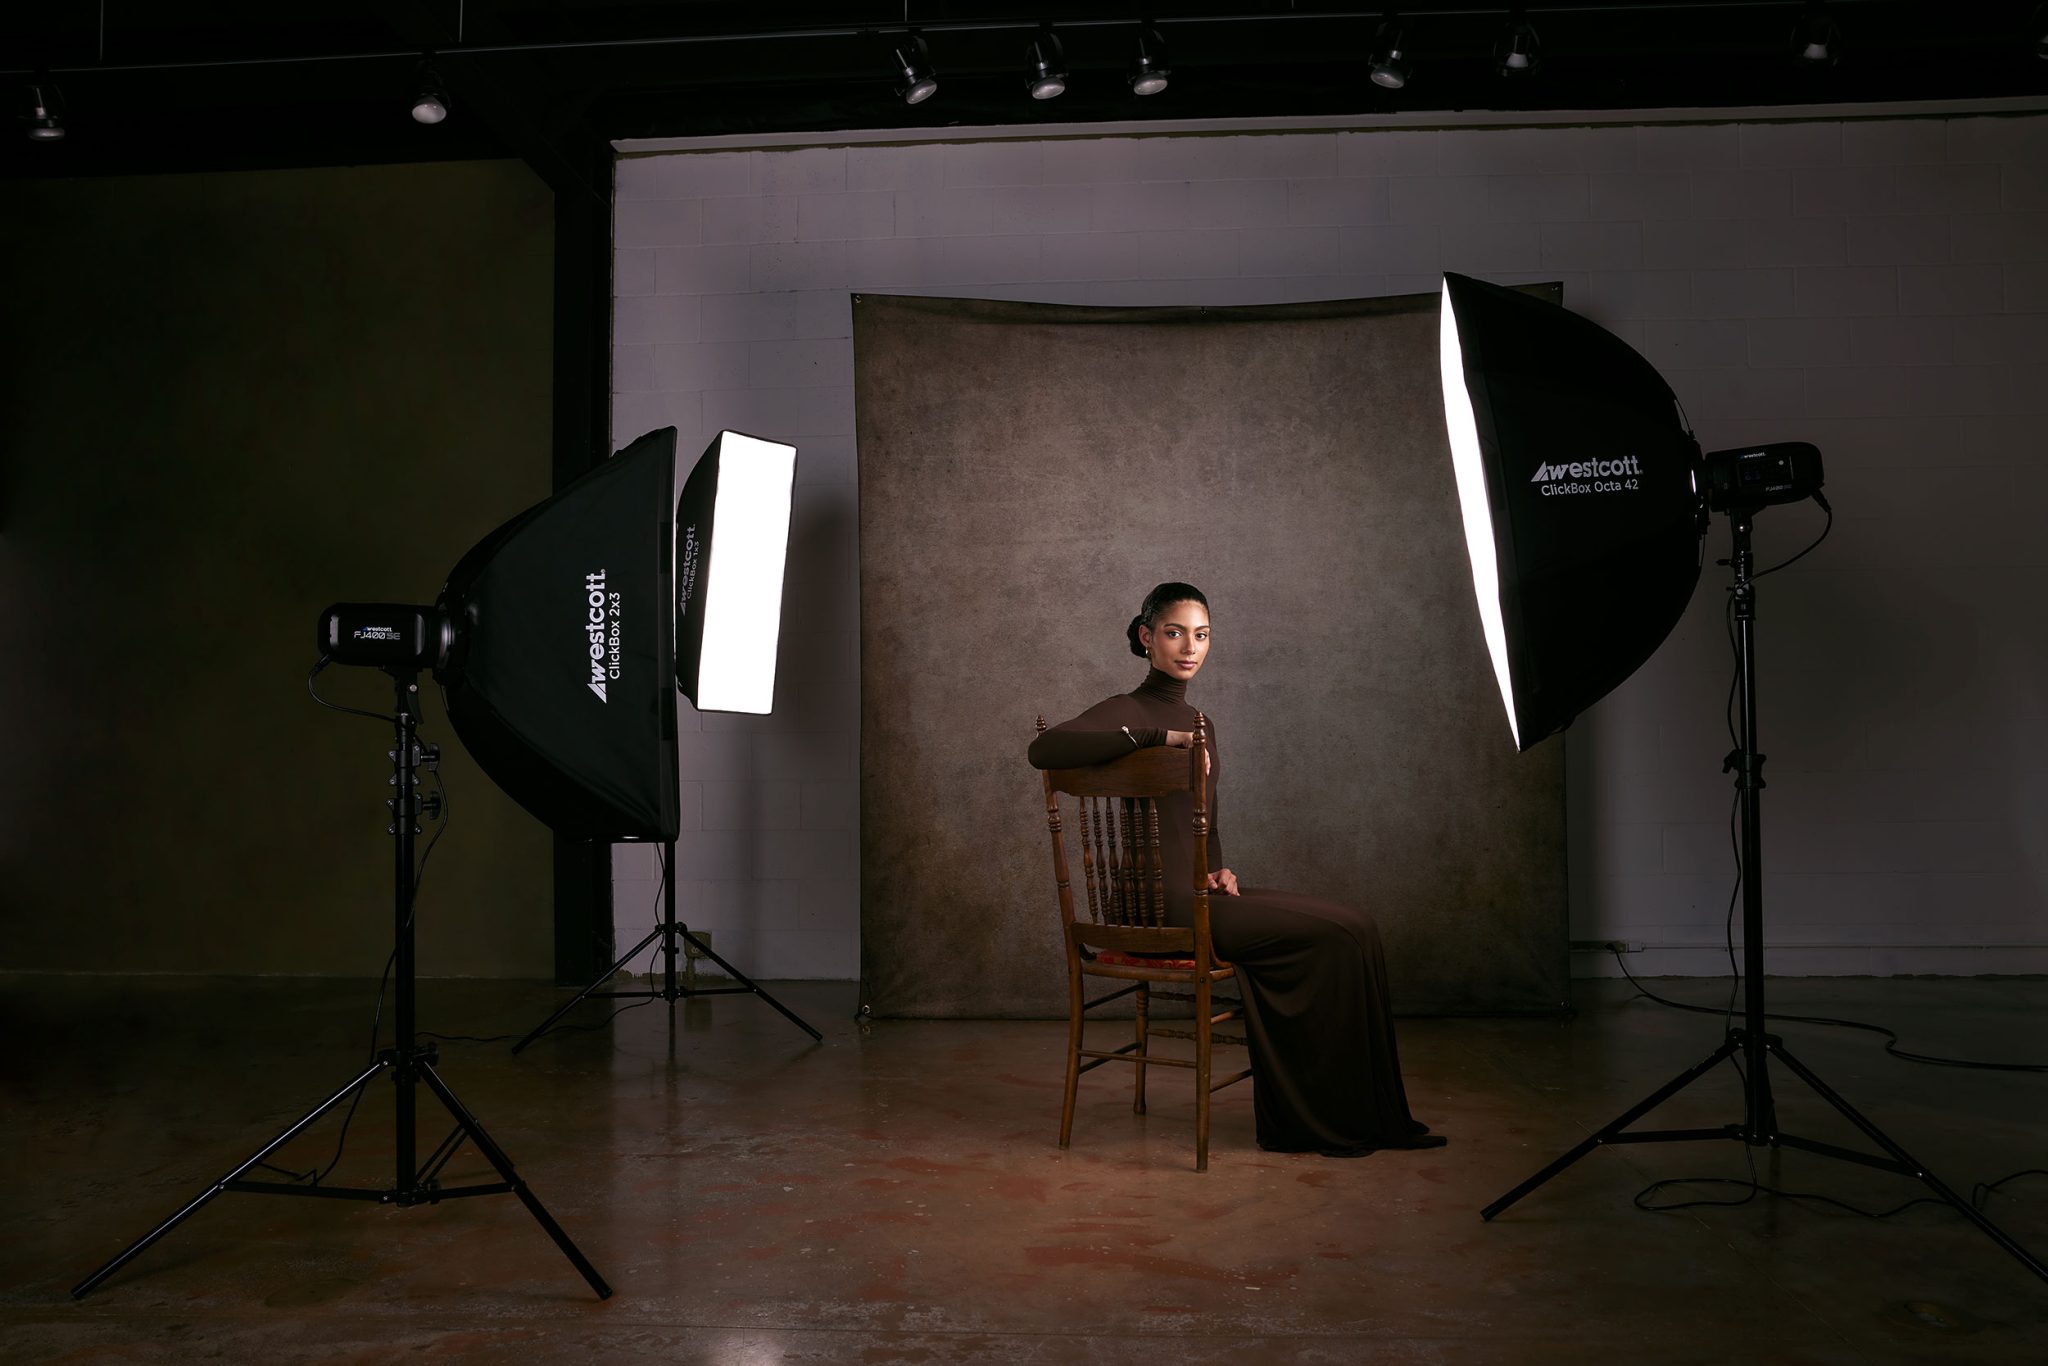
Each light in the setup served a clear, defined purpose:
- Key light to shape the subject
- Fill light to lift shadows
- Rim light to add separation
Final Thoughts
Studio lighting doesn’t need to be intimidating. As Ashley shows in this video, a clean one-light setup can go a long way when it’s used thoughtfully. By learning how to evaluate ambient light, control your camera settings, and position your light with purpose, you’ll gain the confidence to shoot in any space, and take your portraits to the next level.
When you’re ready to build on that foundation, just take it one light at a time.
Want to see more of Ashley Boring’s work?
Check out 3 Techniques to Control Natural Light for Better Portraits, where she shares easy tips for using natural light to capture beautiful portraits.



You must be logged in to post a comment.