
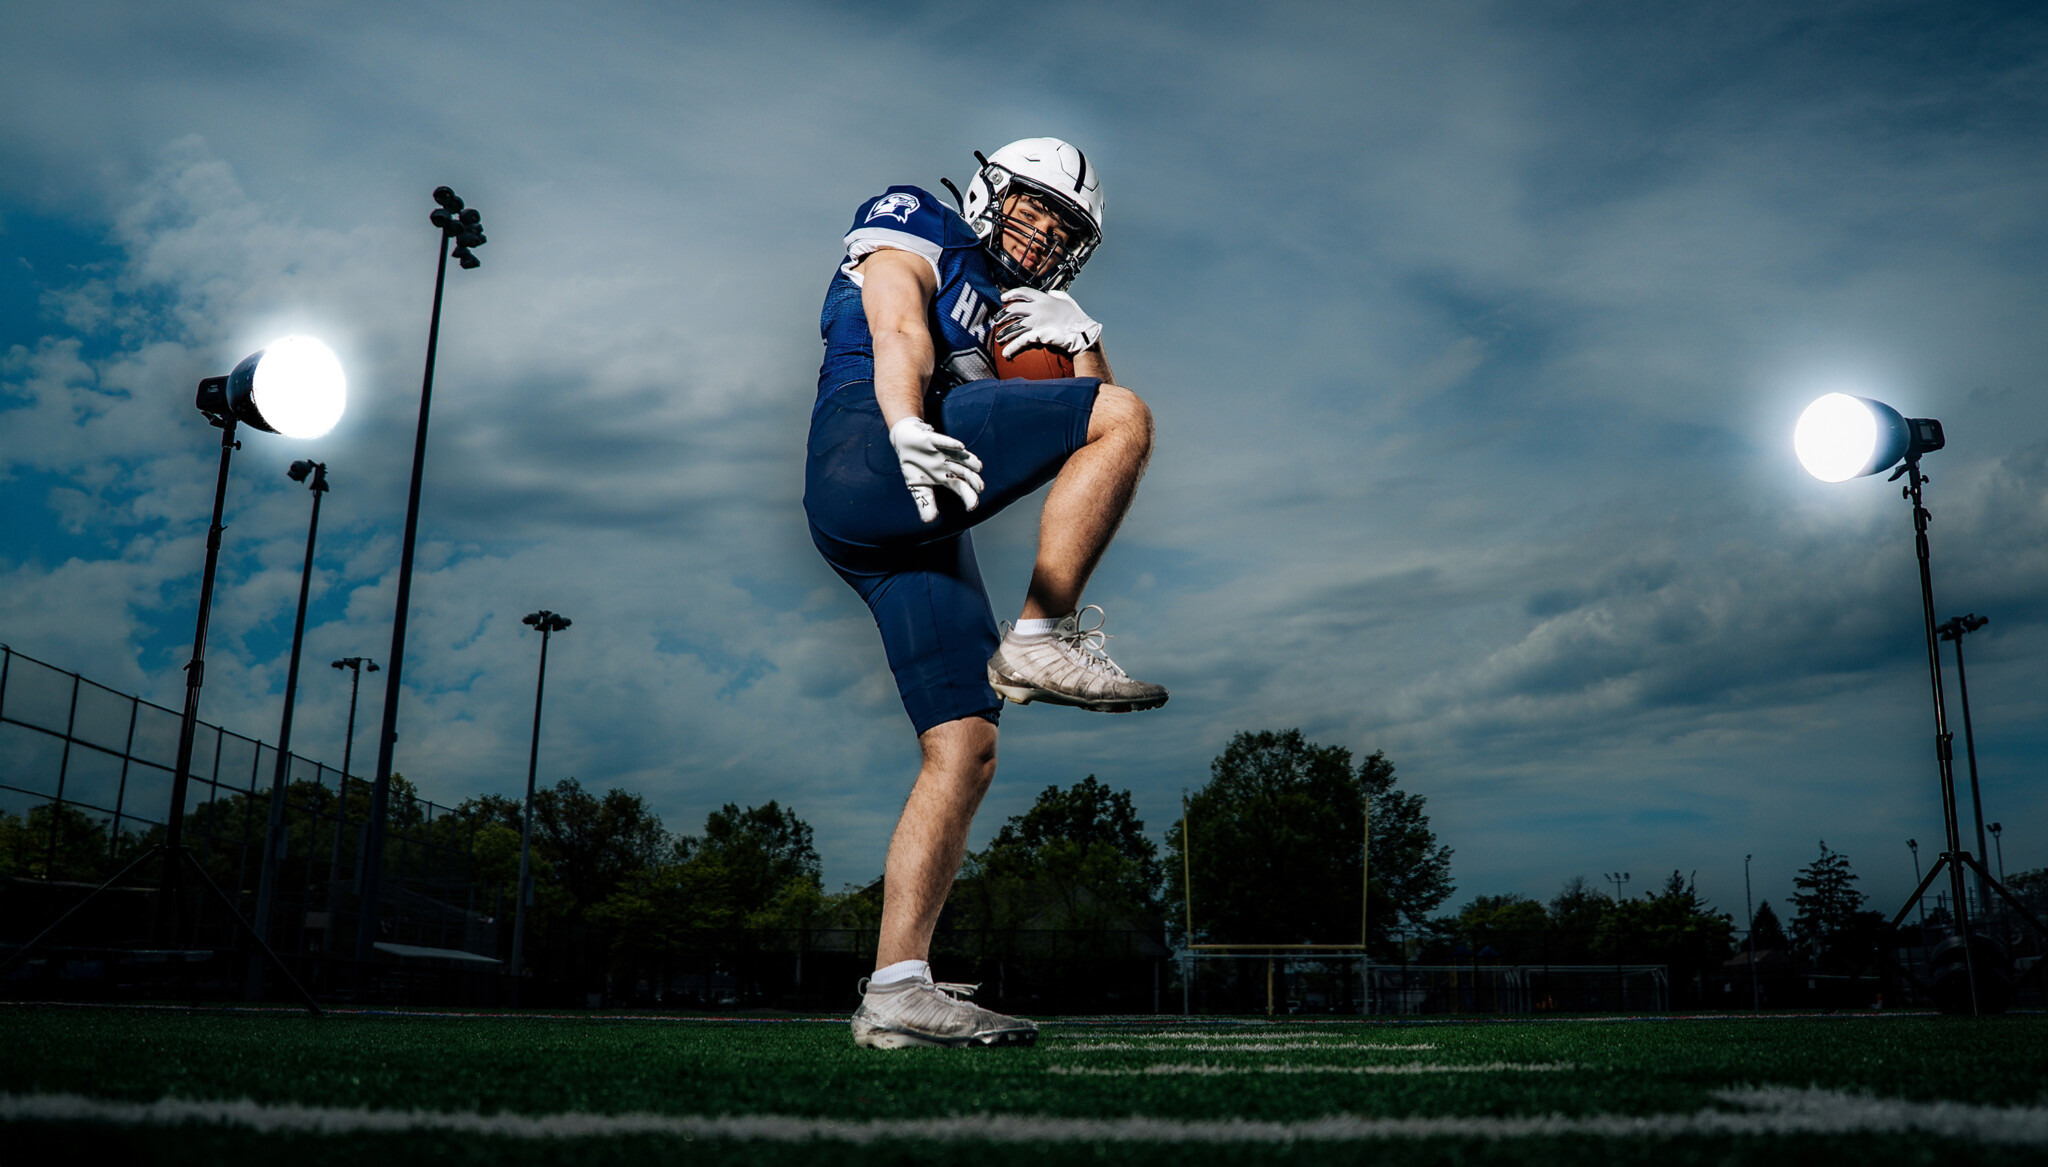
When you’re shooting portraits outdoors, the midday sun rarely works in your favor. If you want to shoot wide open at f/2.8 or f/3.2 to blur the background and keep all the focus on your subject, you are forced to crank your shutter speed way up to prevent the bright sky from blowing out. The problem is that a camera’s sync speed with traditional strobes maxes out at around 1/200th of a second, making that shot tricky unless you use High-Speed Sync (HSS).
Photographer Dani Mack relies on Westcott strobes to balance harsh sunlight and control the frame right on the football field. In this guide, Dani breaks down the mechanics of High-Speed Sync, how to expose for the sky before turning on your flash, and how to run a versatile three-light setup that gives you multiple looks from one spot.
What Is High-Speed Sync (HSS) and Why Do You Need It?
Every camera has a native sync speed, usually between 1/200s and 1/250 of a second. If you push your shutter speed faster than that while using a standard flash, your camera’s mechanical shutter curtains cannot expose the entire sensor all at once. The flash fires while the curtains are still traveling across the sensor, leaving a dark black band across your photo.
High-Speed Sync solves this problem. Instead of firing a single burst of light, the strobe pulses thousands of times per second, acting like a steady beam while the shutter curtains travel. This unlocks shutter speeds all the way up to 1/8000s.
With HSS turned on, you get to pick your camera settings based on your creative vision rather than the limits of your gear. You can shoot wide open in direct sun, turn a washed-out sky into a deep blue backdrop, and let your flash light your athlete cleanly.
Westcott Gear Used
- Westcott FJ800 Strobe (Main Key Light): Delivers 800Ws of power to overpower midday sun at ultra-fast shutter speeds while keeping your athlete bright and sharp.
- Westcott FJ400 II Strobes (Rim Lights): Compact, battery-powered 400Ws lights that provide clean edge lighting to carve the athlete out from dark trees or bleachers.
- 45-Degree Deep Focus Reflectors: Direct the light into a tight, punchy beam over long distances and stay rock-solid in breezy conditions where softboxes would catch the wind.
- Westcott FJ Wireless Trigger: Mounts to your camera hot shoe to control power levels across separate groups and toggle HSS without moving from your shooting position.
Setting Your Camera: Expose for Your Background First
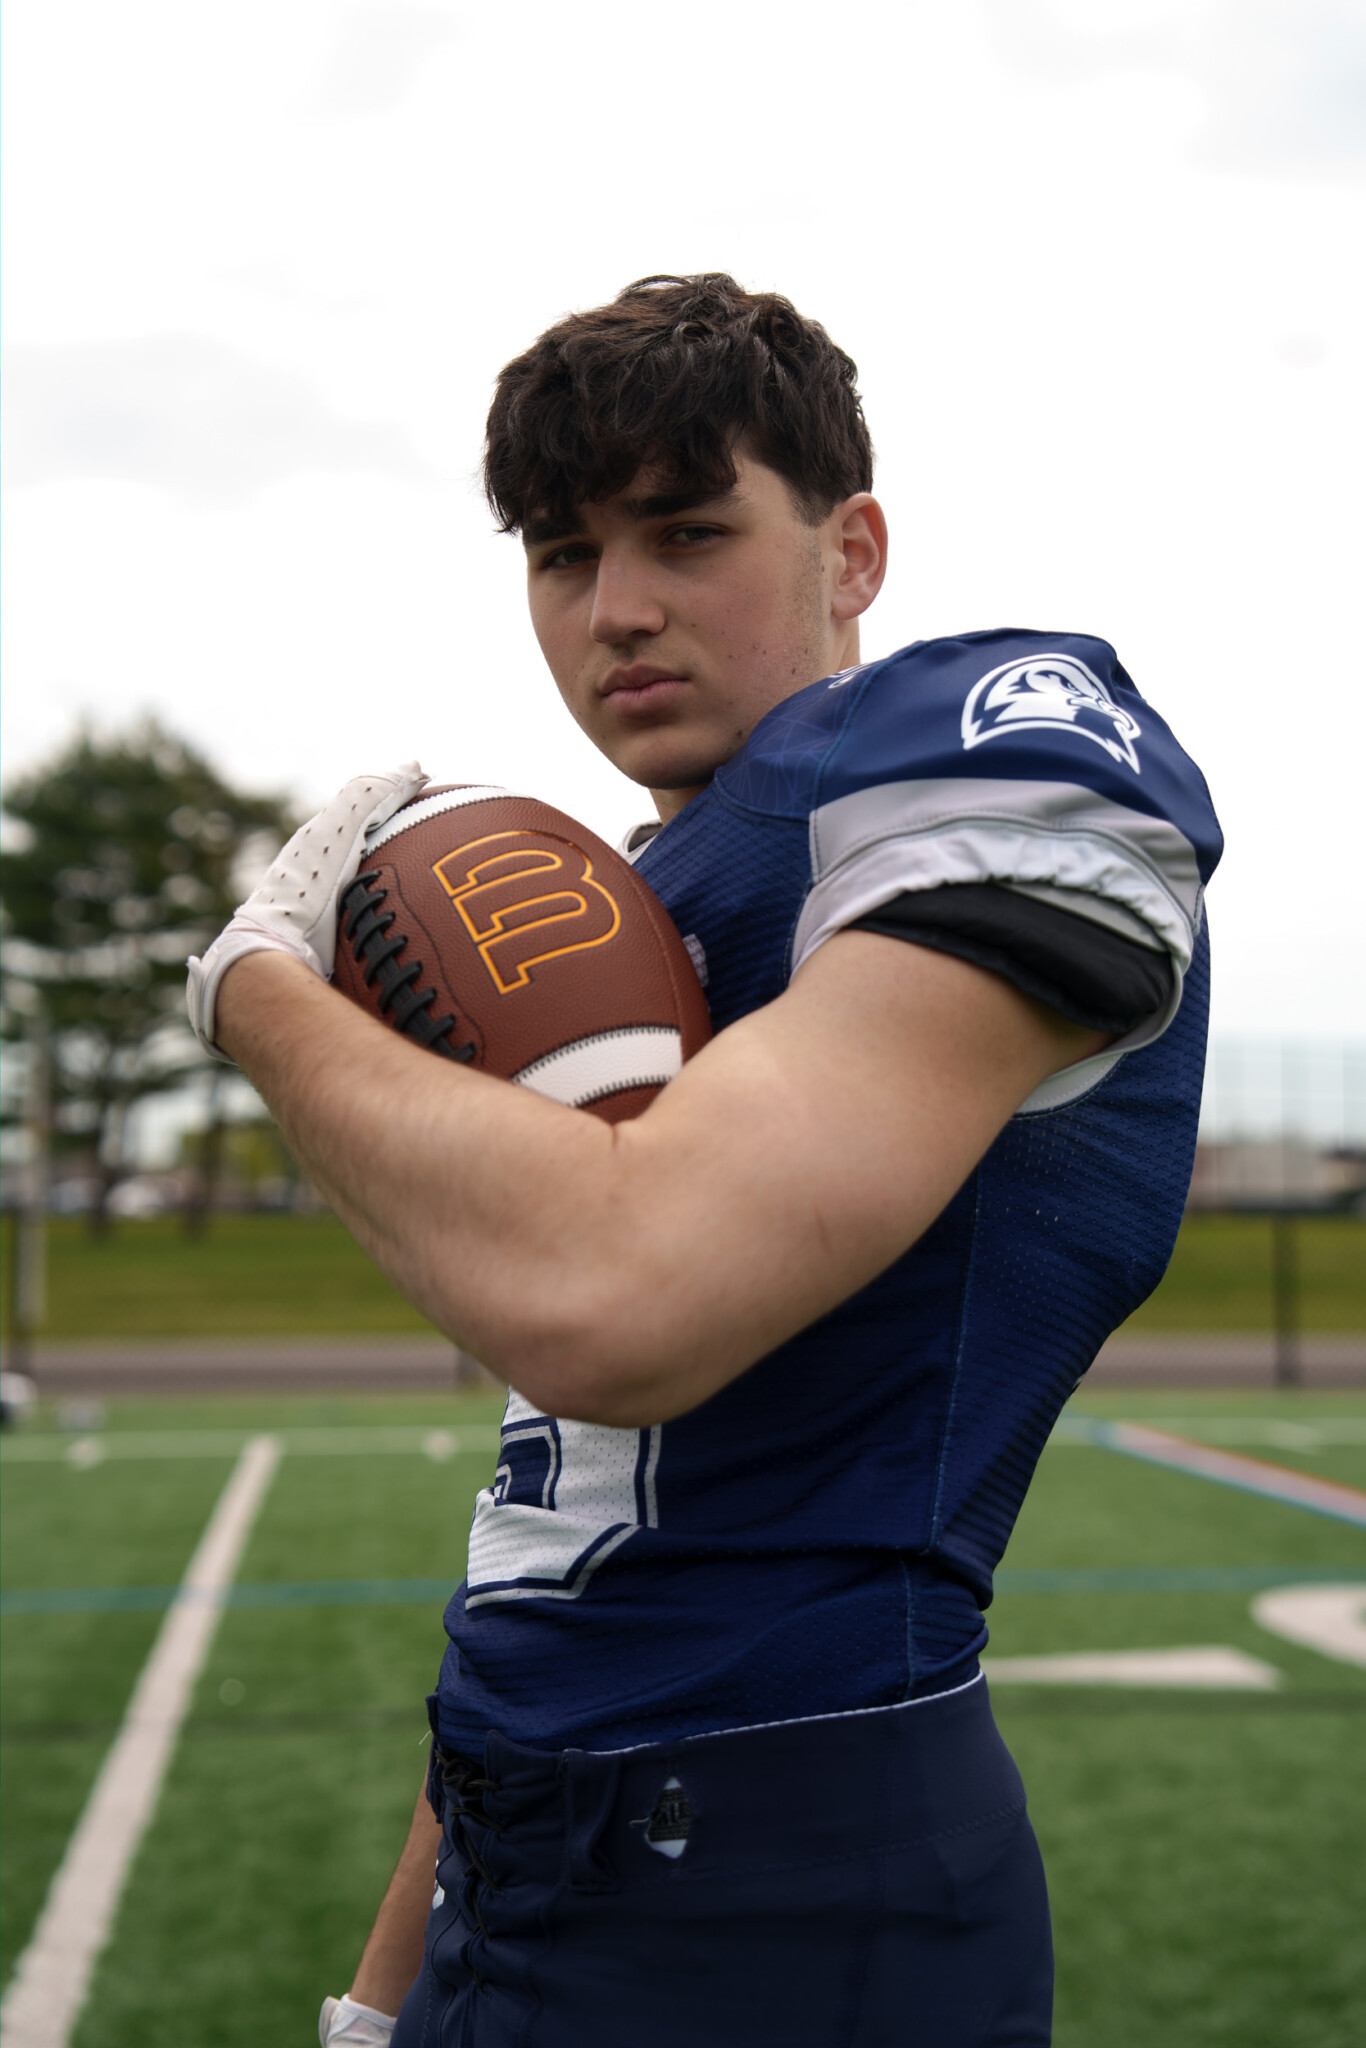
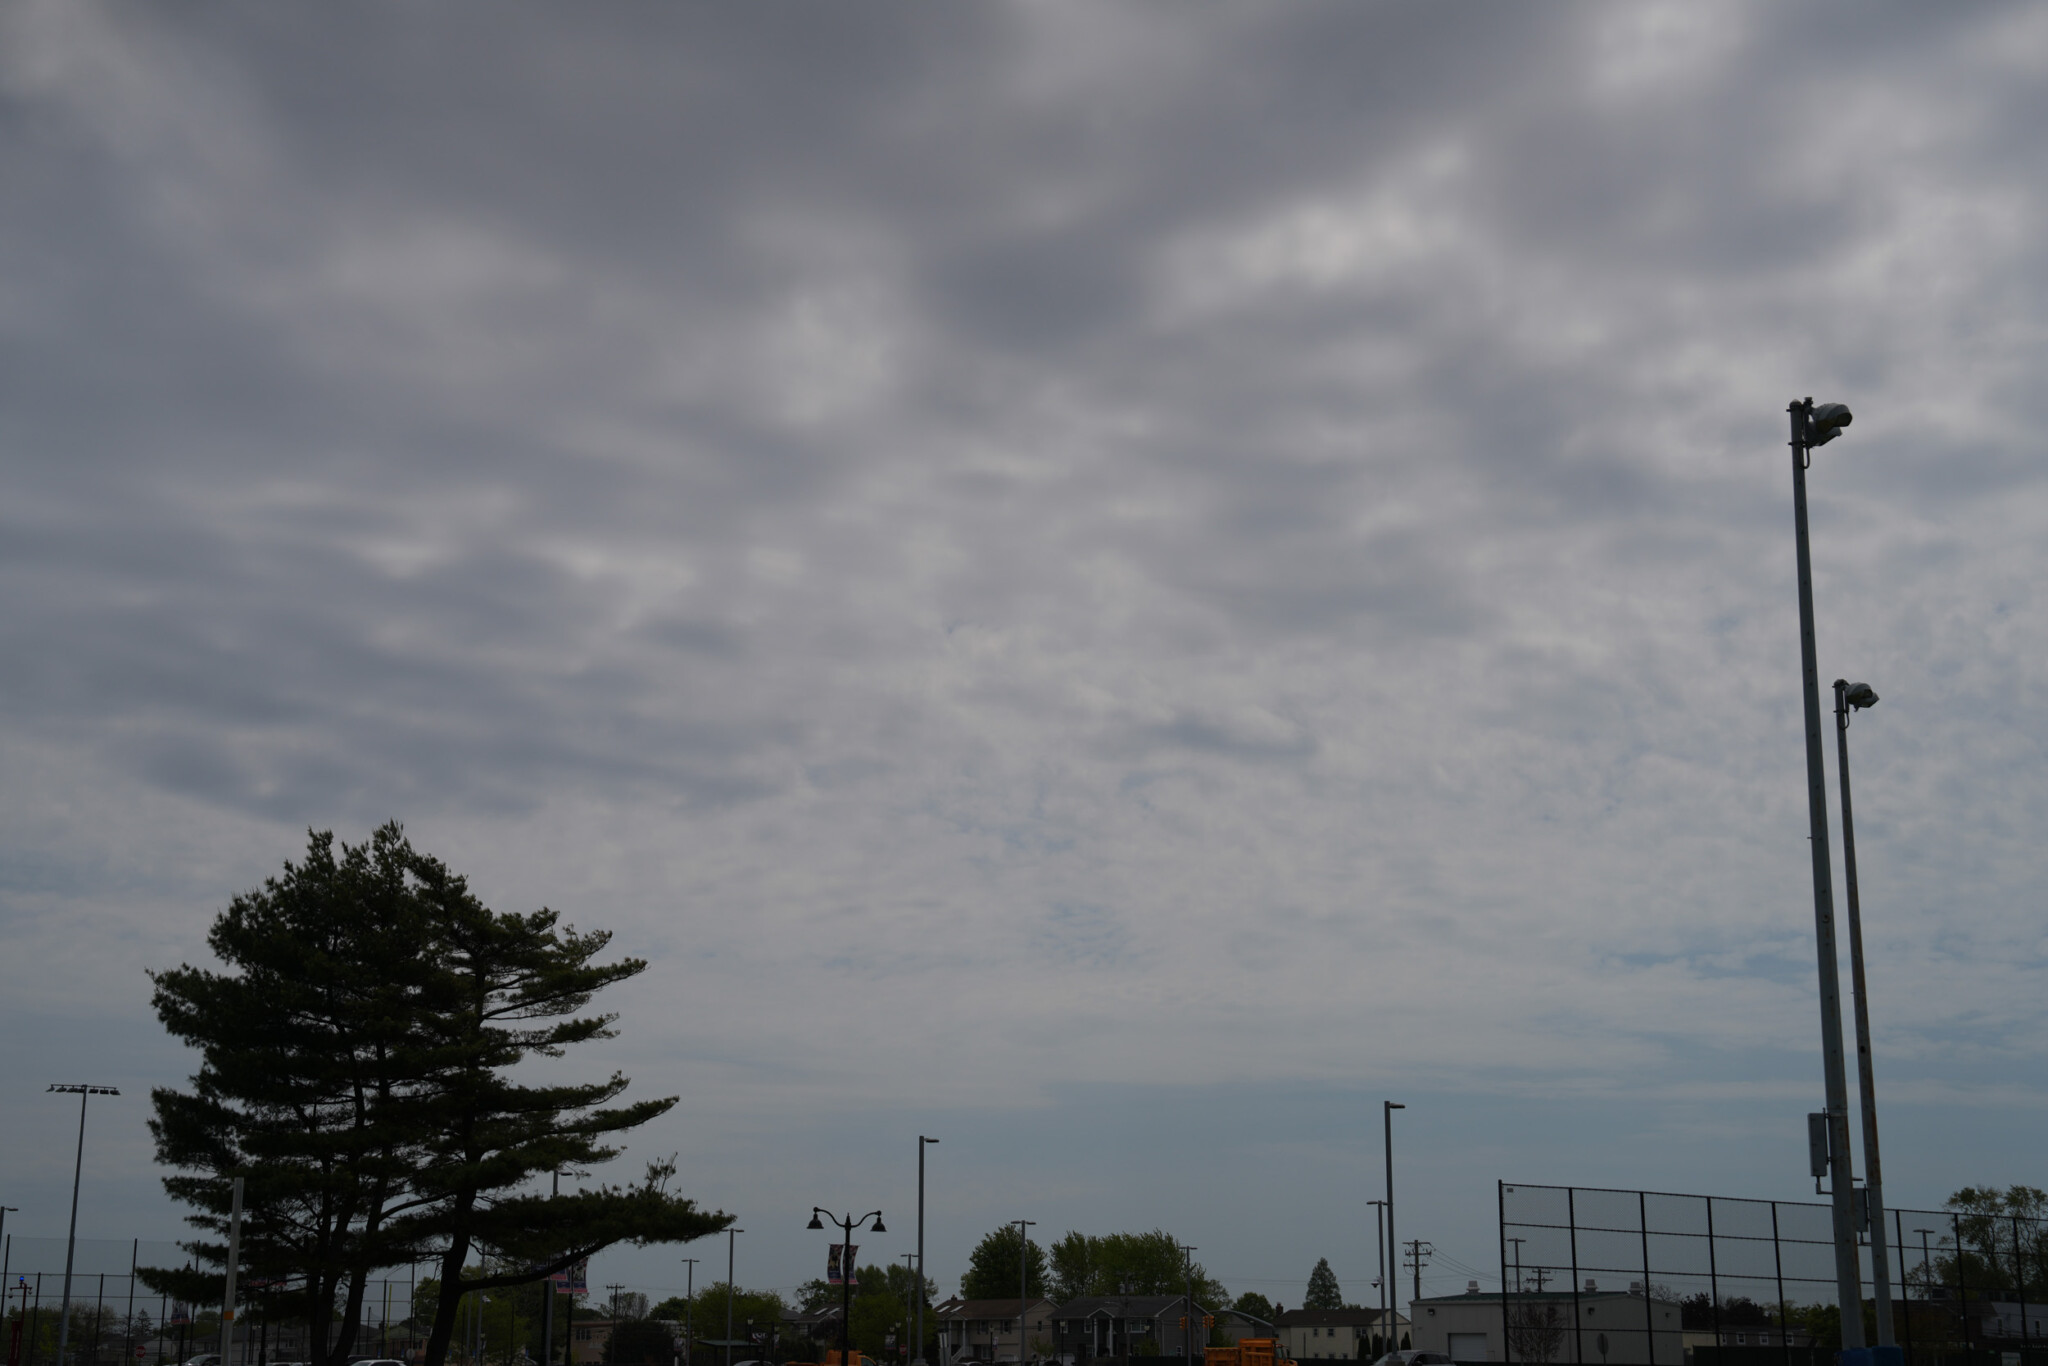
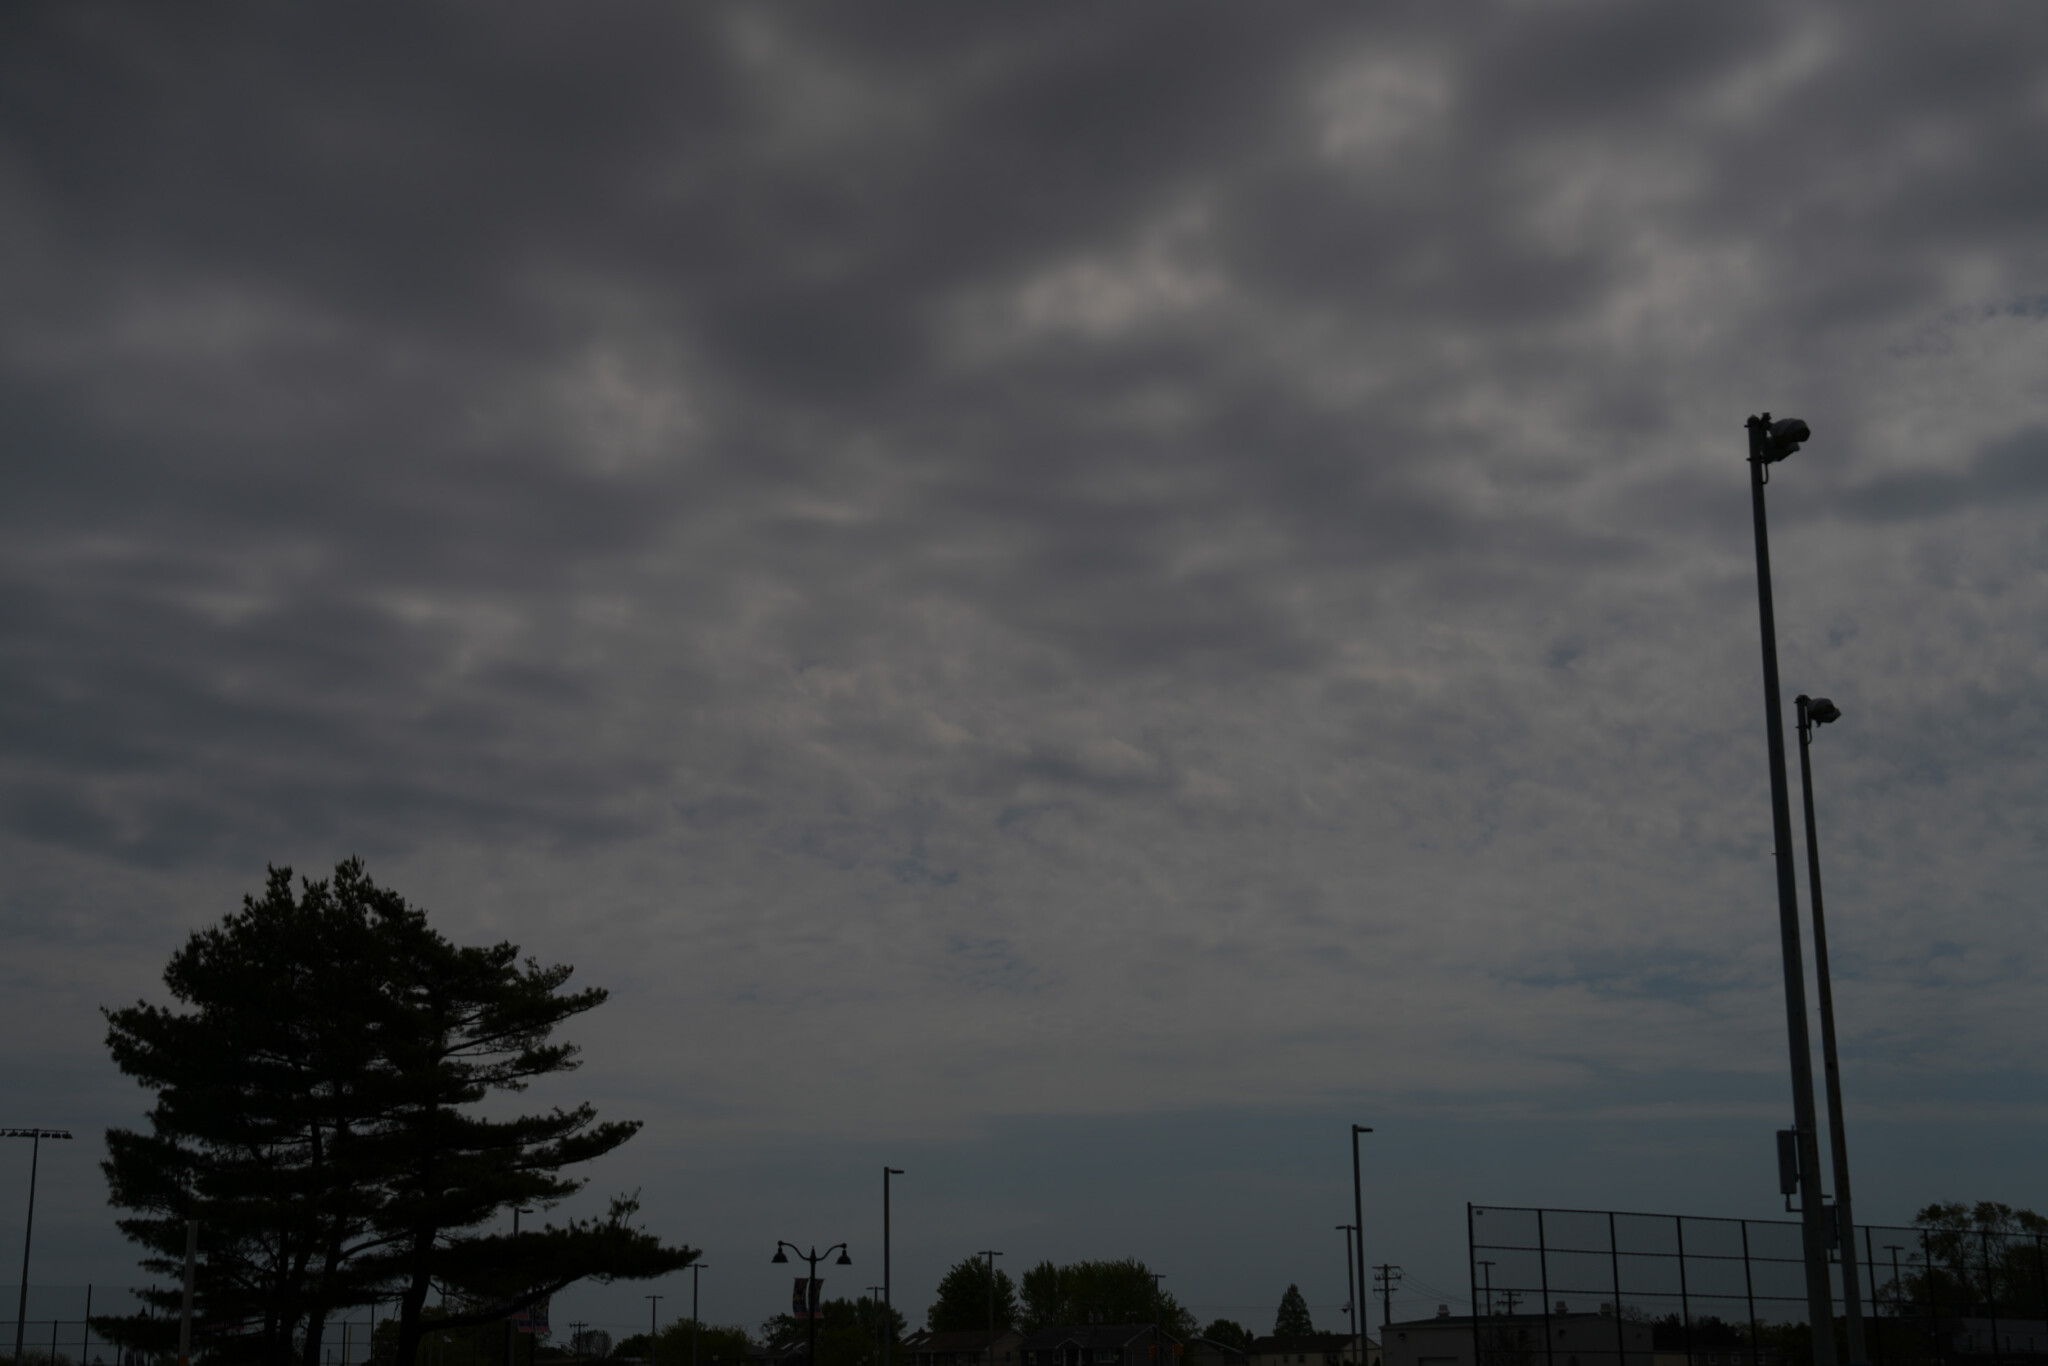
Before you turn on your flash, dial in your background exposure so the sky looks rich, saturated, and dramatic. If you leave your camera on standard exposure, midday sunlight will wash out the clouds into flat, bright white. Start by turning off all your strobes completely so you are reading only the ambient daylight.
Next, set your creative base. Open your lens wide to around f/2.8 or f/3.2 to soften the background and keep all the attention on your athlete. Drop your camera’s ISO as low as it will go. Dani sets her Sony body down to ISO 50 to cut down incoming light.
From there, crank your shutter speed way up into high gear, somewhere between 1/6400s and 1/8000s, making sure High-Speed Sync is enabled on your trigger. Take a test shot of the sky. Once that sky looks perfect in-camera, you are ready to bring in your lights.
Getting Started with a Single Light
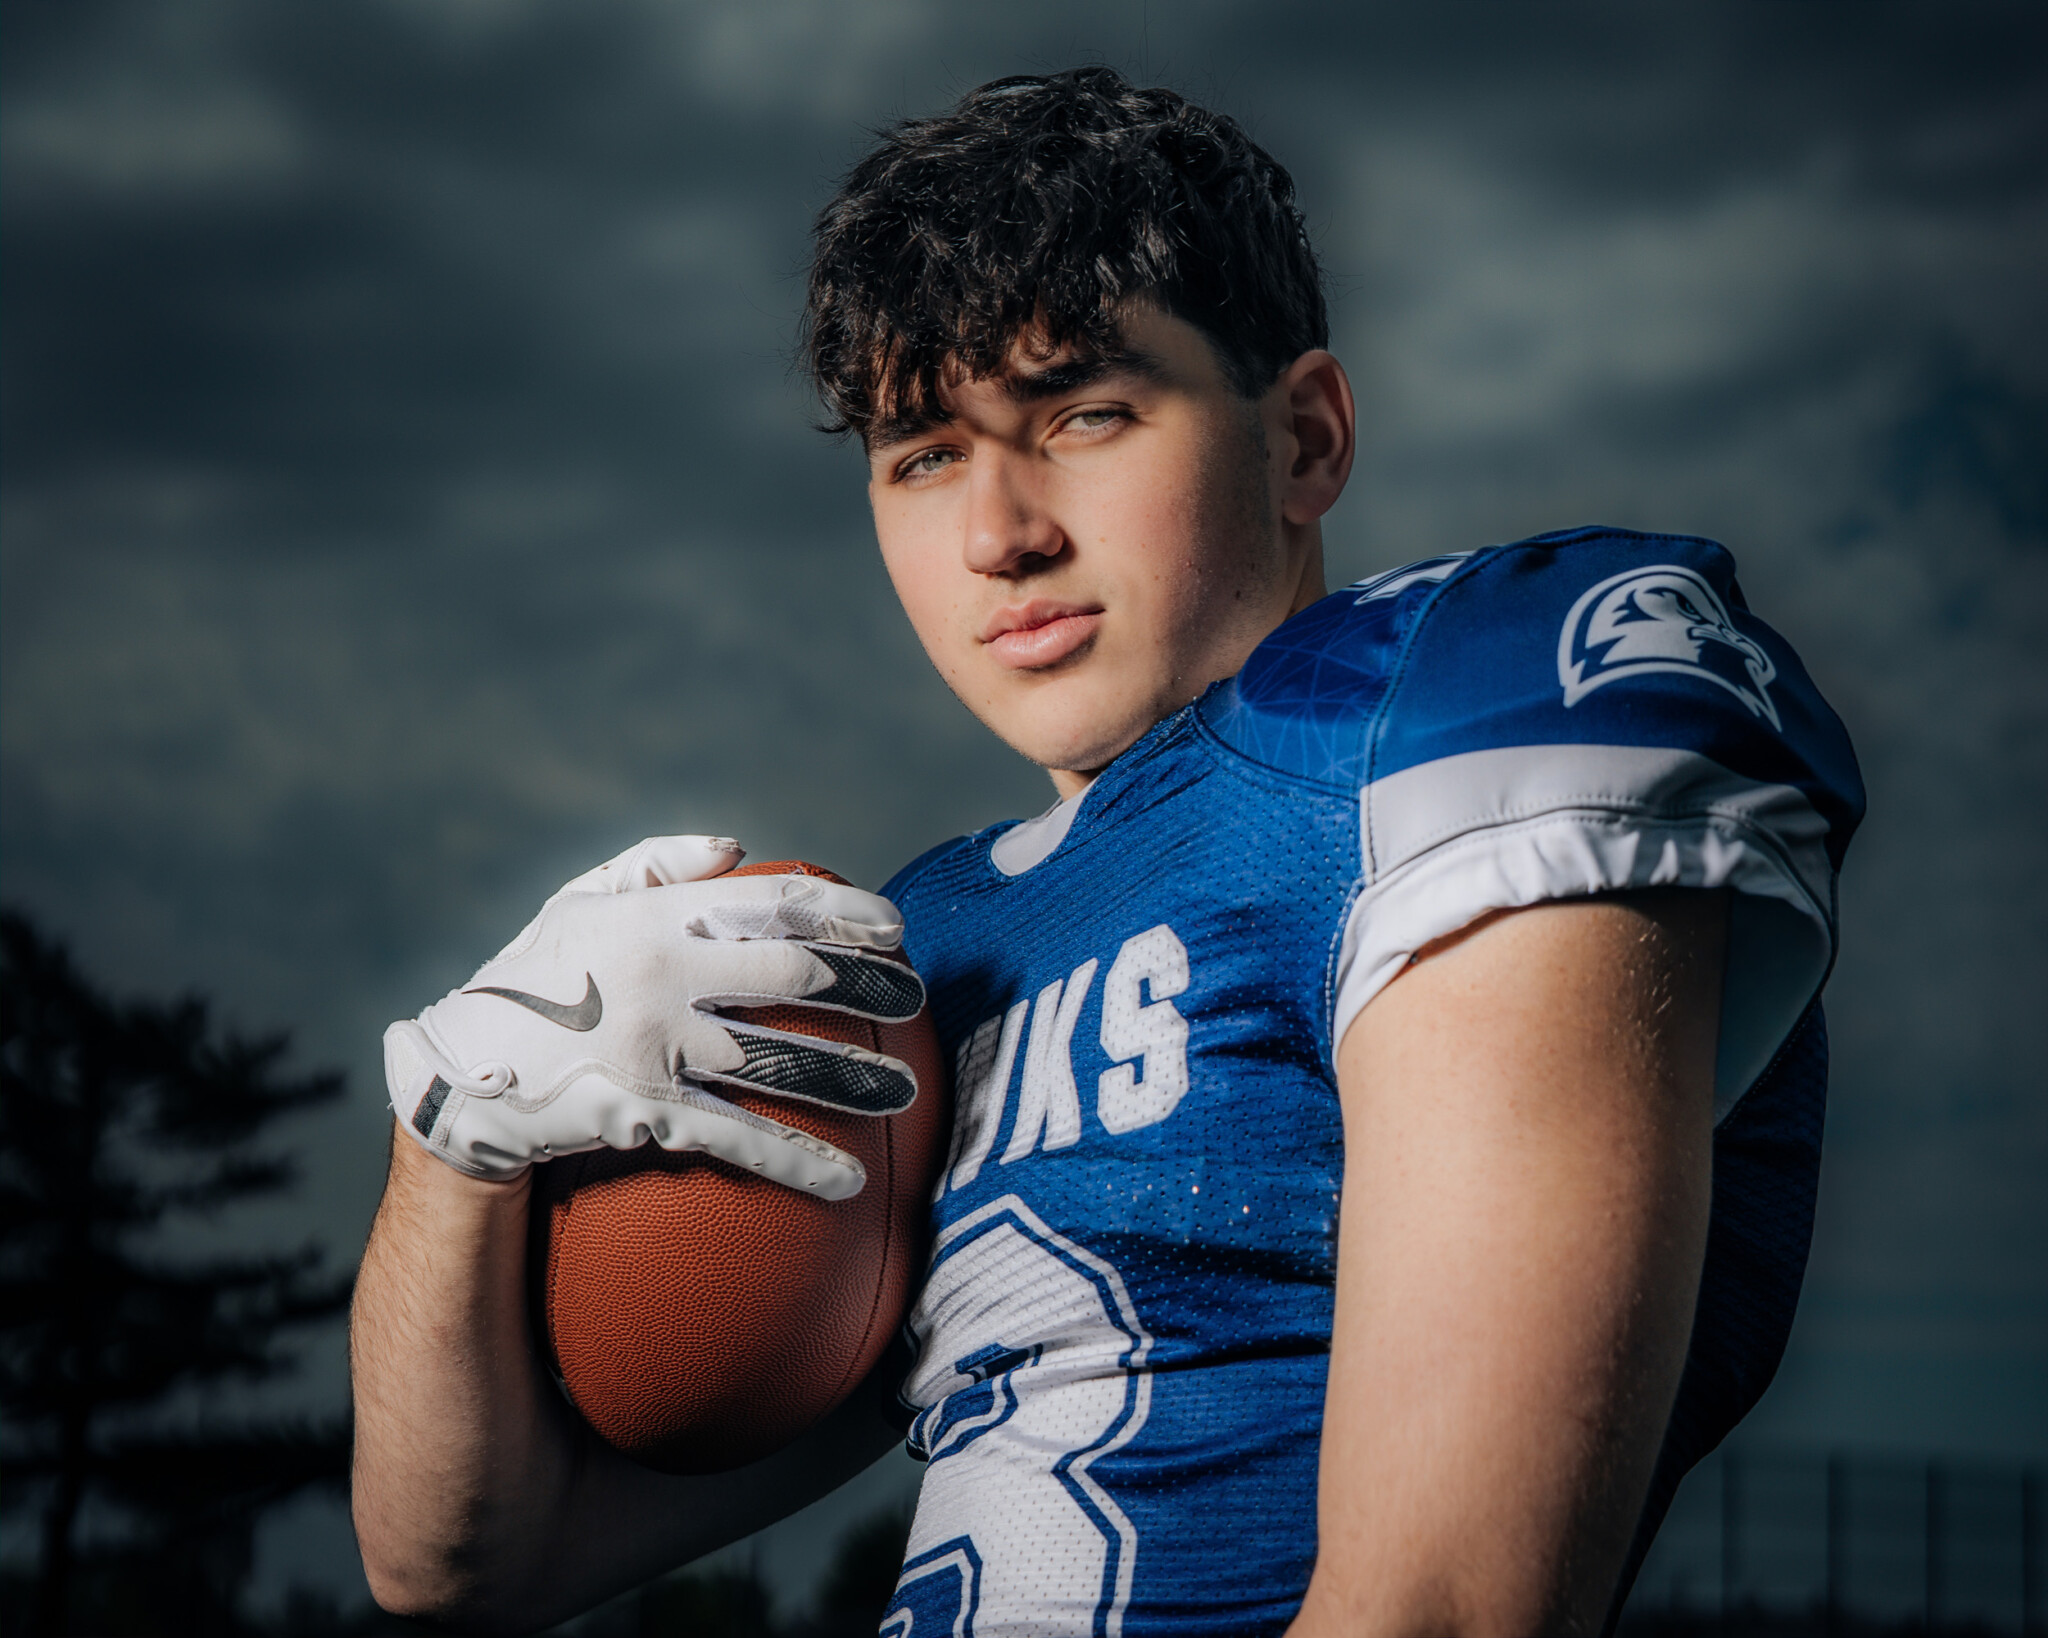
You don’t need a trailer full of gear to create impactful sports portraits. Dani built her business using a single strobe, and you can get immediate results with just one light on location.
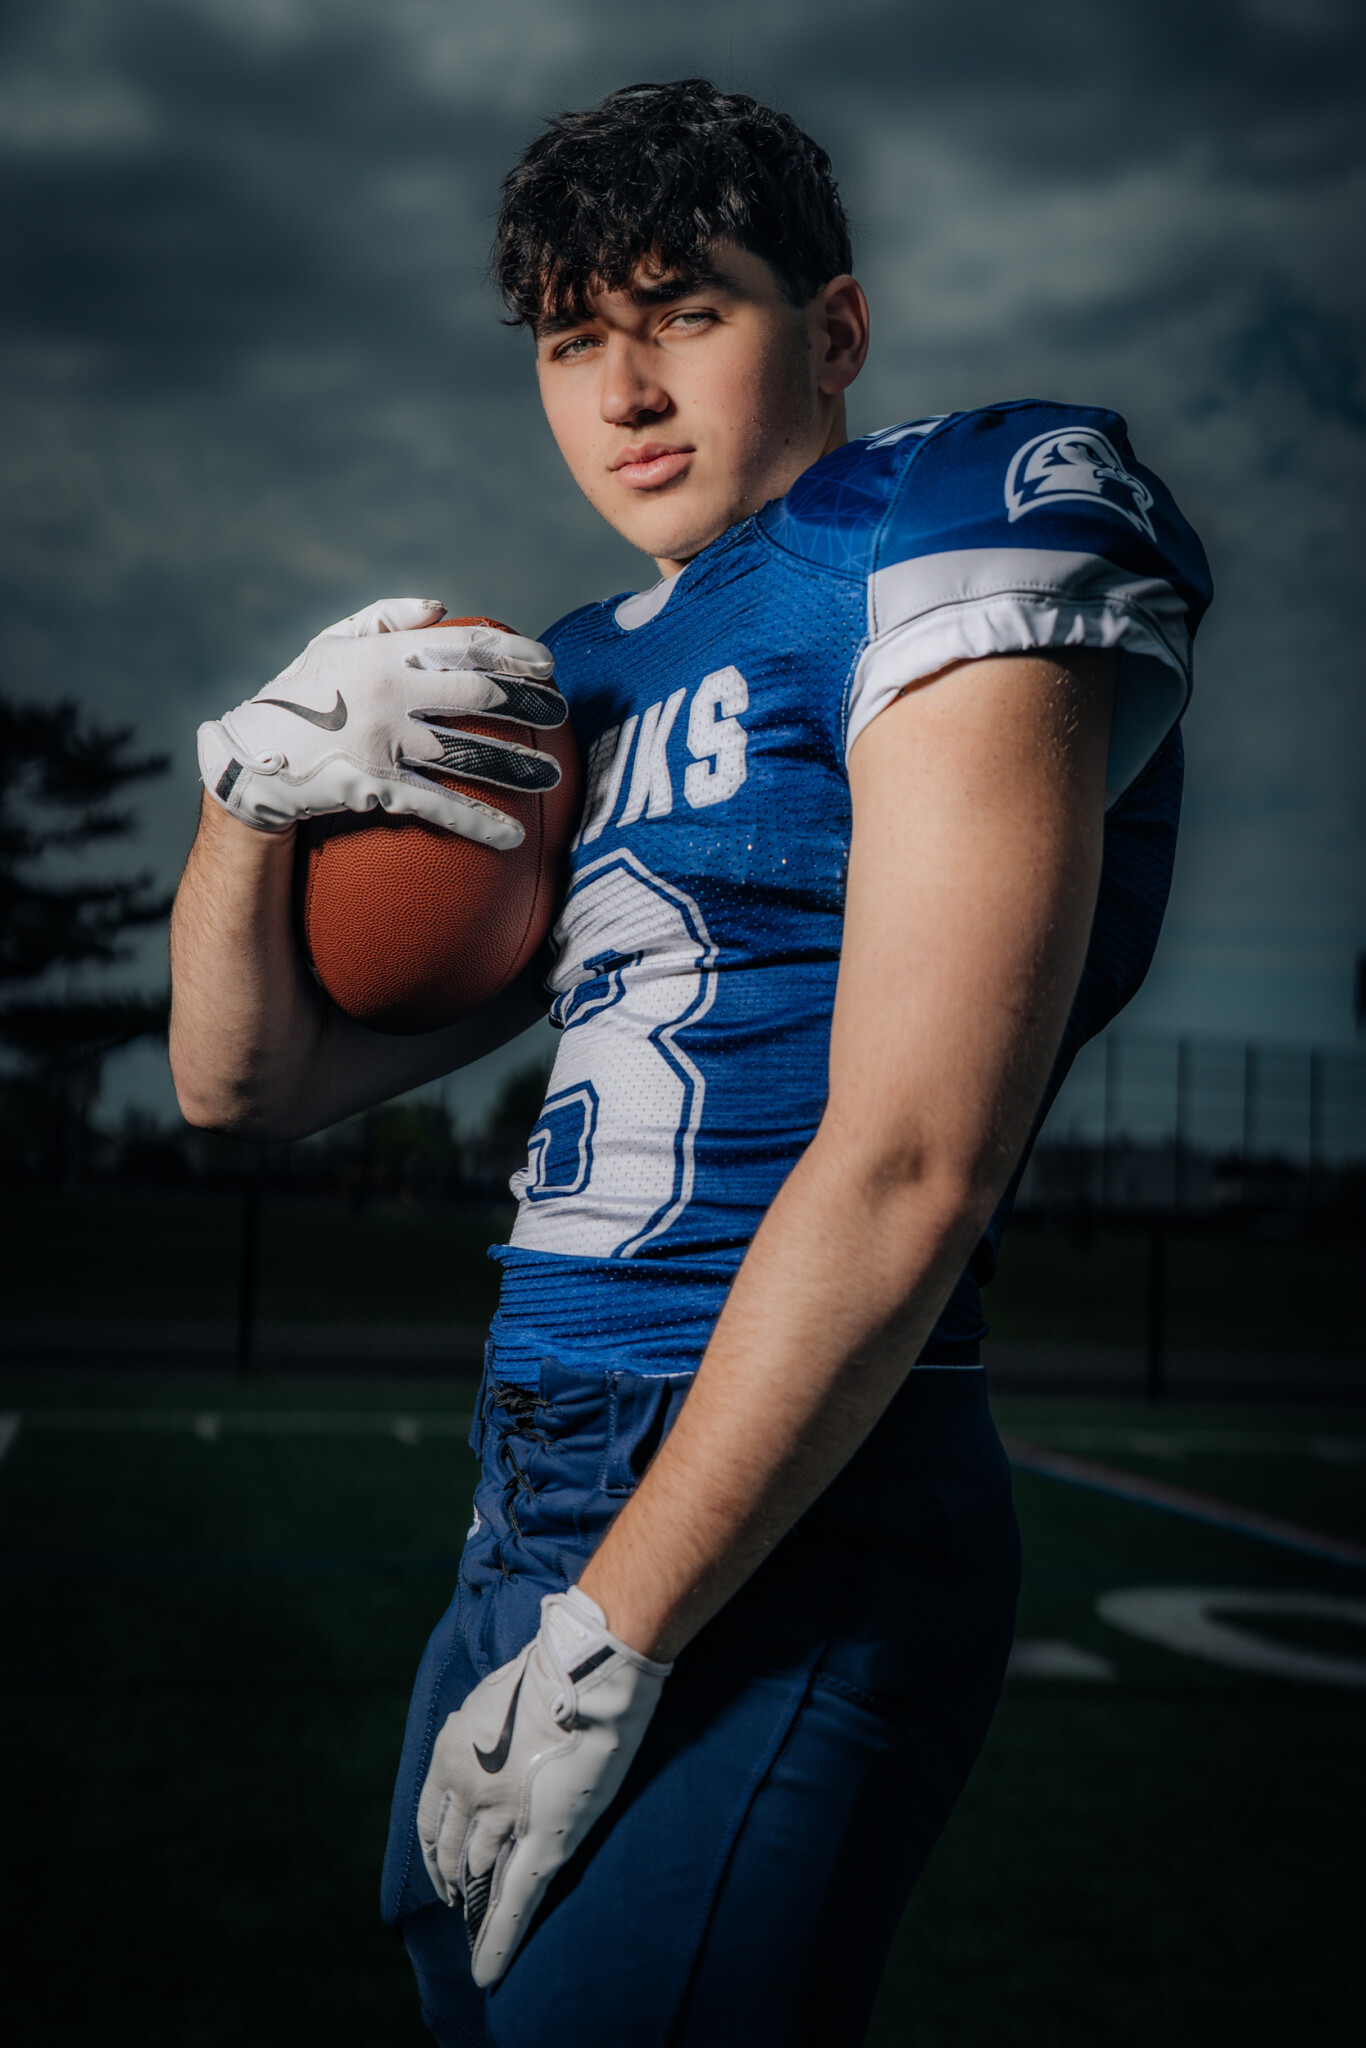
Position your athlete so the natural sun hits them from behind. This turns the sun into a free hair light while keeping harsh glare out of their eyes so they do not squint. Next, place your single strobe (either an FJ800 or FJ400 II) slightly off to the front side of the athlete.
The 3-Light “Triangle of Light”
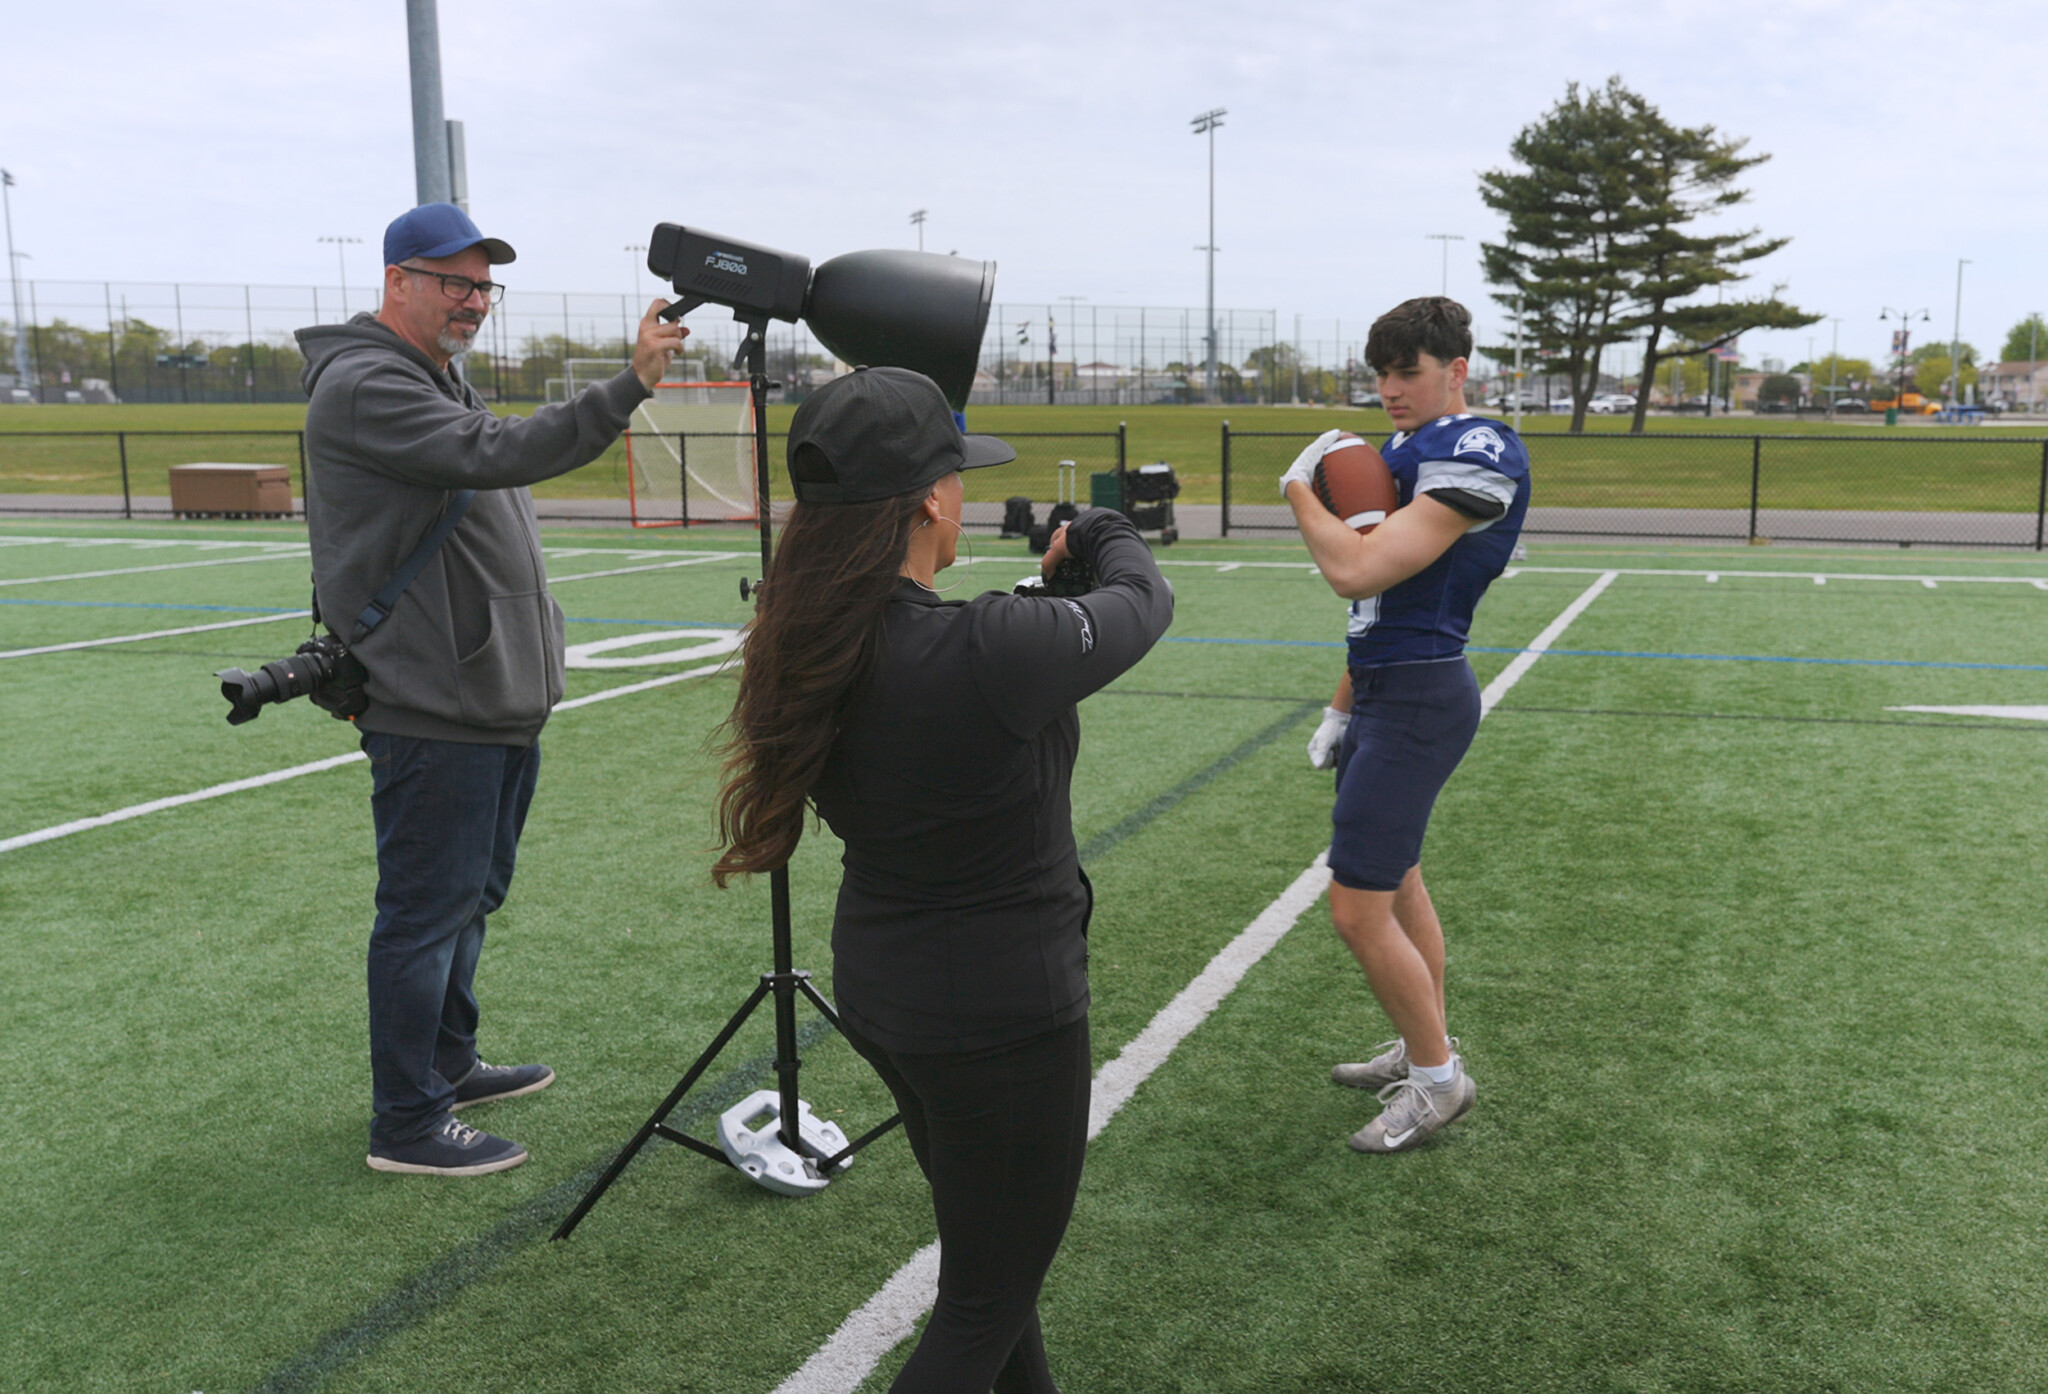
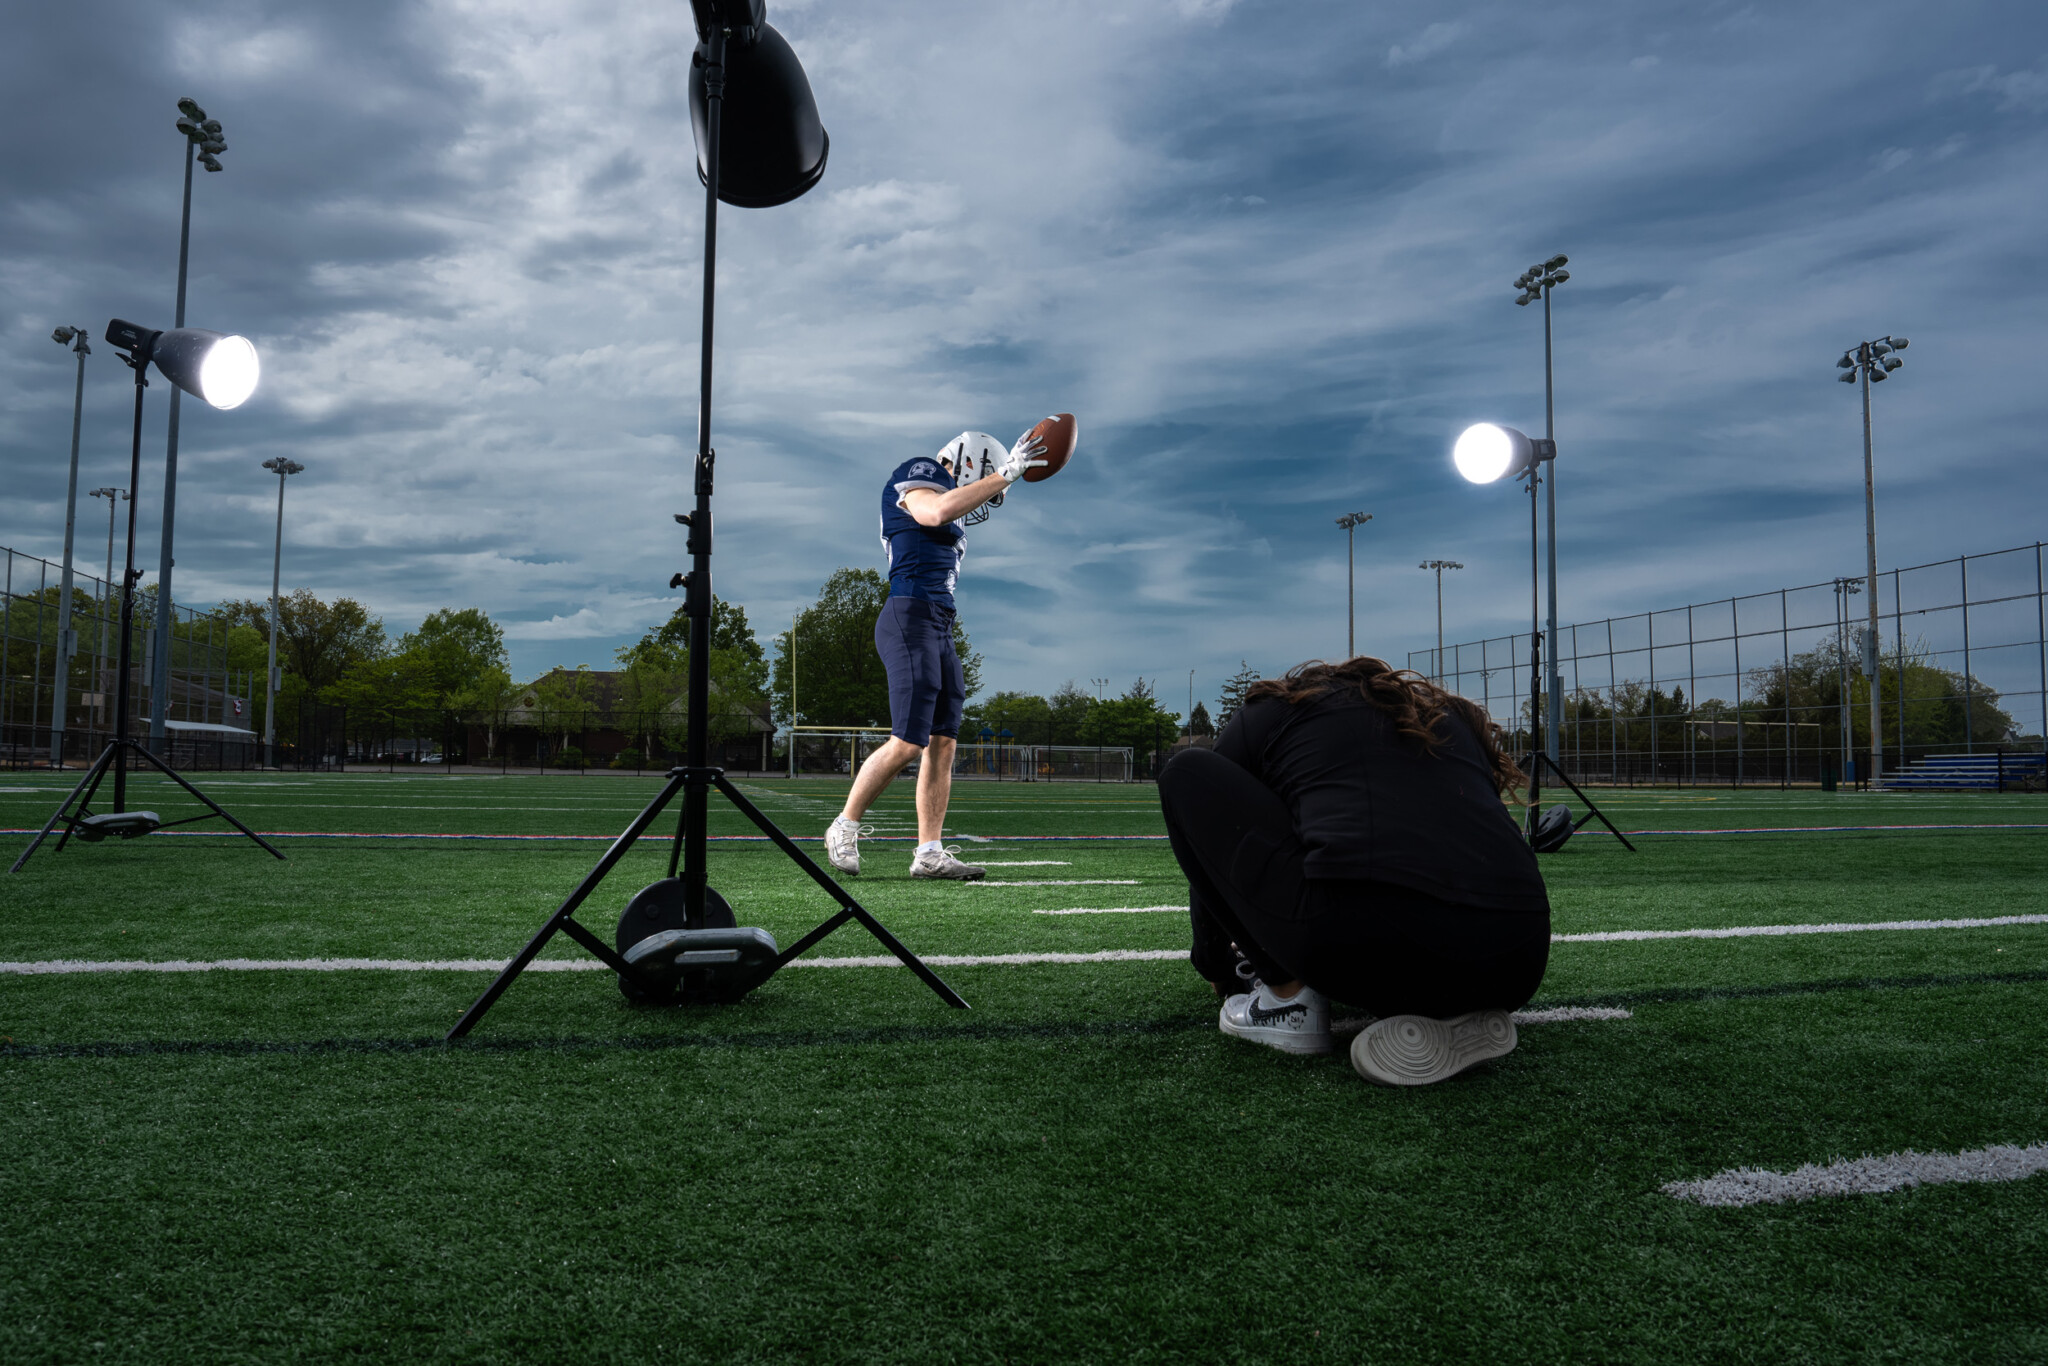
To add depth and separation, arrange your lights in a classic Triangle of Light. Place your main FJ800 strobe in front of your athlete, angled slightly to shape their face. Then, place two FJ400 II strobes behind the subject on the left and right sides, pointing back toward their shoulders and back. Fit all three strobes with 45-degree deep focus reflectors to maximize output and keep light tightly directed on your subject.
The secret to dialing in this setup is building your frame one light at a time. Put your front main light to sleep on your trigger and assign both rear rim lights to the same group so their output stays balanced. Dani started her rim lights at power level 8.8.
Take a test shot with only the rim lights firing to confirm you have a bright outline separating both sides of the athlete from the background. Once the rim lights look clean, turn your main key light back on from your trigger, dial its power to taste, around 8.2 on Dani’s setup, and take your final shot.
Working Around Shadows
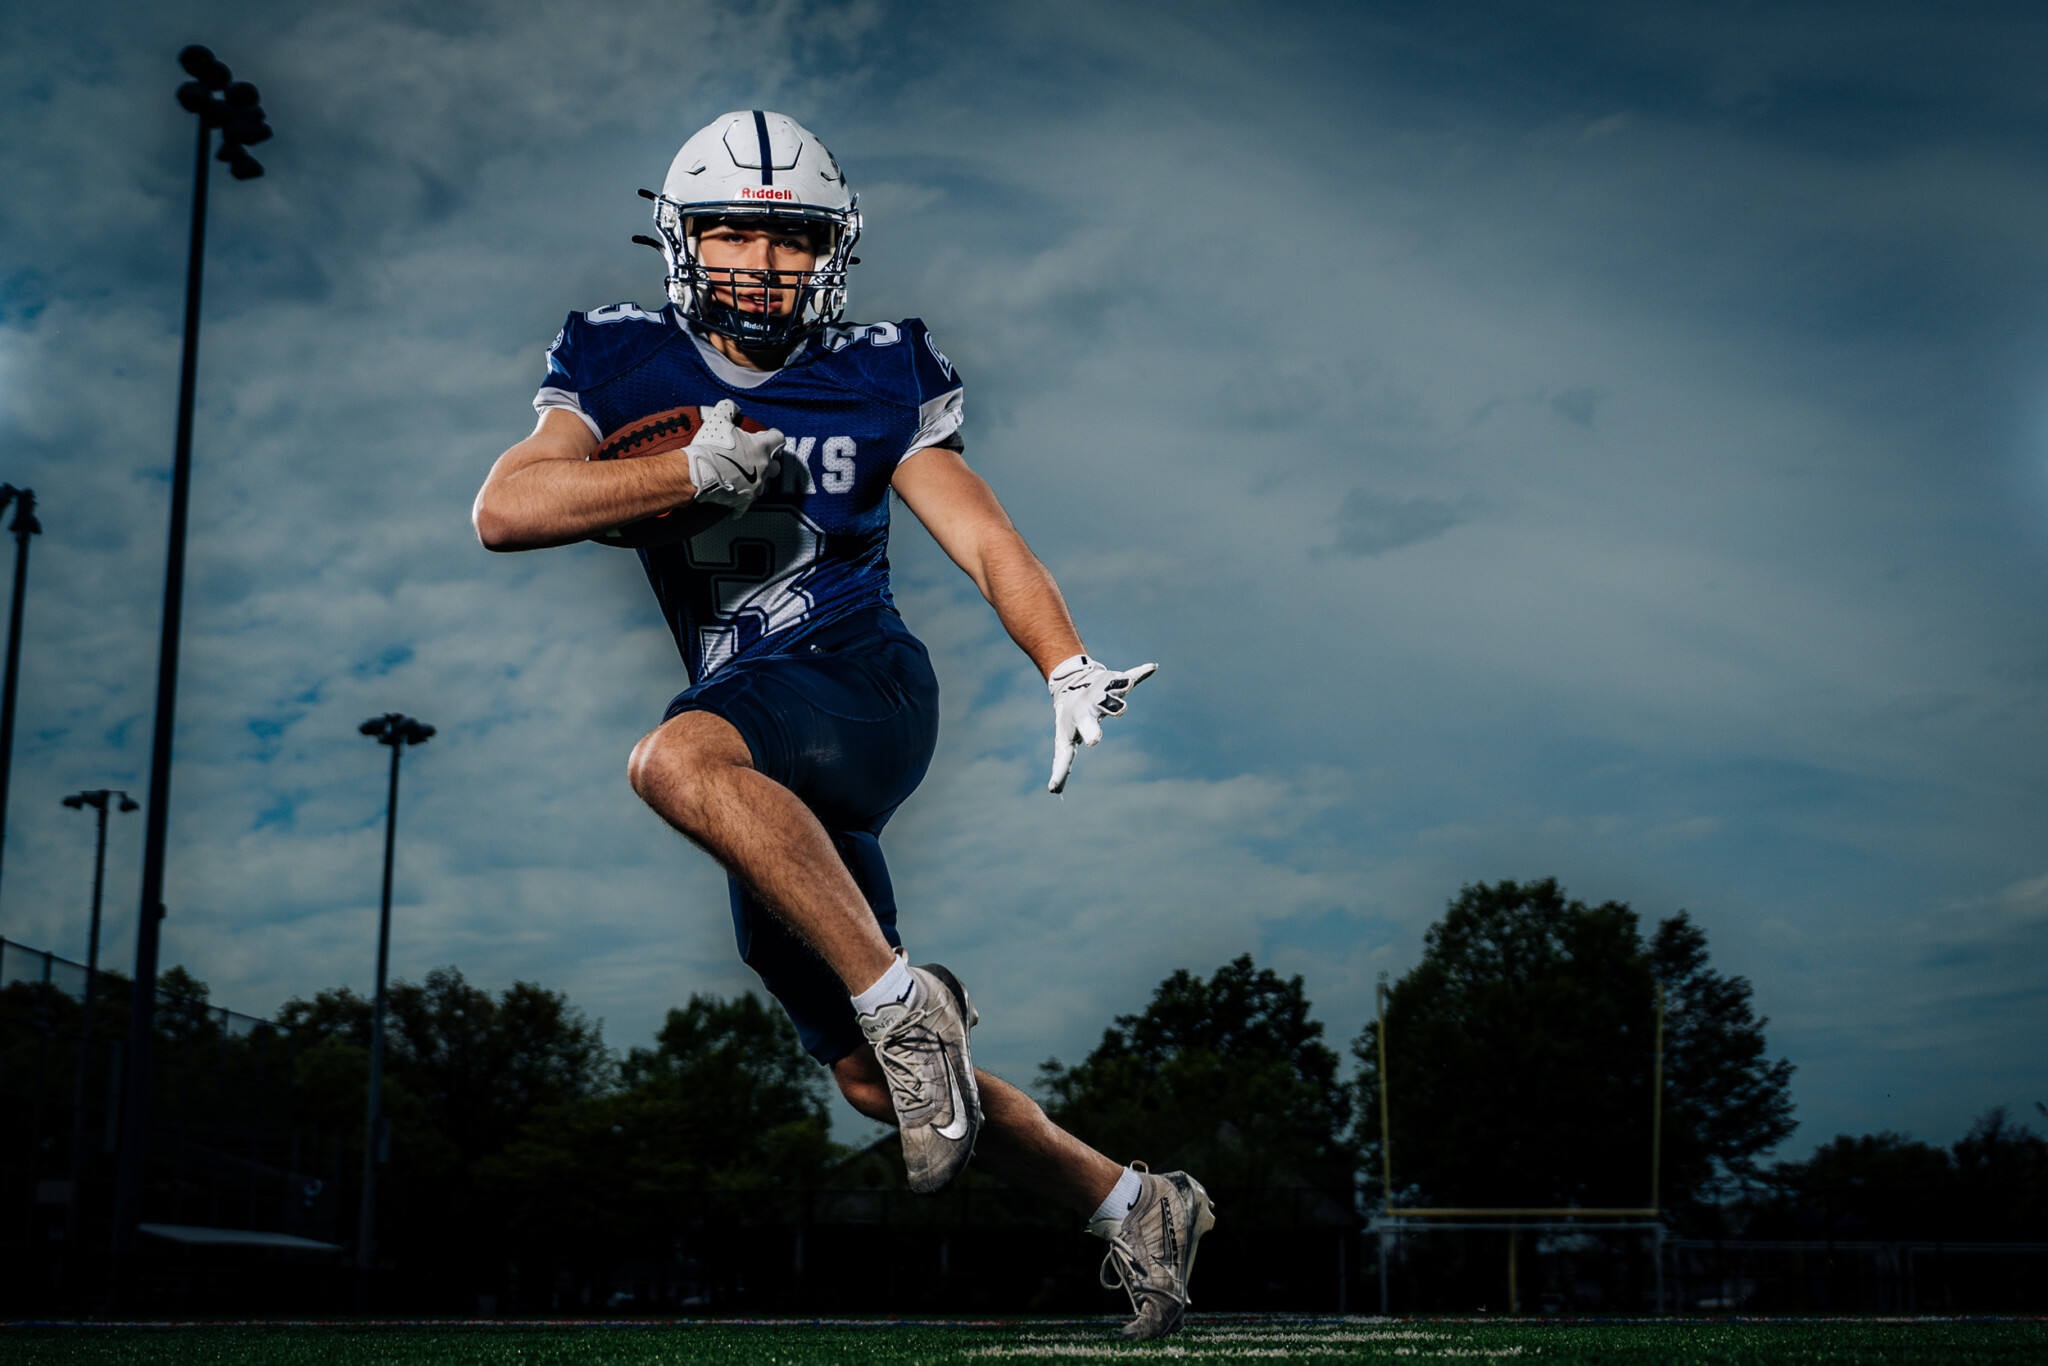
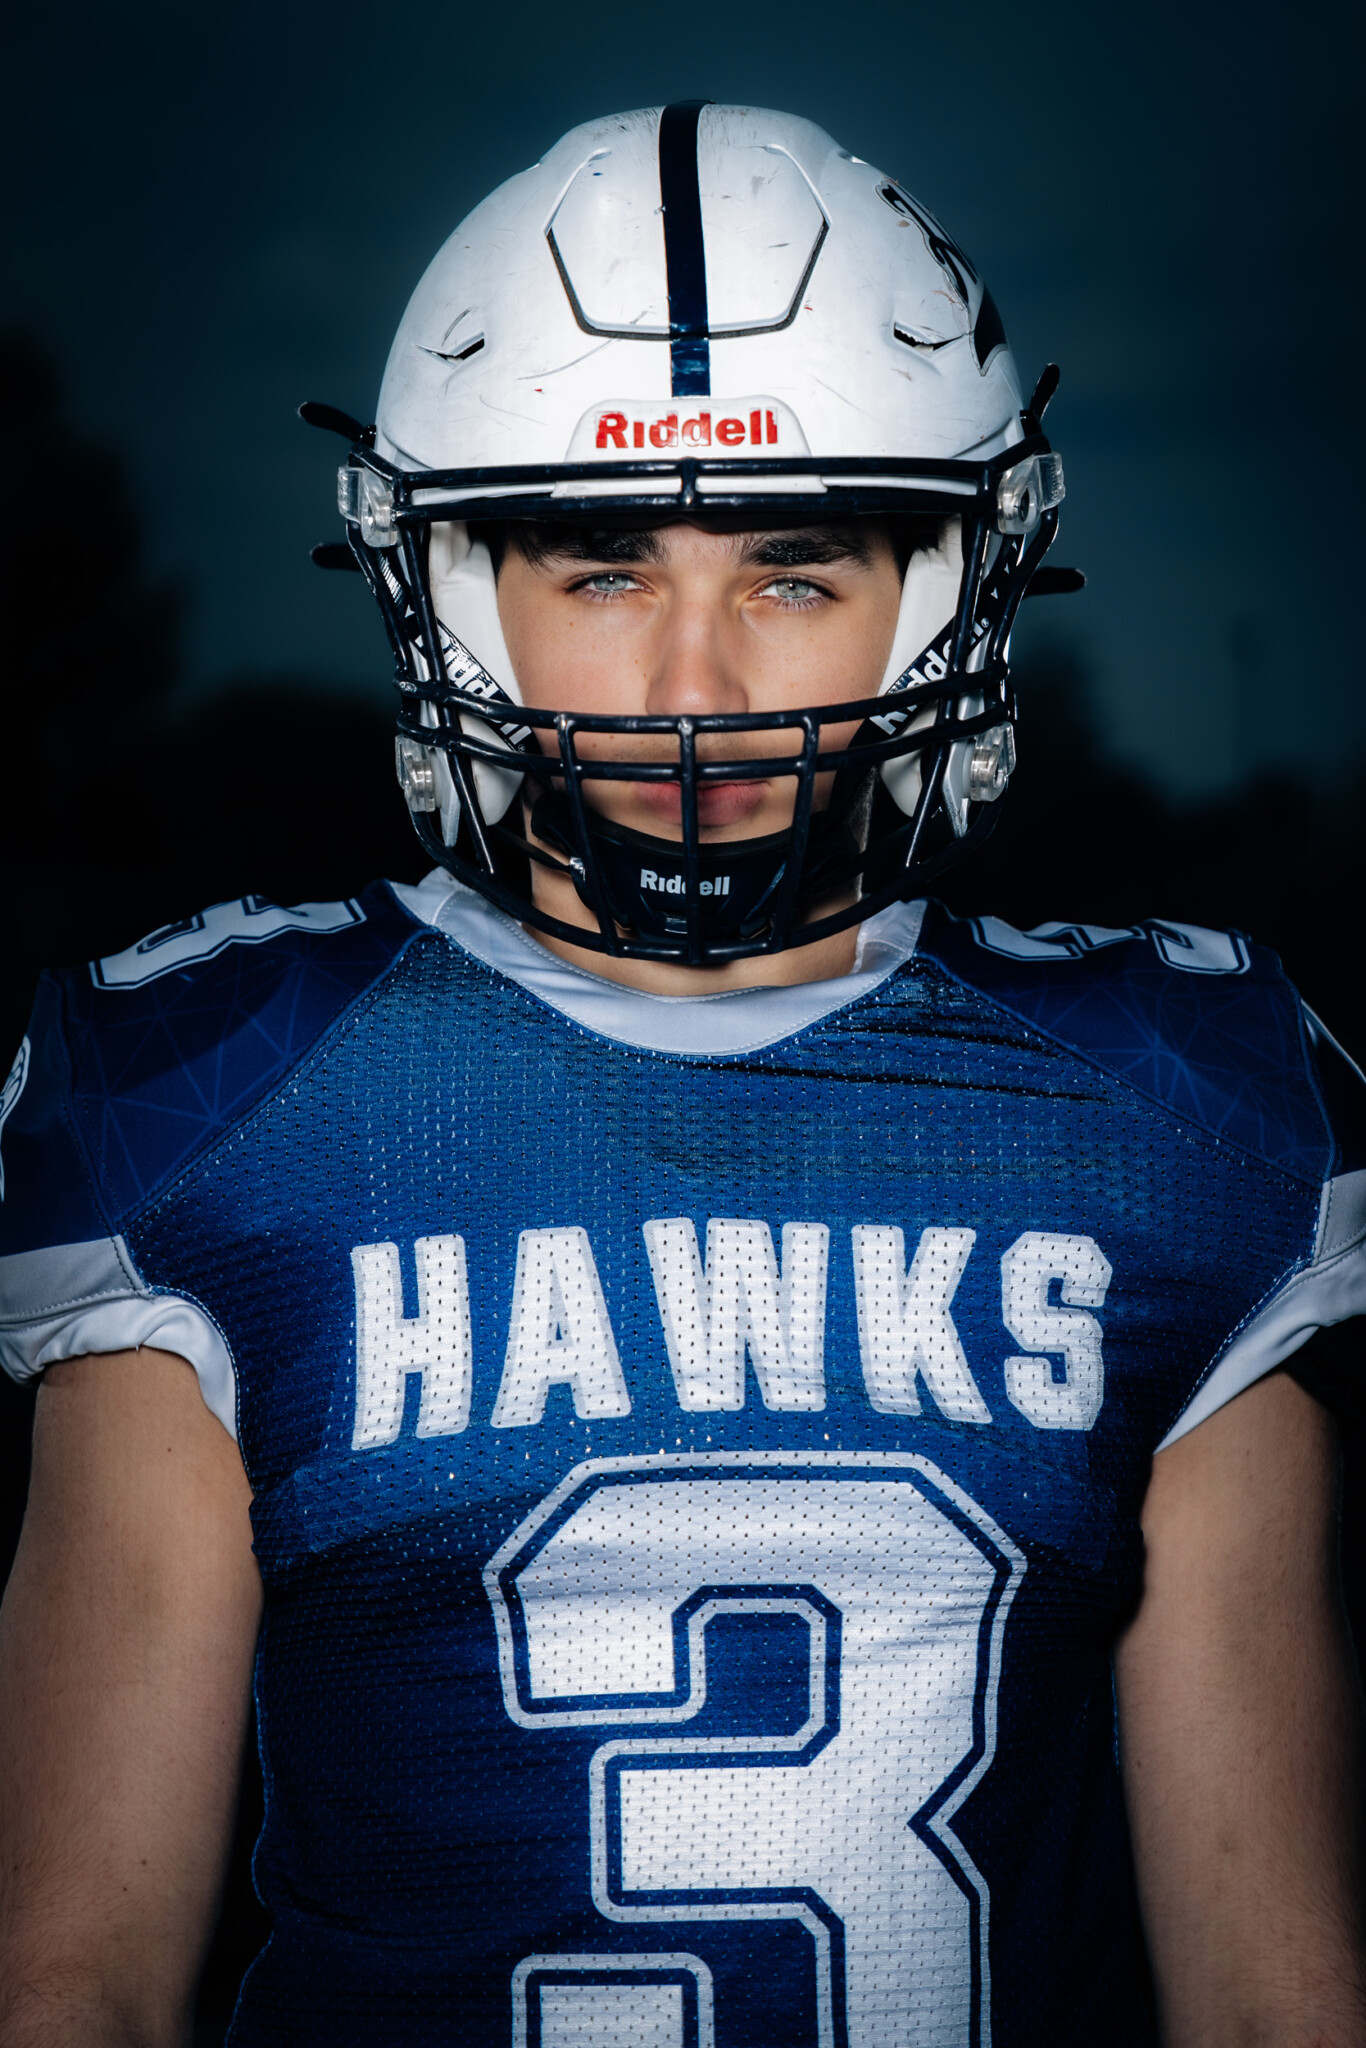
Helmets, visors, and face masks present a constant challenge because they cast hard shadows straight down across an athlete’s face.
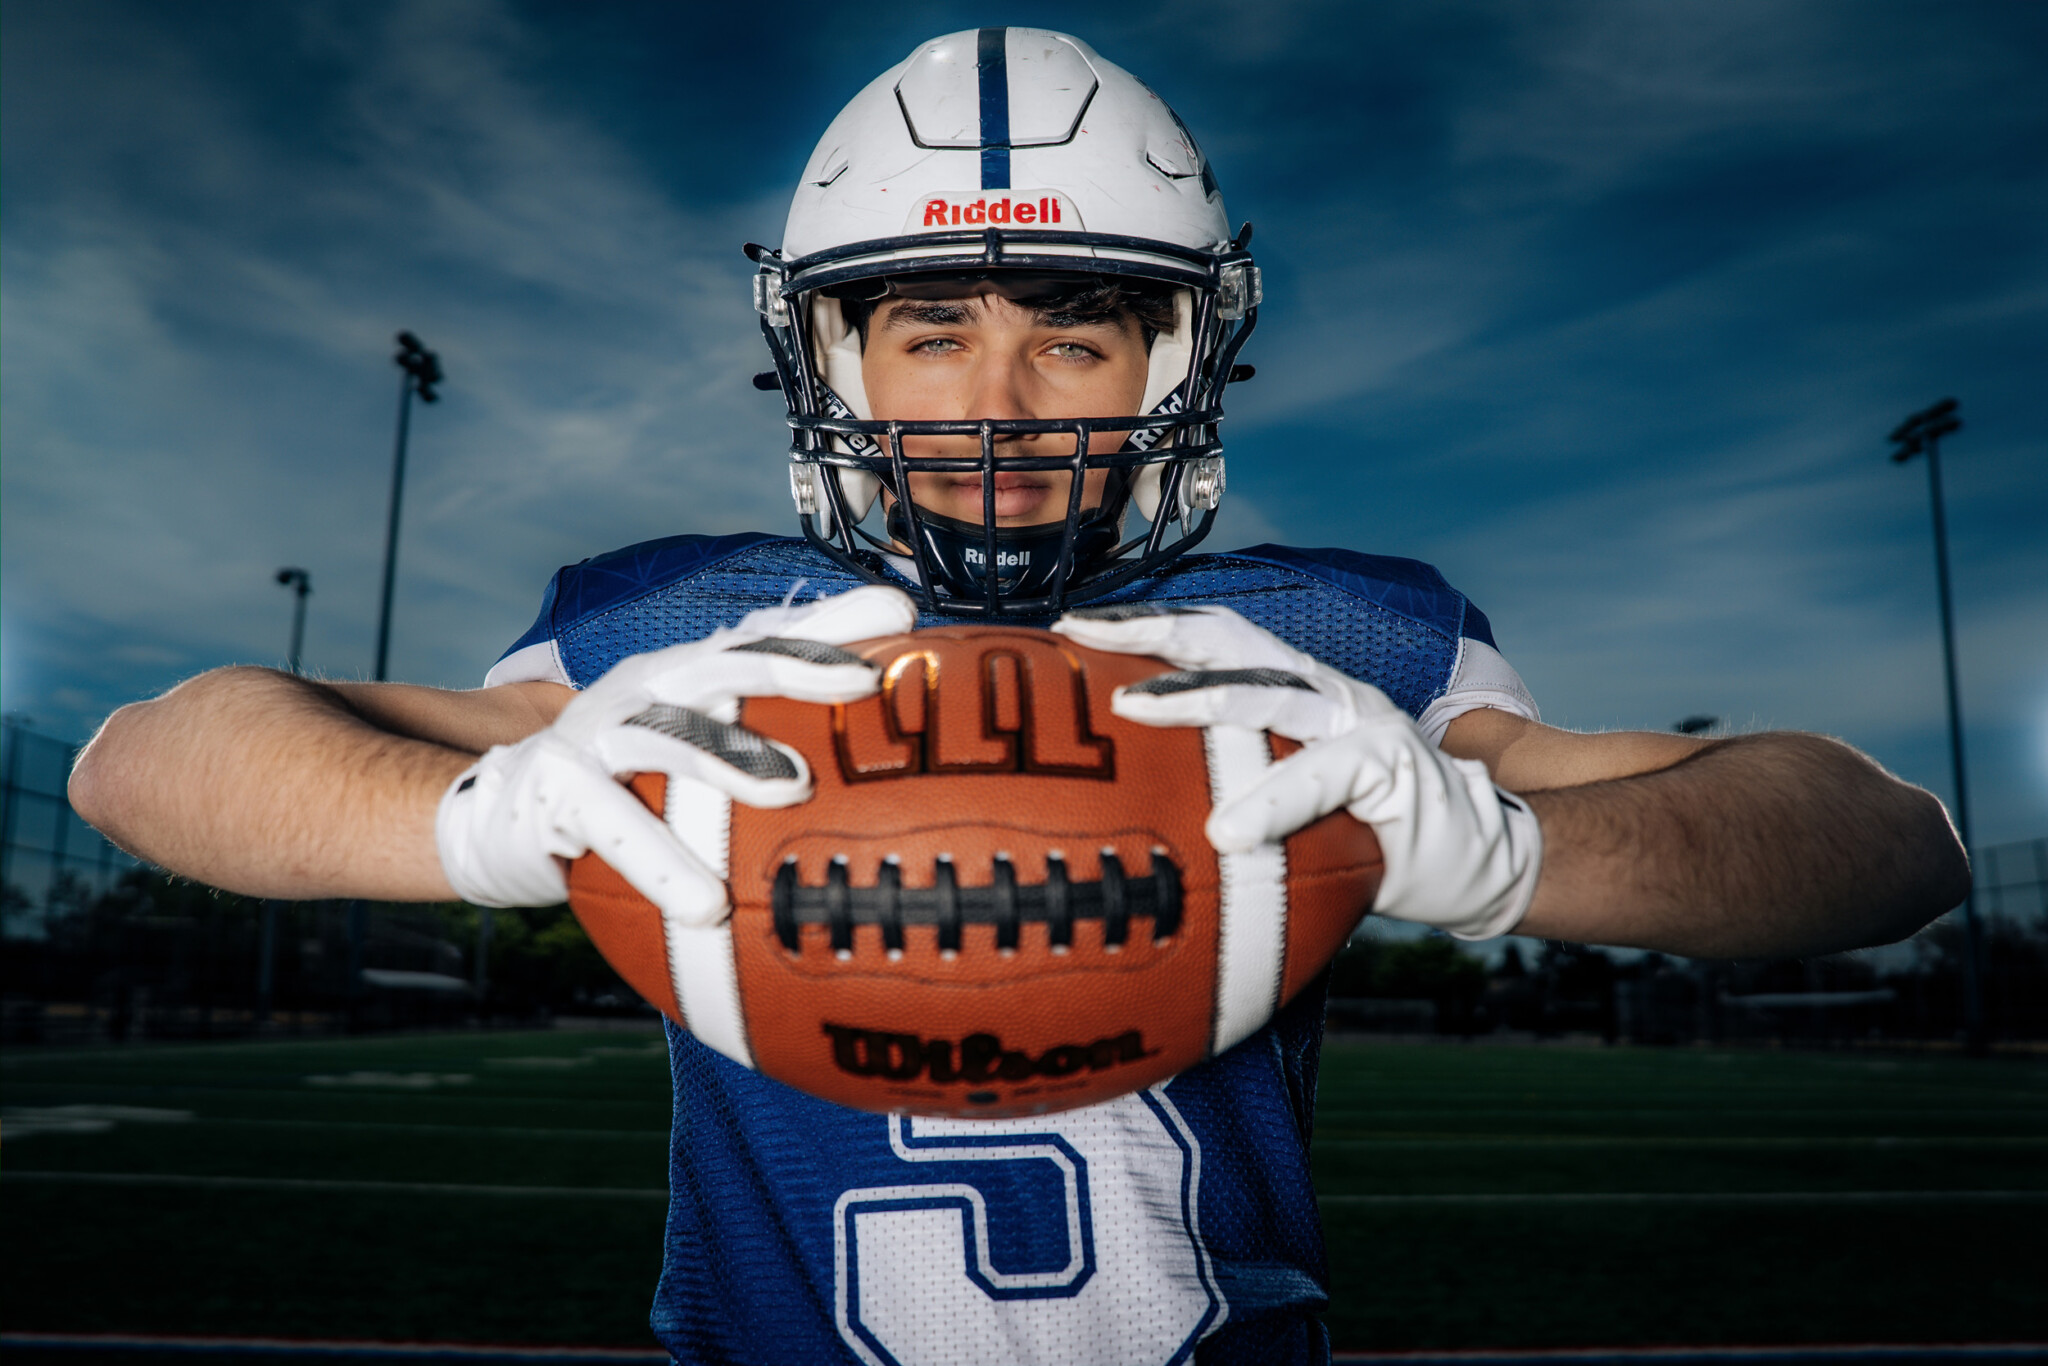
To keep the face visible, lower your main light and bring it more straight-on relative to the subject. This pushes light directly underneath the facemask and visor. Have the athlete turn their chin slightly toward the key light and take a half-step back so the beam fills the opening of the helmet.
You don’t need to eliminate every shadow, contrast adds energy to athletic portraits, but keeping the eyes lit makes the final image pop.
Work Smarter: Rotate Your Setup
Moving light stands around on a windy field can be risky, even when using sandbags. Dani takes advantage of the Triangle of Light to change her entire look without moving a single stand.
Because lights are already placed on three sides of the athlete, you can change the photo simply by walking around your subject. Move to the left or right side of the field, and one of your rear rim lights suddenly becomes your key light, while your front FJ800 turns into a kicker. Have the athlete pivot toward your new angle, and you instantly get a fresh composition and a new slice of sky.
This flexibility makes it easy to run through action poses like catching a pass or juking between points. If the athlete steps closer to a strobe during movement, use your trigger to drop the power a few tenths of a stop on that group.
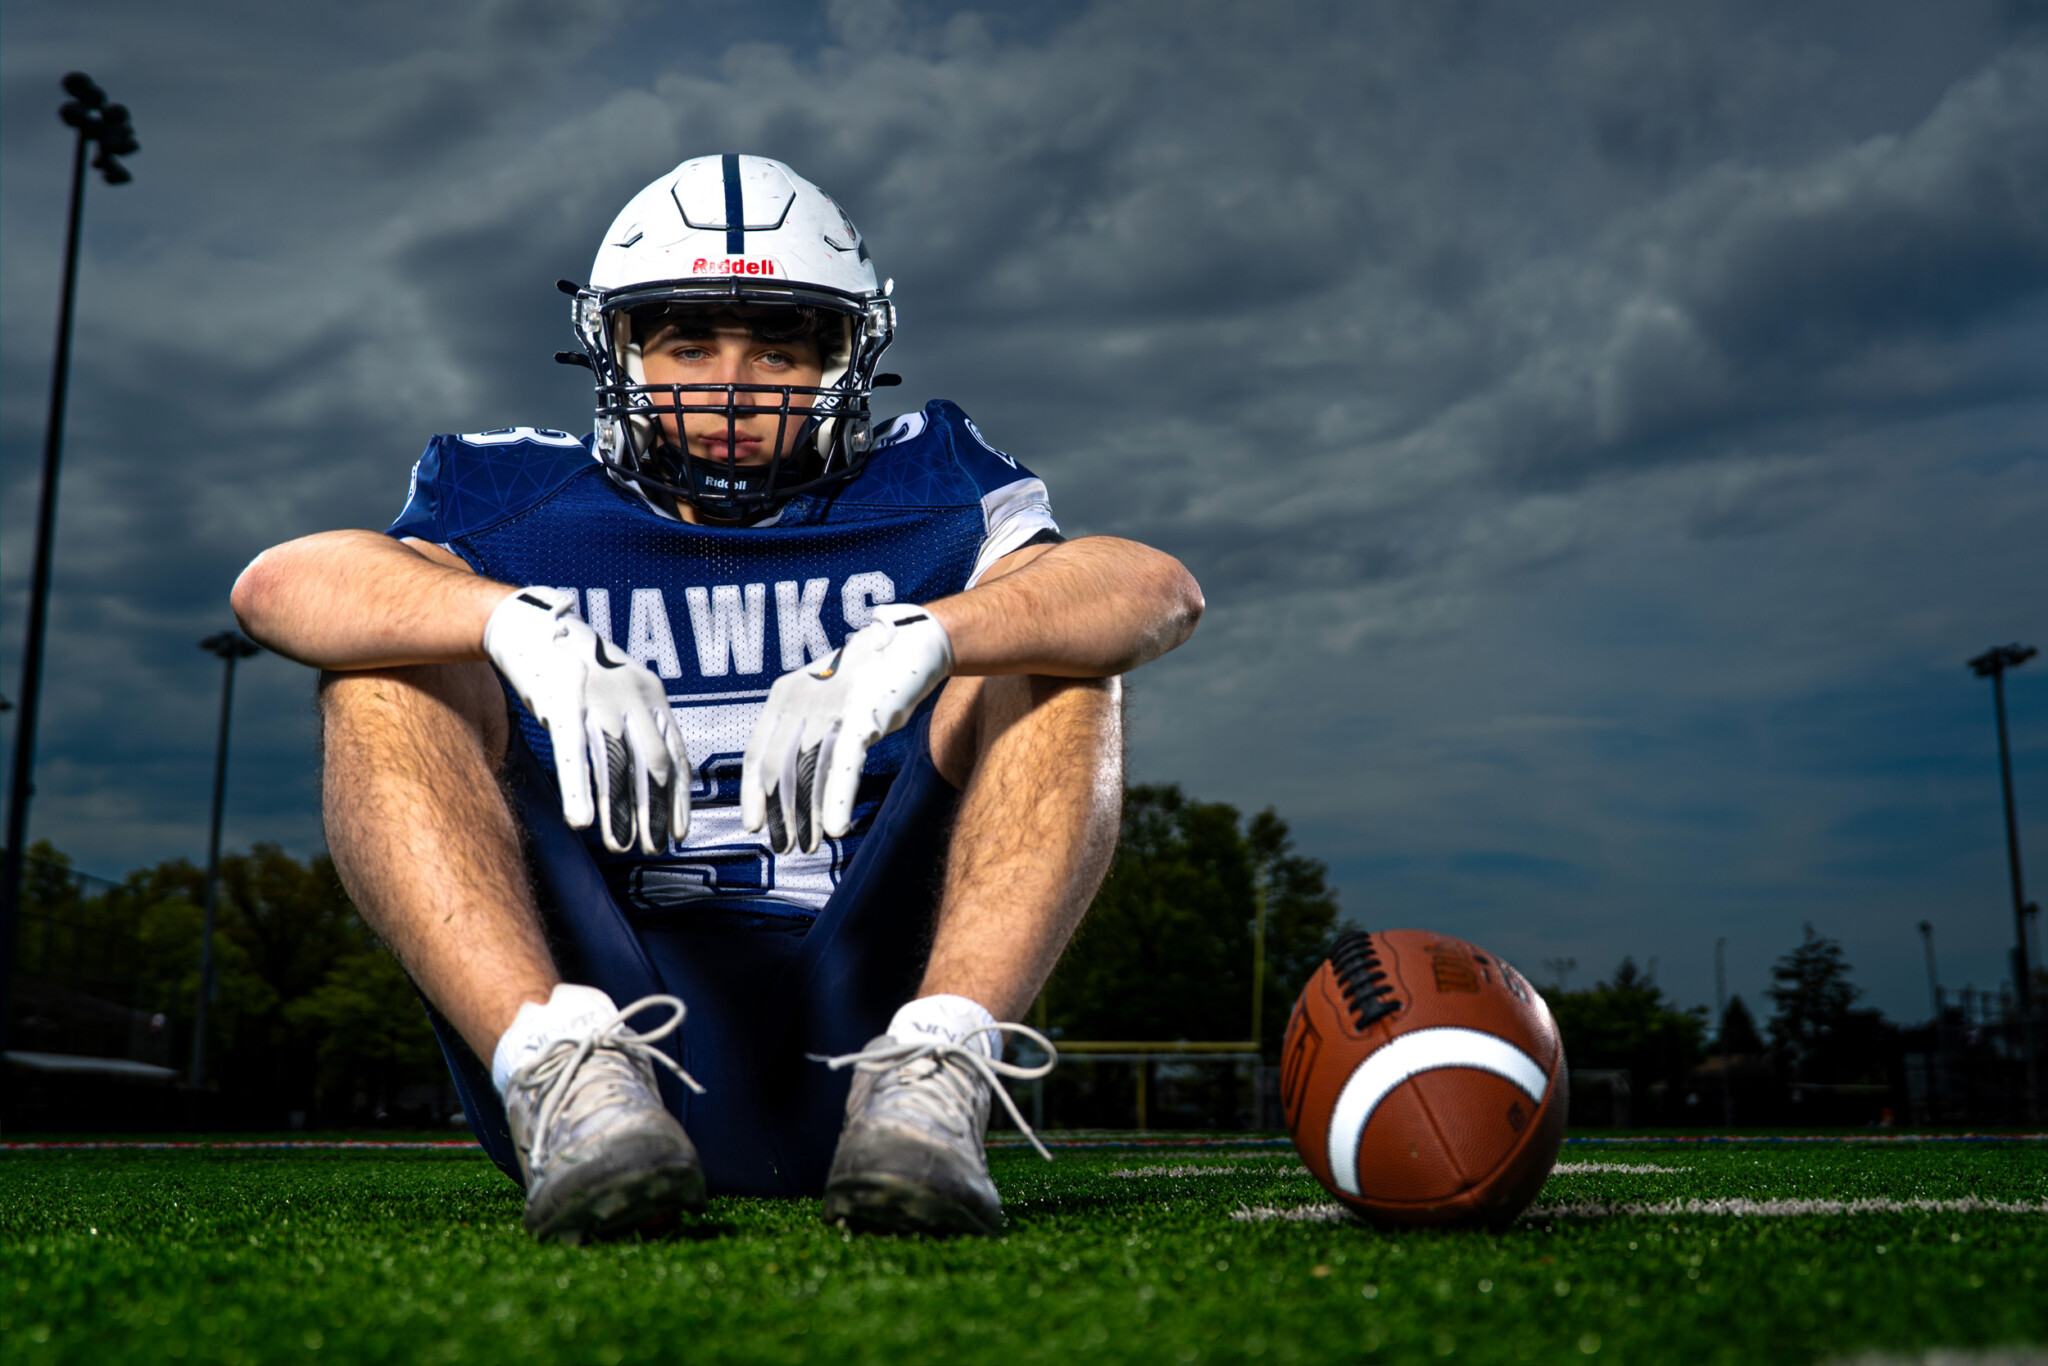
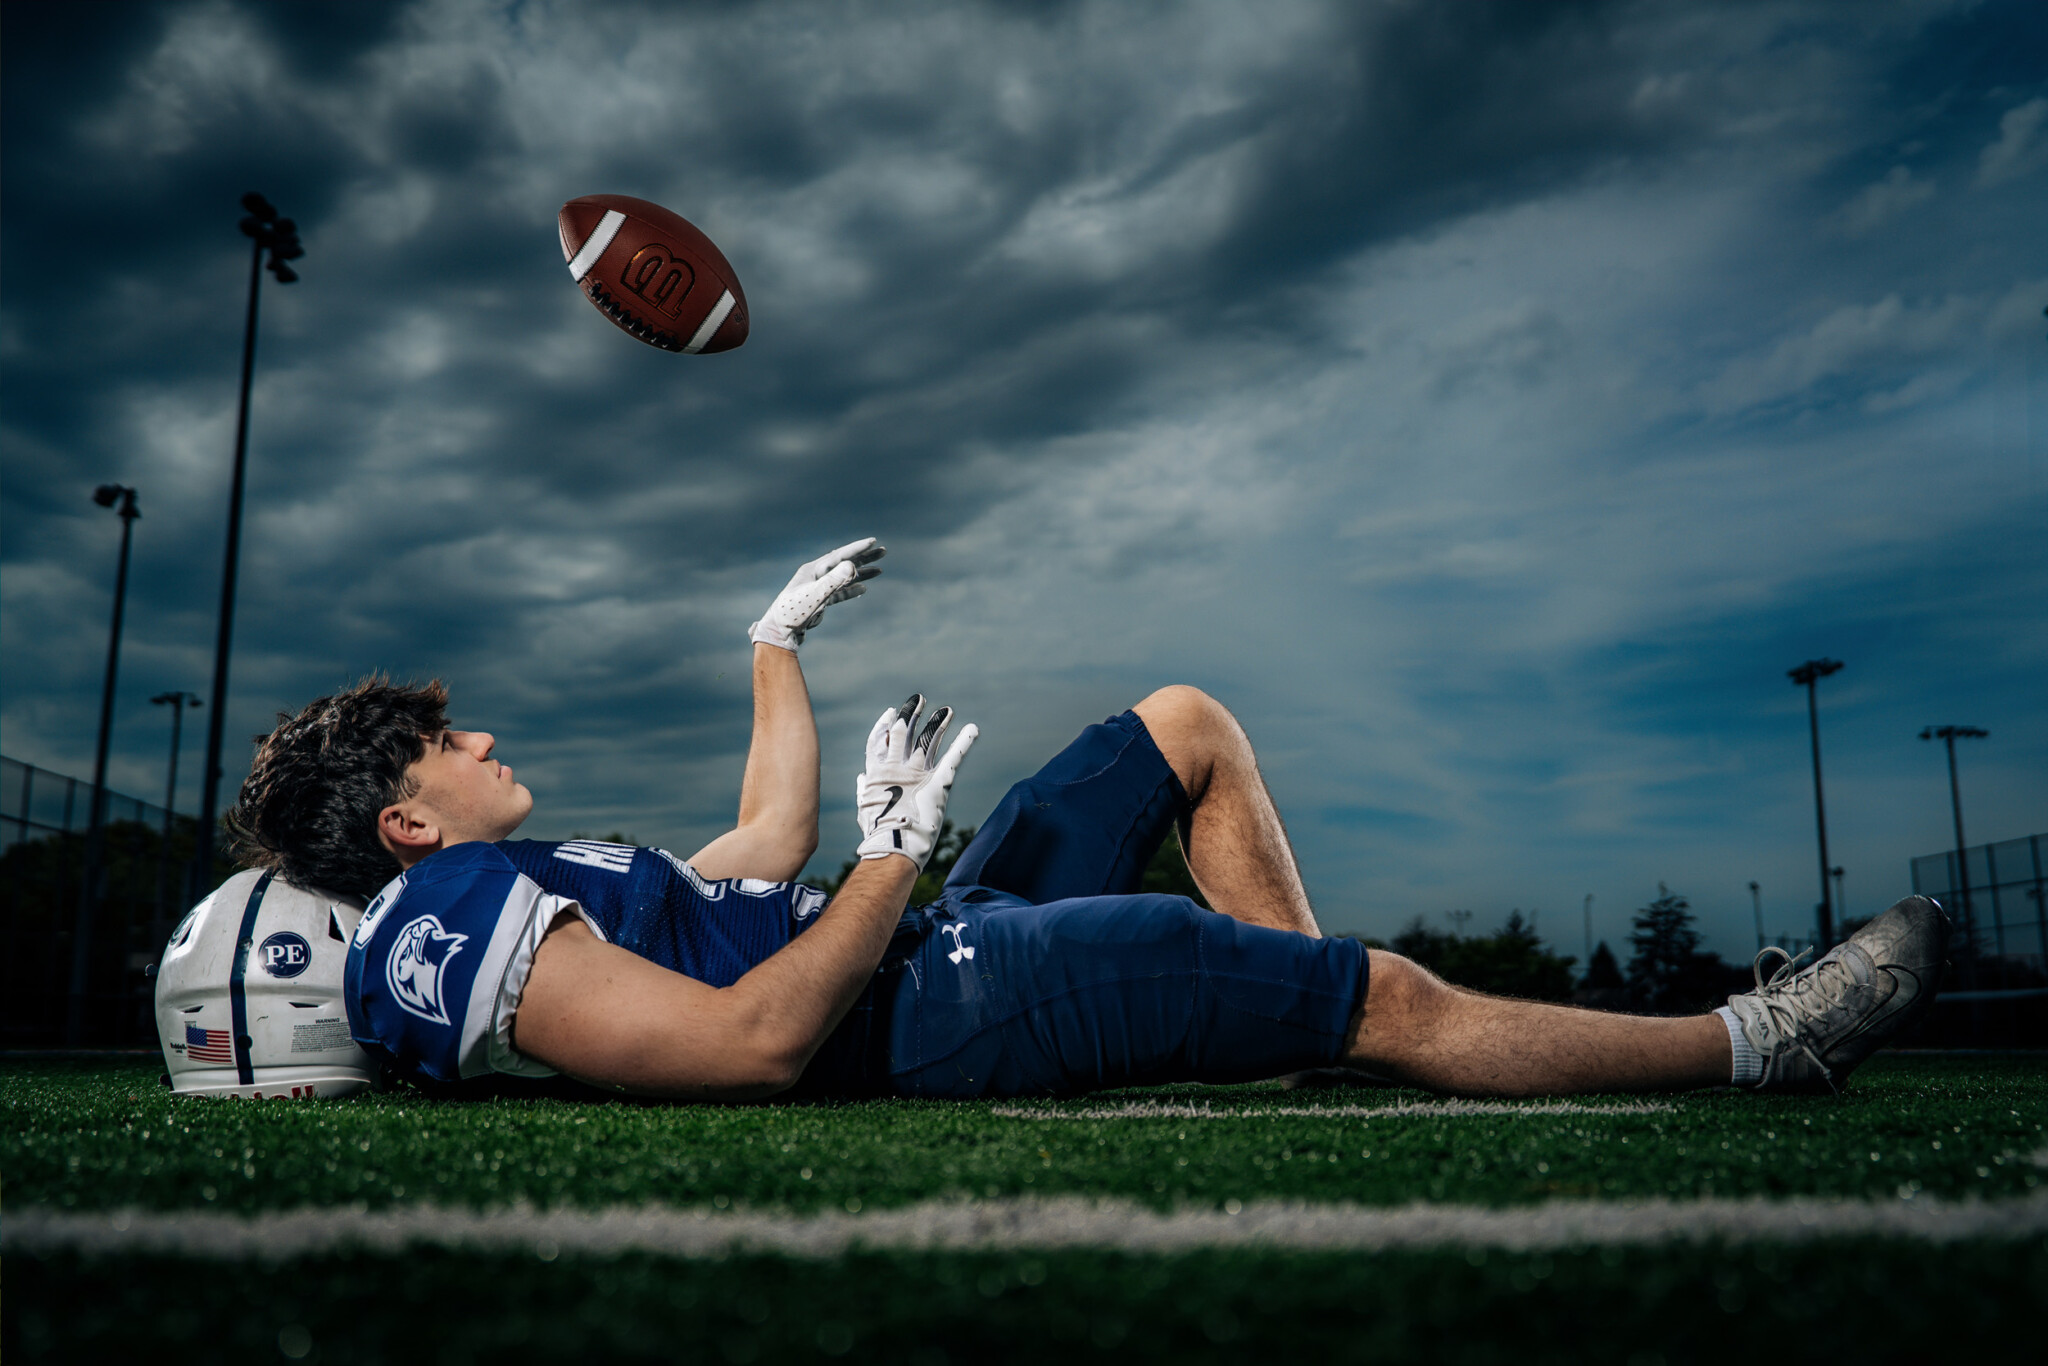
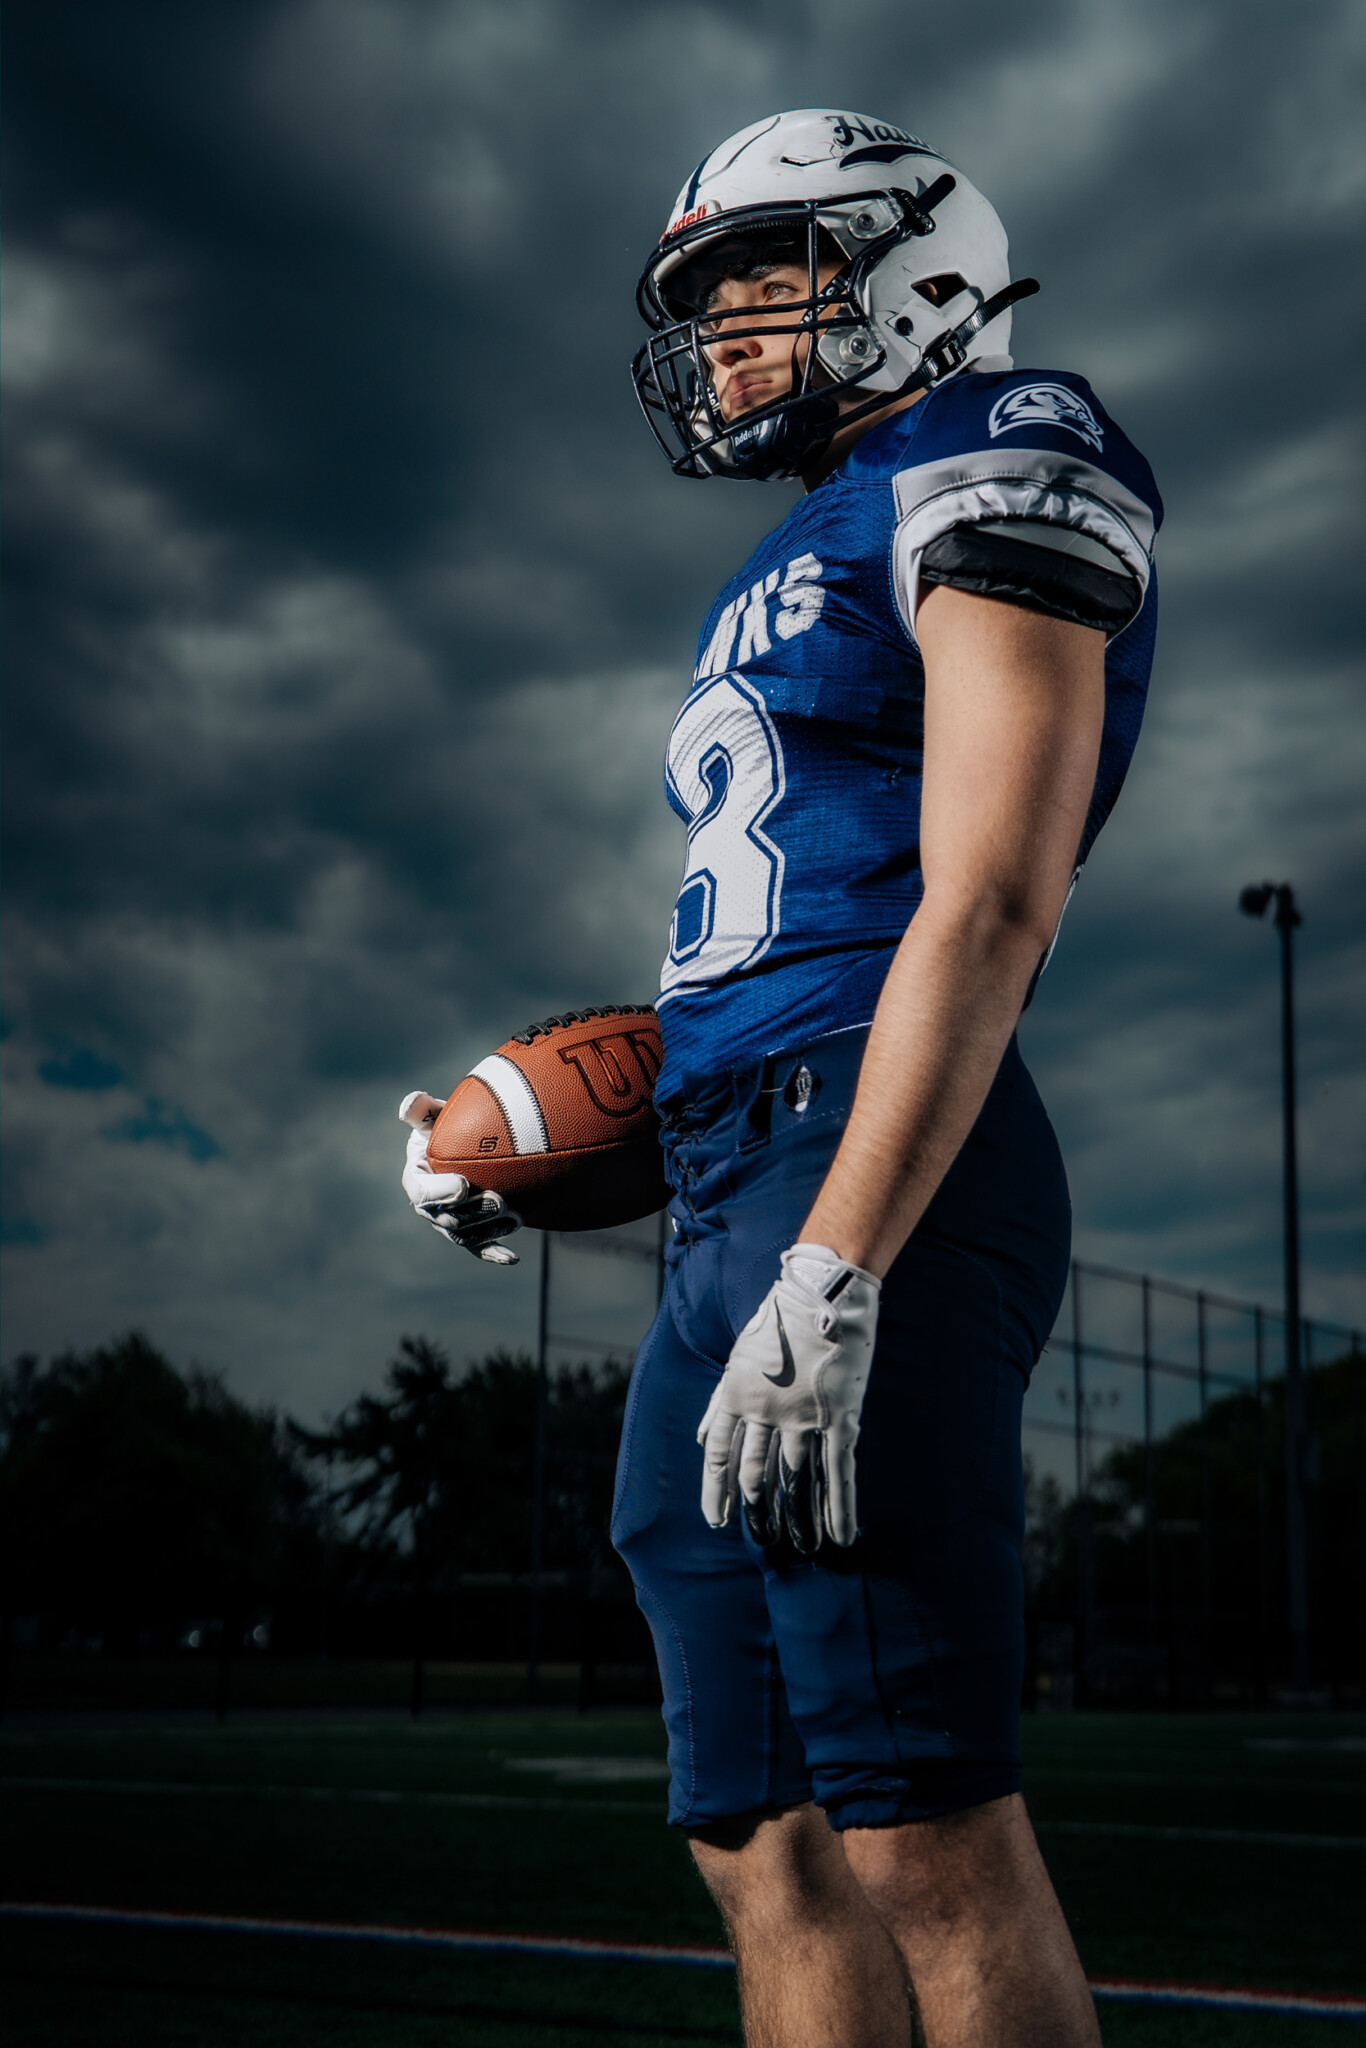
High-Speed Sync removes the guesswork from shooting in bright midday sun. By locking in your background exposure first, raising your shutter speed to match, and letting your Westcott strobes carry the subject, you can capture clean, dramatic portraits in any lighting conditions.
Want to Learn How to Freeze Sports Action?
Check out How to Create Dramatic Action Sports Portraits with Flash, where Dani Mack breaks down her exact process using Westcott off-camera flash to transform ordinary field photos into moody, high-impact sports portraits.


You must be logged in to post a comment.