Getting Started With Product Photography
In this video, product, and beauty photographer, Taylor Brumfield discusses some of her favorite approaches, tips, and tricks for photographers starting in product photography. Taylor mentions that product photography has very quickly become her bread and butter and the vast majority of her business. Within her past six years as a product photographer, she has worked with large brands in Sephora, Ulta, and other big-box stores as well as small brands and brands that are just getting started. She provides techniques that are starter-friendly but are still techniques that she uses to this day as a top pro and almost every single day in her work.
Prepping Your Shoot
An integral part of pre-production is creating a shot list and mood board with the client. She usually collaborates with the client to see what their needs are and to make sure that she can meet them with her skill set and the things that she can pull for a seamless production. With any client, she always makes sure to have a shot list of what kind of shots she intends to capture to help leverage the client’s business and their products. She also is sure to provide a mood board so that visually everybody is set up for success.
When she was first starting, she tended to go to an outlet store and grab products or use products that she already had in her bathroom, and that’s how she would make sure that she was not only able to approach brands with usable photos but, that she was able to practice on products that resemble the ones she would need to shoot later.
Capturing Beauty Product Photographs
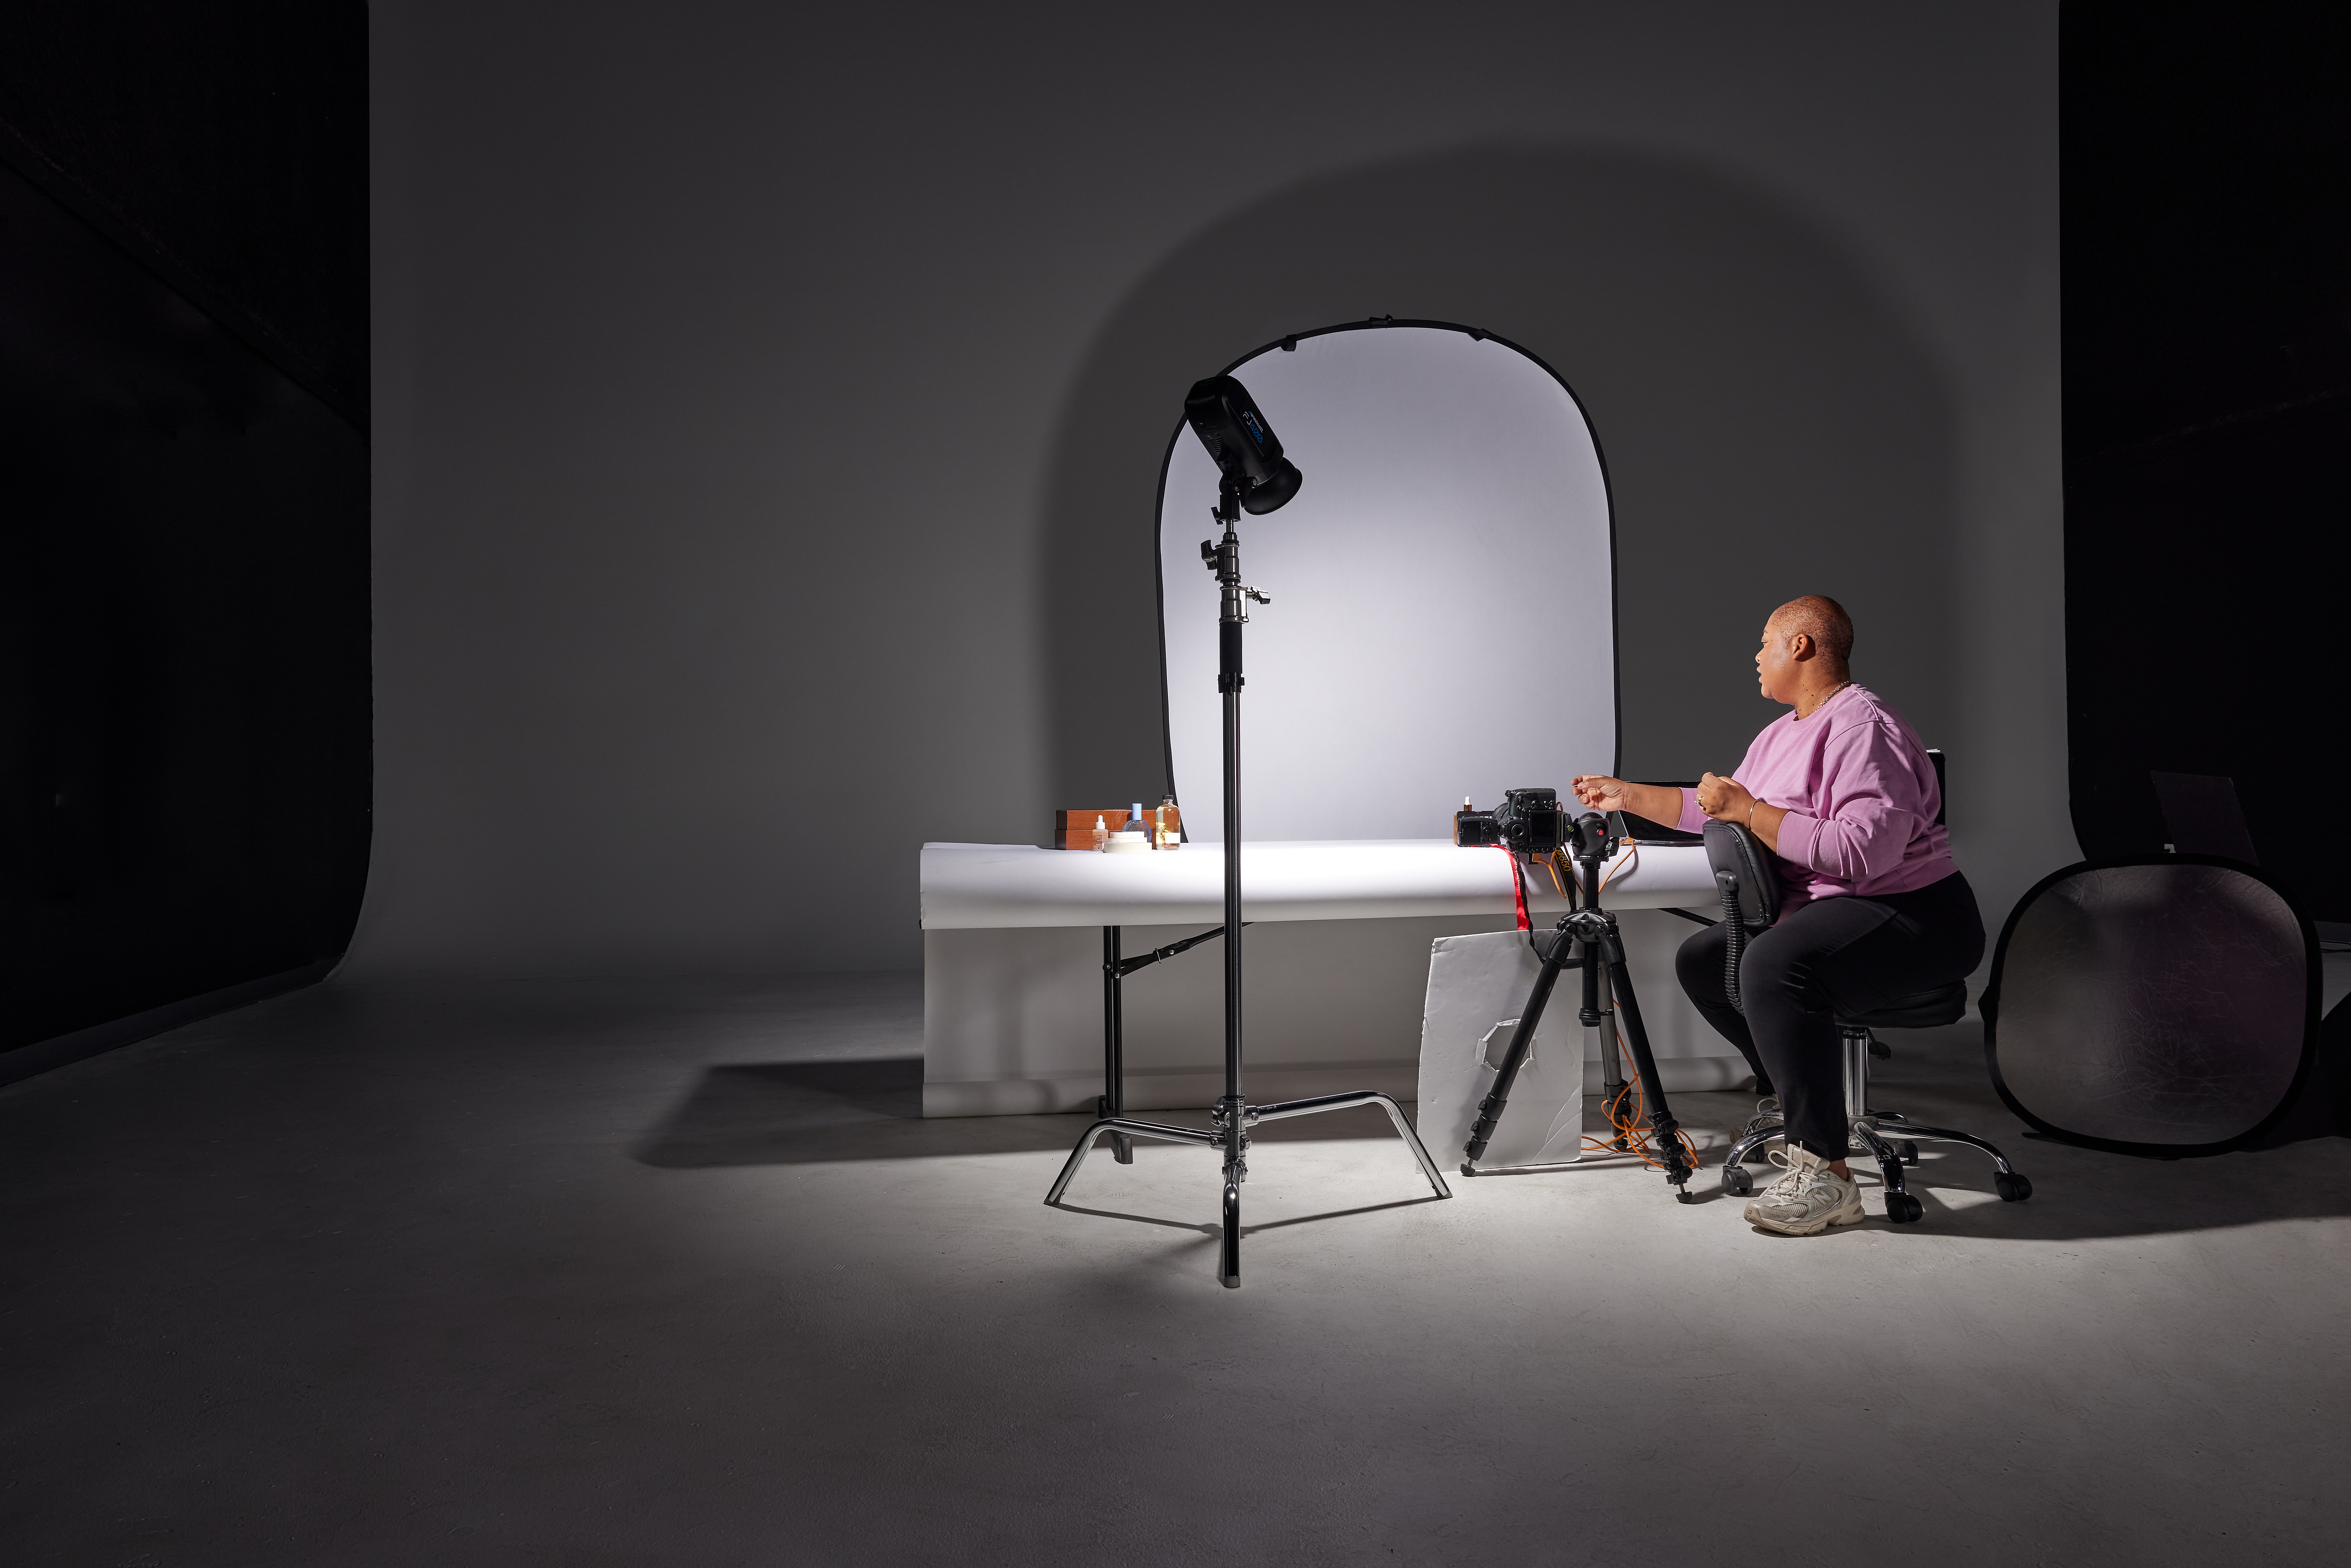
It’s really important to figure out the placement of your lighting for your product. For this shot, she notices that the product creates short shadows. She decides to place the light above so she still gets a beautiful reflection from the glass but still gives it a relatively short shadow. Something that she likes about working with strobes is that she can manipulate the light exactly how she wants it. She generally will go with the FJ400 strobe because she often needs a lot of power, and she needs lights that can recycle very quickly even if she’s pushing them to their highest setting. So with her FJ400 and the different modifiers she has, she can create beautiful lighting and beautiful gradients. She still likes to use light without any modifiers because it replicates sunlight without having to deal with the sun moving around or the clouds.
Something that Taylor has been enjoying with her product photography is the collapsible 2-in-1 backdrop. She likes it especially if she needs to travel outside of her studio because it collapses down into a manageable small-sized package but it also expands into a good-sized backdrop. So whenever she has to use a white wall for an e-commerce shot, she appreciates that this backdrop is both collapsible and expandable. Something that she always has on hand is a black and white foam core to use for fill and for flagging light. It also helps with her reflections and blocking light. One big tip she mentions is taking a square of foam core and cutting a hole in it and putting it on the front of your lens, which helps control any reflections coming off of your camera and your surrounding background.
As always, she uses her Calibrate Color Checker Card to make sure that her white balance is perfect as well as to make sure she has color consistency between her shots. When working with brands and different companies, it is extremely important to make sure that your colors are exactly how they are in real life. These companies spend a lot of money to perfect their packaging and their products, so they want to know and have faith in you as a photographer that you can represent their products perfectly, and this includes making sure that your colors are calibrated and that the shots are perfect between sets.
Something really important, especially if you’re working with a brand that might be smaller or might have a tighter budget, is making sure that all of your photo or content assets are not only super high utility but that the set all works with each other.
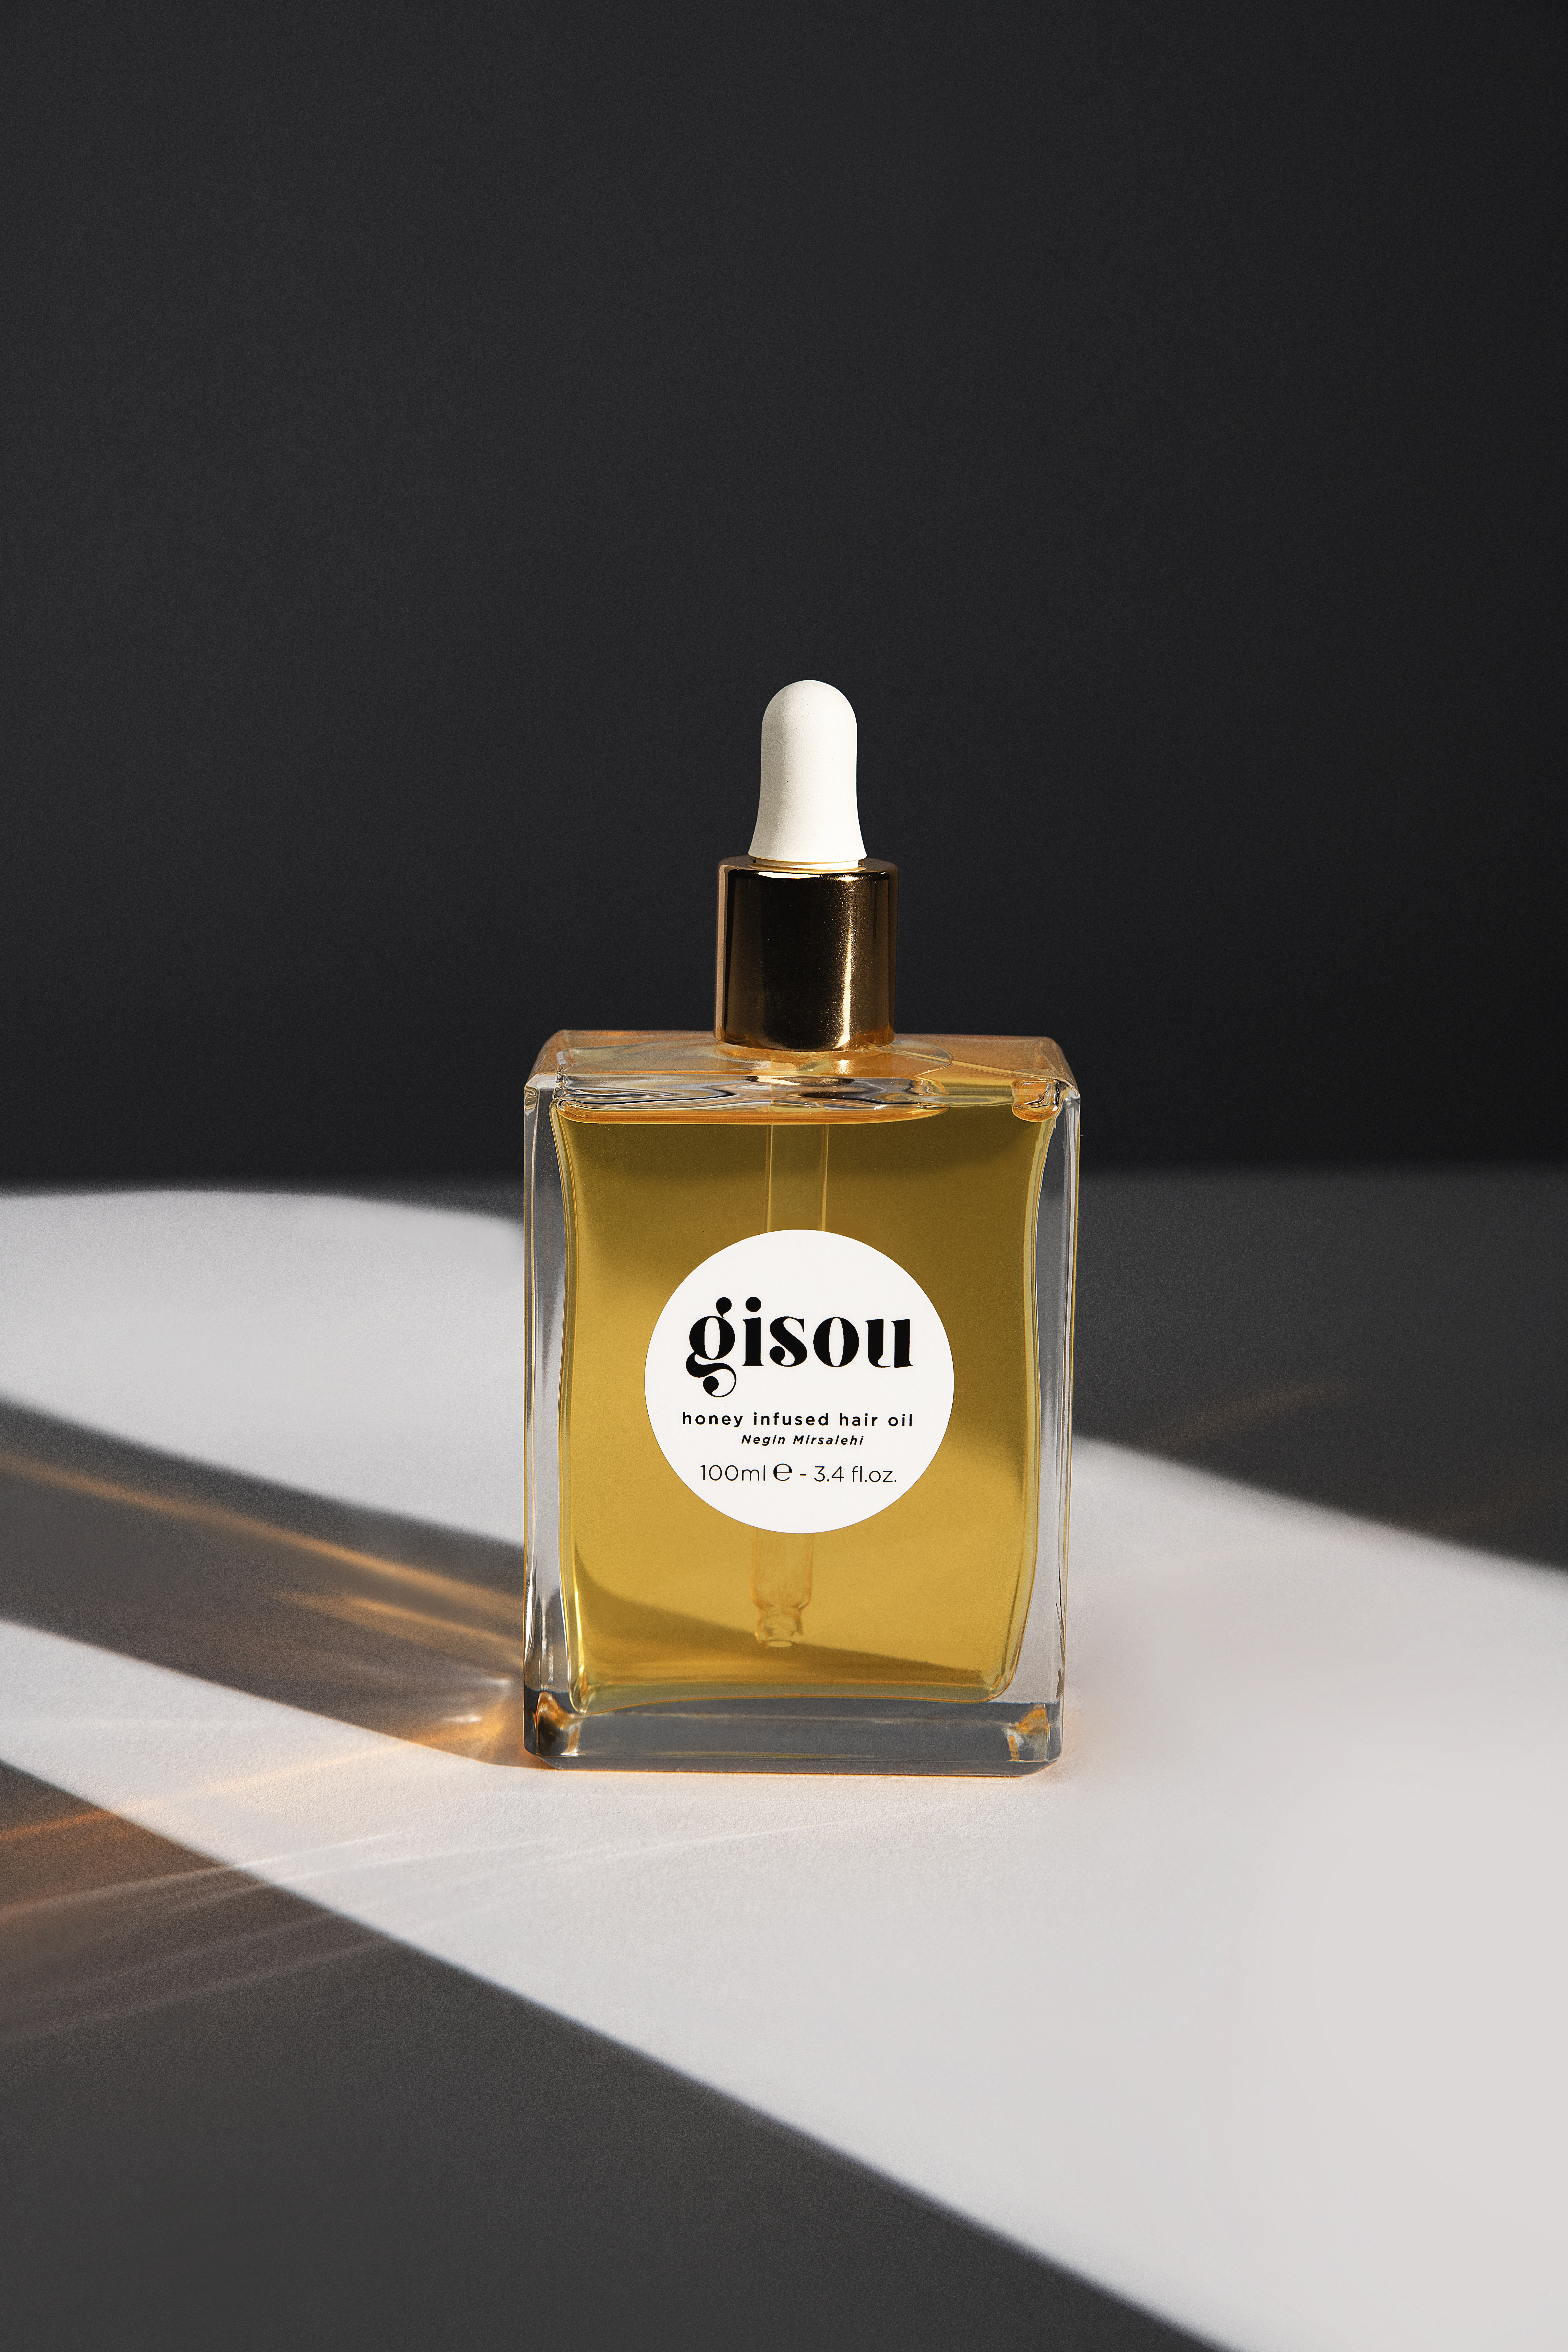
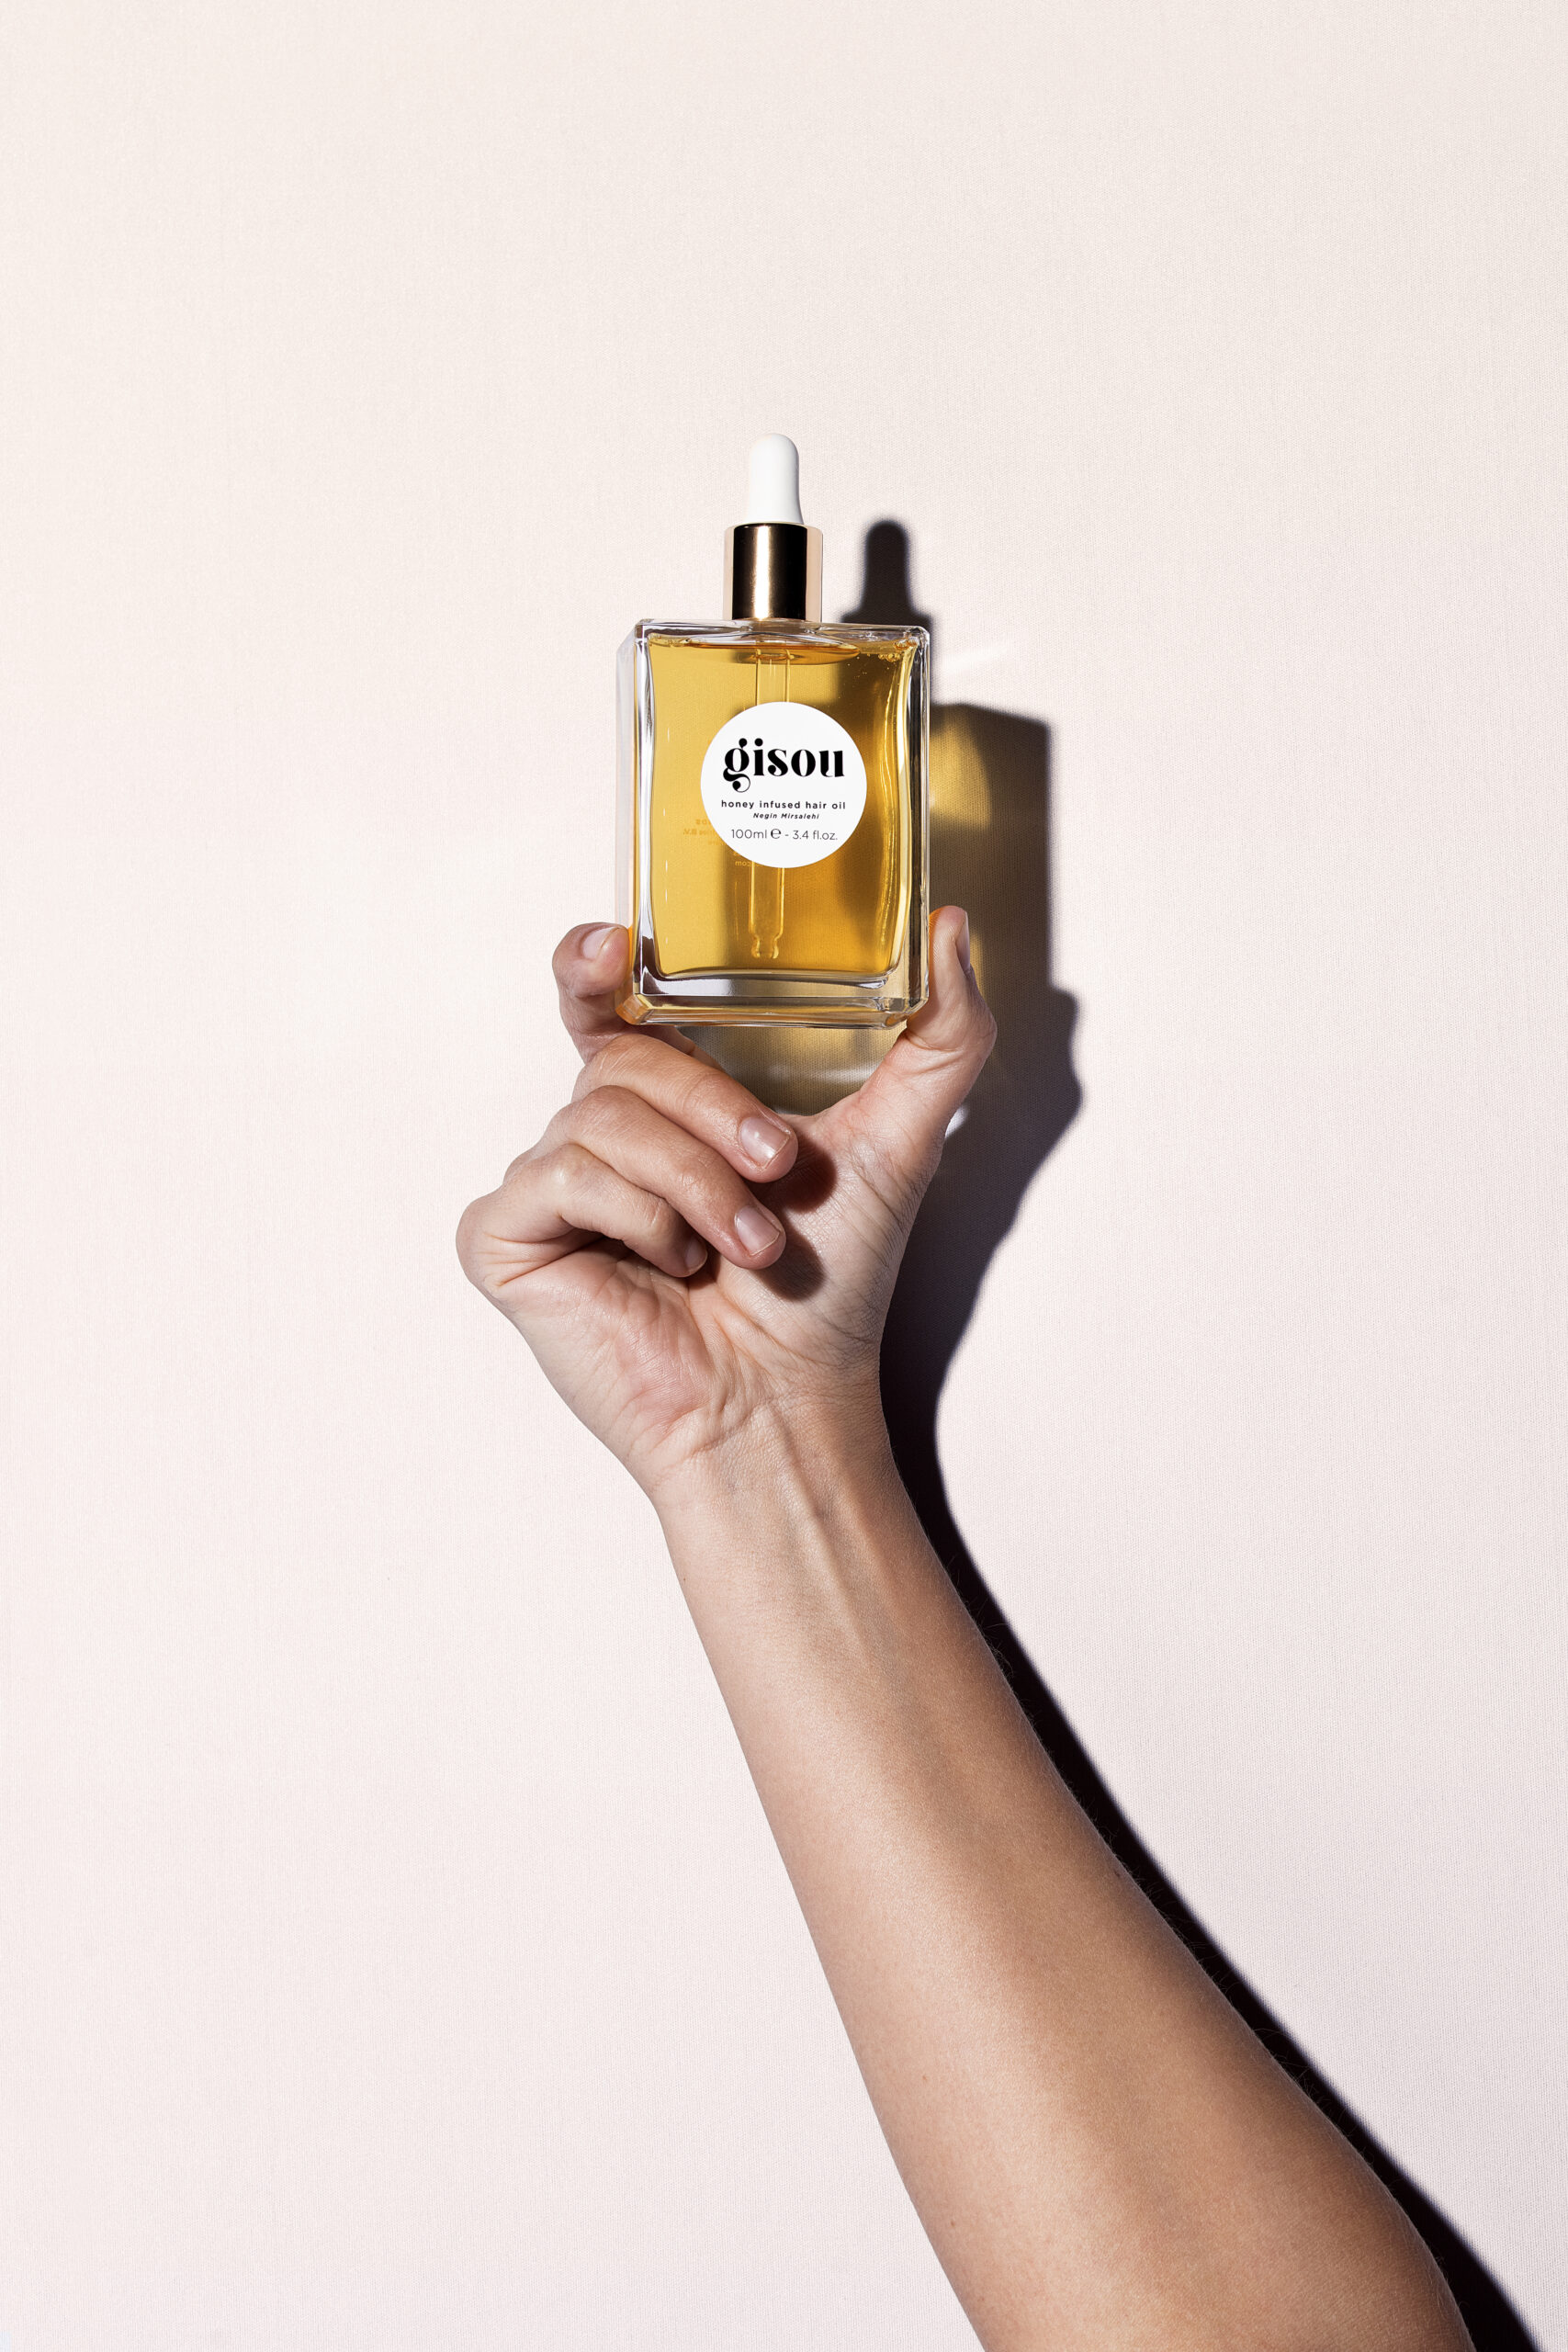
In this first batch of content, Taylor wants to make sure that she implements hard light in all of her different shots, even if the hard light is used differently between shots. She wants to make sure that simple element is still there to tie all of the photos together. In the first shot, she has a harsh shadow. In her next shot, she uses a hand model to hold the product against her collapsible wall. She still wants to use the idea of hard light here.
What she likes to address when she’s using hard light is making sure that her labels are visible, especially if the label or the product is very reflective because as you can see here, the product is shining or pointing directly at the light. So all of that reflection obscured the label. Taylor has her model turn the product slightly so it’s directly facing the light. She feathers the light across the product so it’s still directional but isn’t shining directly at the label. She wants to be sure you are still able to see the product and the shadow.
Sometimes when you’re working with clients or when you’re doing personal projects, you only have one piece of product or only some of the packaging. This means you may need to do what’s called compositing, where you take multiple shots take pieces from each shot, and composite them down into one shot. So with this product, Taylor wants one of the shots to be multiple of the product in the final shot, but she only has one. So she takes various shots with her packaging in different positions throughout her frame, and then she takes each bottle from the different shots and masks them onto a base layer. This way her final shot looks like it has multiple of that product.
So far in this shoot, Taylor has been able to get away with one light, which is a great starting point, and one can get a lot done with one light. However, sometimes multiple lights are necessary. For the next few shots, Taylor is going to be using one main light and one fill light. Originally for this set, she wanted to do a hard light backlight and have the shadow come to the front of the product, and it works nicely for the shadow, but the problem that she ends up coming across is that the label of the product is not very well lit. So she tries to use a white foam card, to try to pop some light up onto it. However, in popping the light up, it creates a gradient across the shadow of light to dark, and she doesn’t want that. She wants an illuminated label but a clean consistent shadow. So, she adds a second light using another FJ400, and the Rapid Box Switch Octa-M to add a bit of fill. It’s a perfect size Octa box for product photography because in comparison to the size of the packaging, it’s a good-sized modifier. This is a modifier she notes that she keeps close to the set to add soft round light, but at the same time, it doesn’t add any kind of directionality.
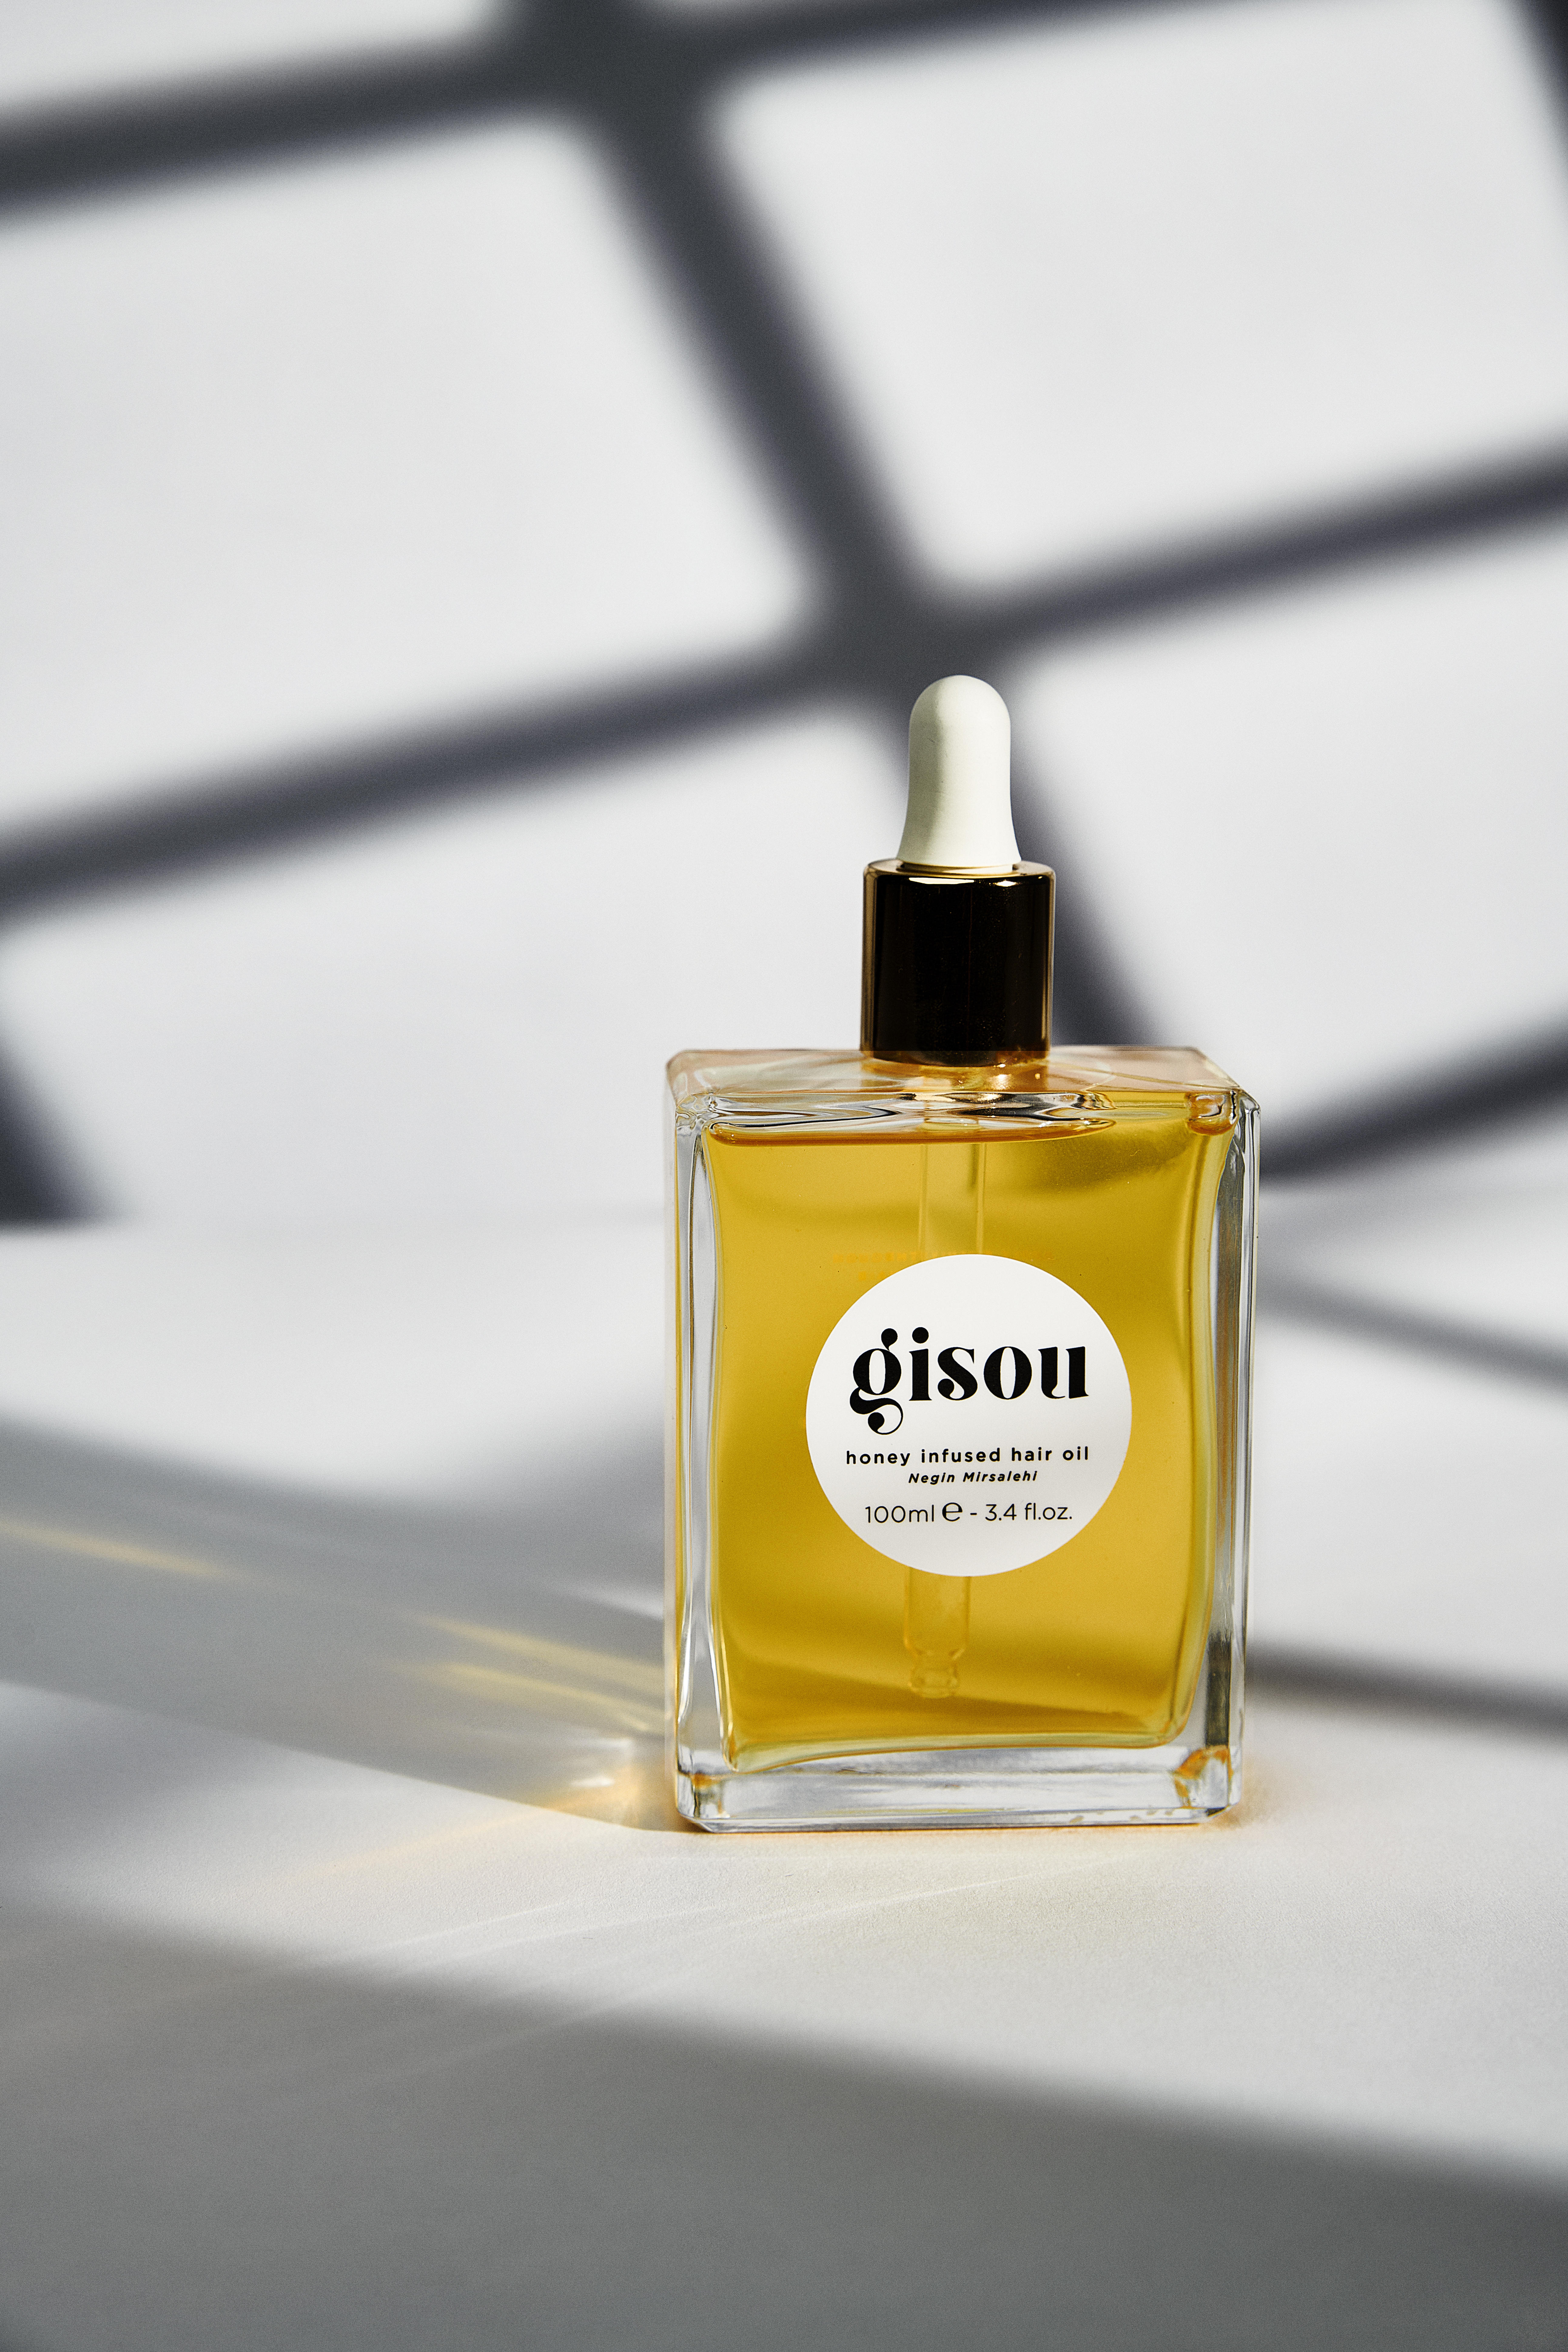
As a beginner product photographer, one may not have a lot of props. Taylor recently picked up two wall shells, and she’s been using them as blocks to help her shape her light. So what she originally wanted to do was create a quarter of light around her product, and she blocked off her lighting using her two blocks, it was fine, but it wasn’t necessarily giving her exactly what she wanted in terms of shape and how clean and crisp the shadows were. So she goes ahead and uses her Optical Spot with a window gobo. This creates a shadow that looks like a window effect on the background.
Taylor then removes the gobo she uses the sliders on the Optical Spot to shape that quarter of light going towards her product. So with this spot, she can focus the light exactly how hard she wants it to go, giving it more directional light and cleaner shadows.
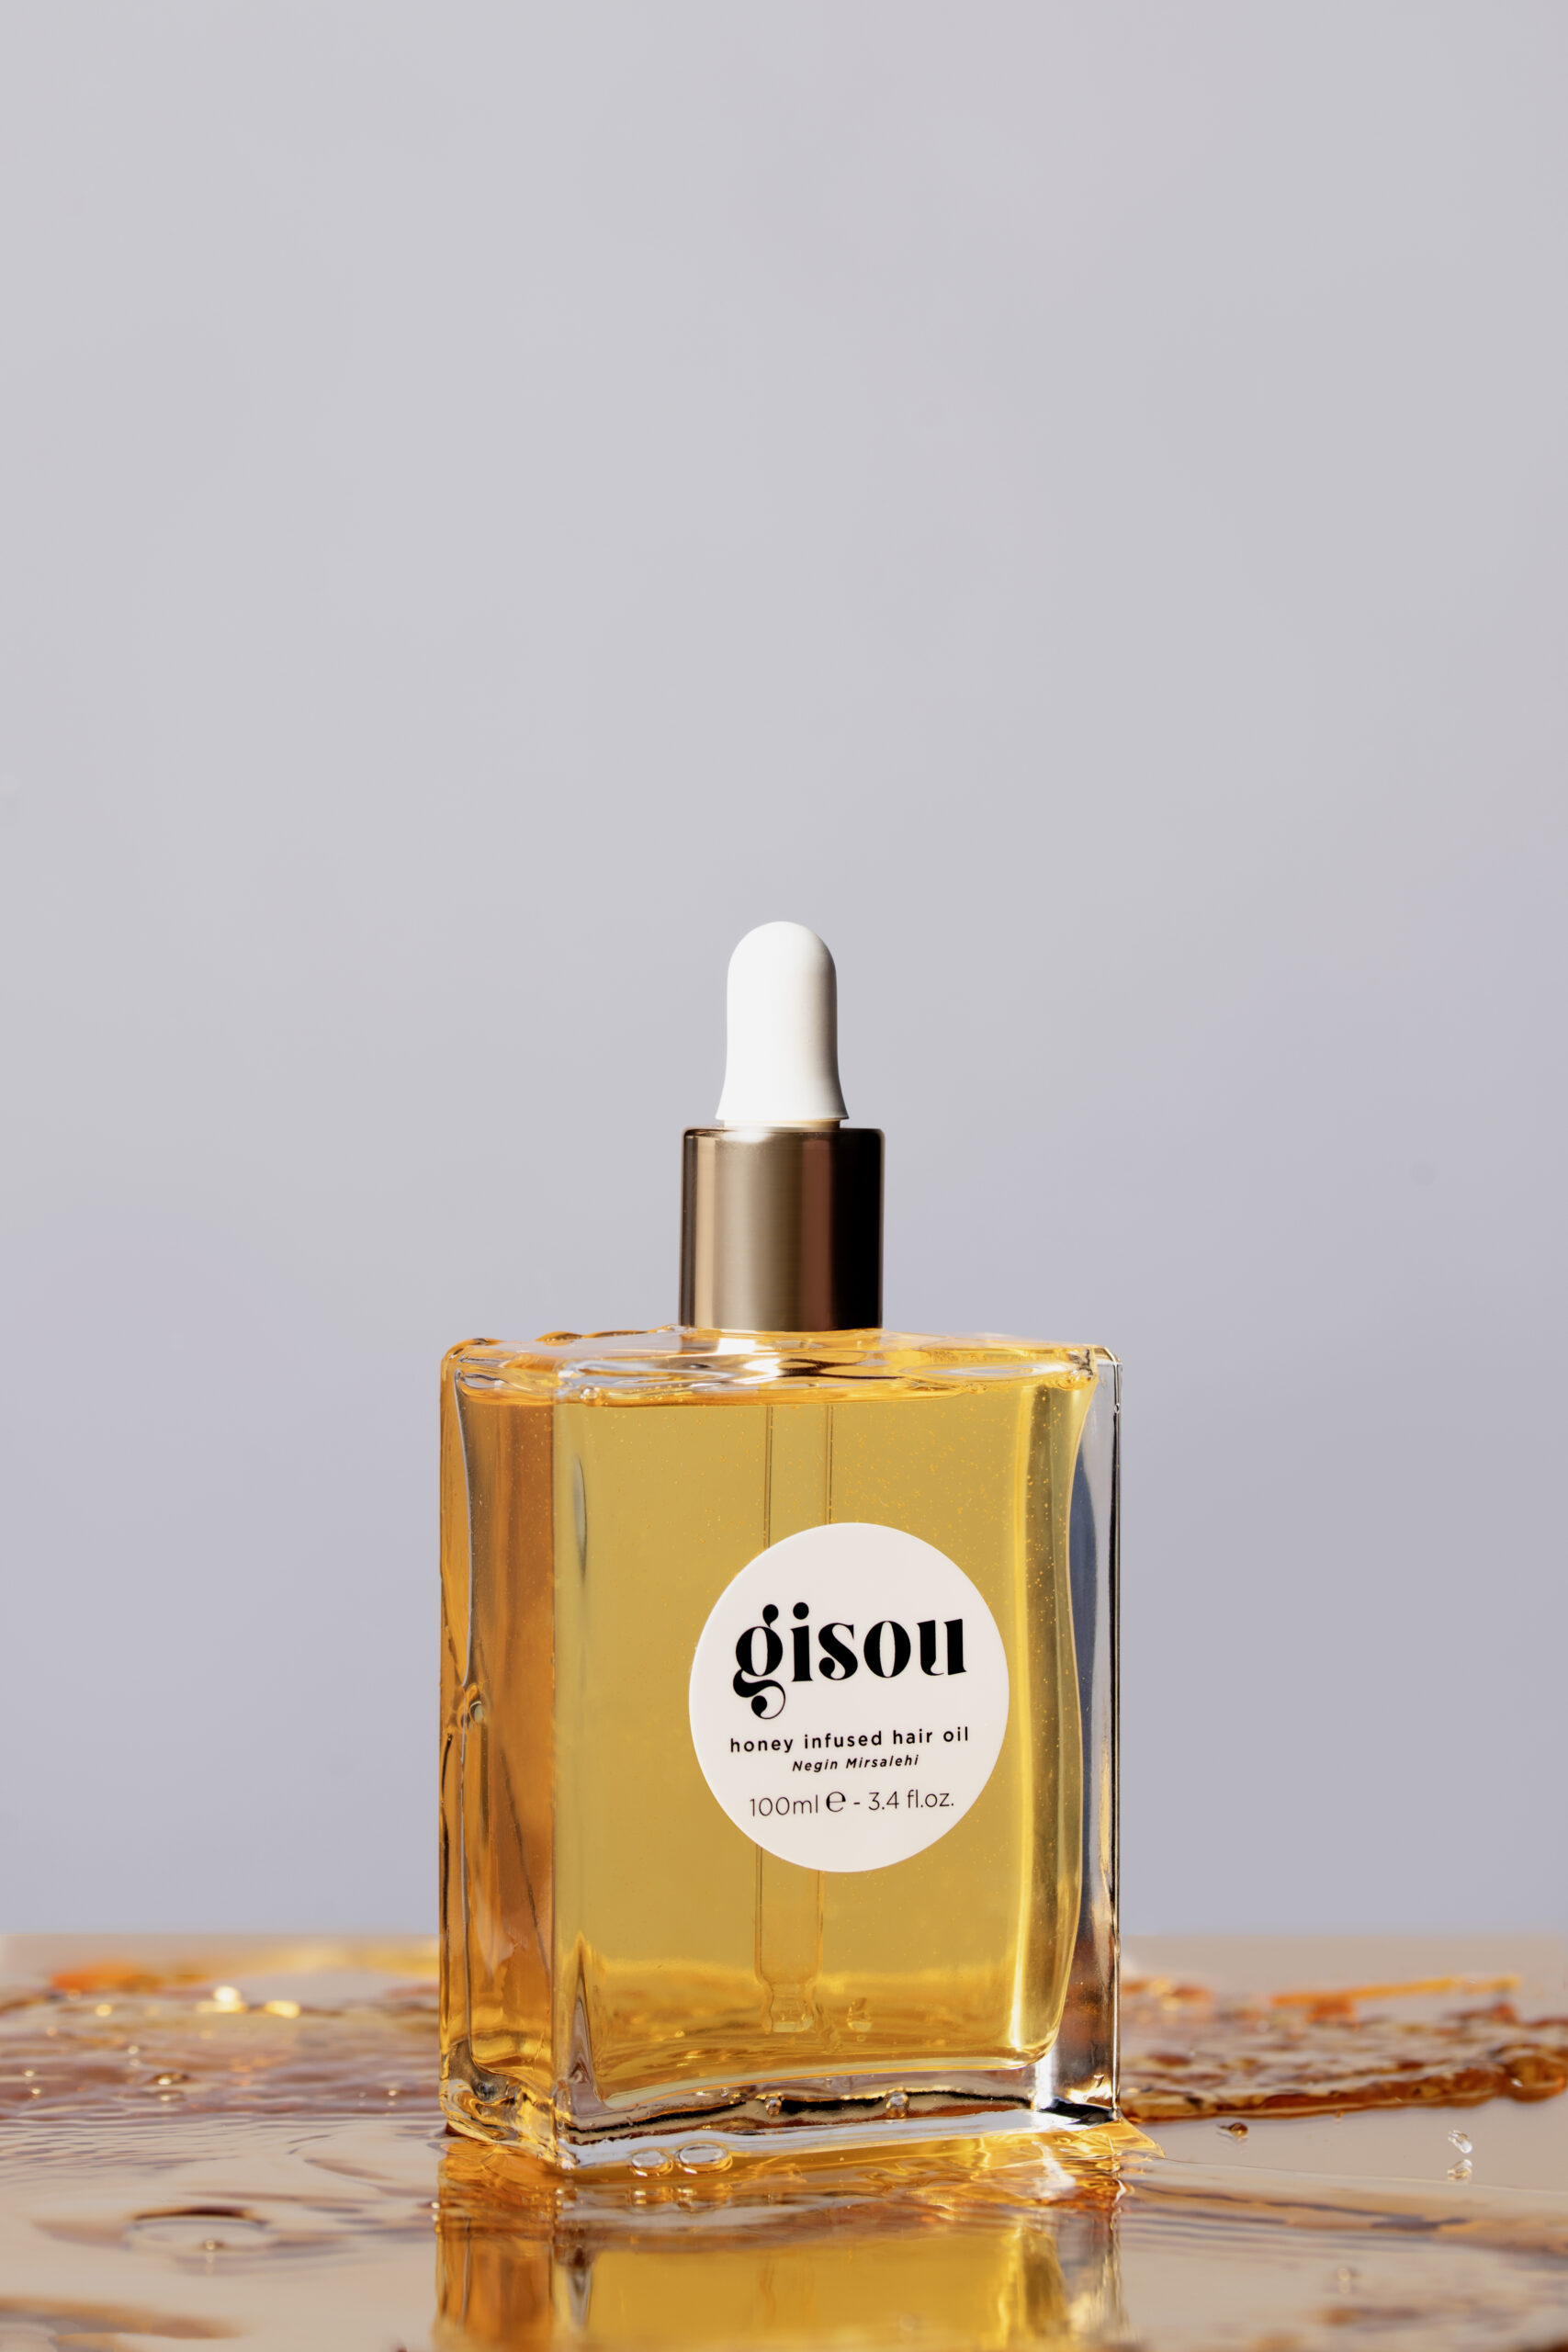
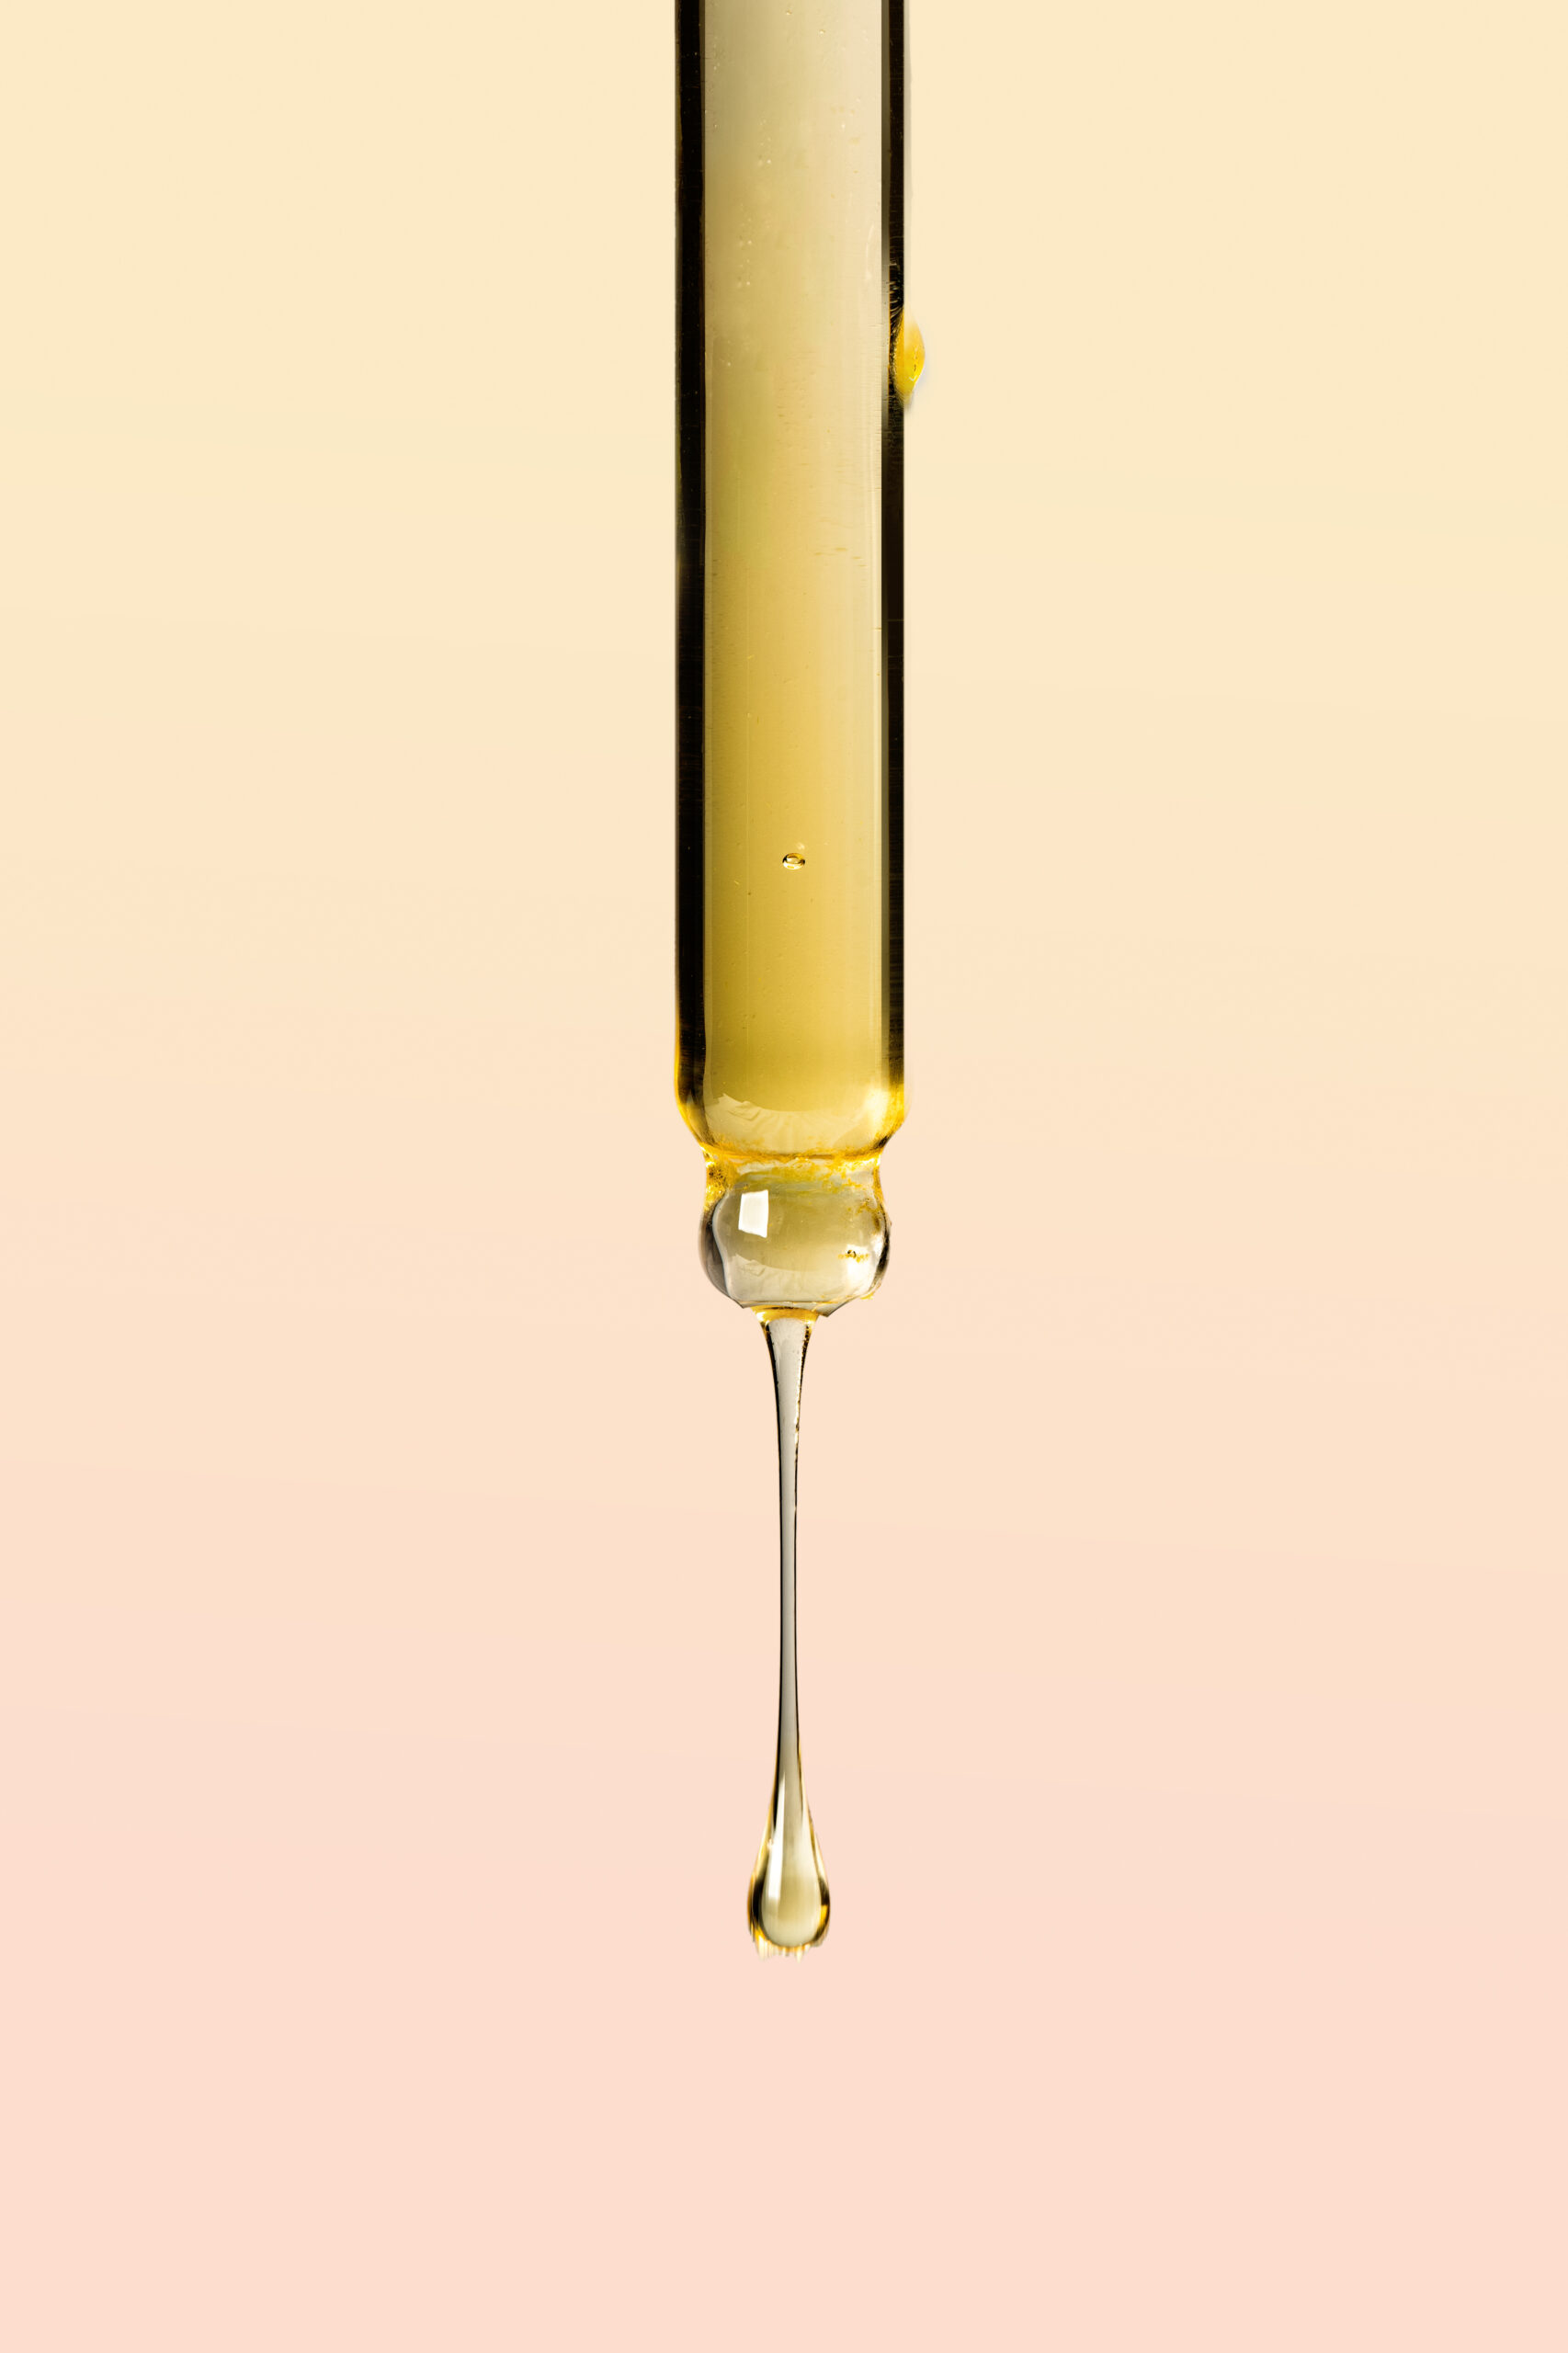
She then works the Rapid Box Switch 2×3 in as her main light to capture unique product photography shots of a splash shot on a golden mirror. She then adds a creative touch to her product portfolio to show off a droplet of this product. To achieve this, Taylor uses vegetable glycerin to get a pretty decent droplet for the shot. Usually, she uses clear shampoo because it’s a little bit more viscous and gets her these long droplets, but today she went with the glycerin, and she was able to show off how nice and thick the product was. Although the glycerin is clear and the product itself is yellow, she can always go back in post-production.
Closing
Taylor concludes by explaining that product photography doesn’t require a lot of space or gear. She was able to get a lot accomplished with just two lights, two modifiers, and our Lindsey Adler Optical Spot.
Go behind the scenes for a stylish cosmetic portrait shoot.


You must be logged in to post a comment.