
This article is courtesy of renowned beauty and fashion photographer Dixie Dixon.
As a Commercial Fashion and Beauty Photographer, I am always focused on bringing out the real raw beauty and personality of my subjects! This requires placing them in the best light (no pun intended) and utilizing certain techniques that truly flatter faces.
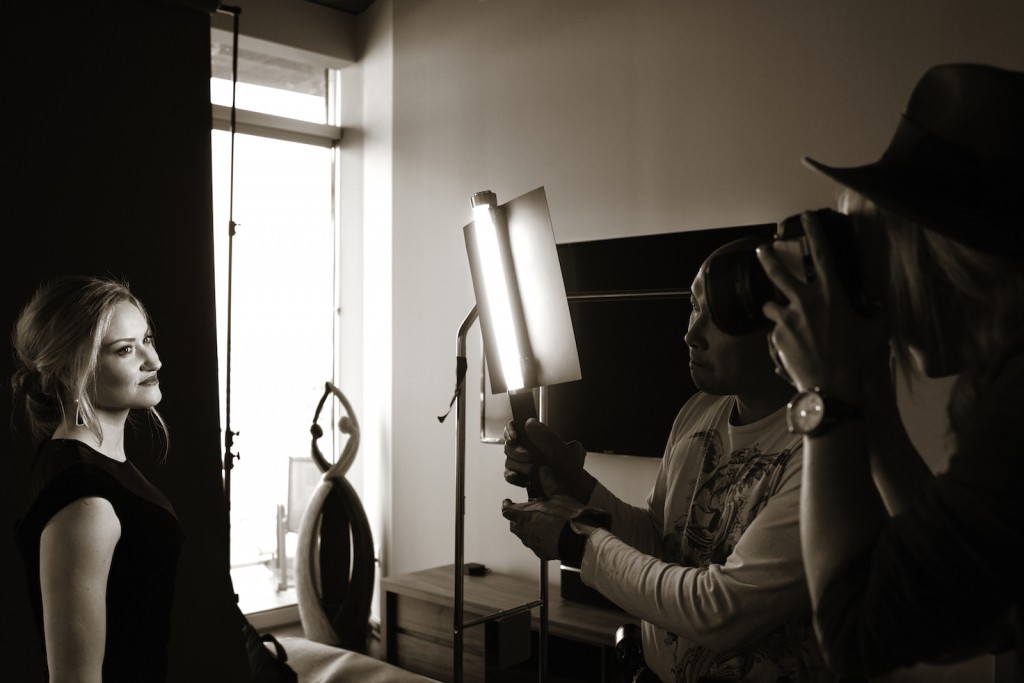
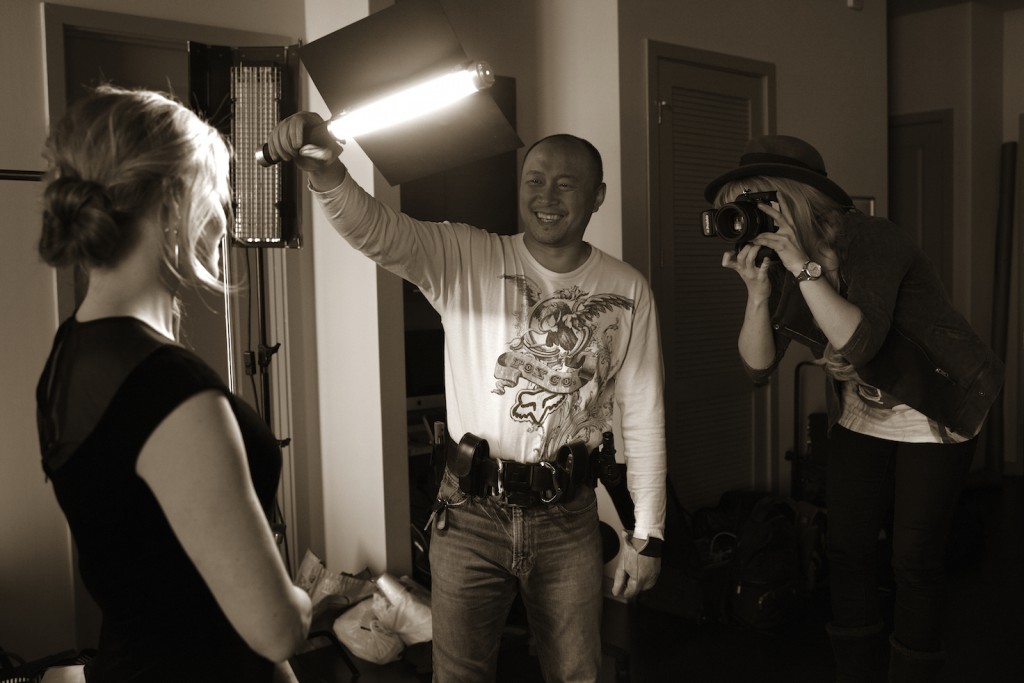
I shoot on location a ton, often in dimly lit areas and sometimes I don’t have the time and luxury to create a complex lighting setup especially when shooting editorial work. So in this case, I have to utilize the ambient light inside the location which isn’t always best and come up with a way to make my subject look beautiful. This is why I have the Ice Light 2 in my arsenal! Basically it creates gorgeous soft lighting in an instant.
The light itself is pure genius- you can go without cords or plug it in if you wish. You can even change the battery if needed on location so you never run out of power. The light is dim-able and you can get barn doors to make it more directional as well. The light itself rather reminds me of a light saber and I kinda feel like a superhero when I use it. So if you’re looking for a super quick magically gorgeous light source, I would give this little beast a try.
And just for funsies, here are 12 simple techniques I use to create gorgeous beauty images with the Ice Light on the go:
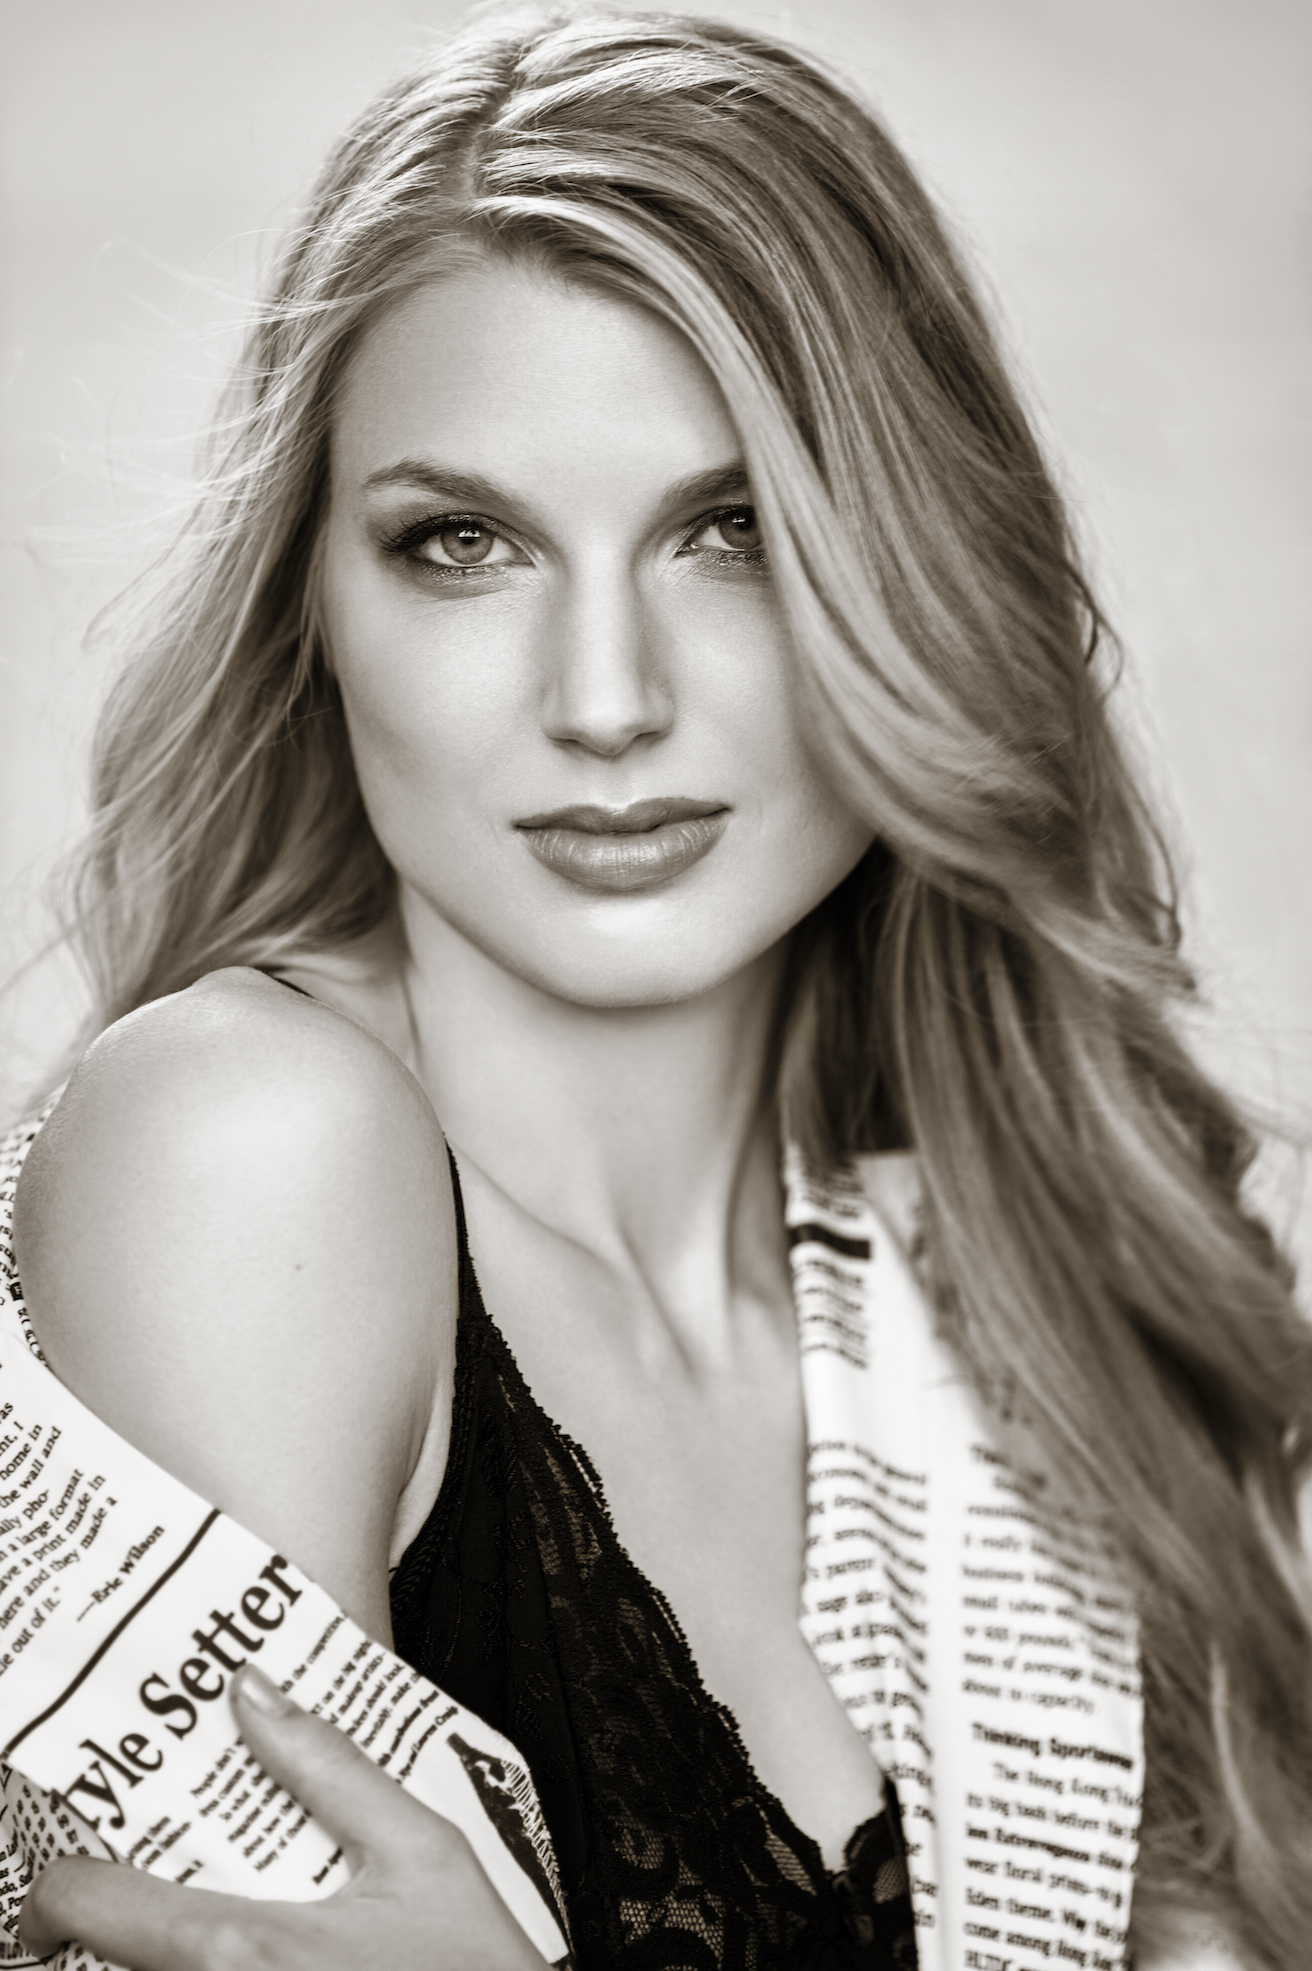
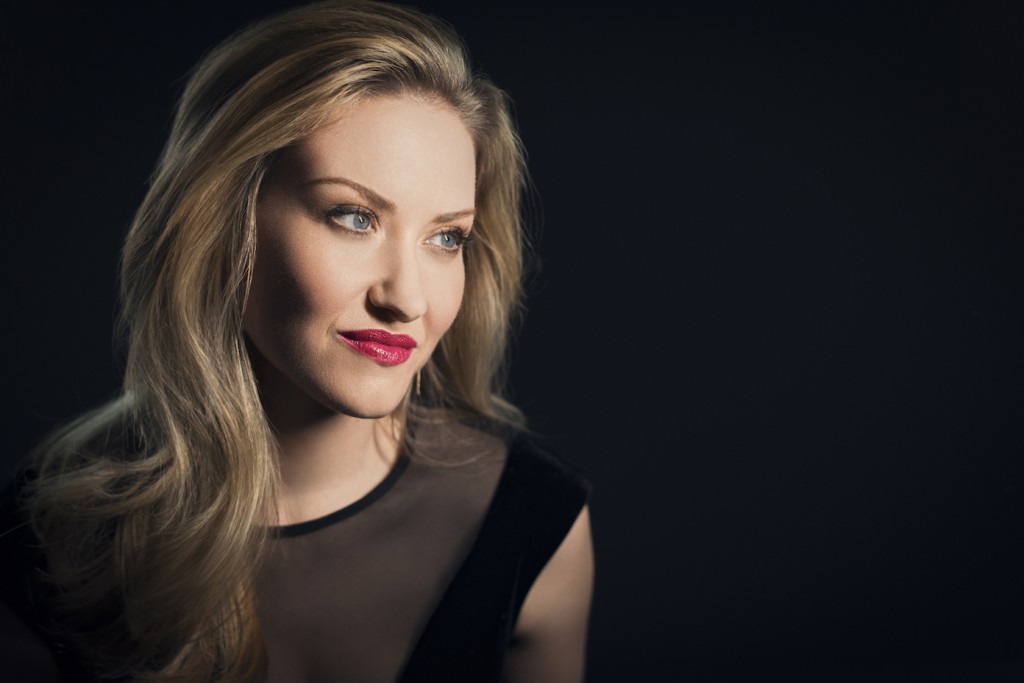
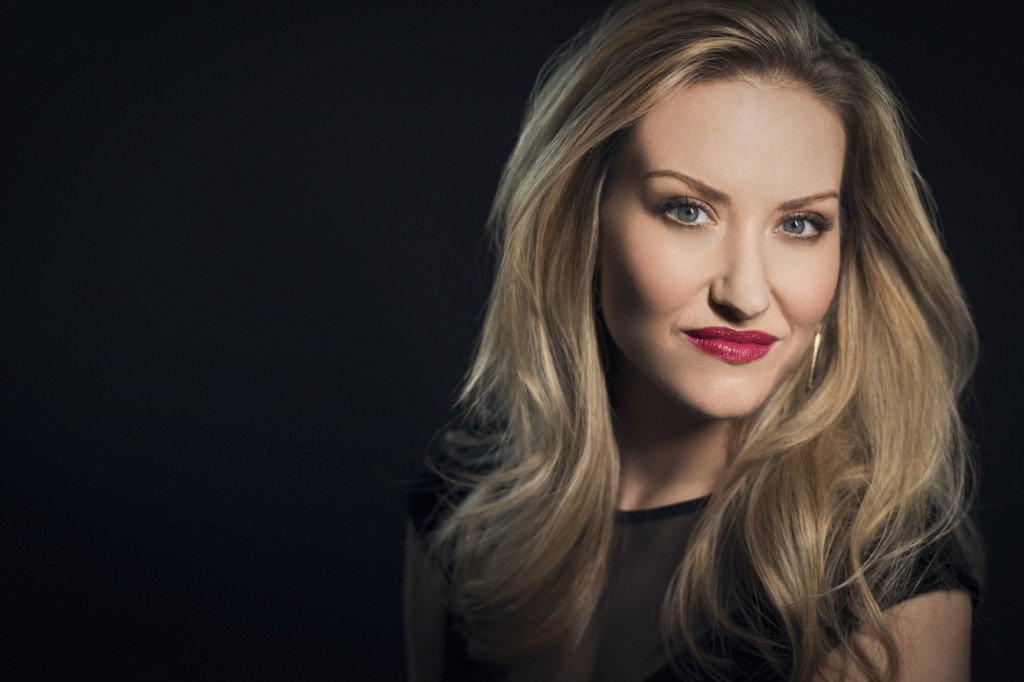
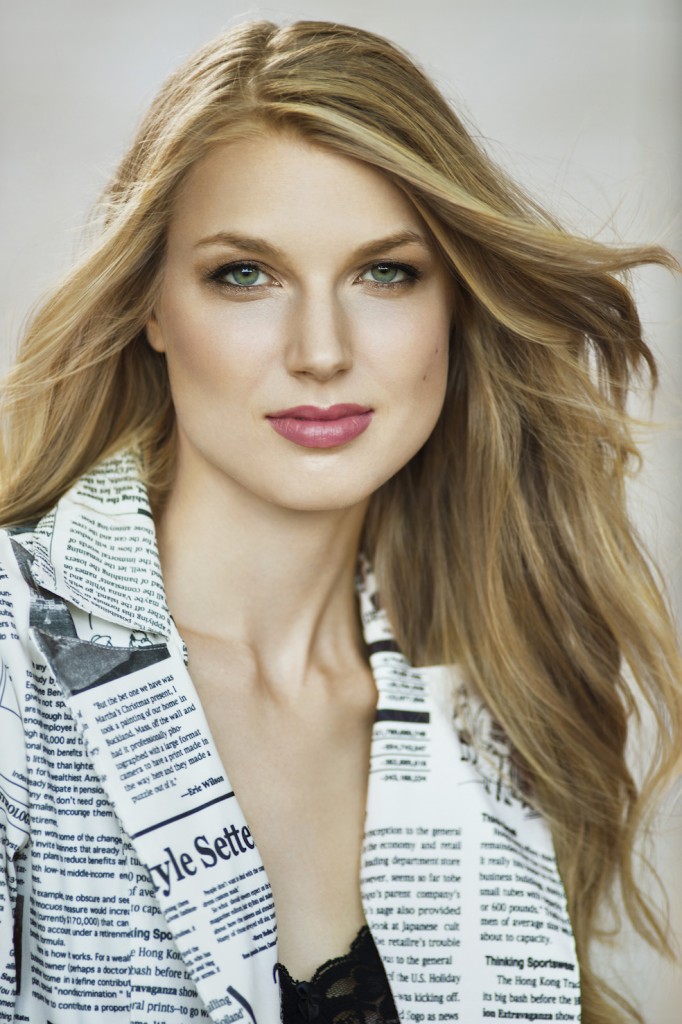
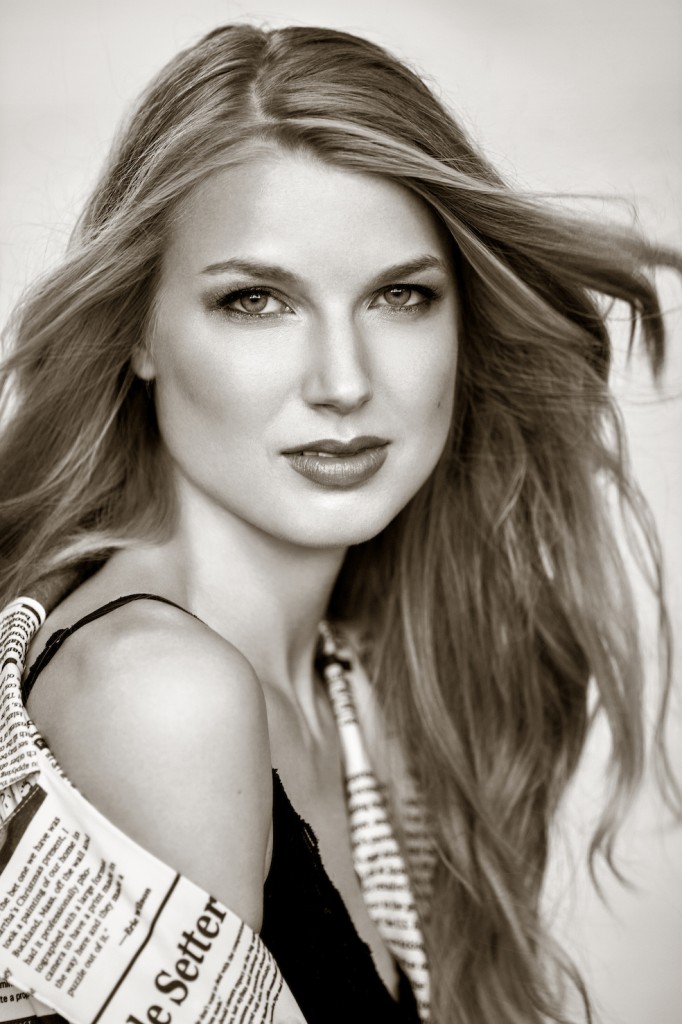
- Place your subject in the best light: Overhead florescent lighting is so unflattering. I never place my subjects in this type of lighting. Instead I might turn off the fluorescents and utilize my Ice Light to Illuminate my subject. I always place the light slightly above and in front so their skin glows! If you cast a shadow under their eyes, your light is too high. You want to illuminate your subjects eyes and skin.
- Experiment with the light: All faces are different and require different angles of light. Try holding your Ice Light at different places around your subject until you find the most flattering angle.
- Mix daylight: You can mix Daylight and the Ice Light because it is daylight balanced- no gels needed. So sometimes I’ll put a window behind my subject and place the light in front for a gorgeous soft feel.
- Keep it close: The closer your light is to you subject the softer it will be.
- Utilize shallow depth of field: This basically means setting your cameras aperture wide open- say F1.4 or F2.8 so the background falls beautifully out of focus and draws more attention to you subject while eyes are tack sharp.
- Overexpose skin tones to make skin glow: I personally overexpose my skin tones by about 1/3 to 1/2 a stop and the reason is that it tends to make my subjects skin more glow-y and luminous and in return, less retouching needed. So you don’t have to go by exactly what your meter says, go by what looks great.
- Try shooting from a slightly higher angle: For beauty headshots, I always shoot from a slightly higher angle. The reason for this is that whatever is closest to your lens will appear largest. So when you shoot from a slightly higher angle, the eyes of your subject will appear largest and stand out while the chin is lessened! If you tried shooting a headshot from a low angle, the chin is closest to the lens and appears largest, which is not a flattering look and creates double chins.
- Place your subjects shoulders at an angle: Everyone loves looking thinner in photographs. And a great way to do this in camera is to not shoot headshots straight on. Try angling your subjects shoulders slightly away from camera to make their frame appear smaller.
- Use a longer focal length lens: I usually use longer lenses for beauty headshots. I absolutely love using the Nikkor 200mm f2 and 300mm f4 lenses and the reason is that these longer lenses have a compression effect on faces and backgrounds. This is how I create all of my iconic beauty images. never use wide-angle lenses for headshots because it will make their nose and forehead look much larger than it is. So for instance, if you have a 70- 200mm lens, try backing up and zooming to 200mm and then taking your headshot and you’ll be amazed by the results. If you are working in a small space, use the longest lens possible.
- Move your focus point to the eyes: When I am photographing someone, I want the eyes to be the focal point of my portraits. So as I am shooting, I move the focus point to the subjects eyes to get them tack sharp.
- Experiment with different compositions: Try placing your subject in different parts of the frame to see which one is strongest. Sometimes a perfectly centered image creates the most impact and other times placing them slightly off center leaving negative space creates a more dynamic look.
- Focus on the connection: In beauty, the connection is everything. So once you’ve mastered your settings, lighting, and composition, then it is time to focus on getting great energy out of your subject. I always have music playing and give them tons of positive feedback as I shoot. This helps me bring out my subjects real raw personality and confidence.
You can see more of Dixie’s stunning portraiture by visiting her website, dixiedixon.com.

Lighting Gear in Action

Ice Light 2 Daylight LED5900

Ice Light 2 Daylight LED5900
You must be logged in to post a comment.