Photography is often described as painting with light, and for good reason—light is the foundation of every photograph. Whether you’re shooting in natural light or using artificial sources like flash, understanding how to control and manipulate light is crucial to capturing stunning images. However, the thought of using flash can be intimidating for many beginners.
This guide, led by Steve and Mark, the photography experts at Panoptic Chopsticks, is designed to help you move from fearful to flawless by mastering the basic principles of lighting and getting started with flash photography. By the end, you’ll be equipped with the knowledge to transform challenging lighting conditions into creative opportunities.
The Importance of Lighting in Photography
Lighting is not just a technical aspect of photography—it’s the essence that defines the mood, depth, and clarity of your images. Without proper lighting, even the most perfectly composed shot can fall flat. One of the biggest challenges photographers face is learning to see light—not just the amount of light, but its quality, direction, and how it interacts with your subject.
As photographers, it’s essential to train ourselves to see light the way a camera does. You might find yourself in what appears to be the perfect location, only to be disappointed by how the photo turns out. This is often due to not considering the light. Understanding and controlling light is the first step to creating consistently great photos.
Key Components of Flash Photography
When diving into flash photography, there are five key components you need to understand: aperture, shutter speed, ISO, flash power, and flash-to-subject distance. Mastering these elements will allow you to control your lighting environment effectively.
1. Aperture: The Gateway to Light
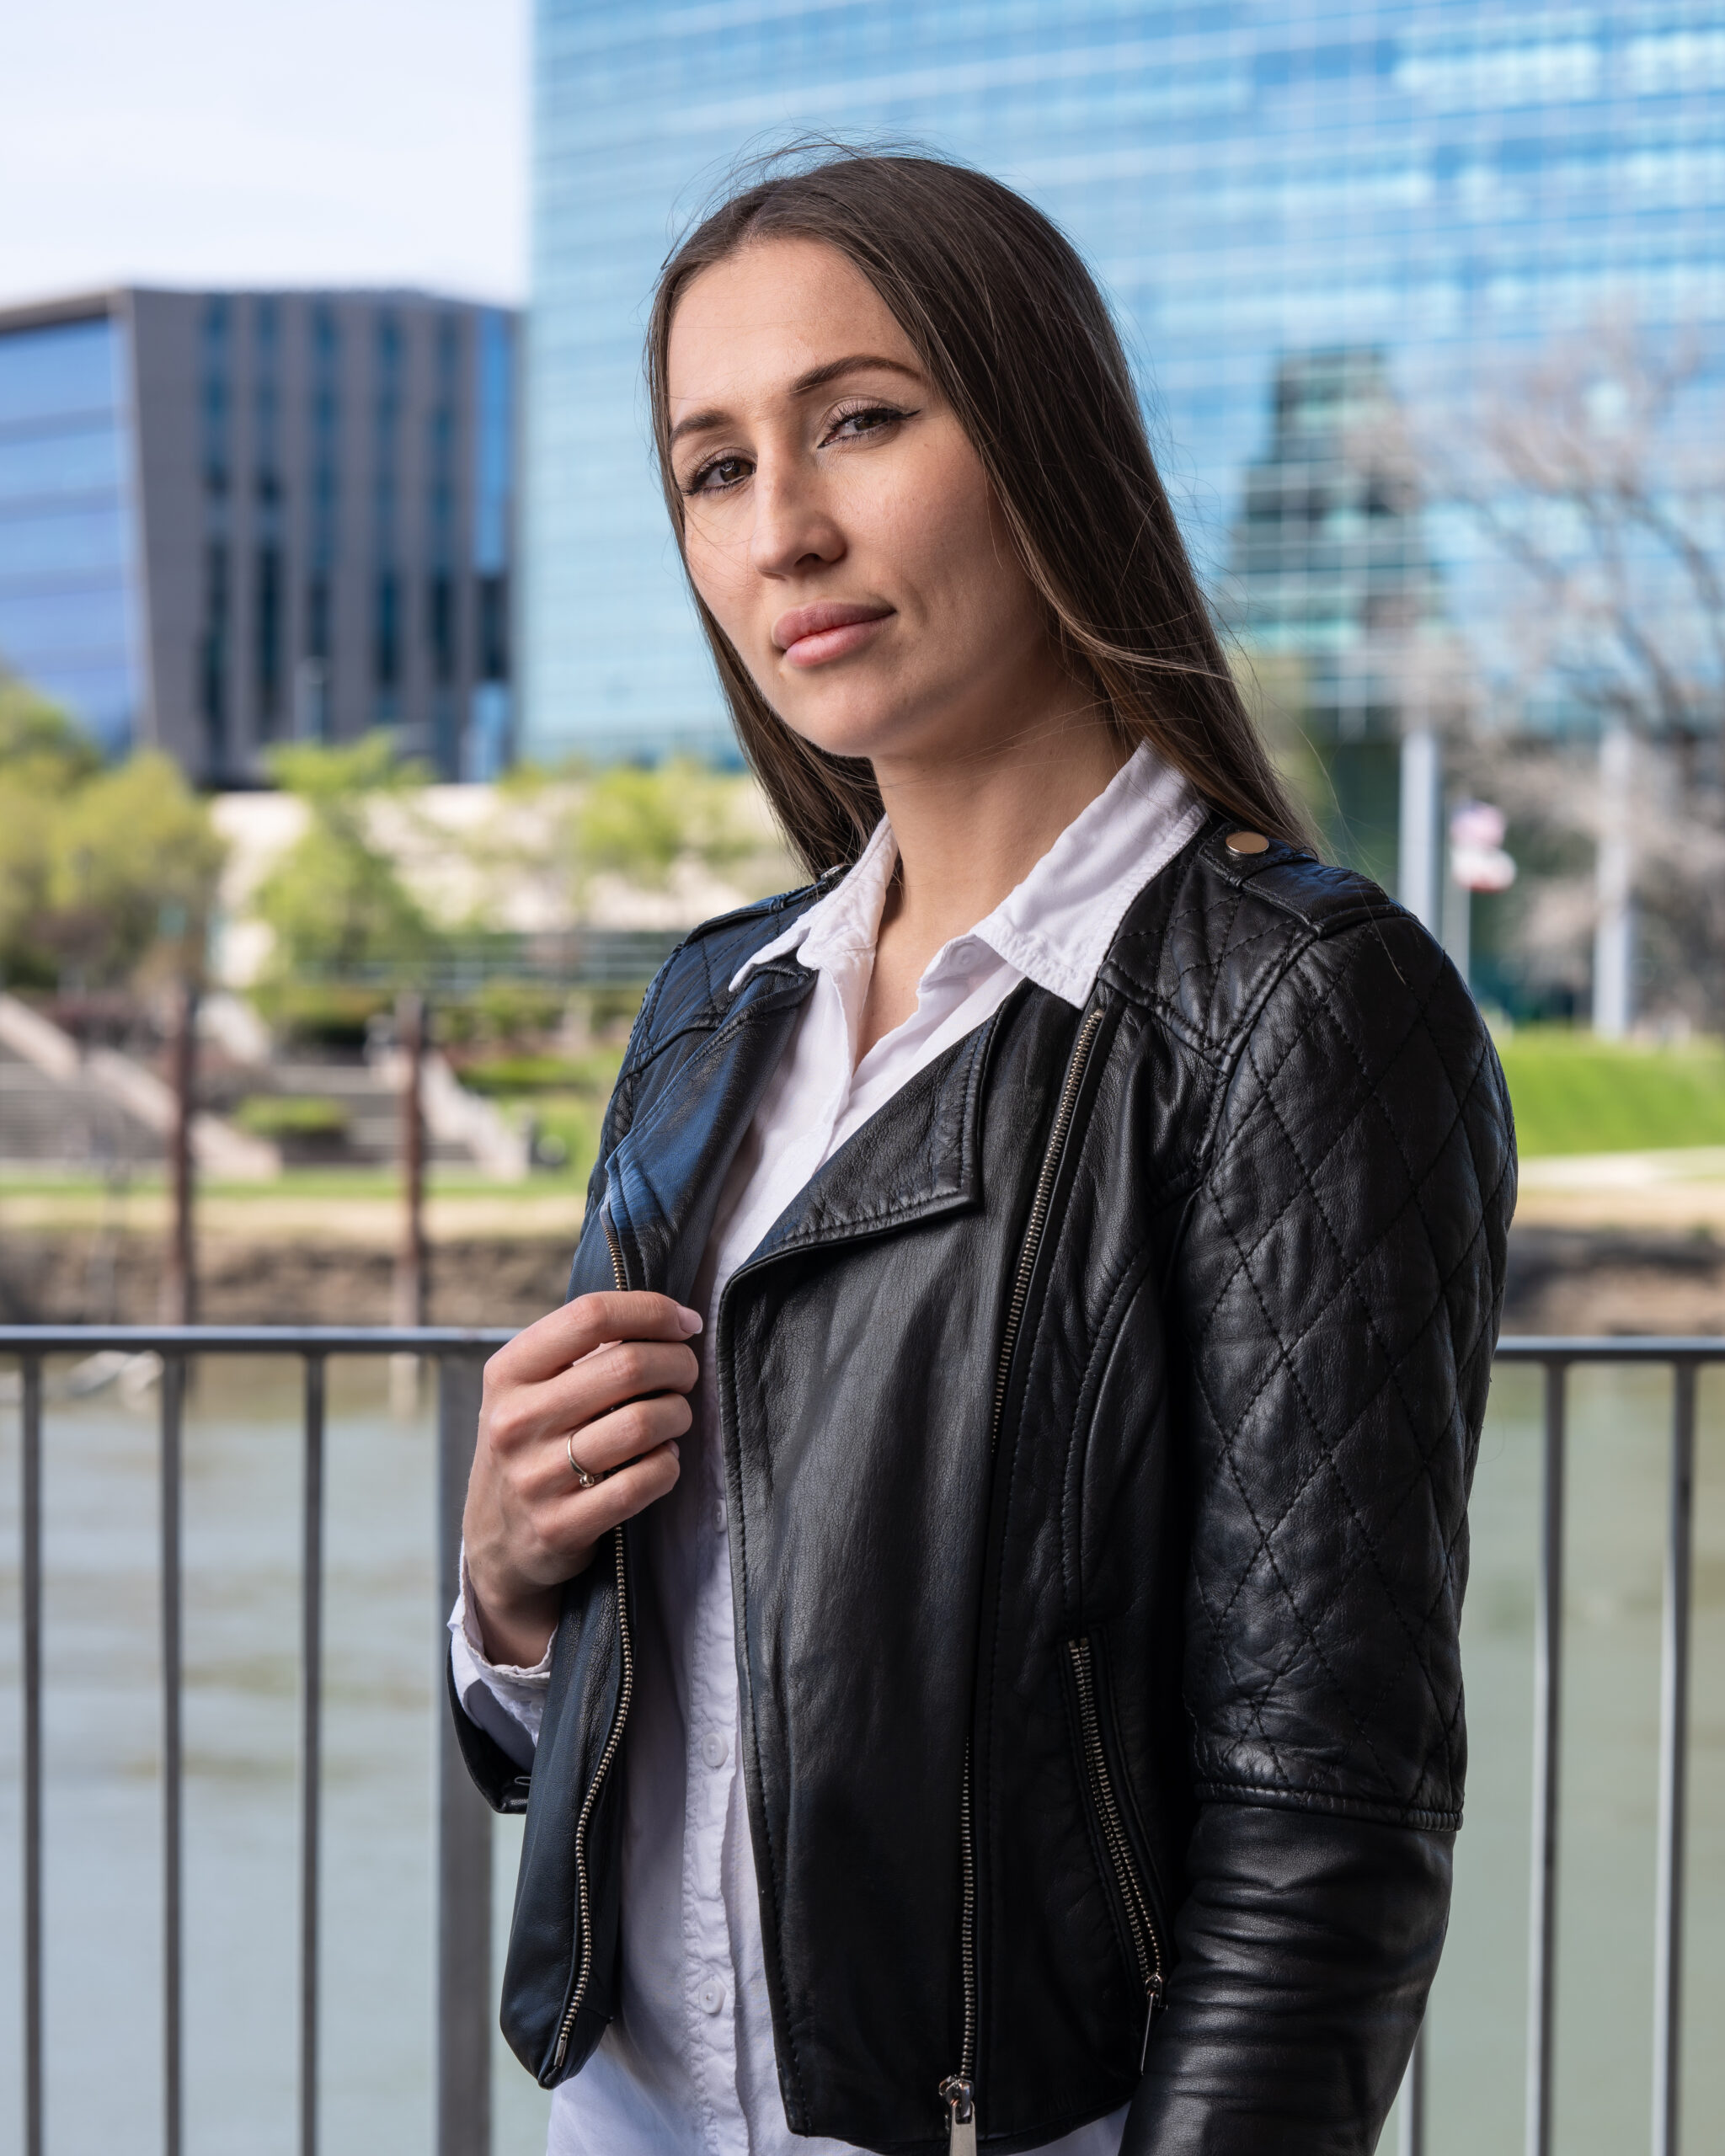
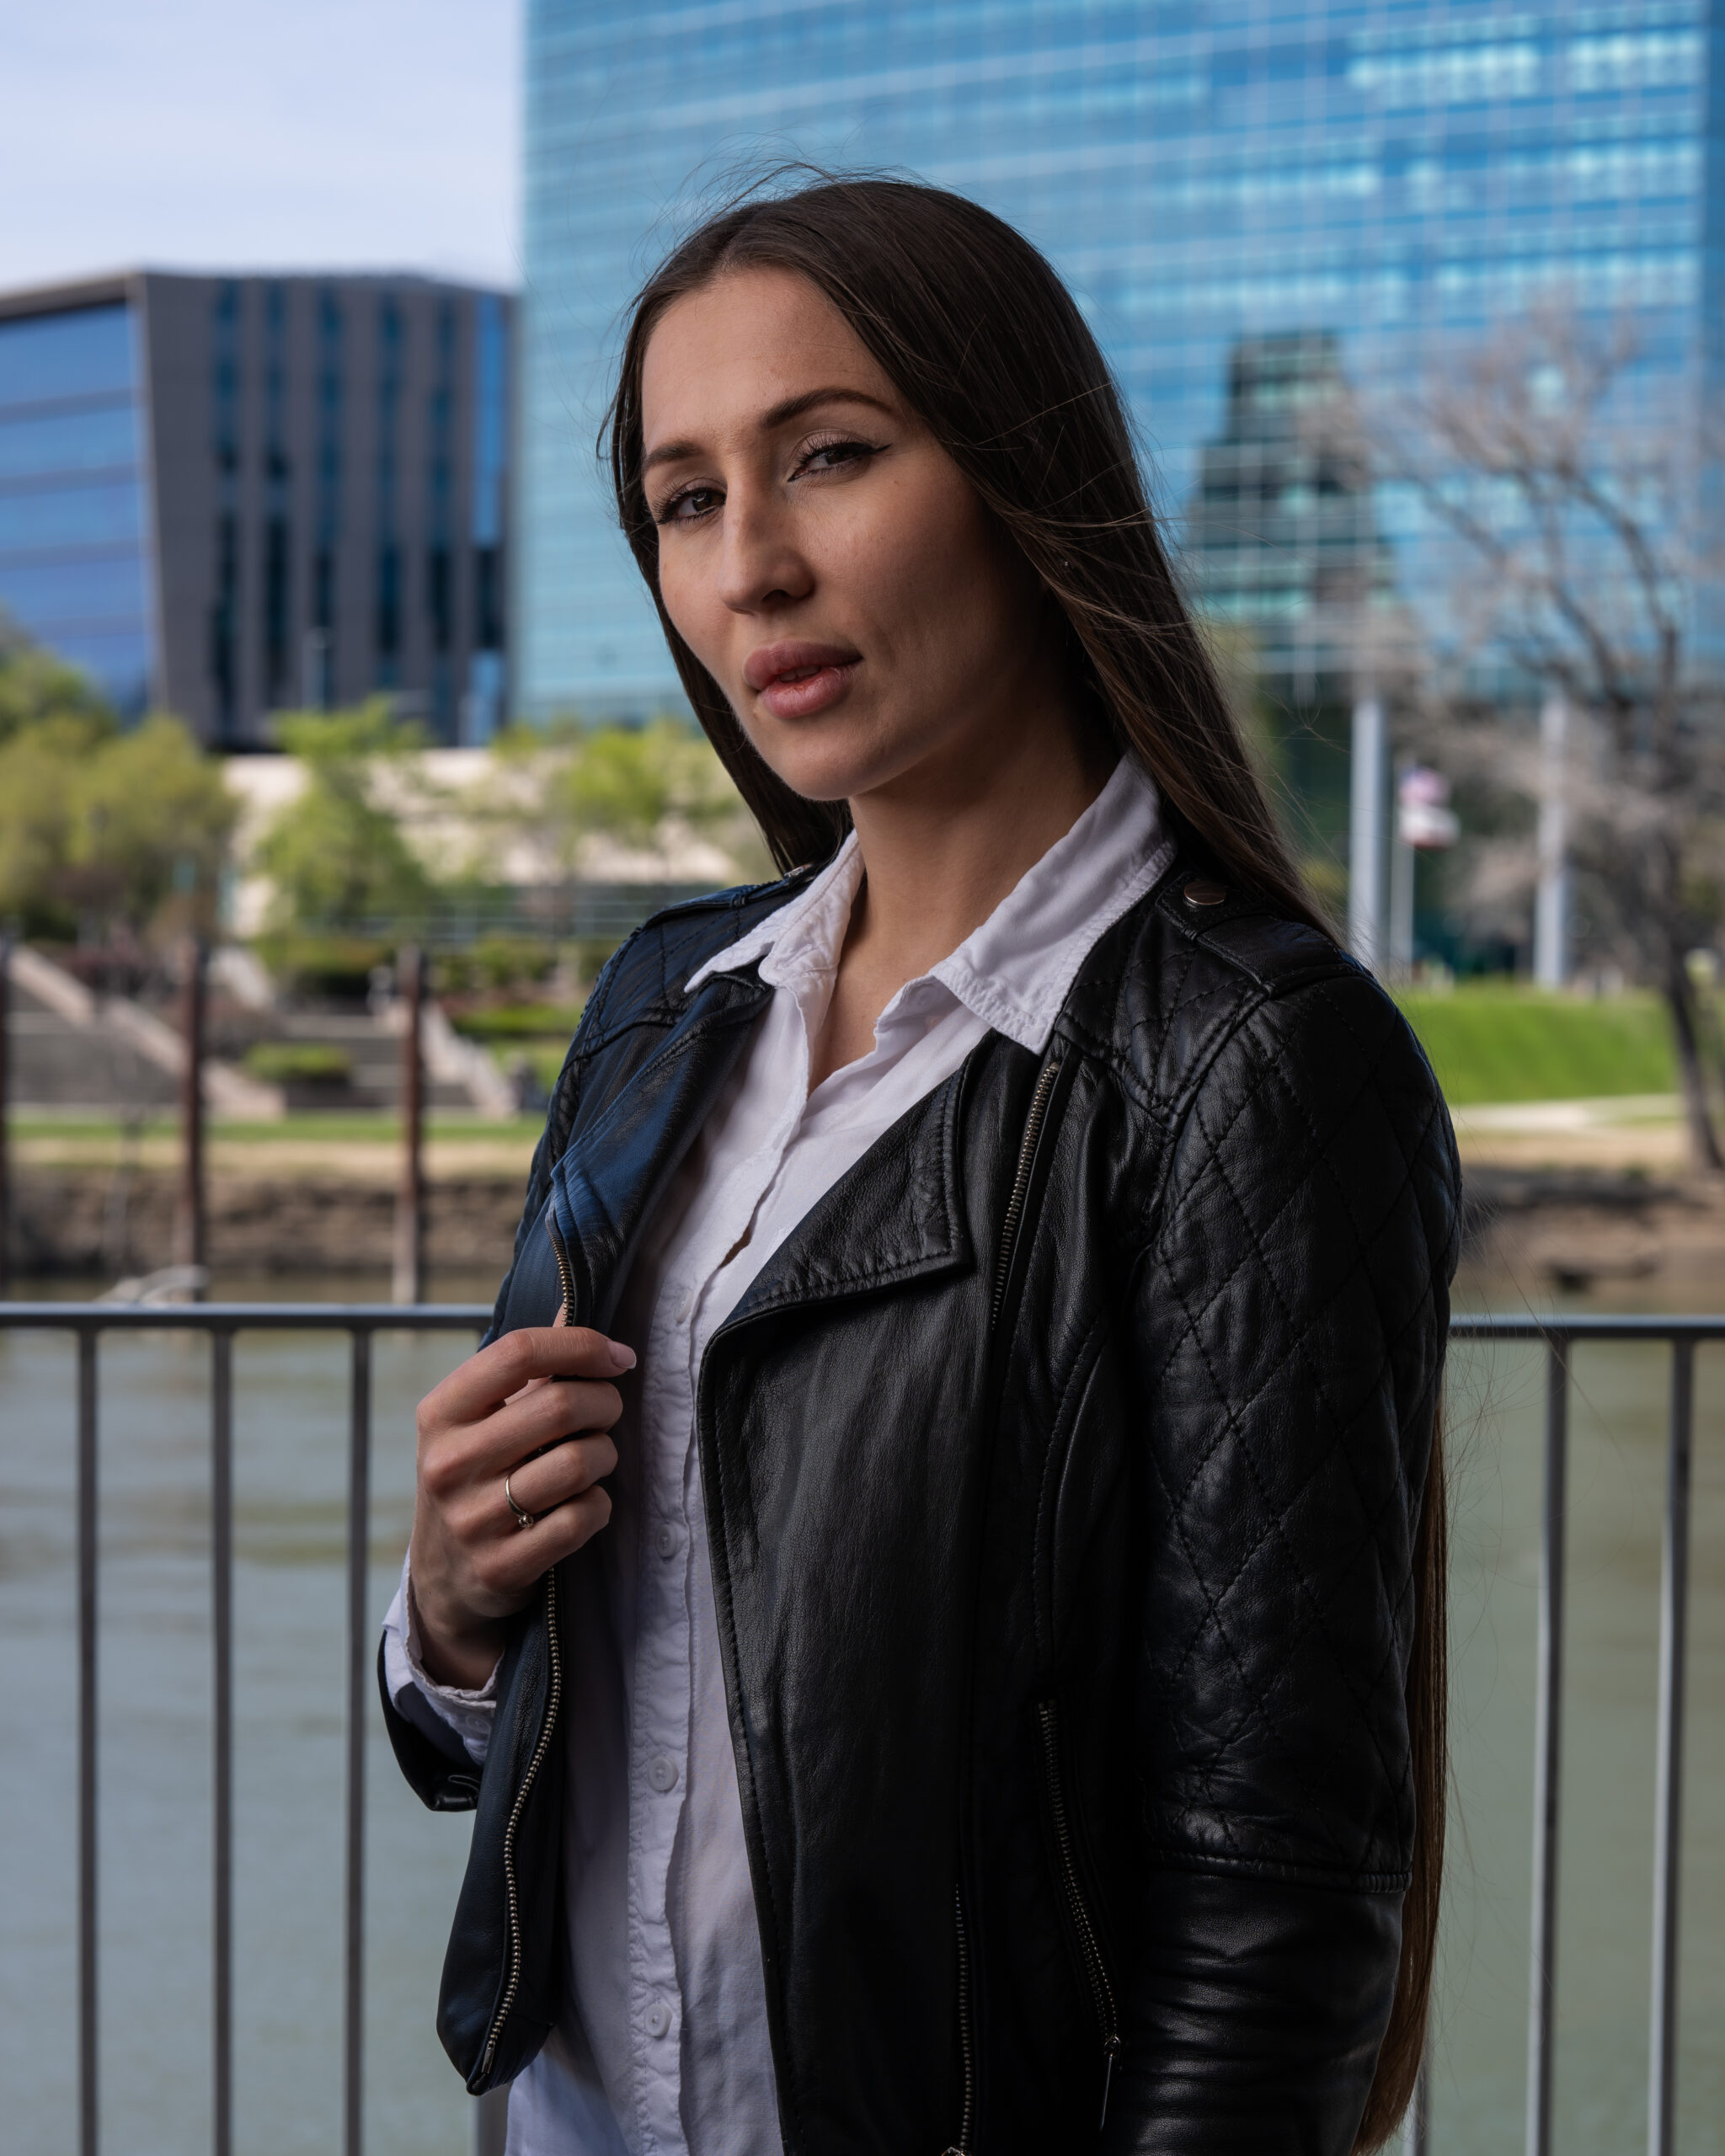
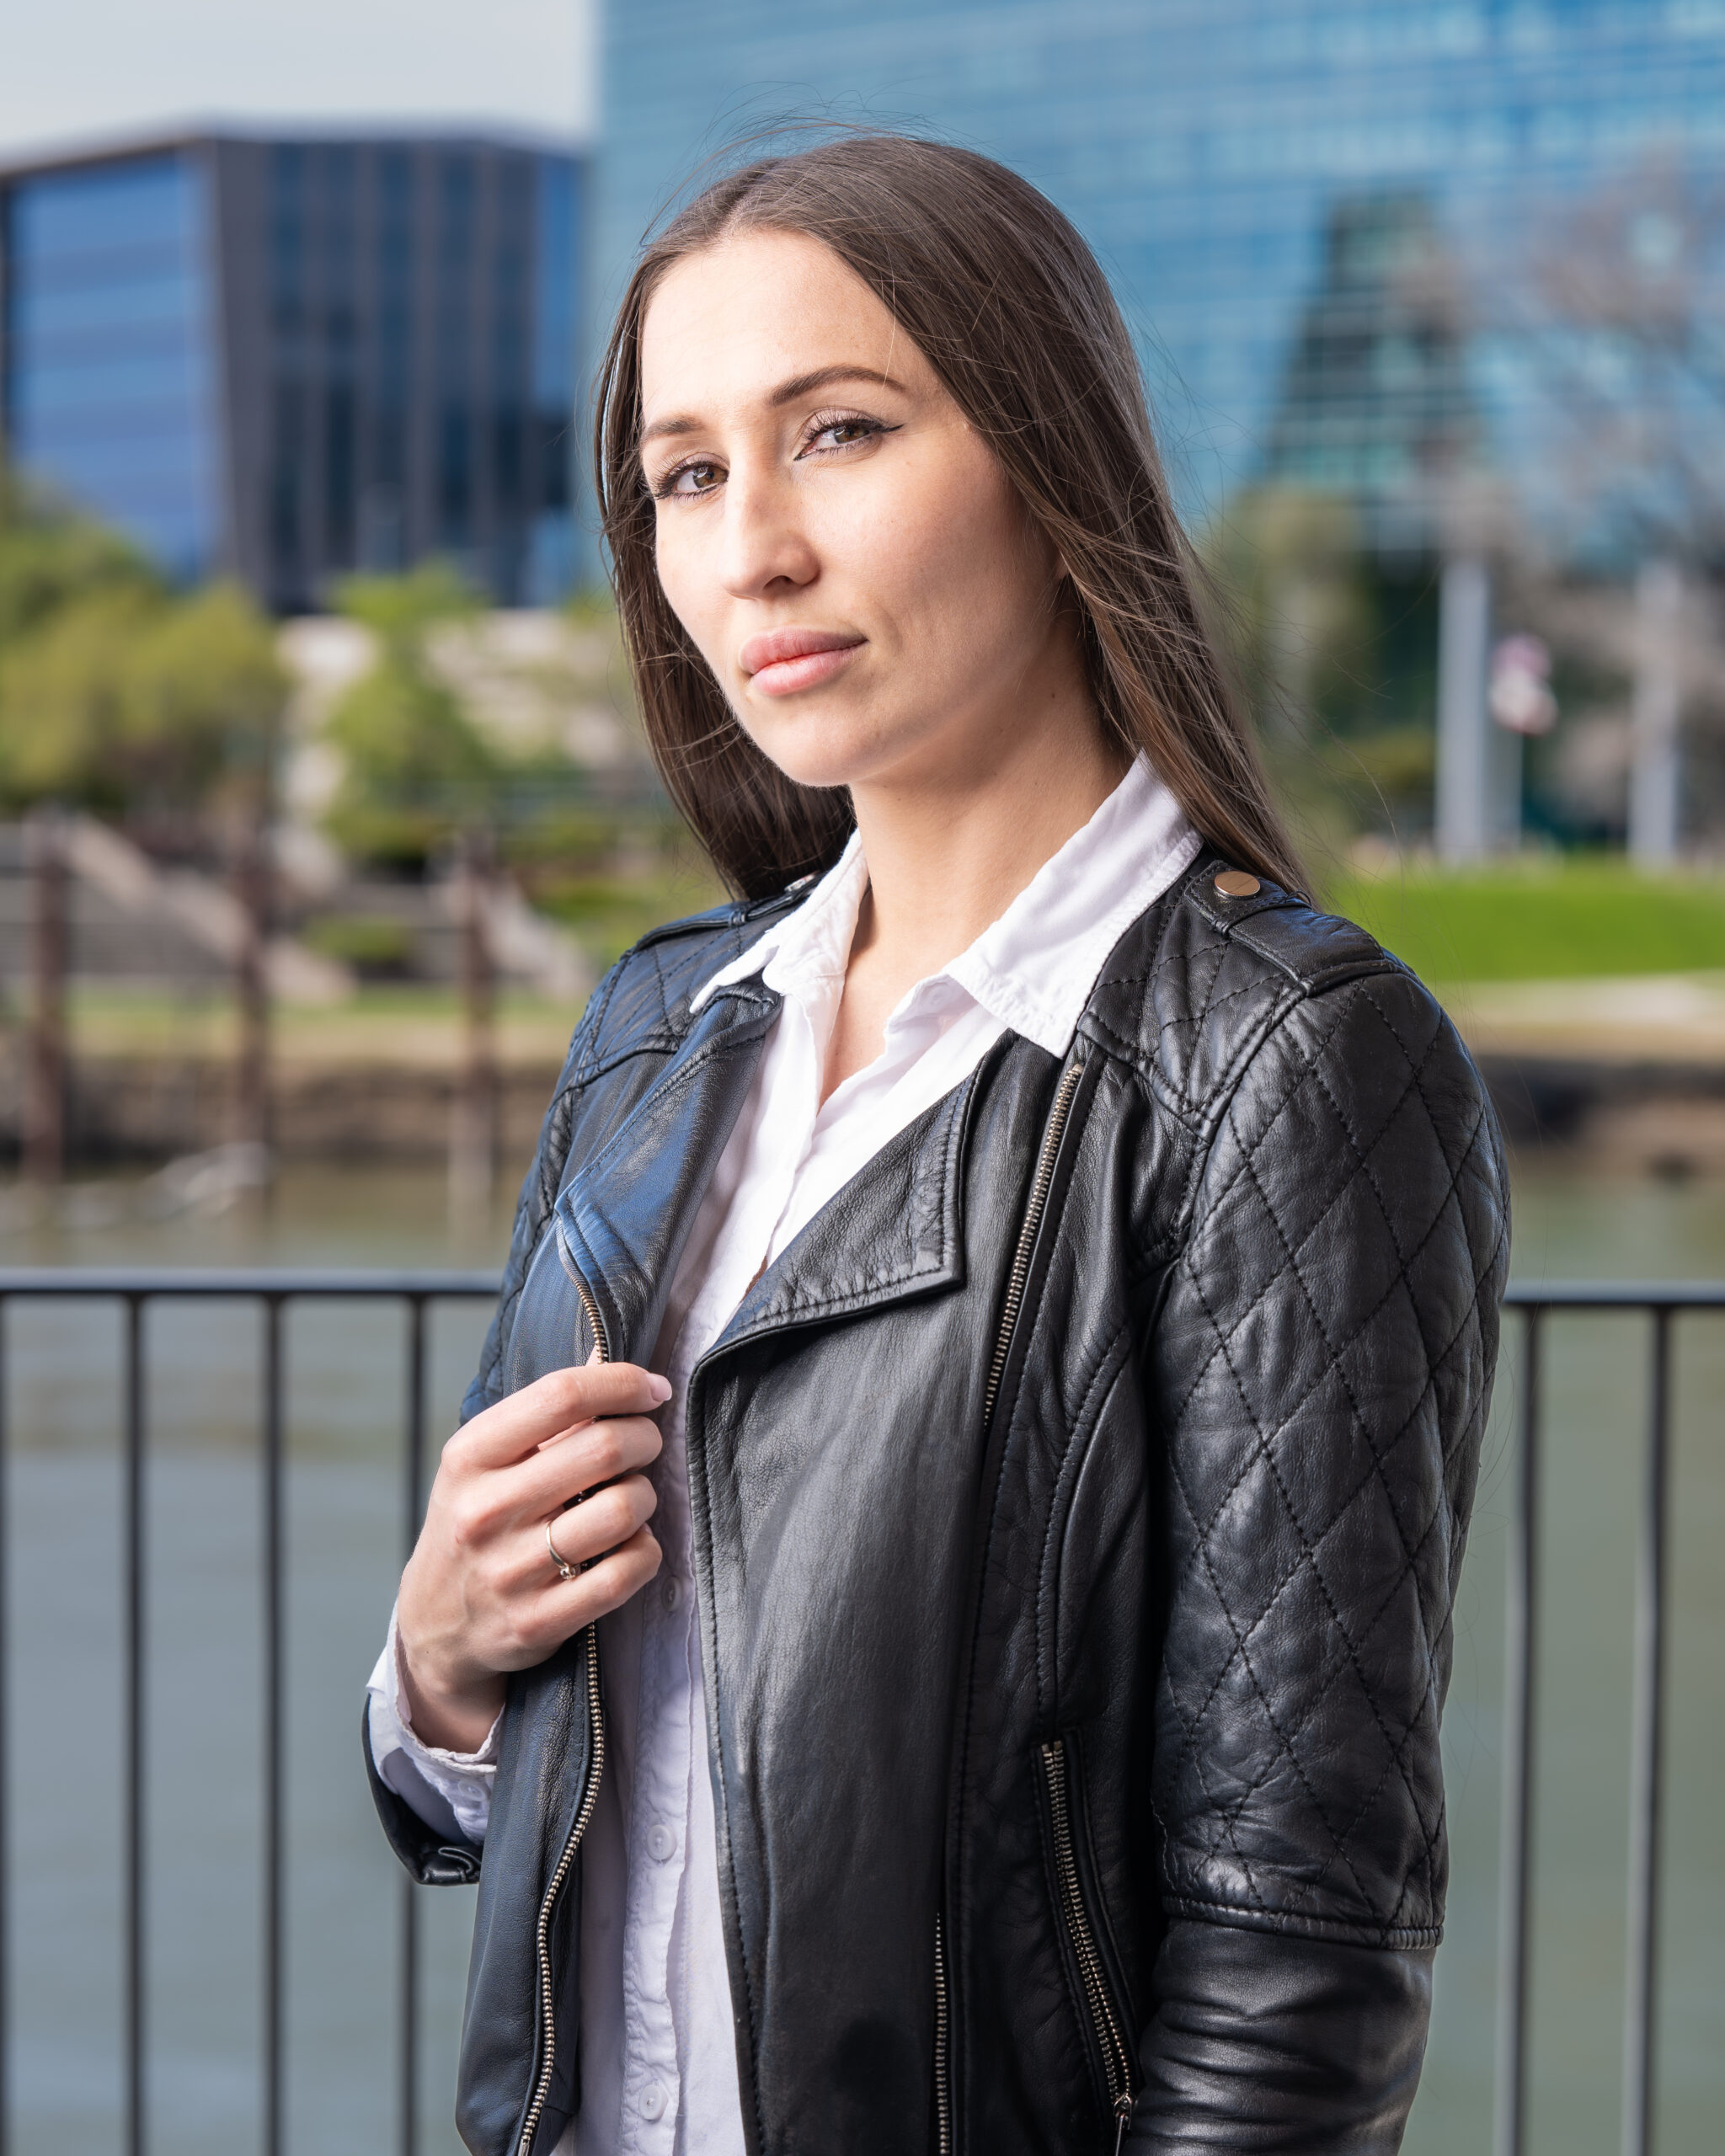
Aperture is the opening in your lens that allows light to reach your camera sensor. Think of it as the pupil of your eye—it widens to let in more light and narrows to reduce the amount. In photography terms, a wider aperture (lower f-stop number) lets in more light, resulting in a brighter exposure, while a narrower aperture (higher f-stop number) allows less light, leading to a darker image.
But aperture does more than just control brightness. It also determines the depth of field, or how much of your image is in focus. A wider aperture (e.g., f/2.8) creates a shallow depth of field, blurring the background and making your subject stand out. A narrower aperture (e.g., f/16) keeps more of the scene in focus, which is useful for landscape photography.
In flash photography, aperture plays a critical role in controlling the exposure of your image, affecting both ambient light and light from your strobe. Since the flash duration is incredibly short—sometimes faster than 1/10,000th of a second—your shutter speed has little effect on the exposure of the flash. Instead, aperture is what determines how much of the strobe‘s light hits your sensor.
2. Shutter Speed: Balancing Flash and Ambient Light
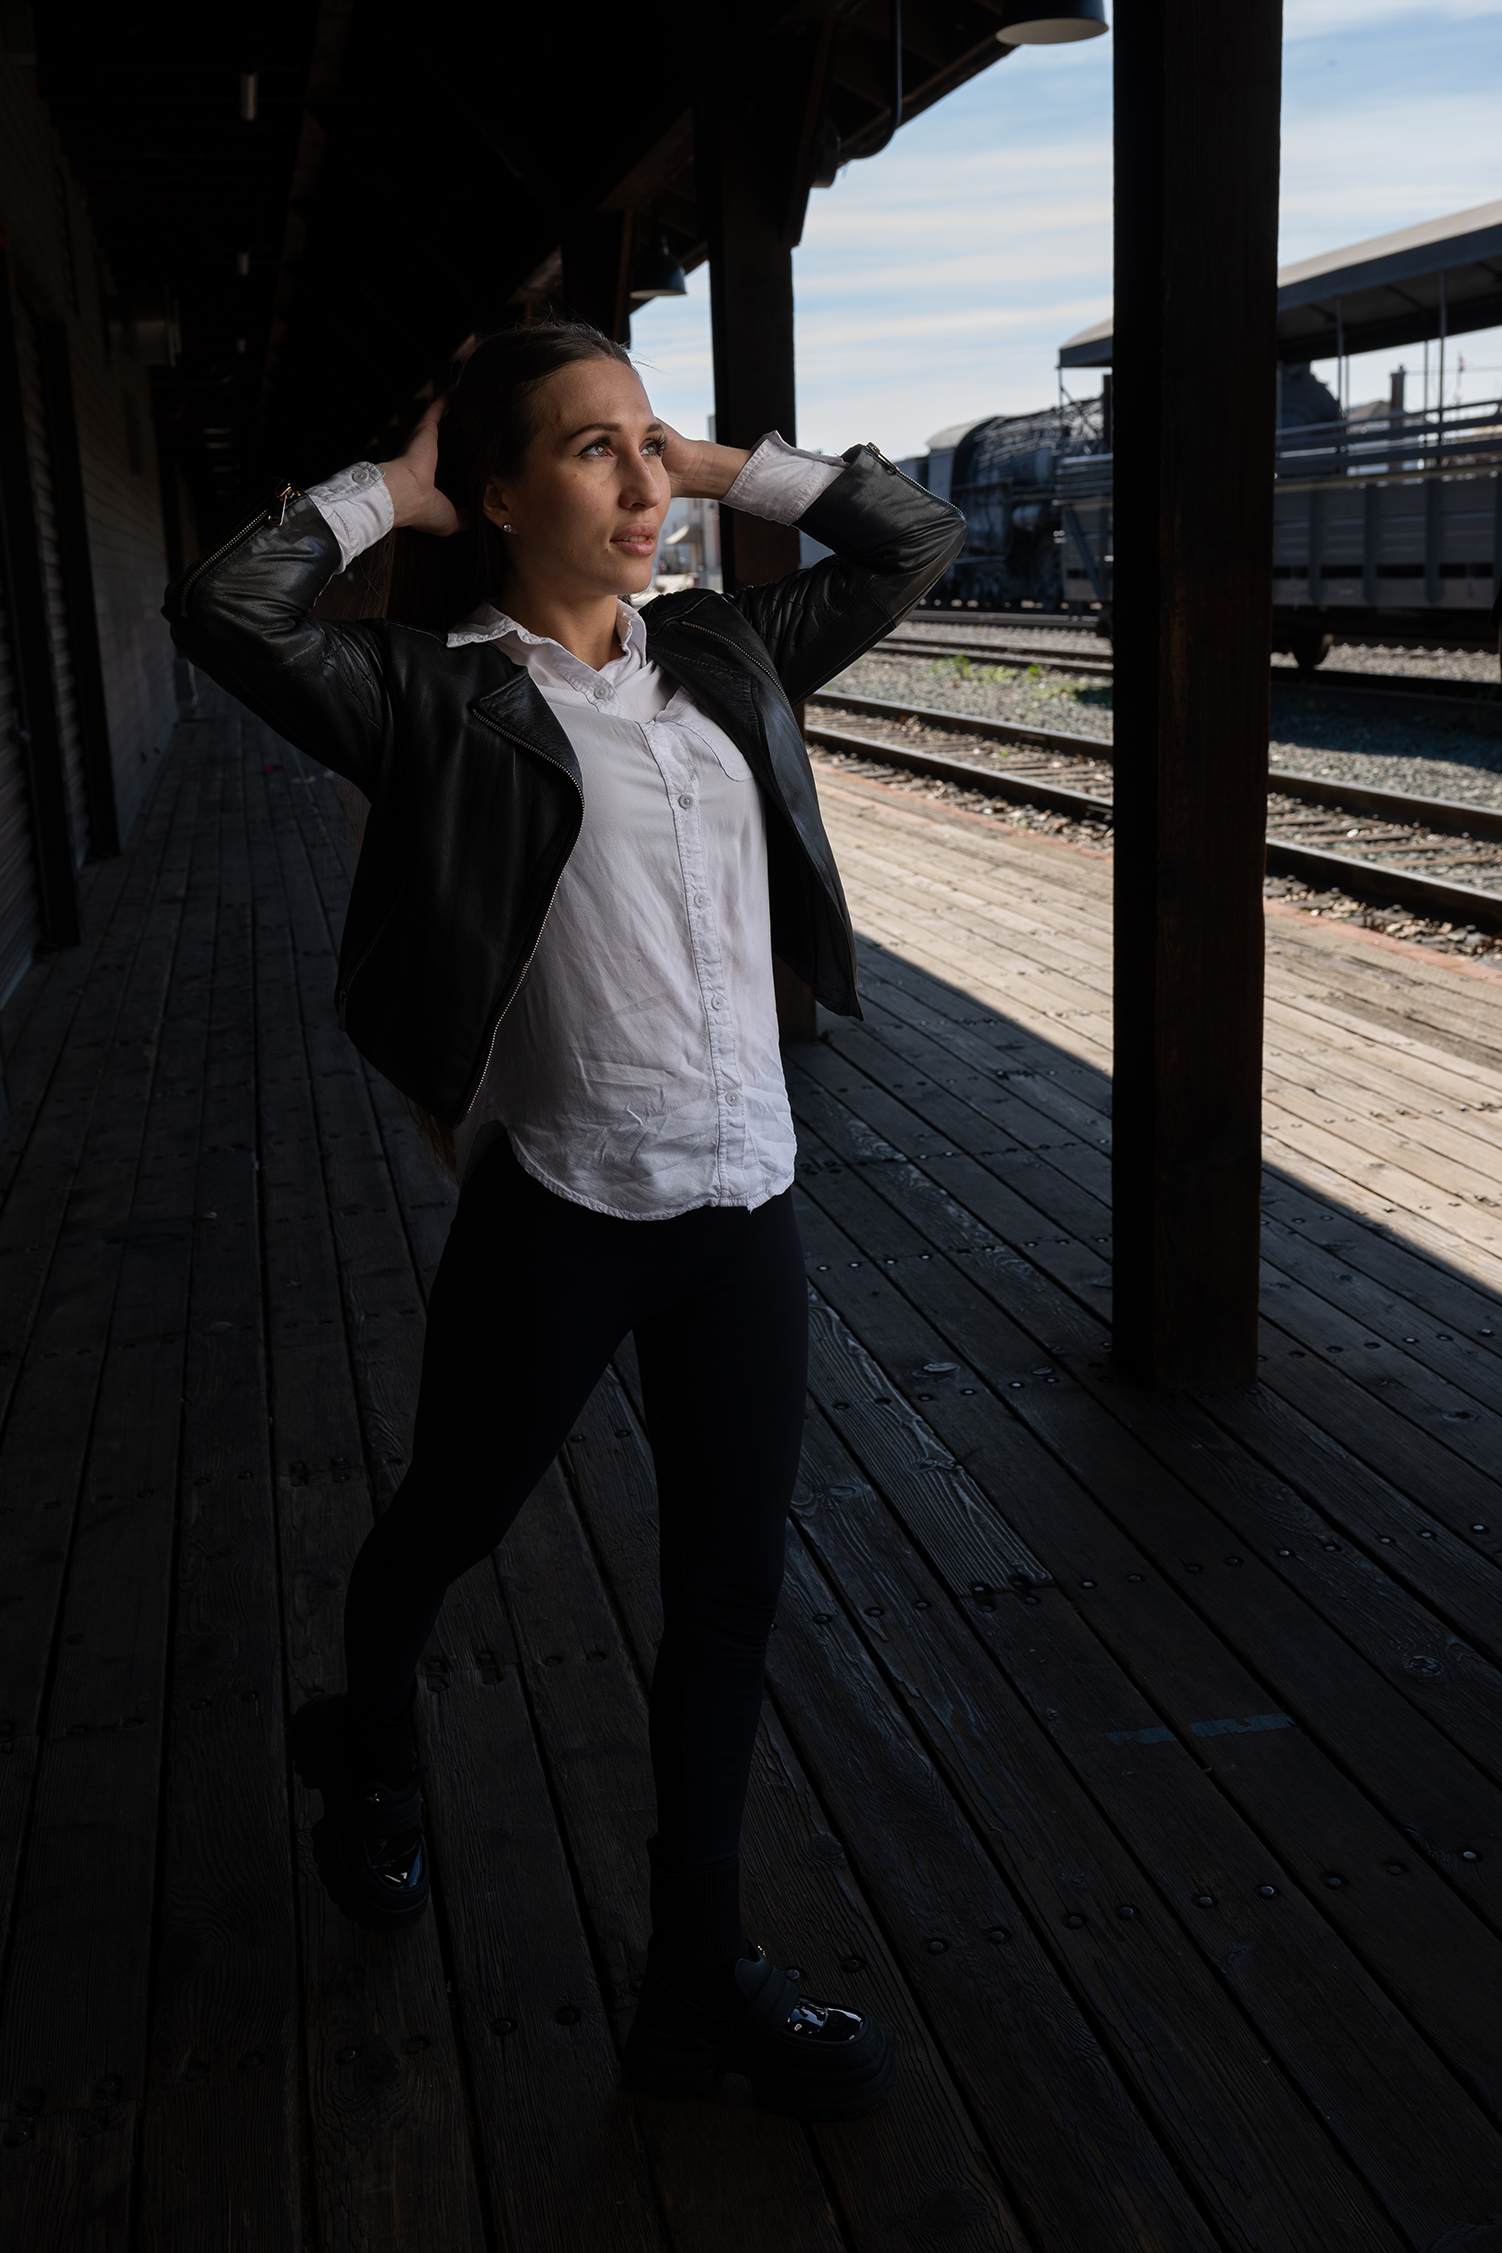
Shutter speed is the length of time your camera’s sensor is exposed to light. In the context of flash photography, shutter speed primarily affects the exposure of ambient light—the continuous light sources in your scene, such as sunlight or indoor lighting.
A faster shutter speed (e.g., 1/250th of a second) allows less ambient light into the camera, resulting in a darker background. A slower shutter speed (e.g., 1/60th of a second) lets in more ambient light, brightening the background while the flash still properly exposes your subject.
However, there’s a crucial concept to understand — sync speed. Sync speed is the fastest shutter speed at which your camera can synchronize with the flash, without your strobe going into High-Speed Sync. If you shoot faster than your camera’s sync speed (often 1/200th or 1/250th of a second), you’ll encounter a black bar across your image, caused by the shutter not being fully open when the flash fires. This is often referred to as banding.
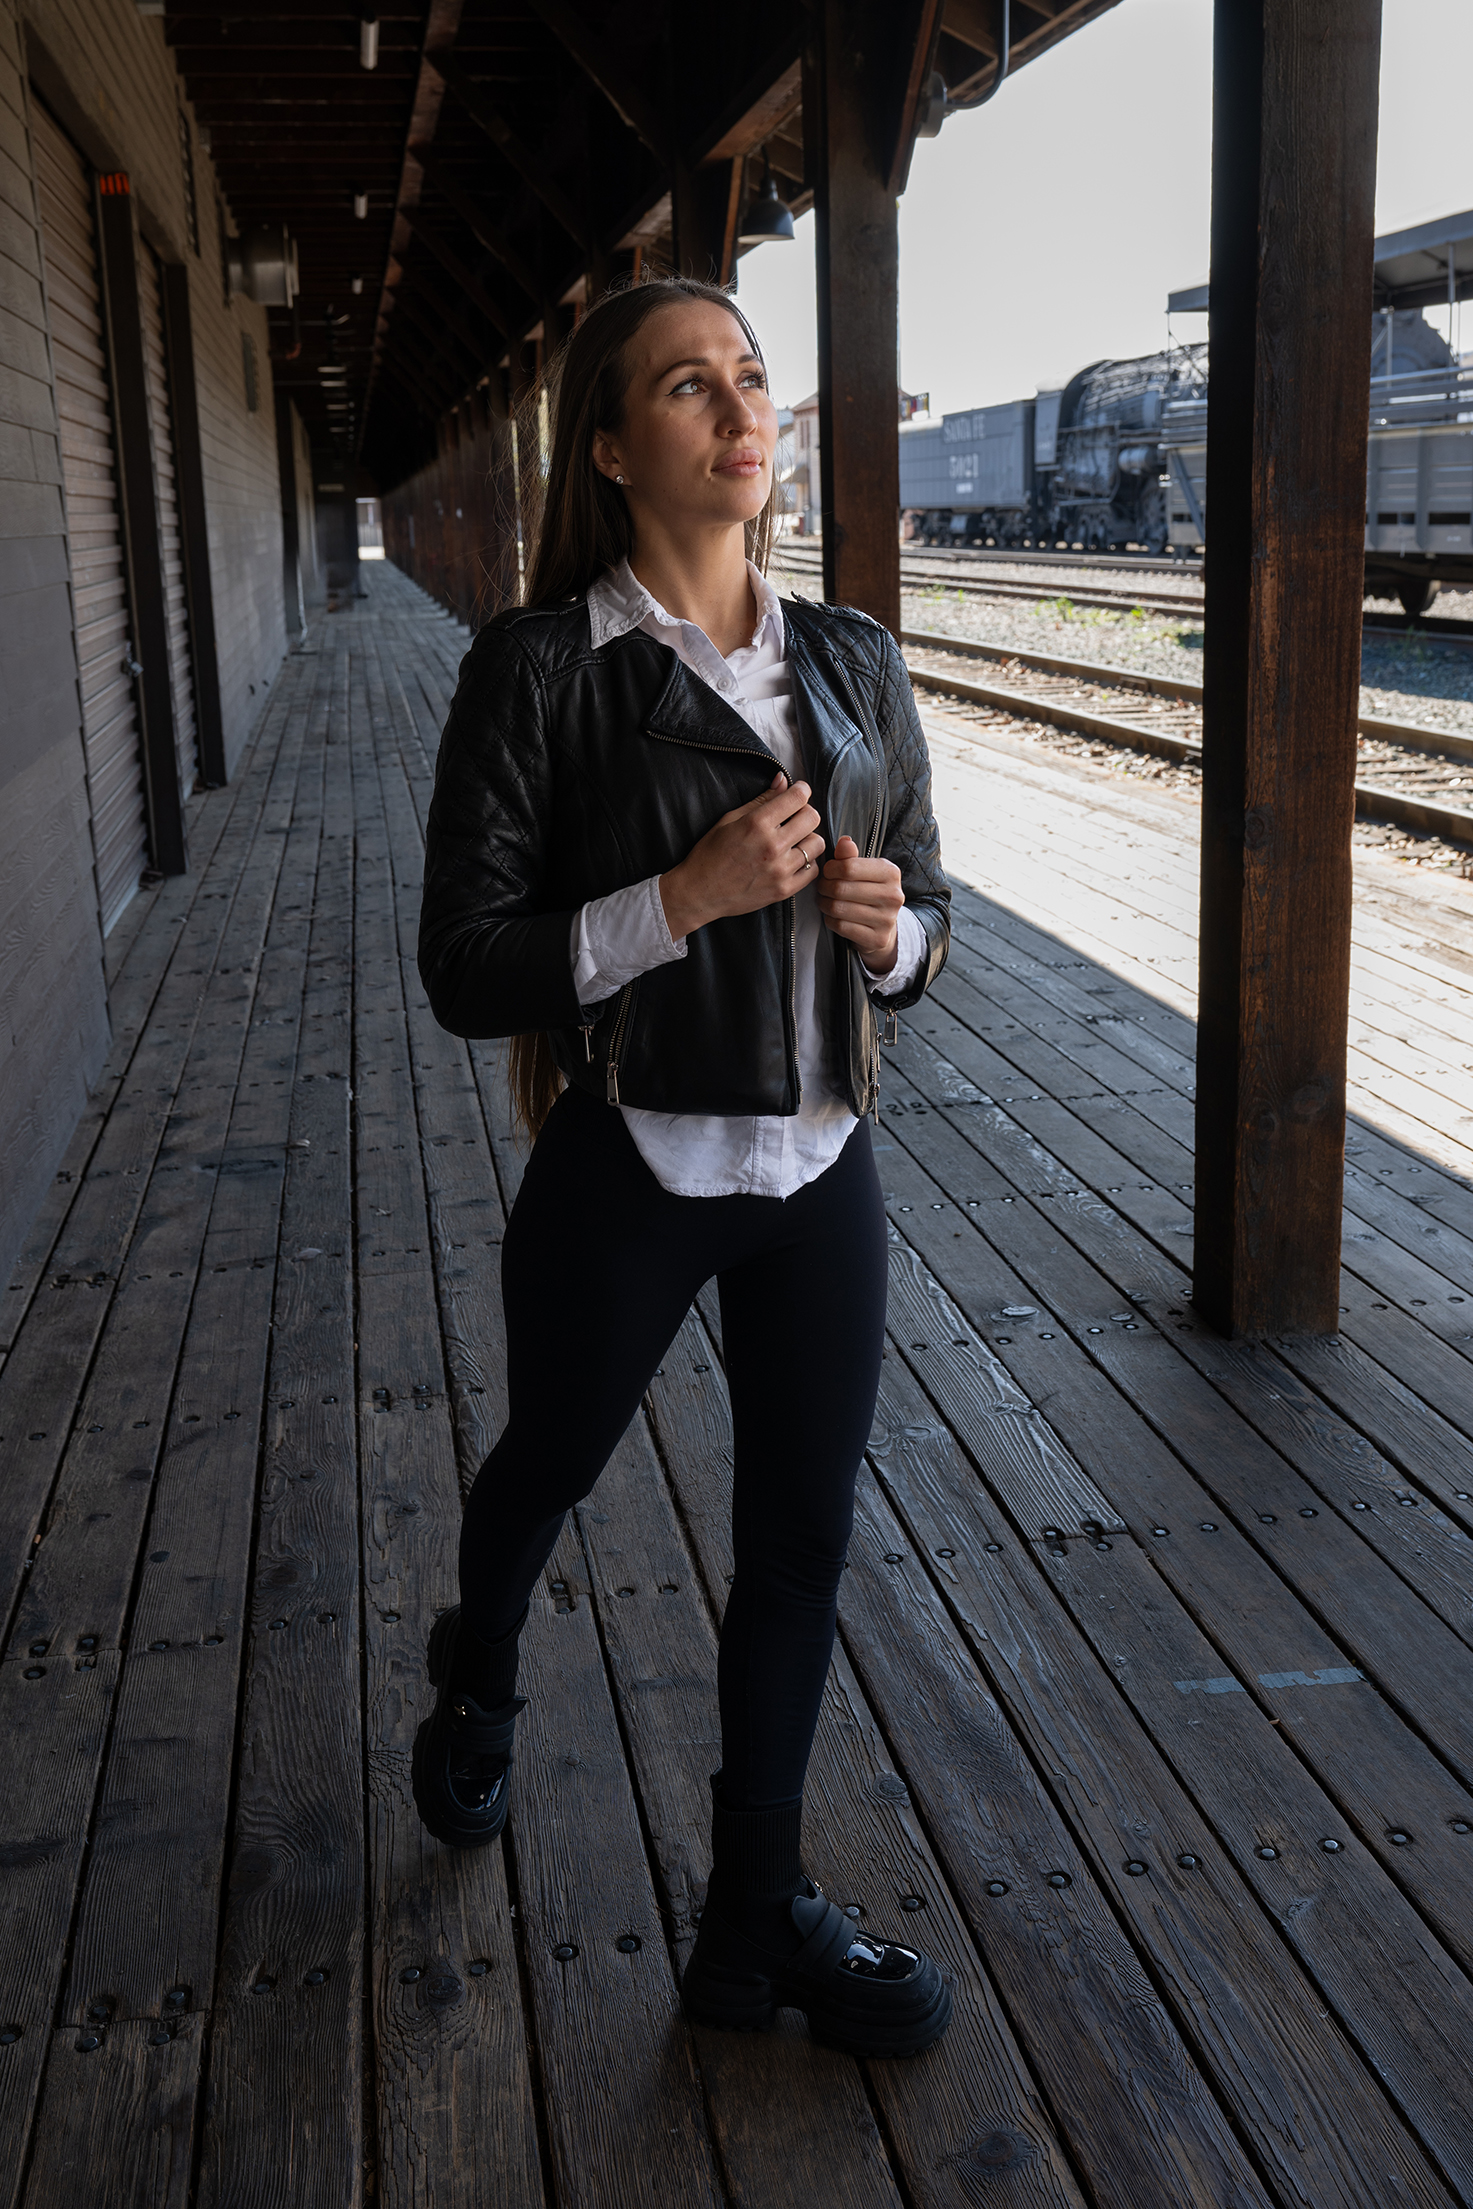
3. ISO: Sensitivity to Light
ISO refers to your camera sensor’s sensitivity to light. A lower ISO (e.g., 100) makes the sensor less sensitive, which is ideal in bright conditions. A higher ISO (e.g., 1600) increases sensitivity, useful in low-light situations. However, higher ISOs can introduce noise, reducing image quality.
In flash photography, ISO affects both the ambient light and the light from the flash. Raising the ISO will brighten both your subject and the background, while lowering it will darken the entire scene.
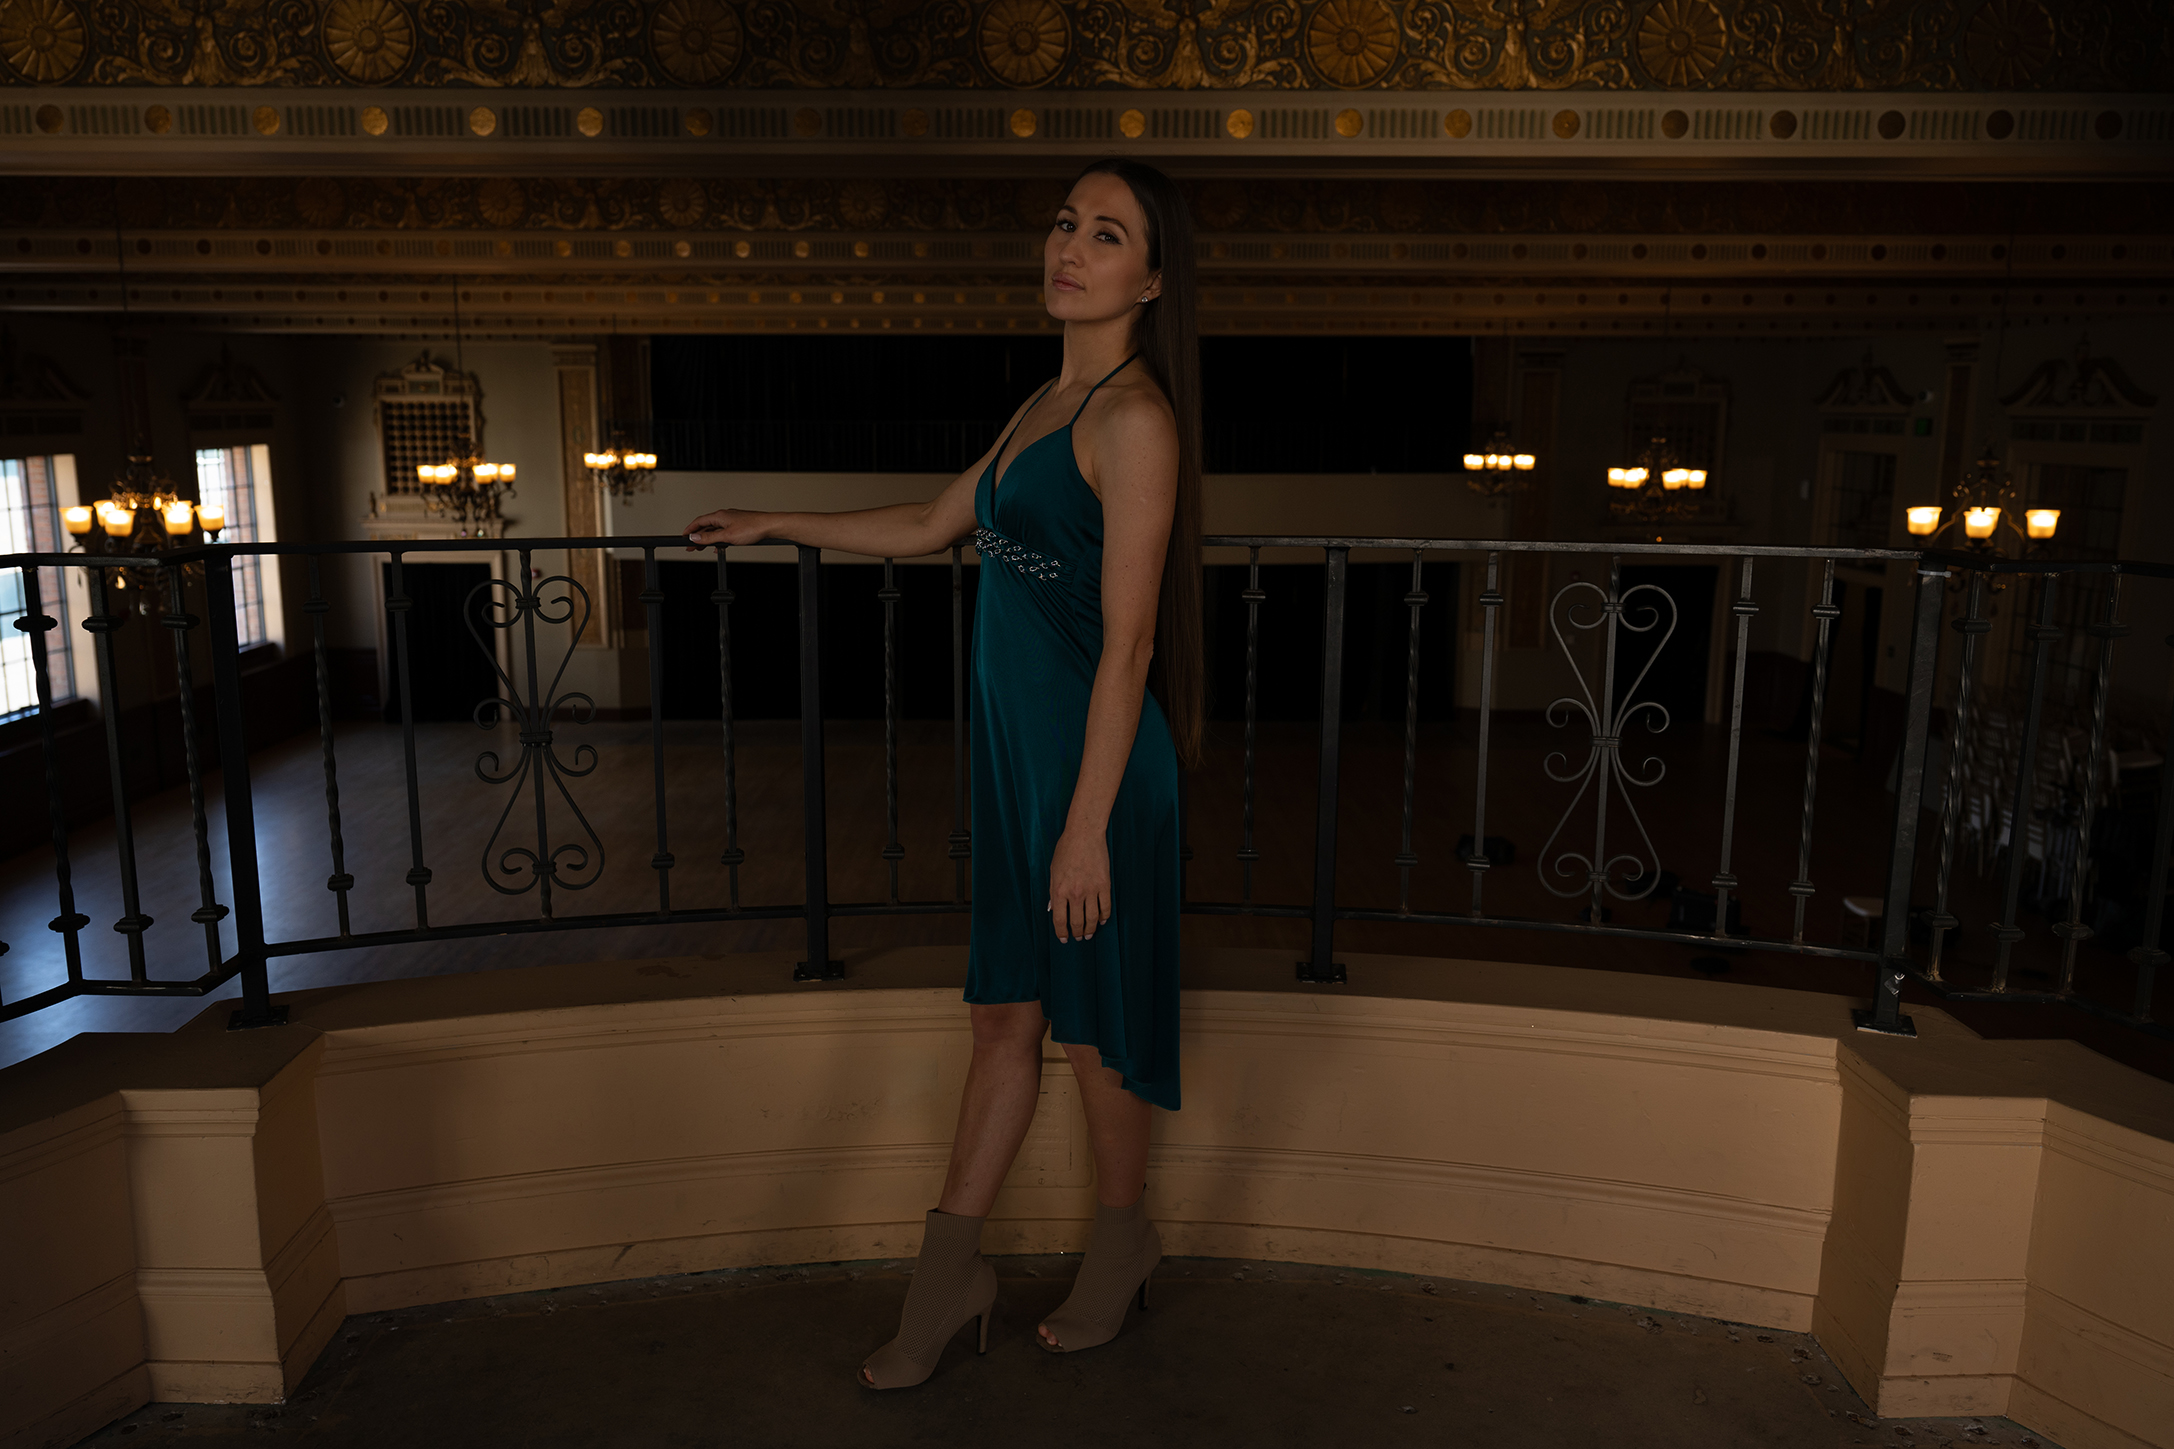
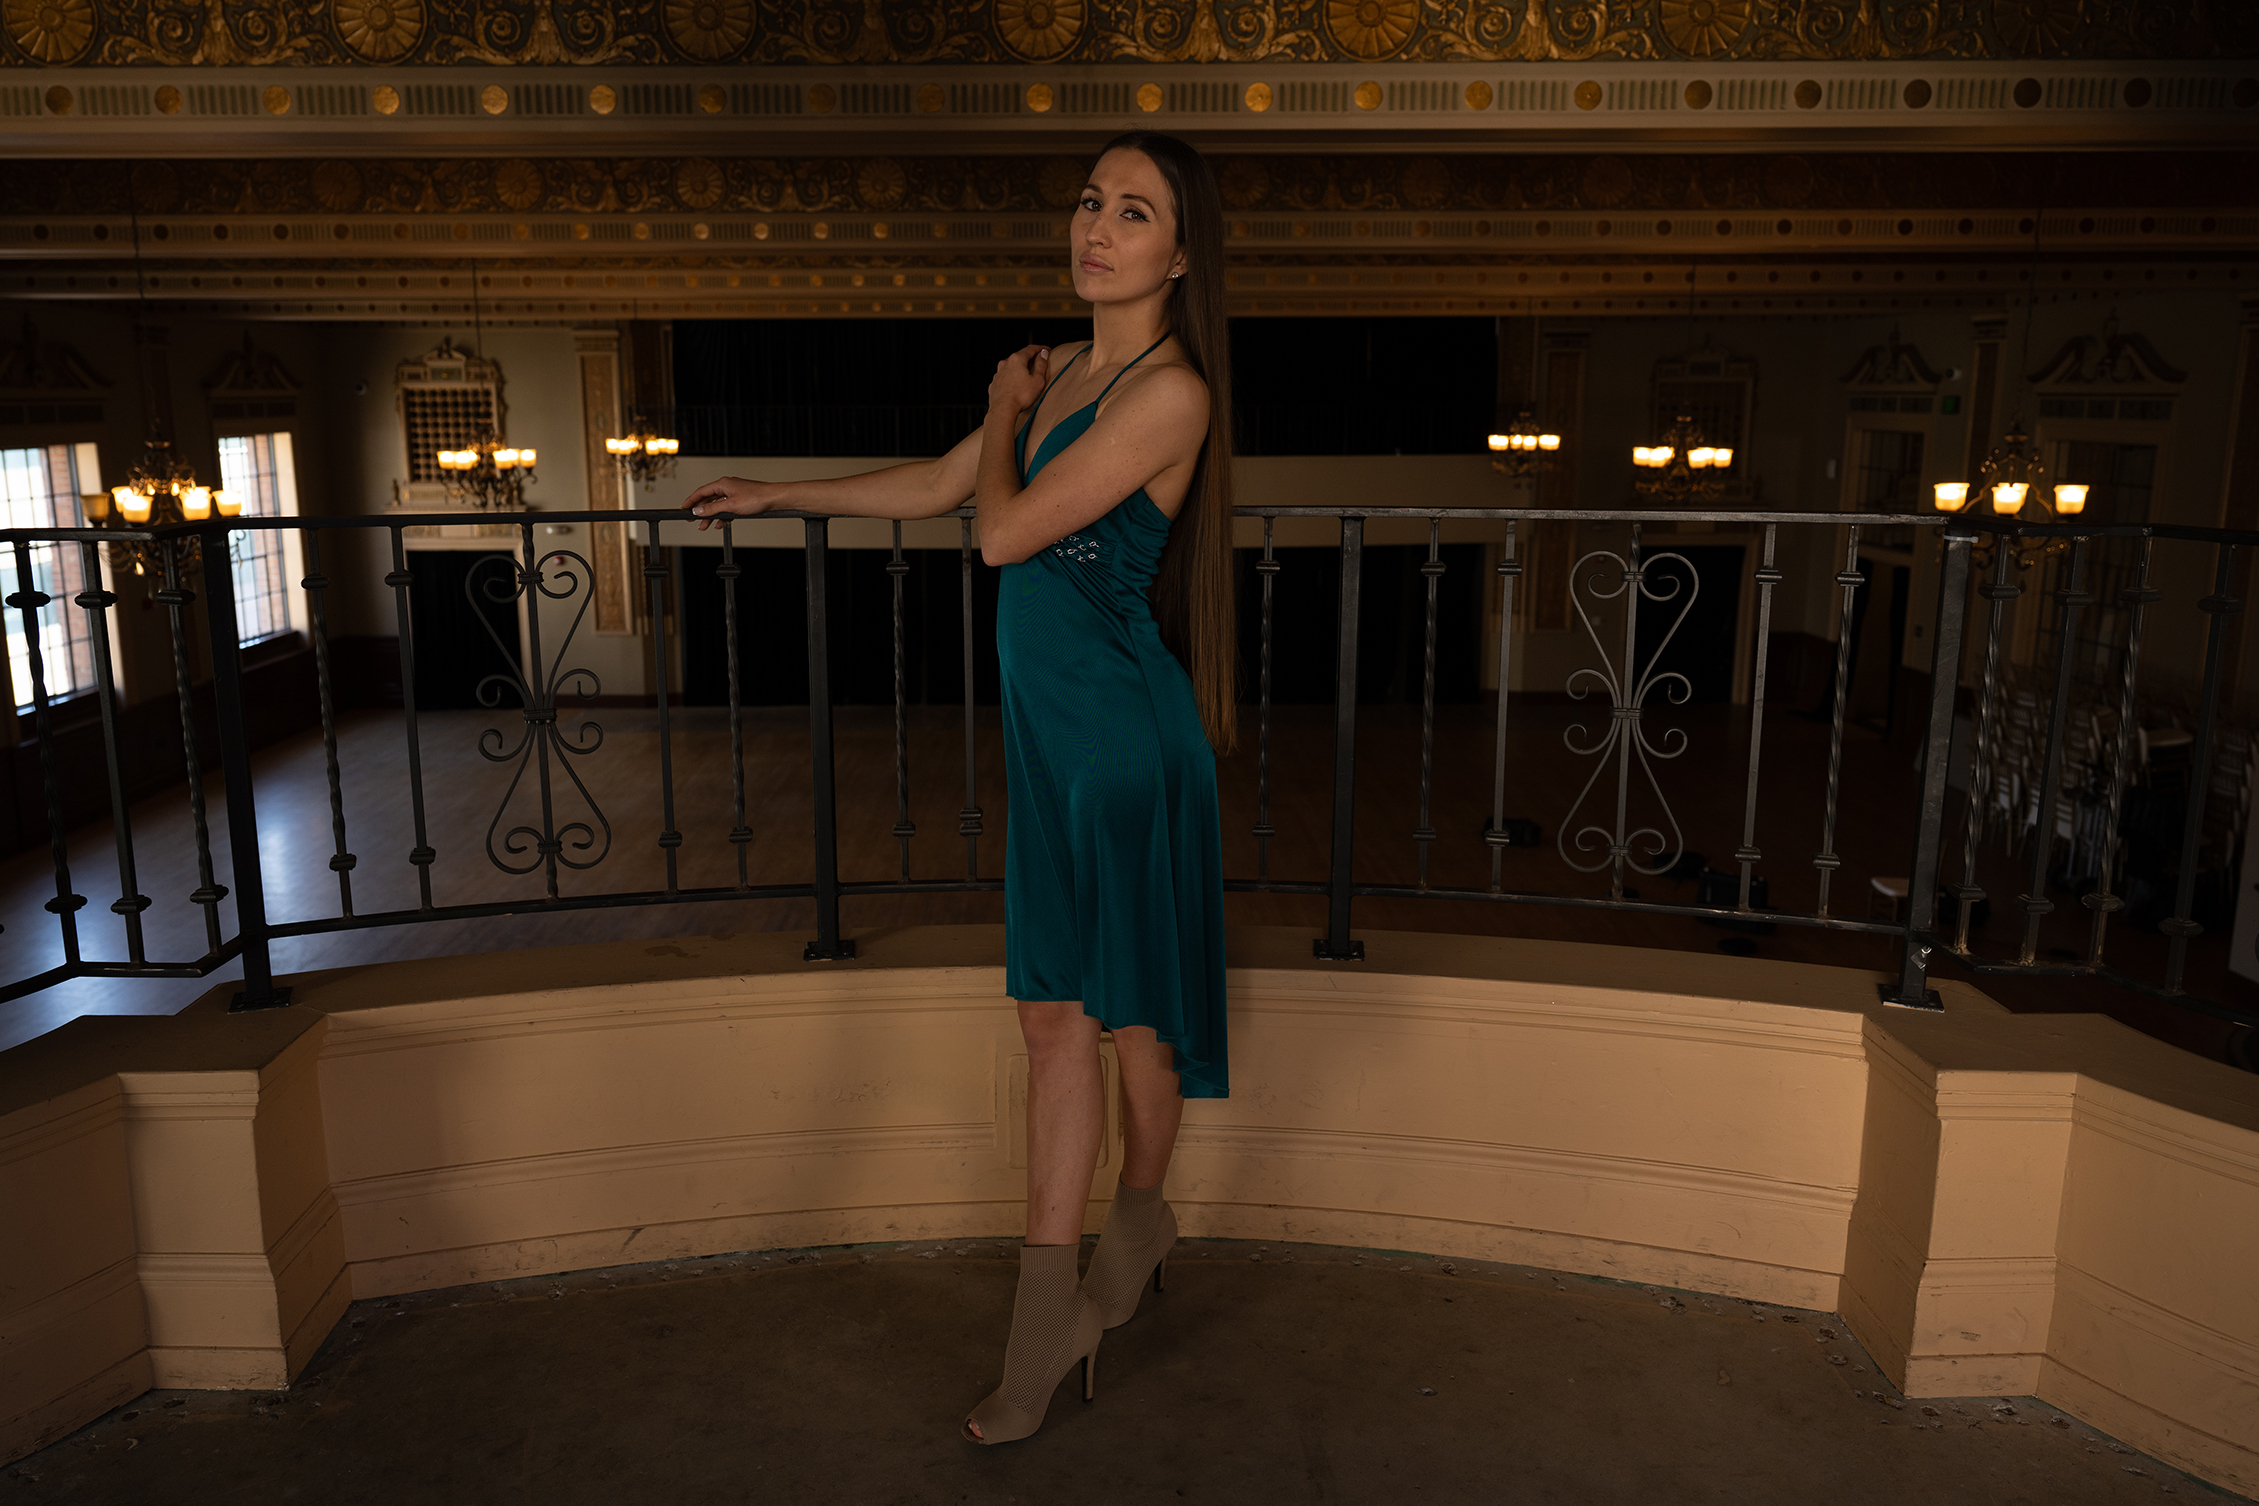
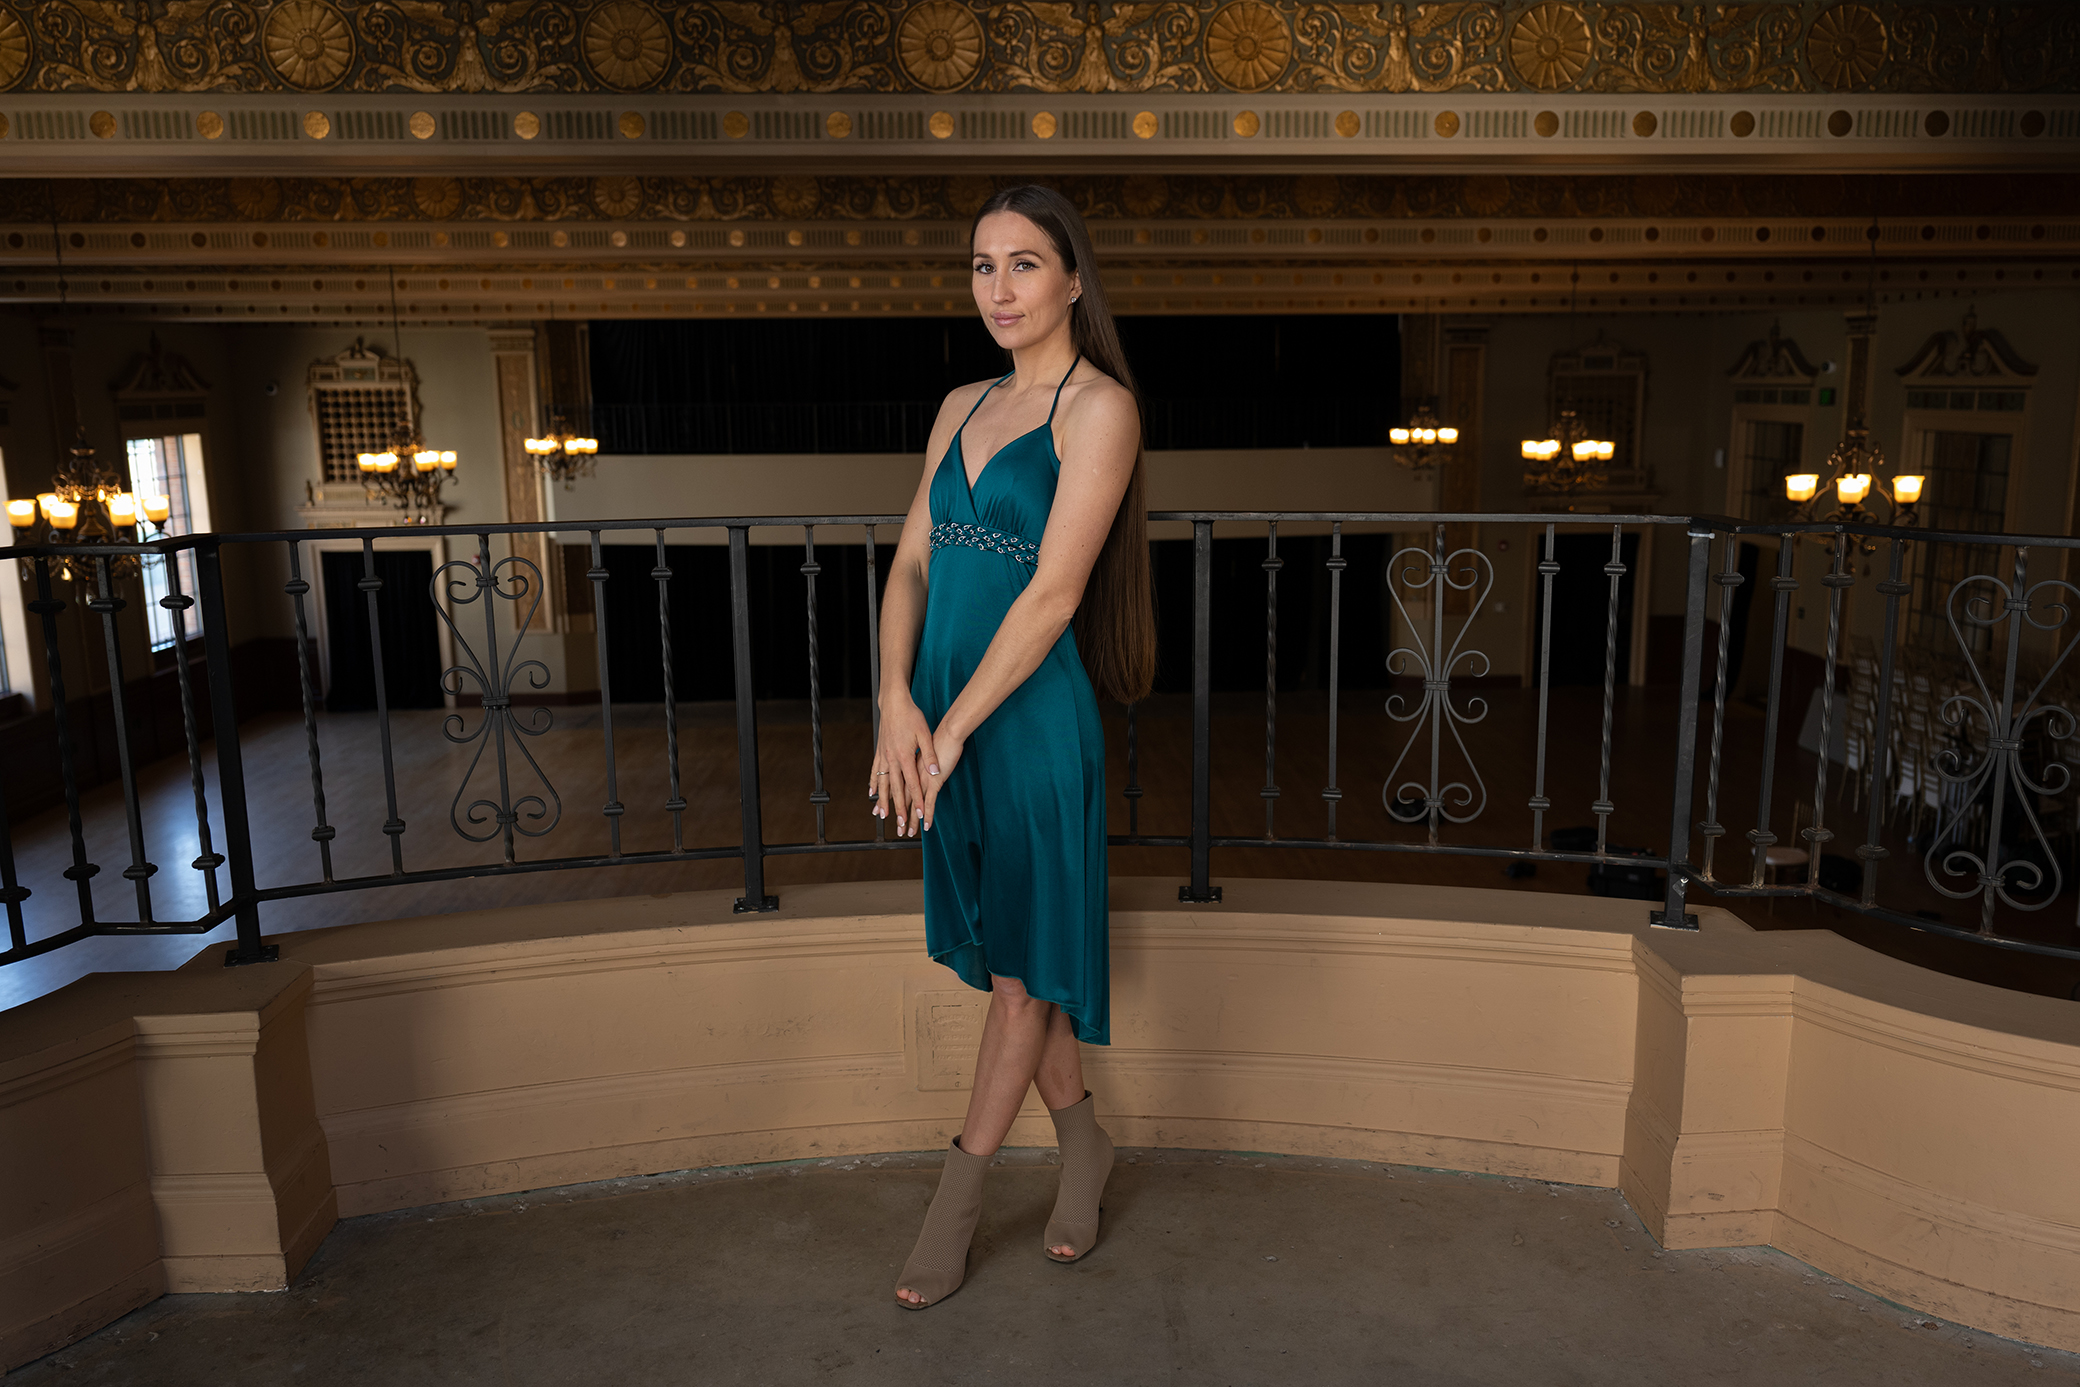
Example in Practice
During the shoot, the photographers increase the ISO from 100 to 200, giving you an extra stop of light, resulting in a brighter exposure overall, including the background. This shows how ISO is a global adjustment that affects the entire scene, making it a powerful tool in flash photography.
4. Flash Power: Adjusting Light Intensity
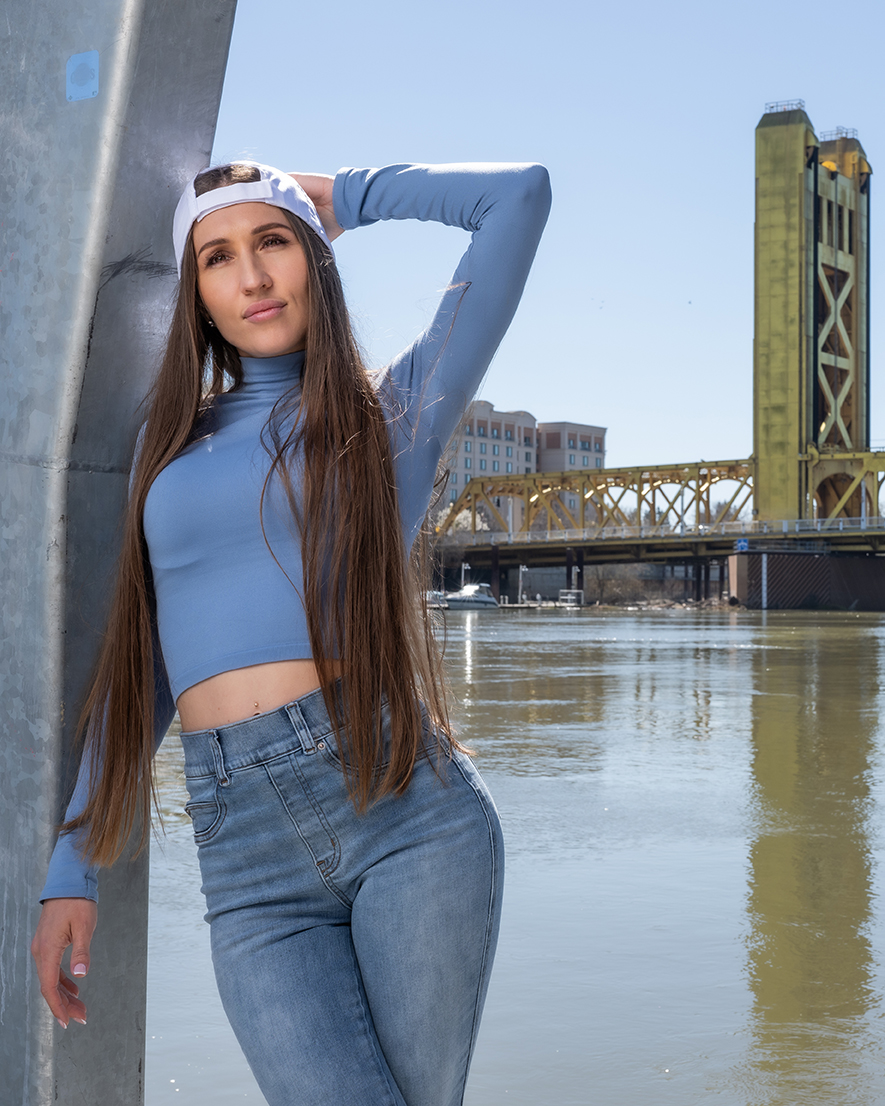
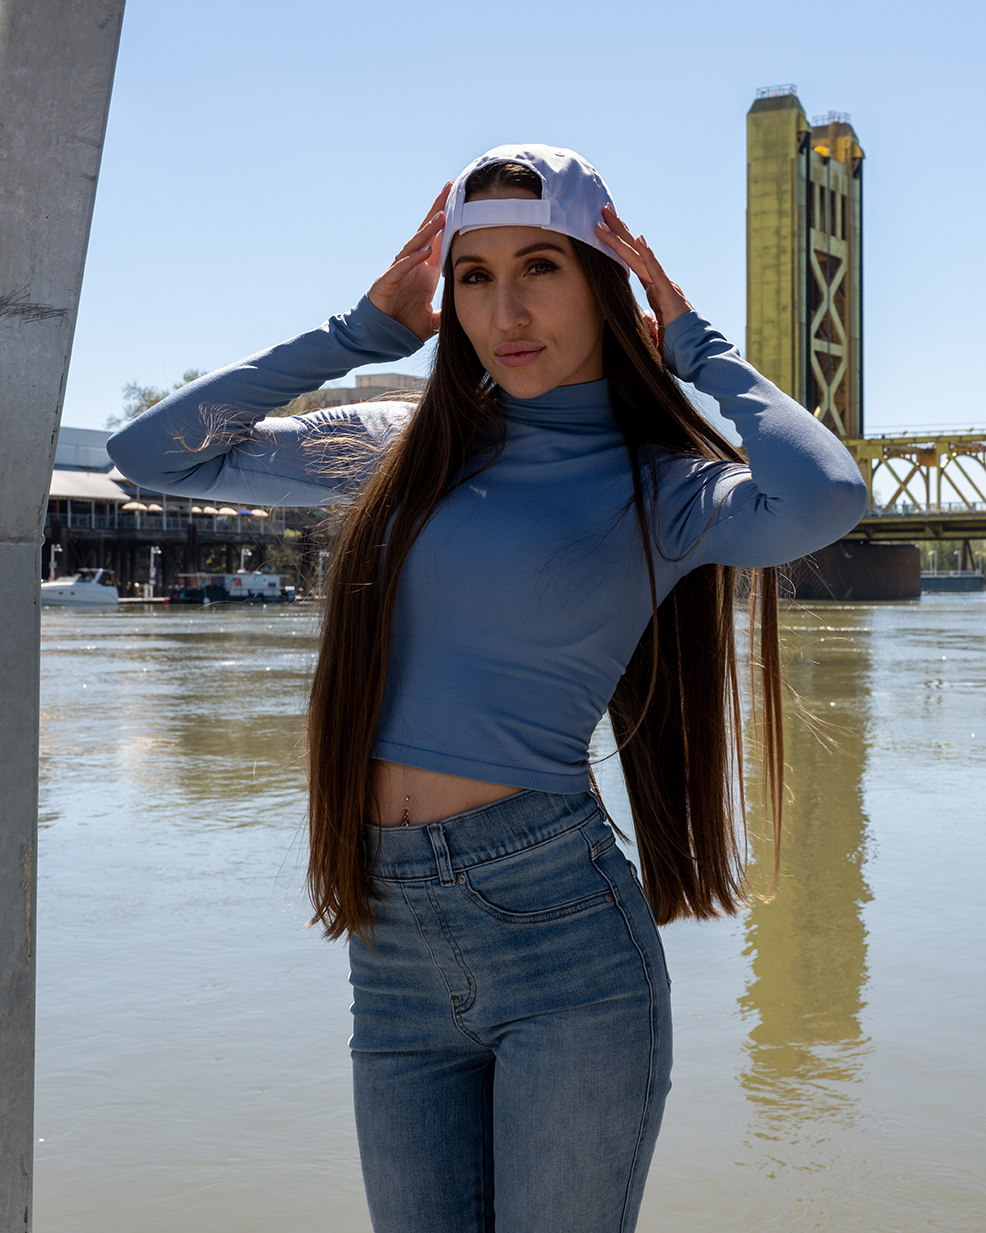
Flash power controls the amount of light emitted by your flash. The FJ400 strobe used in the video has a 9-stop range, with power levels 1-9. So, if you go up or down a number you go up or down a stop of light. Adjusting flash power is another way to control exposure without changing your camera settings.
Each reduction in flash power (e.g., from 9 to 8) cuts the light output in half, reducing the exposure by one stop. This is particularly useful when you want to maintain a certain aperture and shutter speed combination but need to fine-tune the exposure.
Example in Practice
In the session, the photographers set their flash power at 6, which results in an underexposed image. By increasing the power to 8, they gain two stops of light, brightening the subject without altering the camera settings. This adjustment demonstrates how flash power can be used to fine-tune exposure, especially when other settings are already optimized.
5. Flash-to-Subject Distance: The Inverse Square Law
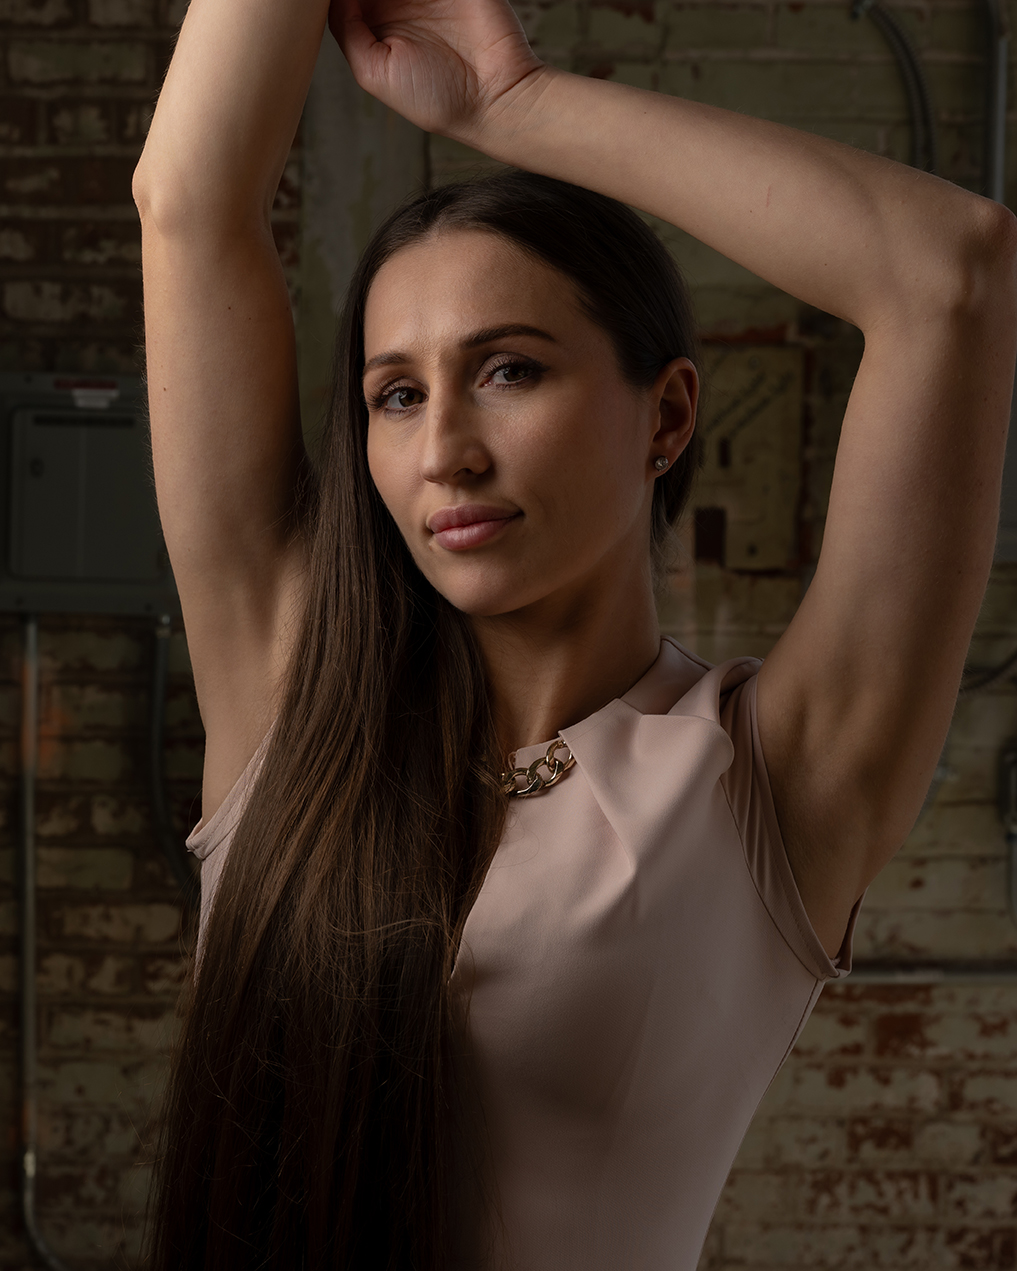
The distance between your flash and your subject has a significant impact on exposure. According to the inverse square law, doubling the distance between the flash and the subject reduces the light intensity by four times (two stops). Conversely, halving the distance increases the light intensity by four times.
This principle allows you to control the light’s impact without adjusting camera settings or flash power. Moving the flash closer to the subject increases exposure, while moving it farther away decreases it.


Example in Practice
The photographers demonstrate this with Lily by starting with the flash one foot away from her, resulting in a properly exposed image at f/16. Doubling the distance to two feet results in a two-stop underexposed image. To correct this, they open the aperture to f/8. Doubling the distance again to four feet results in another two-stop loss, which they correct by opening the aperture to f/4. This practical application of the inverse square law shows how distance significantly impacts light intensity.
Advanced Techniques: High-Speed Sync and Modifiers
Once you’ve mastered the basics, it’s time to explore more advanced techniques like high-speed sync (HSS) and modifiers. These tools allow you to push the boundaries of flash photography and achieve creative effects that aren’t possible with basic settings.
High-Speed Sync: Overcoming the Sync Speed Limitation
High-speed sync is a game-changer for shooting in bright light conditions. It allows you to use shutter speeds faster than your camera’s sync speed, enabling you to shoot wide open in bright sunlight without overexposing your image.
Without HSS, the fastest shutter speed you can use with flash is typically around 1/250th of a second. But with HSS, you can shoot at much faster speeds, like 1/4000th or even 1/8000th of a second, giving you the ability to capture sharp, well-exposed images in challenging lighting conditions.
Choosing the Right Light Modifier
Light modifiers are essential tools for shaping and controlling the quality of light in your photography. Choosing the right modifier depends on your creative vision and the look you want to achieve. Steve and Mark discuss several popular modifiers, each offering different qualities of light:
- Reflectors: Reflectors direct light onto your subject, creating a harder, more defined light, perfect for fashion and editorial photography.
- Umbrellas: Umbrellas soften the light, creating a gentle, diffused effect. They are economical, portable, easy to use, and ideal for portrait photography.
- Softboxes: Softboxes provide controlled, even lighting with minimal spill. They are excellent for portraits and product photography, where precise light control is needed.
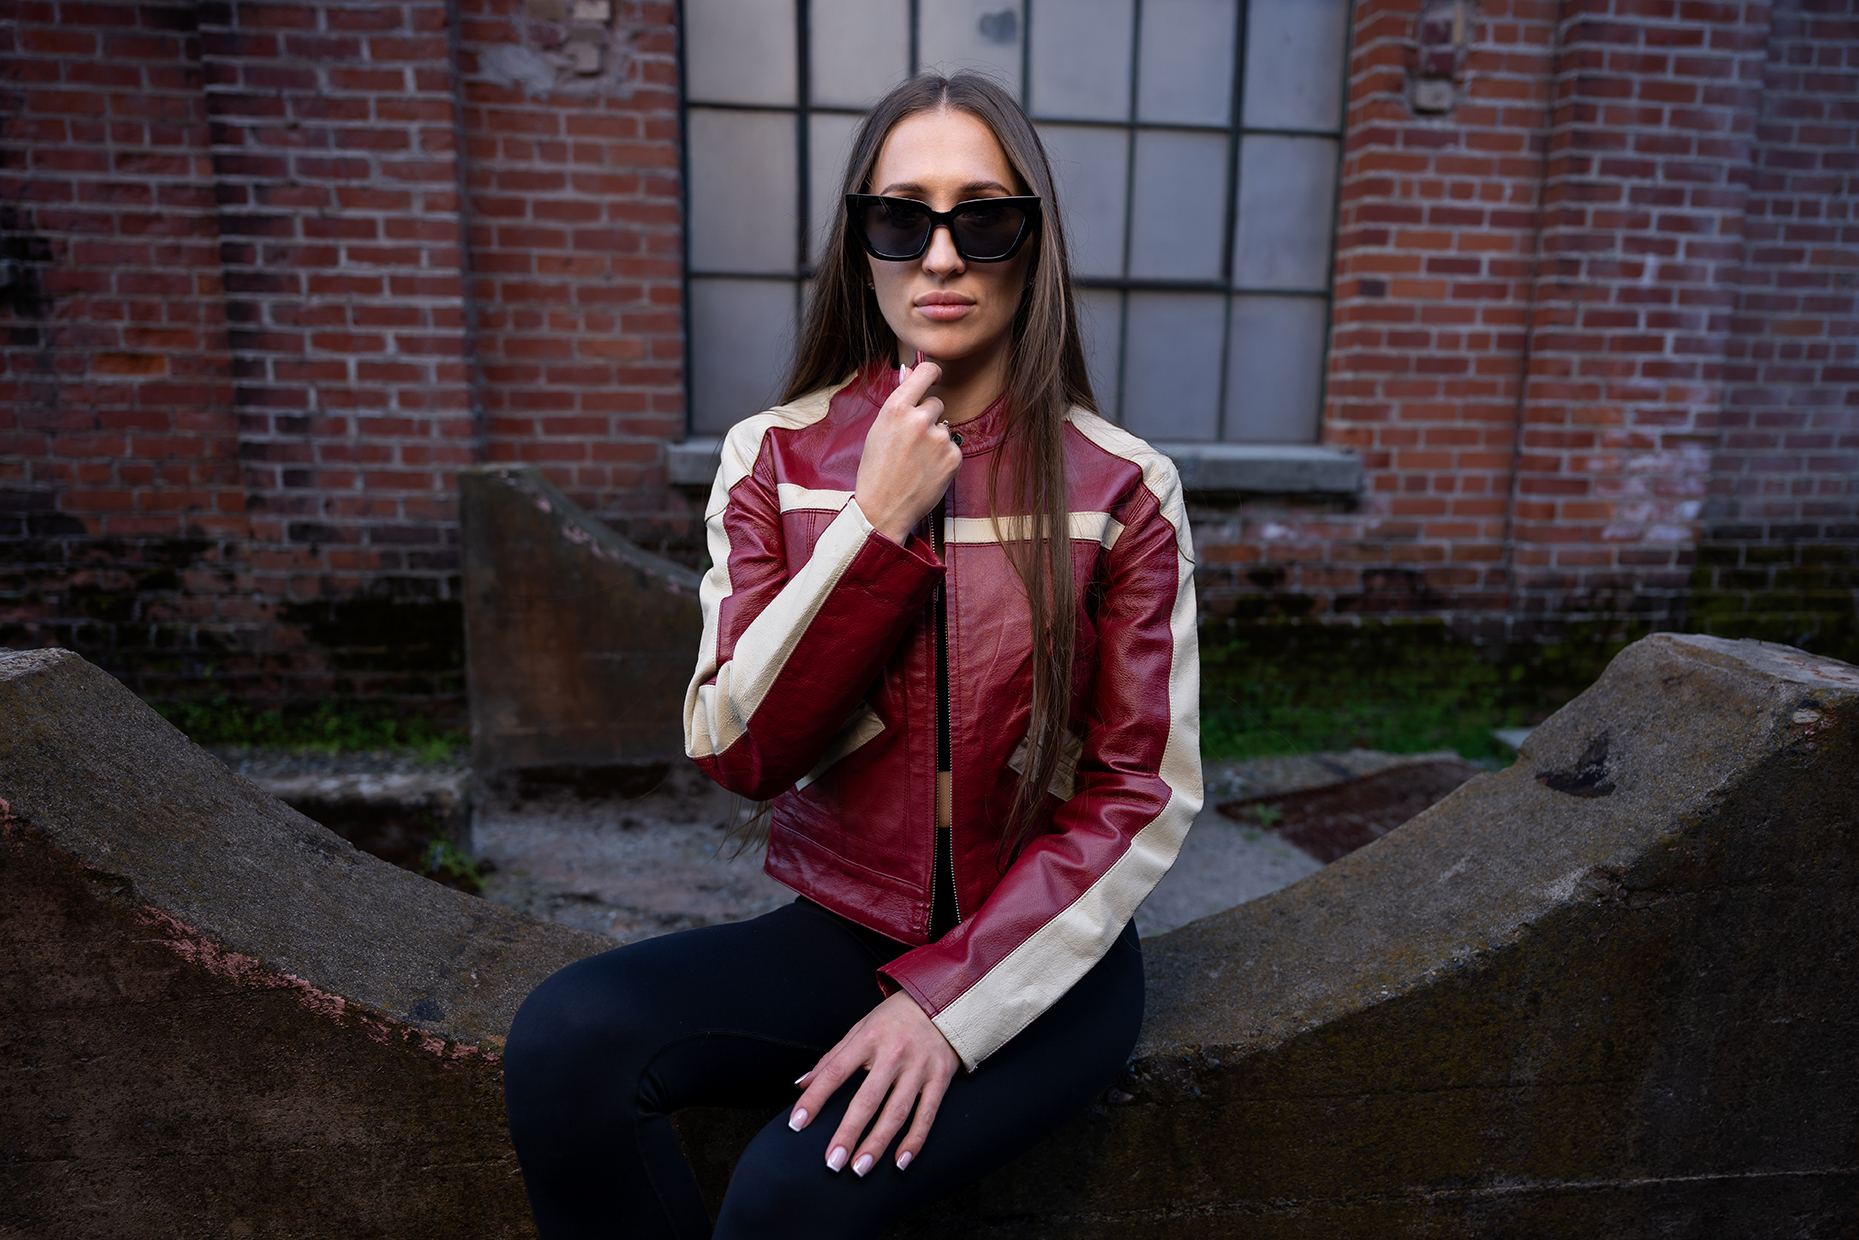
- Beauty Dishes: Beauty dishes combine the softness of a softbox with the hardness of a reflector. They create a dramatic, focused light, highlighting facial features and adding depth to portraits.
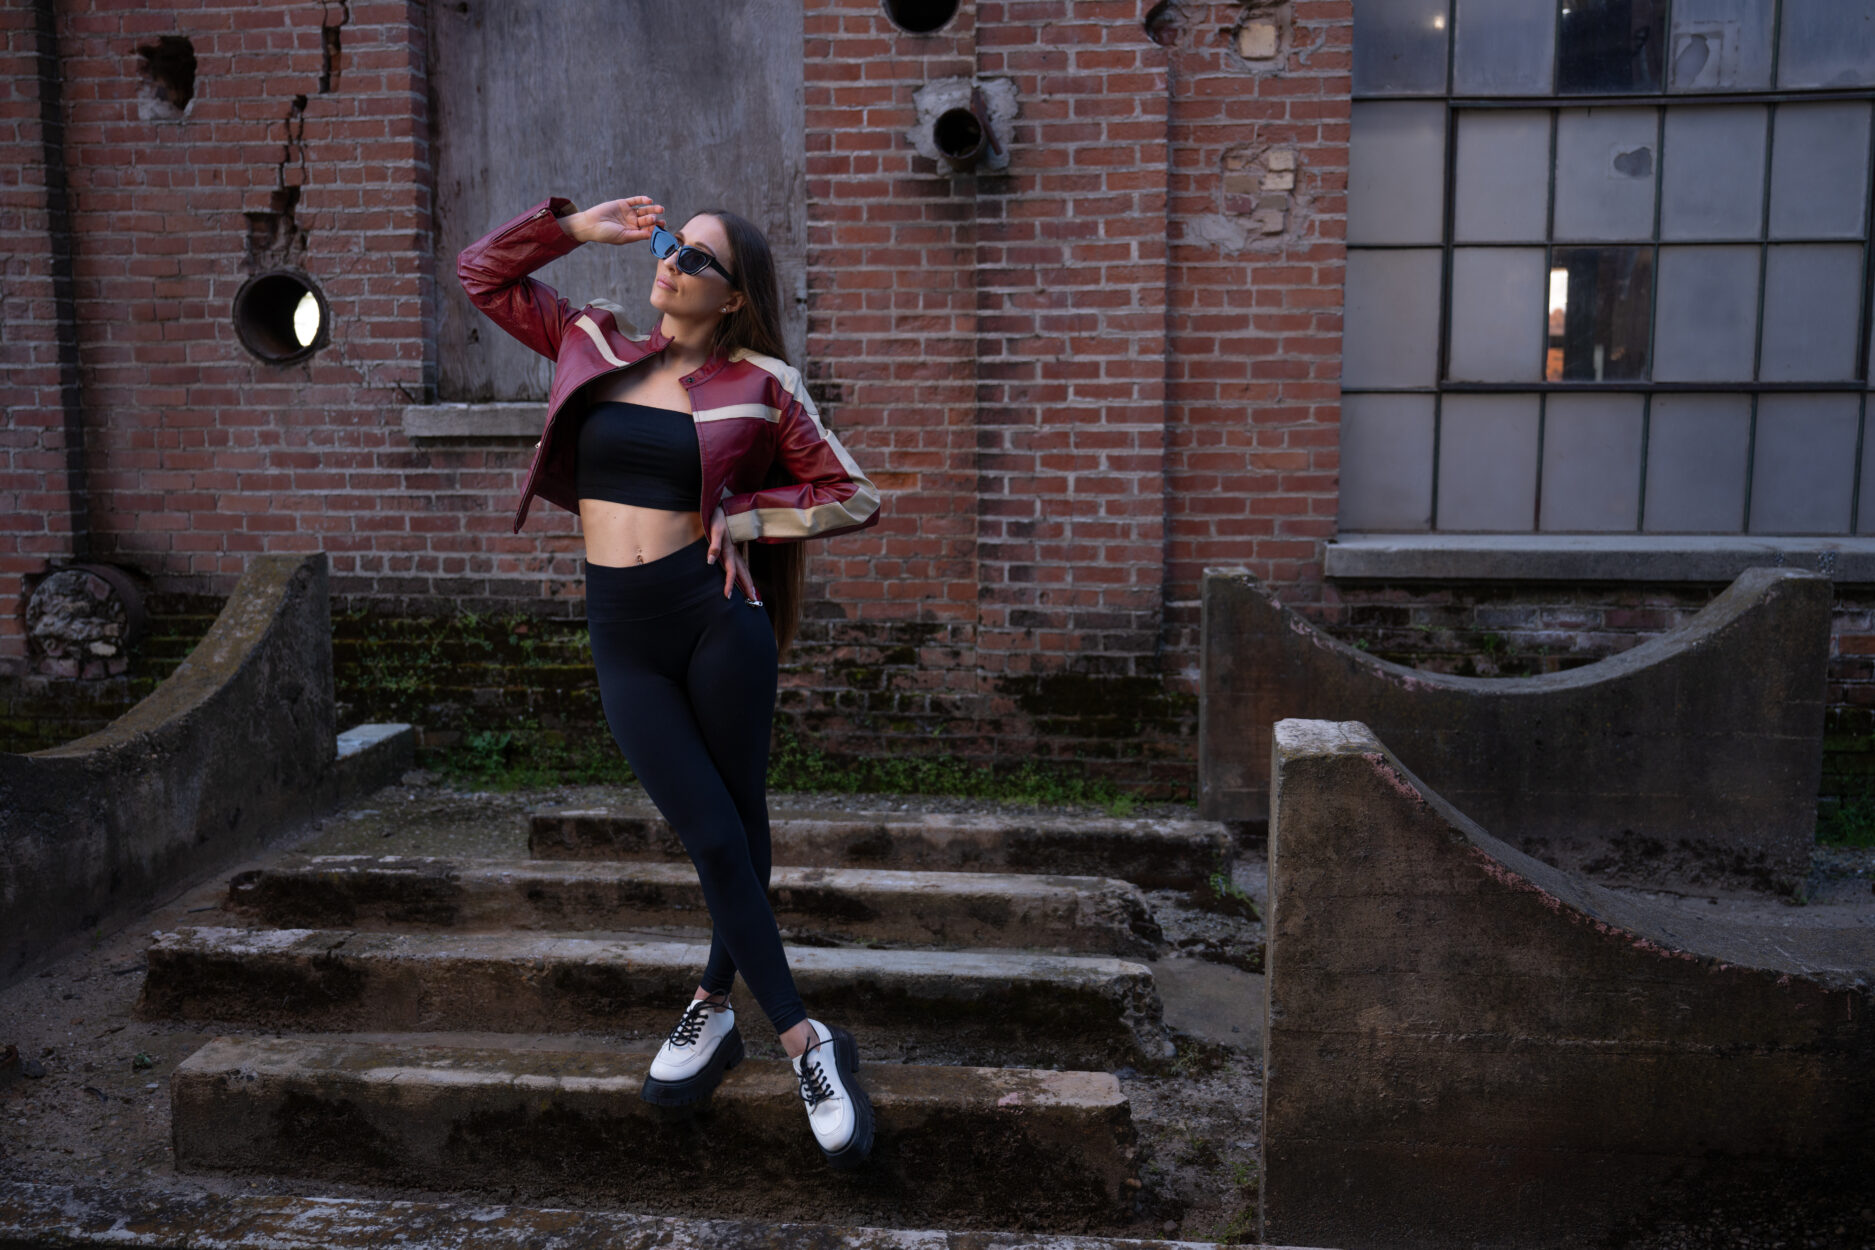
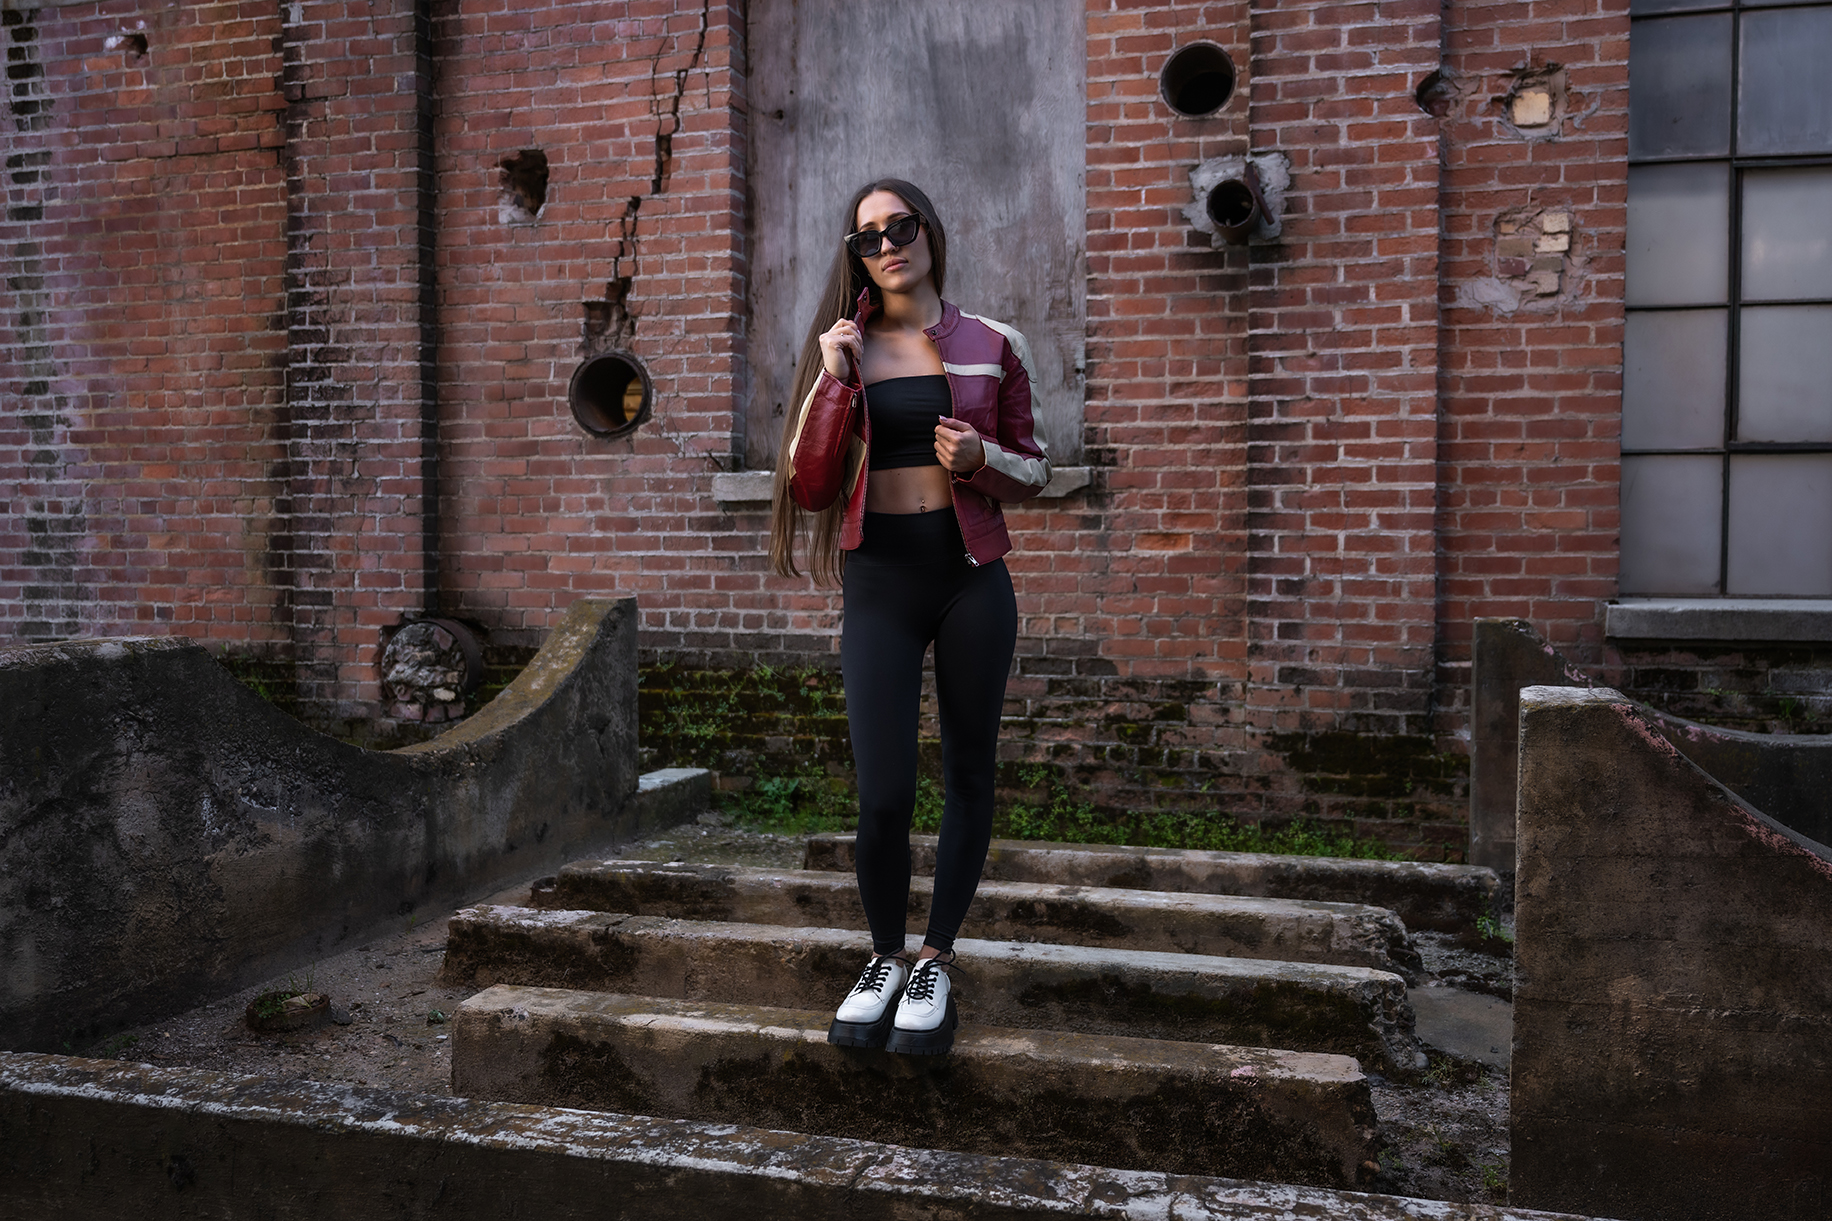
Example in Practice
For a high-fashion shoot, you might choose a beauty dish to create dramatic shadows and emphasize your model’s bone structure. For a softer, more flattering portrait, an umbrella or softbox might be the better choice.
From Fearful to Flawless with Flash Photography
Flash photography can be intimidating at first, but with practice, it becomes an invaluable tool in your creative arsenal. By mastering the basics of aperture, shutter speed, ISO, flash power, and flash-to-subject distance, you’ll gain the confidence to tackle any lighting challenge. Remember, the key to success is experimentation. Try different settings, modifiers, and techniques to discover what works best for you. With time and practice, you’ll transform from a beginner to a skilled photographer, ready to capture stunning images in any lighting condition.
Now, grab your camera, start experimenting with your flash, and watch your photography skills light up as you go from fearful to flawless.
Lighting Gear in Action

Original FJ400 Strobe with AC/DC Battery (400Ws)4700

Original FJ400 Strobe with AC/DC Battery (400Ws)4700


[…] Westcott University — Mastering Flash Photography: 5 Lighting Principles for Beginners […]