
This article is courtesy of celebrity portrait photographer Hernan Rodriguez. Read the full article on Hernan’s photography blog.
Simple Beauty Portrait Lighting
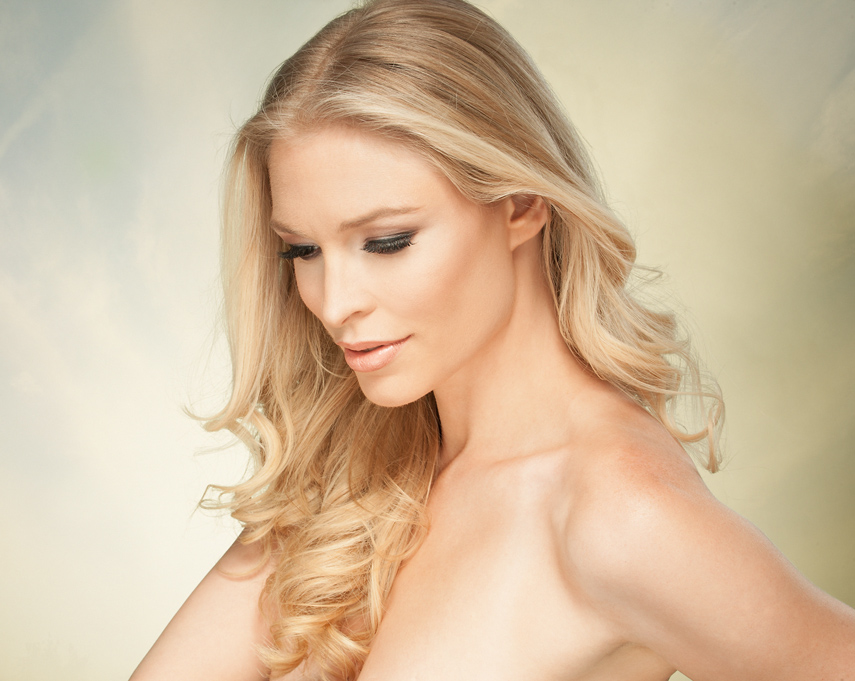
There are endless approaches in creating beauty lighting. The most common which has been used throughout the ages, we can refer to as “Simple Beauty Lighting”. Here you can set a large soft box horizontally, and directly behind your camera. It should be aimed down at the subject’s face. I personally like to use a Westcott 47″ Zeppelin Parabolic, for its wrap-around qualities, as well as the scrim and diffuser options available.
Simple beauty portrait lighting offers a few options that may be useful to some photographers. Firstly, it’s very simple to setup. It is very forgiving in regards to the quality of light it produces. Very soft, with open shadows.
For fill light you have the choice of using various options. You can use a white fill card, or a silver reflector under the model’s chin, and by simply moving it closer or further, you are able to fill the shadows to taste. This also helps decrease the ratio, which essentially is the contrast of the image. Another option which I often use, is placing a narrow strip box under my camera access, and powering up to meter 1/2 stop less than my main light. This secures even illumination and also adds sparkle to the eyes.
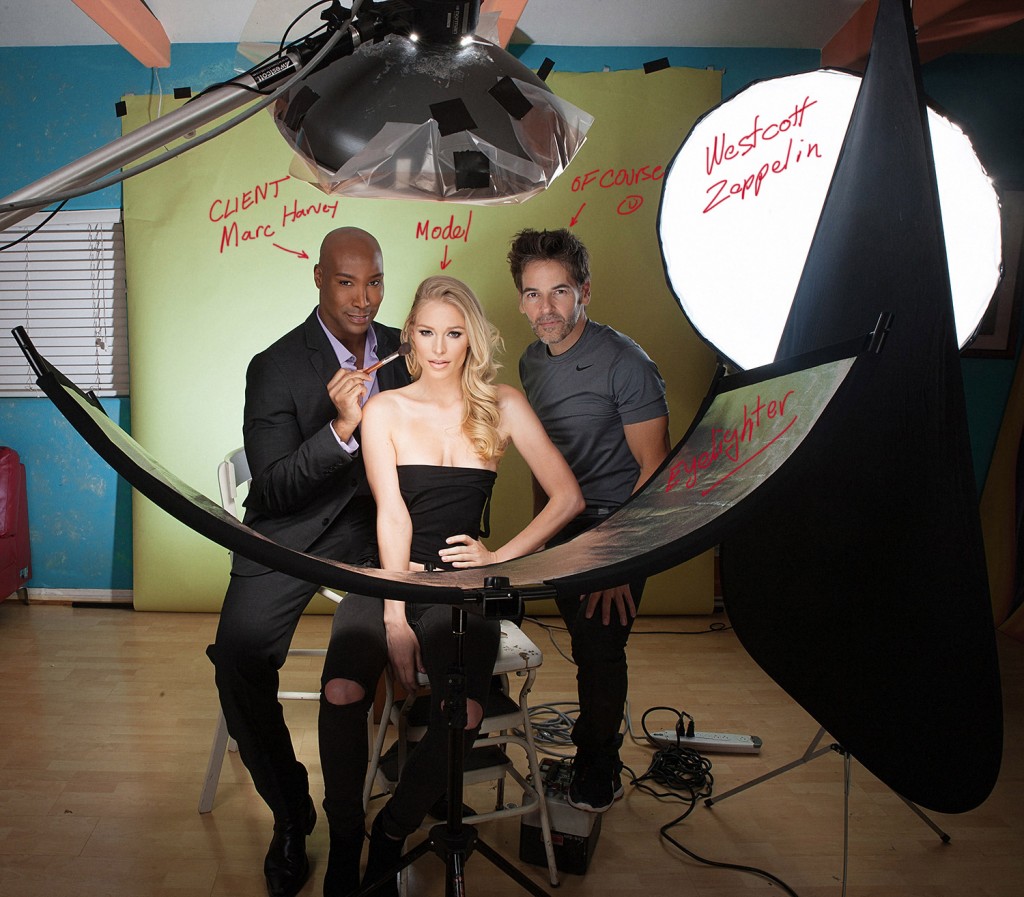
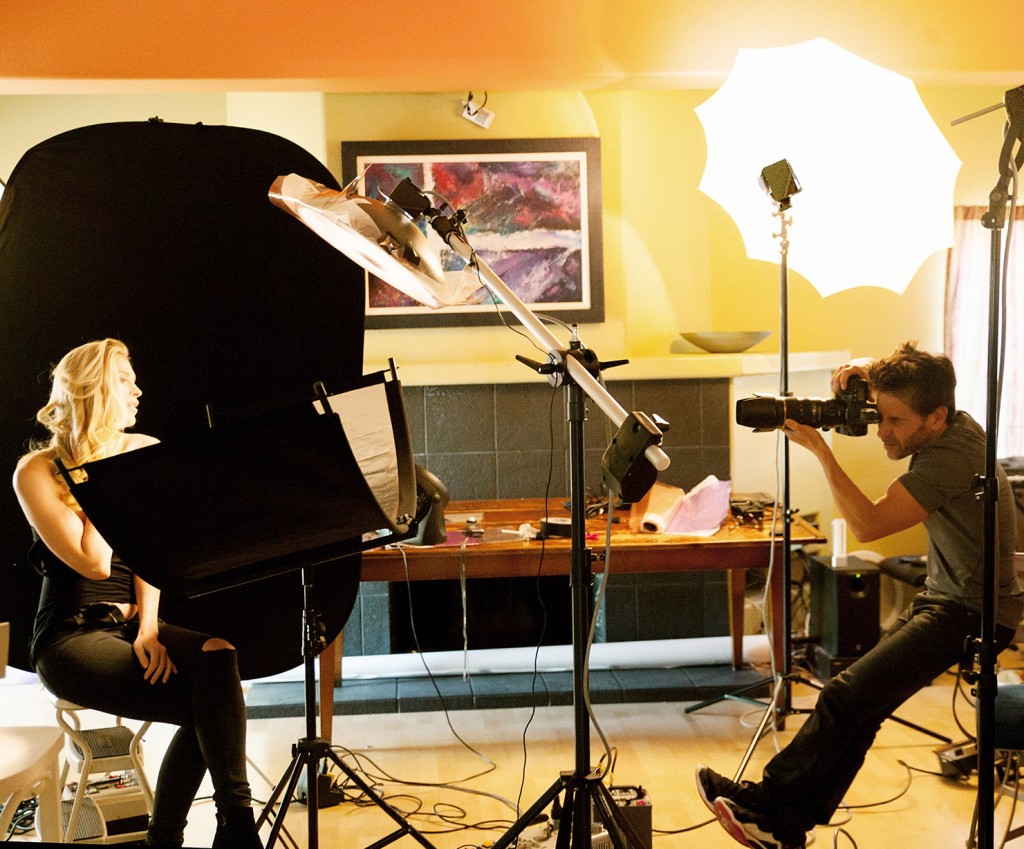
Modified Beauty Portrait Lighting Using the Eyelighter
This modified approach weighs on the same principle as the previous. The quality of light is similar and the contrast is kept to a minimal. The variation in this setup is to add two extra lights from the same direction as the key light. I begin by placing my key light which is a 28″ Dynalite Beauty Dish directly centered four feet above my subject. The beauty dish is modified with a honeycomb grid to create a harder edge, but is diffused with Rosco Opal, to bring the contrast down to a minimal. This modifier normally produces a hard quality of light, but with the diffuser and the extra fill, we can control the contrast. I was very specific in my choice of modifiers for fill. I used two 32″ Optical White satin Westcott umbrellas slightly behind me, set on either side. Using white satin umbrellas in a reflective fashion (bouncing light into umbrella and back to subject), allows some light to spill through, loosing some of the intensity, while bouncing back non-directional light. I also pulled the umbrellas the farthest away from the light, allowing an even spread of light.
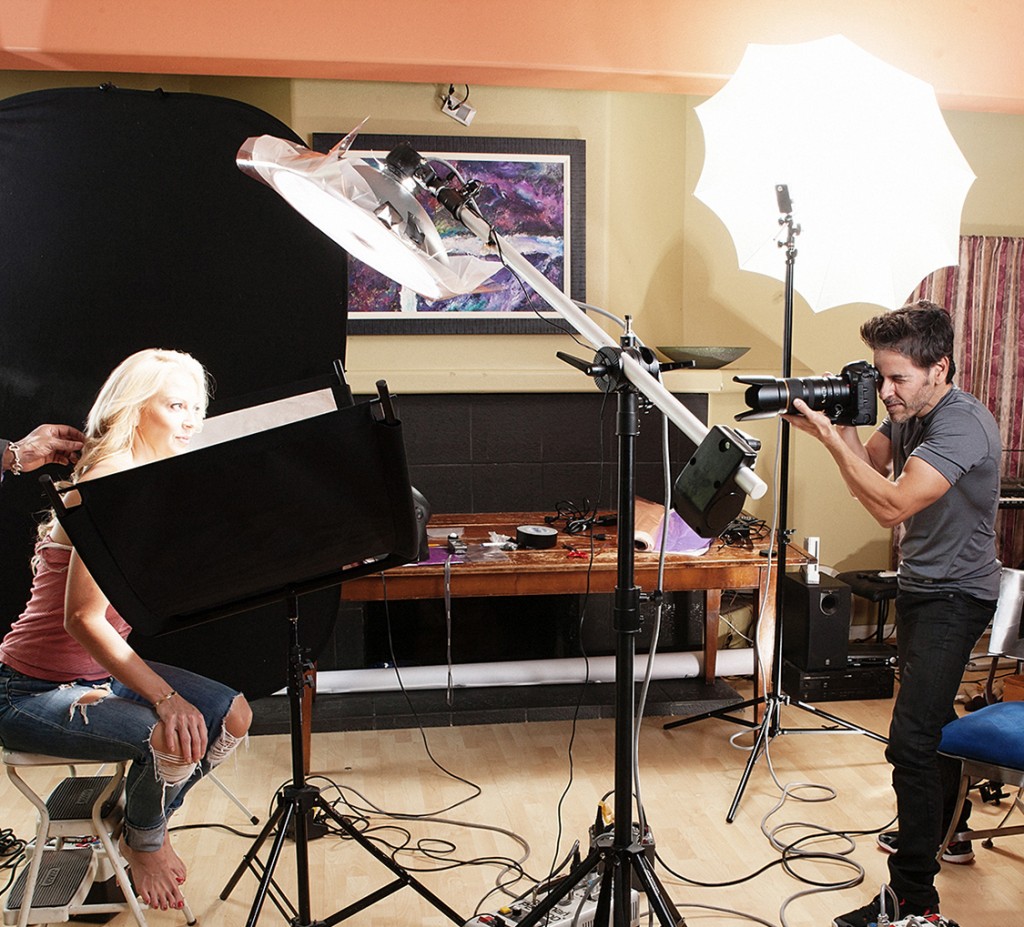
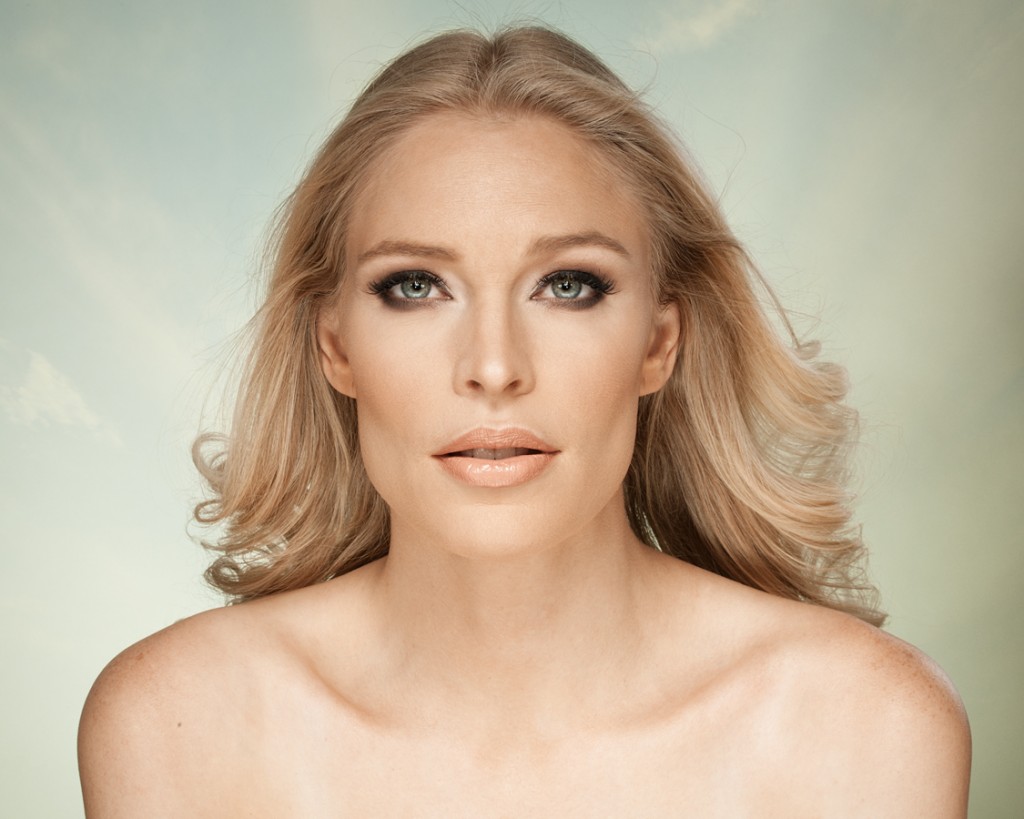
These fill lights I measured individually to F5.6. Both lights combined metered slightly less than F8. I then set my beauty dish for an output of F16. This is a 4:1 lighting ratio which normally is too high in contrast for beauty lighting.
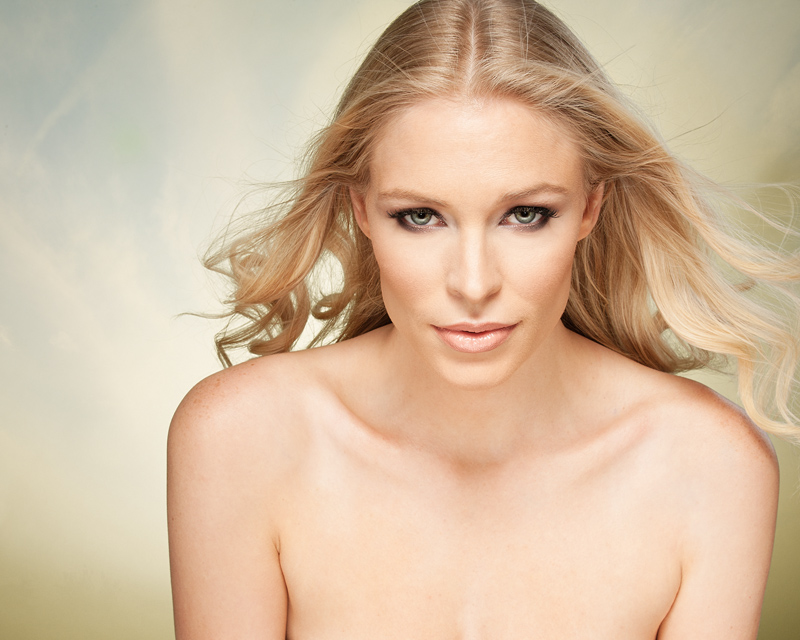
This is where the Westcott Eyelighter comes into place. The Eyelighter is a unique silver reflective pan in the shape of an arc. This reflector you can place below your subject which serves two purposes. One is to control the amount of fill under the eyes and chin, which brings a beautiful unmatched glow to the skin. This also helps control the amount of fill you desire by combining it with your other lights. Secondly, by fine tuning the angle of reflection, you can increase the eye color and brightness that is reflected from the eyes. It bring incredible brilliance to the eyes adding extra depth. It works quite different than most standard reflectors or fill cards. The unique shape also follows the contour of the natural shape of the face. It also was designed with the facial anatomical structure in mind. Once placed at a proper distance beneath my subject, I am then able to decrease my lighting ratio from ½ – 1 stop difference from my key light and my combined (modified) combined fill.
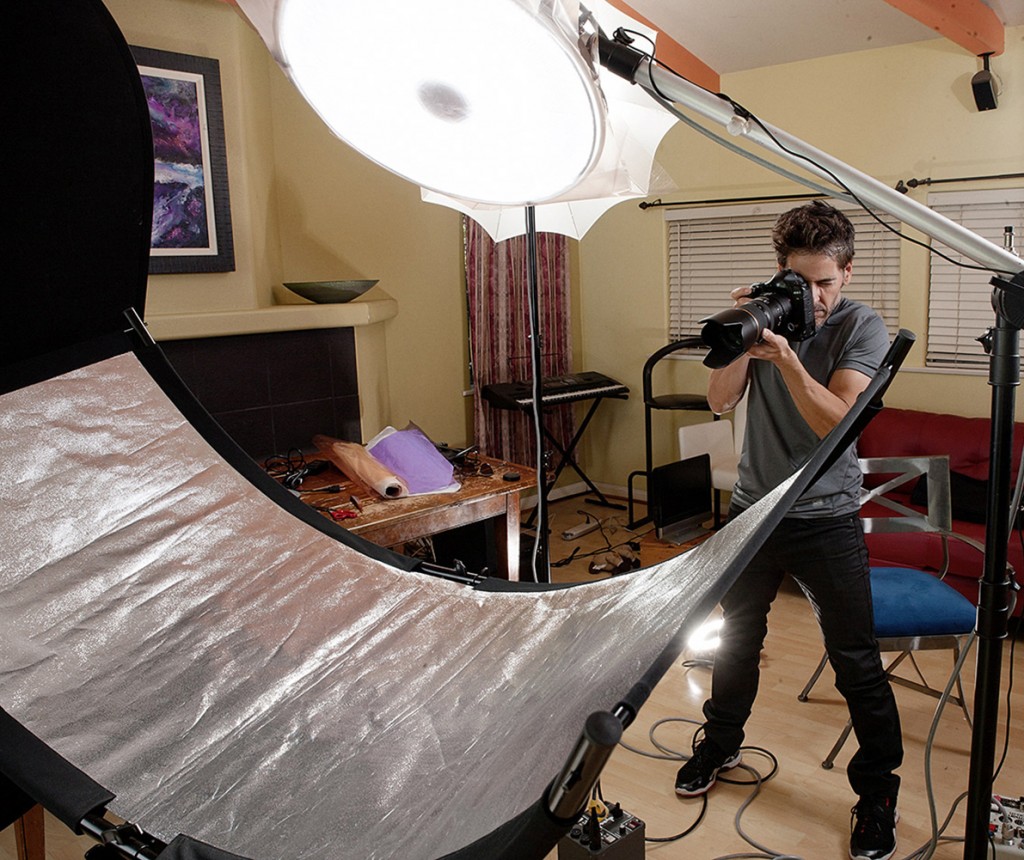
With practice, this Modified Beauty setup is very consistent and predictable. The results are amazing without breaking the bank. By varying the distance and the angle of the Eyelighter, you can immediately predict your results by simply looking at the specular reflection of the Eyelighter on your subject’s eyes. Practice modifying your lighting, experiment on angle of incidence of light, to the angle of reflection, and using the Eyelighter might just be that extra trick that will separate your work from the pack!
Lighting Gear in Action

Zeppelin Deep Parabolic Softbox (47")3731

Zeppelin Deep Parabolic Softbox (47")3731
You must be logged in to post a comment.